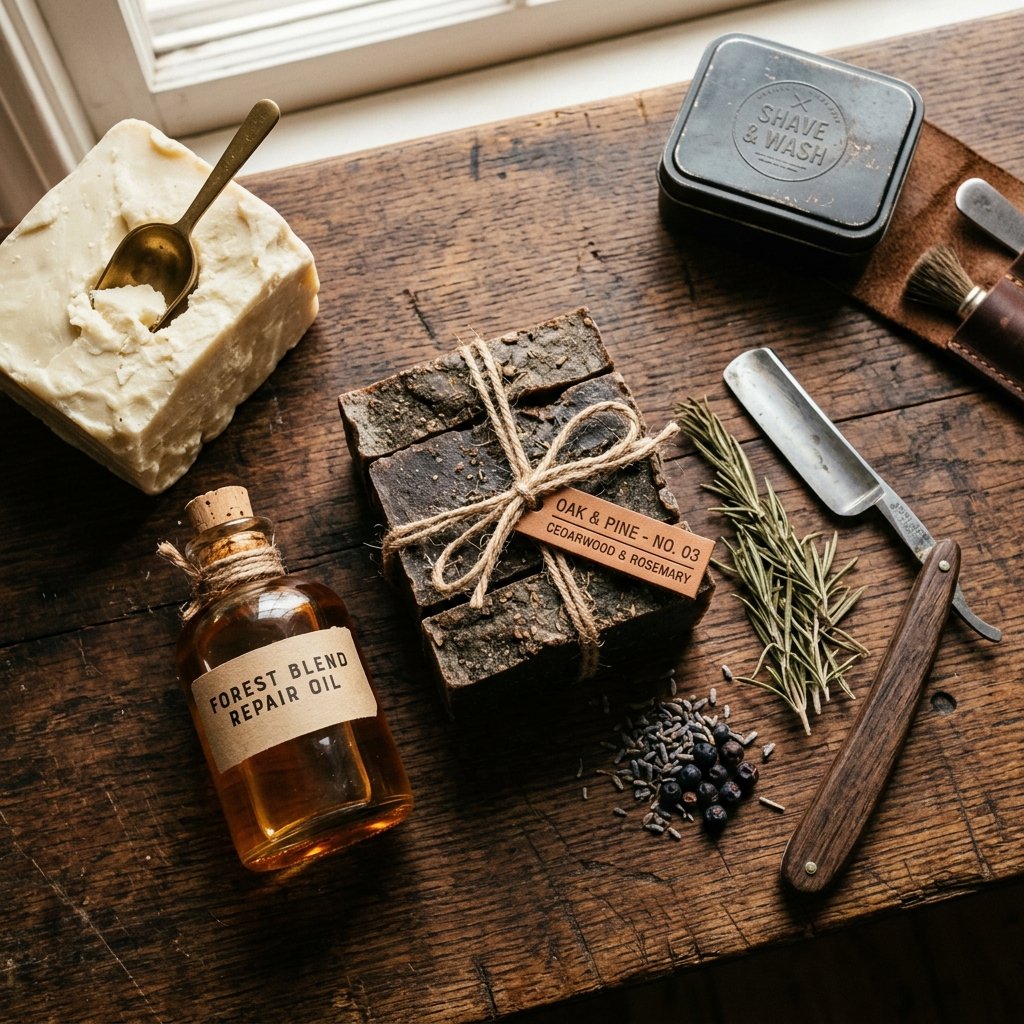

Let’s talk man-to-man—or crafter-to-crafter. If you’ve ever wandered down the grooming aisle of a high-end department store, you’ve likely felt the immediate sting of “luxury” pricing. A tiny, 4-ounce bar of specialty beard wash can easily set you back $15 to $25. It’s a steep price to pay for something that literally goes down the drain. But here is the secret the big brands don’t want you to know: you can craft a superior, rugged, and moisturizing beard wash bar in your own kitchen for a fraction of the cost.
As a frugal DIYer, you aren’t just saving money; you are taking control of what goes onto your face. No harsh sulfates, no synthetic fragrances that smell like a middle school locker room—just pure, skin-loving ingredients that tame the wildest of man-manes. Whether you’re a bearded gentleman looking to upgrade your routine or a savvy gift-giver searching for the perfect Father’s Day or groomsman gift, this guide is your blueprint for masculine-elegant grooming on a dime. We’re going to turn basic supplies into a bespoke grooming experience that works wonders on dry skin and coarse hair.
The Science of the Scruff: Why Your Beard Needs a Dedicated Bar
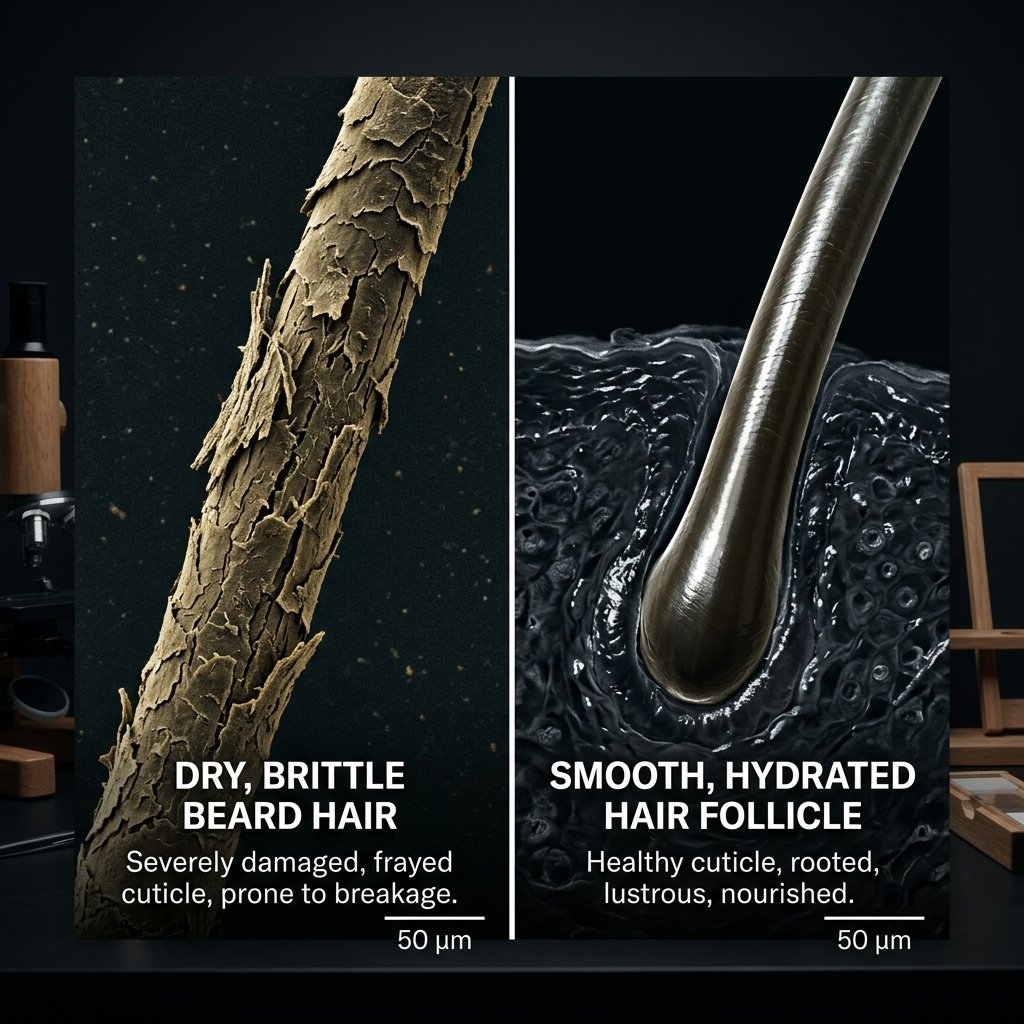
Before we dive into the melting and mixing, it is vital to understand why you can’t just grab a generic bar of body soap and call it a day. The skin on your face, particularly under a beard, is significantly more sensitive than the skin on your back or arms. Standard soaps are often formulated with aggressive surfactants that strip away sebum—the natural oil your skin produces to keep hair hydrated. When that oil is gone, you’re left with the dreaded “beardruff” and a texture that feels more like a scouring pad than a beard.
The Moisture Equation
Our DIY recipe focuses on superfatting—a term soap makers use to describe adding extra oils so that the finished bar cleanses without stripping. By using a combination of goat’s milk or glycerin bases with added conditioners, we create a pH-balanced environment that keeps the hair cuticle flat and smooth.
“A well-maintained beard is a reflection of the man’s patience and his tools. Don’t let cheap soap ruin hard-earned growth.”
By making these yourself, you can customize the hardness of the bar and the intensity of the moisturizing agents based on the season. In winter, we lean heavier on the shea butter; in summer, we might increase the charcoal for a deeper pore cleanse.
The Budget Breakdown: Store-Bought vs. DIY Craftsman Bar
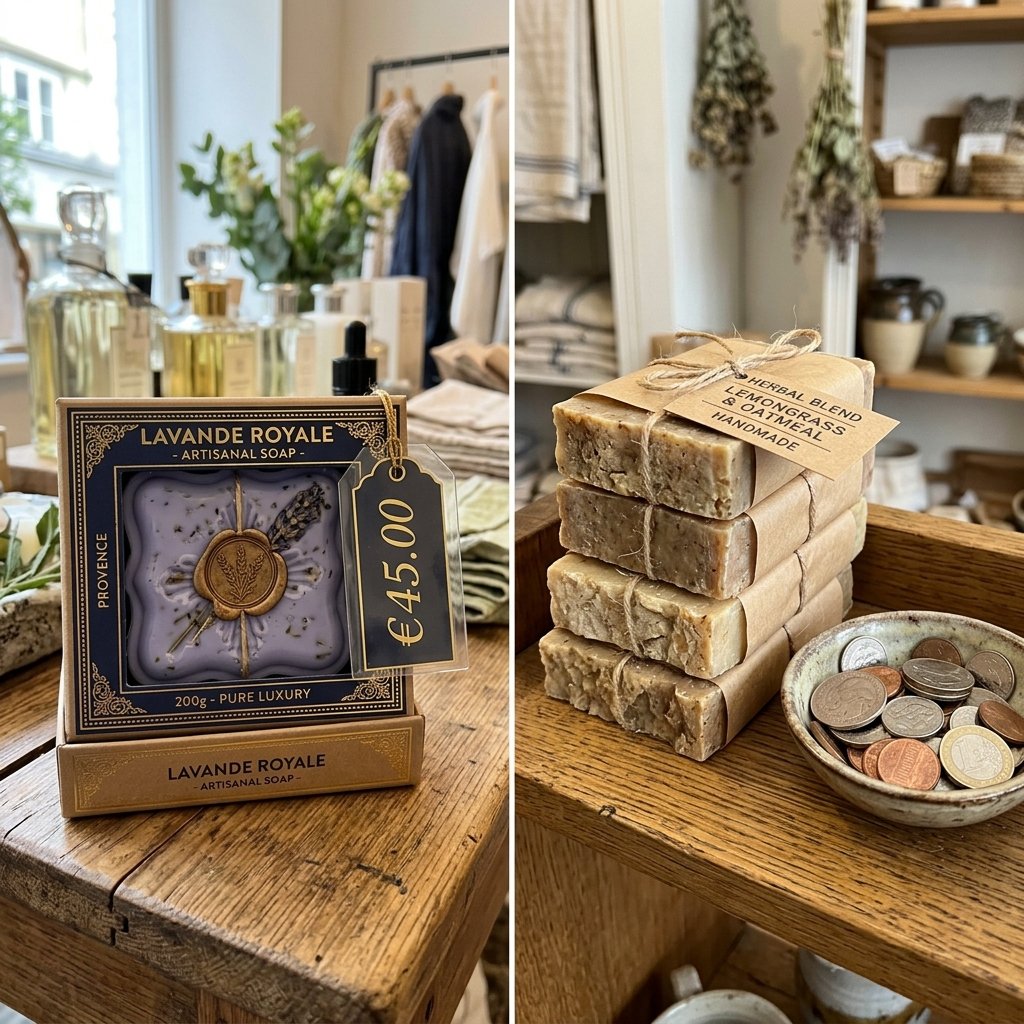
One of the hallmarks of a truly resourceful crafter is the ability to see the cost-per-unit. When you buy ingredients in bulk, the savings are astronomical. Below is a comparison of what you’ll spend at a boutique vs. what it costs to whip up a batch of four bars at home.
| Item | Boutique Store Price | DIY Crafting Cost |
|---|---|---|
| 4oz Beard Wash Bar | $18.00 | $1.45 |
| Packaging/Tin | Included | $0.50 (Upcycled) |
| Fragrance/Essential Oils | Synthetic | $0.30 (Pure Grade) |
| Total per Bar | $18.00 | $2.25 |
By choosing the DIY route, you are effectively saving 87% per bar. If you use one bar a month, that is over $180 in annual savings. That is money that could be better spent on high-quality tools, a nice bottle of bourbon, or your next big upcycling project.
The Master Recipe: Ingredients & Materials
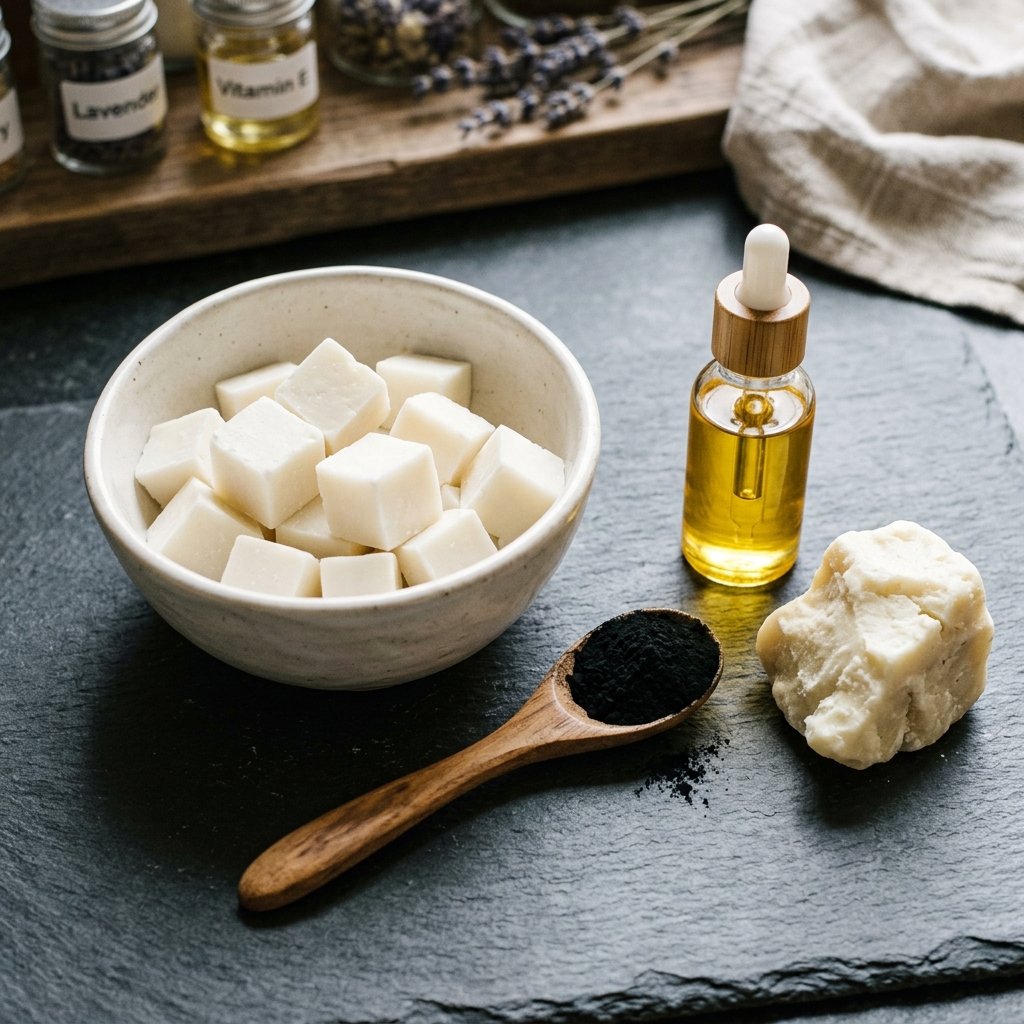
To keep this project accessible for the handy parent or budget-savvy crafter, we are using a “Melt and Pour” method. This bypasses the need for handling lye, making it a safe project to do even if the kids are helping out in the workshop. However, we are “ruggedizing” this base with premium additives to ensure it performs like a professional product.
What You Will Need:
- 2 lbs Goat’s Milk Soap Base: Provides a creamy, rich lather (approx. $12.00 for a large block).
- 2 tbsp Organic Jojoba Oil: Closely mimics natural human sebum to hydrate the skin.
- 1 tbsp Raw Shea Butter: For deep conditioning of coarse beard hair.
- 1 tsp Activated Charcoal (Optional): For a deep-cleaning, detoxifying effect and a cool slate-gray color.
- 30-40 drops Essential Oils: We recommend a blend of Cedarwood, Pine, and Bergamot for a forest-fresh scent.
- Silicone Molds: Square or hexagonal shapes work best for a masculine look.
Safety Note: While melt-and-pour soap is safe, the base gets very hot when liquefied. Always use heat-resistant glass containers and handle with care. If adding charcoal, stir slowly to avoid a “dust cloud” in your kitchen!
Step-by-Step Guide: Forging the Bar
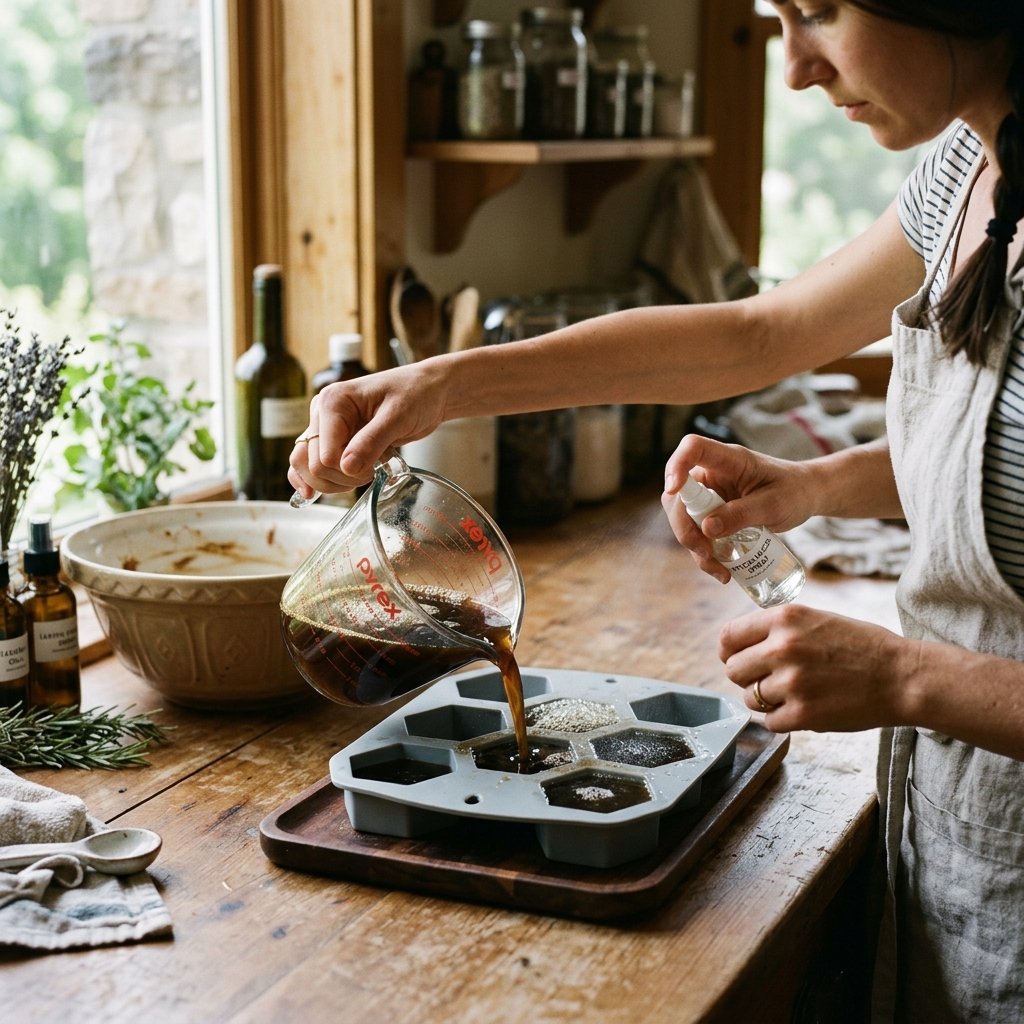
Follow these steps with the precision of a master tailor. The key is in the temperature and the timing.
- Prep the Base: Cut your soap base into 1-inch cubes. This ensures even melting and prevents the bottom from scorching while the top is still solid.
- The Melt: Place the cubes in a microwave-safe glass bowl. Heat in 30-second intervals, stirring between each, until the liquid is smooth. Alternatively, use a double boiler on the stove for more control.
- Incorporate the ‘Muscle’: Once liquid, stir in the shea butter and jojoba oil. The residual heat will melt the shea butter quickly. This is where the moisturizing power lives.
- Add the Scent & Color: Let the mixture cool for about 2 minutes before adding essential oils. If the base is too hot, the oils will evaporate, and your scent will vanish. Stir in the activated charcoal now if you want that rugged, dark aesthetic.
- The Pour: Slowly pour the mixture into your silicone molds. To prevent bubbles on the surface, a quick spritz of rubbing alcohol from a spray bottle will pop them instantly.
- The Cure: Let the bars sit undisturbed for at least 4 to 6 hours. For the best results, leave them overnight in a cool, dry place.
Once firm, pop them out of the molds. You’ll have professional-grade bars that feel heavy and substantial in the hand—exactly what a man wants in his grooming kit.
Custom Scent Profiles: The Modern Woodsman’s Palette
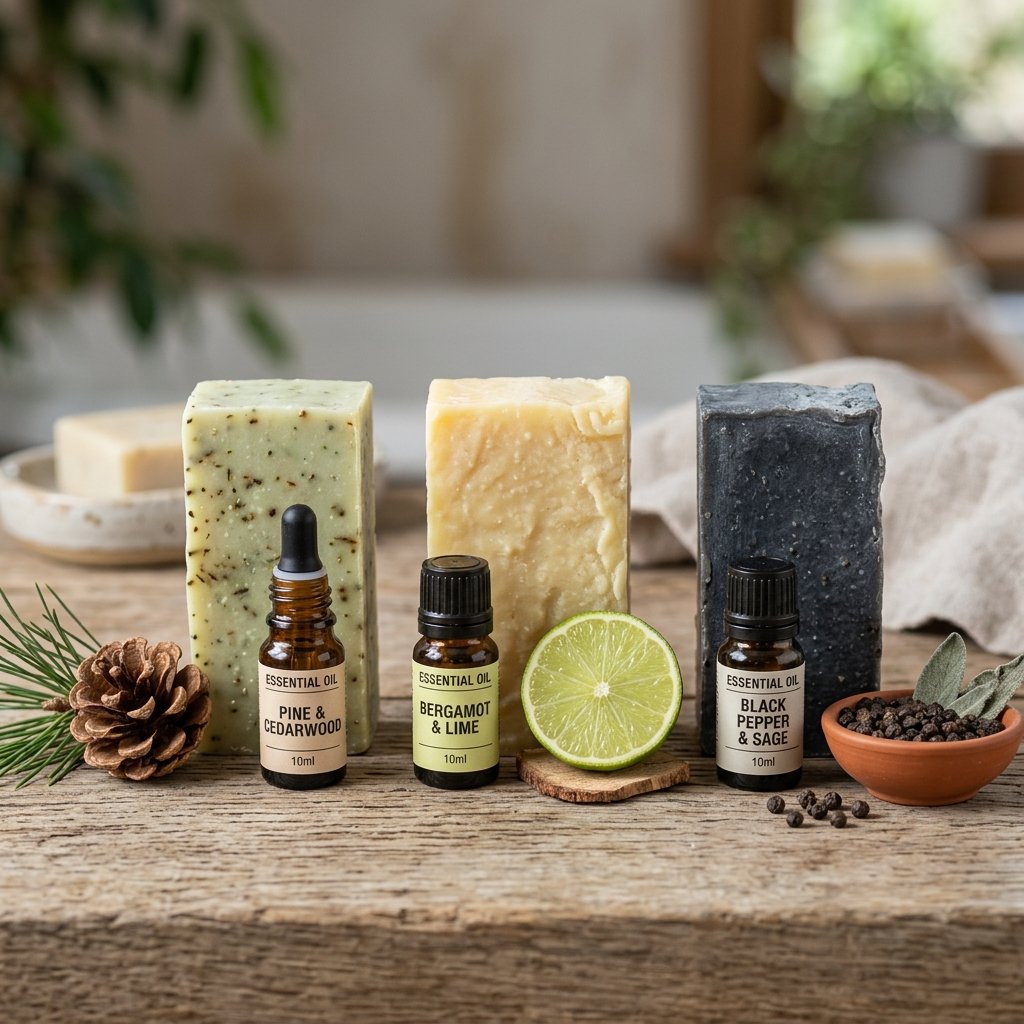
Don’t settle for “Fresh Scent.” As a creative gift-giver, you can tailor the aroma to the personality of the recipient. Use this table to create your own signature blends using a 10ml base of essential oils.
| The Vibe | Essential Oil Blend | Character Notes |
|---|---|---|
| The Lumberjack | Cedarwood + Fir Needle + Clove | Smoky, earthy, and deeply masculine. |
| The Coastal Captain | Eucalyptus + Peppermint + Lime | Crisp, cooling, and energizing for morning showers. |
| The Urban Gent | Sandalwood + Bergamot + Black Pepper | Sophisticated, spicy, and slightly sweet. |
Pro Tip: Always keep a small notebook in your craft space to record your ratios. There’s nothing worse than creating the world’s best-smelling soap and forgetting how you did it!
Packaging & Presentation: High-End Style for Zero Dollars

A great product deserves great packaging. If you’re gifting these, don’t just throw them in a plastic bag. We’re going for Masculine-Elegant. Use what you have around the house to create a presentation that looks like it came from a high-street boutique.
- Upcycled Tins: Clean out old mint tins or tobacco tins. Line them with a bit of parchment paper for a rugged, travel-ready container.
- Brown Paper & Twine: Wrap the bar in simple brown butcher paper or a cut-up grocery bag. Secure it with heavy-duty jute twine.
- Custom Stamps: Use a leather stamping kit or a carved potato to press a logo or the recipient’s initials into the soap while it is slightly soft (about 1 hour into the cooling process).
- Wax Seals: For a truly premium look, add a dollop of sealing wax to the twine knot. It adds a touch of old-world class that costs pennies.
These small touches turn a simple soap bar into a thoughtful, hand-crafted treasure that any man would be proud to display on his bathroom counter.
Conclusion
Creating your own beard wash shampoo bar is more than just a frugal hack; it’s an act of resourceful craftsmanship. You’ve successfully bypassed the inflated prices of the grooming industry and produced a product that is healthier, more effective, and infinitely more personal. Whether you’re taming your own dry beard or gifting a batch to the men in your life, you can take pride in the fact that these “wonders” were made by hand, with intent and intelligence.
Remember, the best DIY projects are the ones that solve a problem while keeping your budget intact. Now go forth, stay rugged, and enjoy the softest beard you’ve ever had. Happy crafting!

Makenzie is the founder and lead writer at MoneyHackTips.com — a personal finance blog dedicated to delivering street-smart financial wisdom for real people on real budgets. With 300+ published articles covering everything from debt management to investing fundamentals, Makenzie’s mission is to make every dollar work harder. When not writing about money hacks, Makenzie is testing frugal living strategies, optimizing side hustles, and helping readers build financial freedom from scratch.