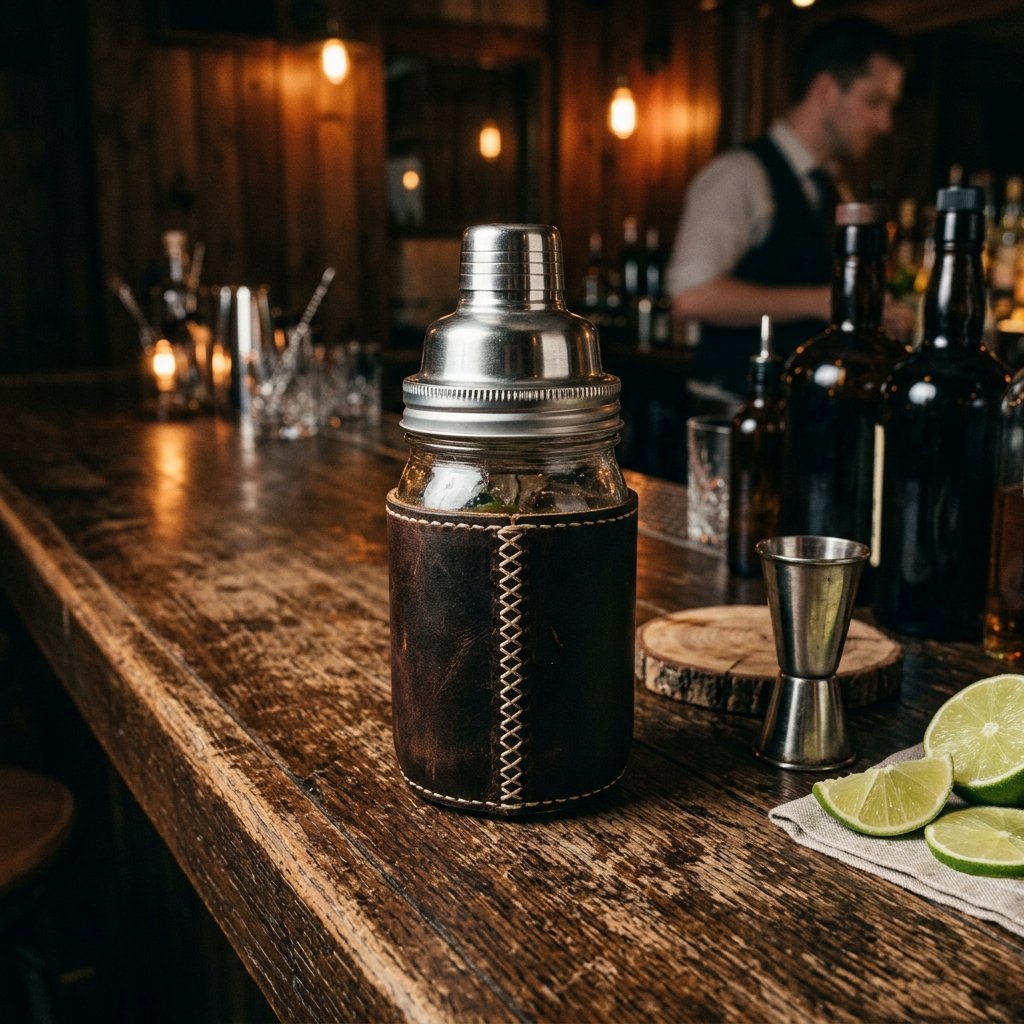

Let’s be honest: most DIY gifts for men end up at the back of a closet or, worse, in the donation bin by next season. But when you combine the rugged utility of a classic mason jar with the timeless elegance of hand-stitched leather, you create something different. You create a legacy piece. Whether you are a frugal DIYer looking for the perfect Father’s Day surprise or a budget-savvy bride crafting groomsmen gifts that don’t look like they came from a dollar bin, this project is your secret weapon.
The beauty of the Leather Wrapped Mason Jar Cocktail Shaker lies in its contradiction: it is incredibly inexpensive to make, yet it exudes a masculine, high-end aesthetic that rivals boutique barware costing upwards of $150. By using upcycled leather and a few clever hardware choices, we are going to build a functional tool that is as home in a camping kit as it is on a mahogany bar cart.
The Budget Breakdown: High-End Style on a Dime
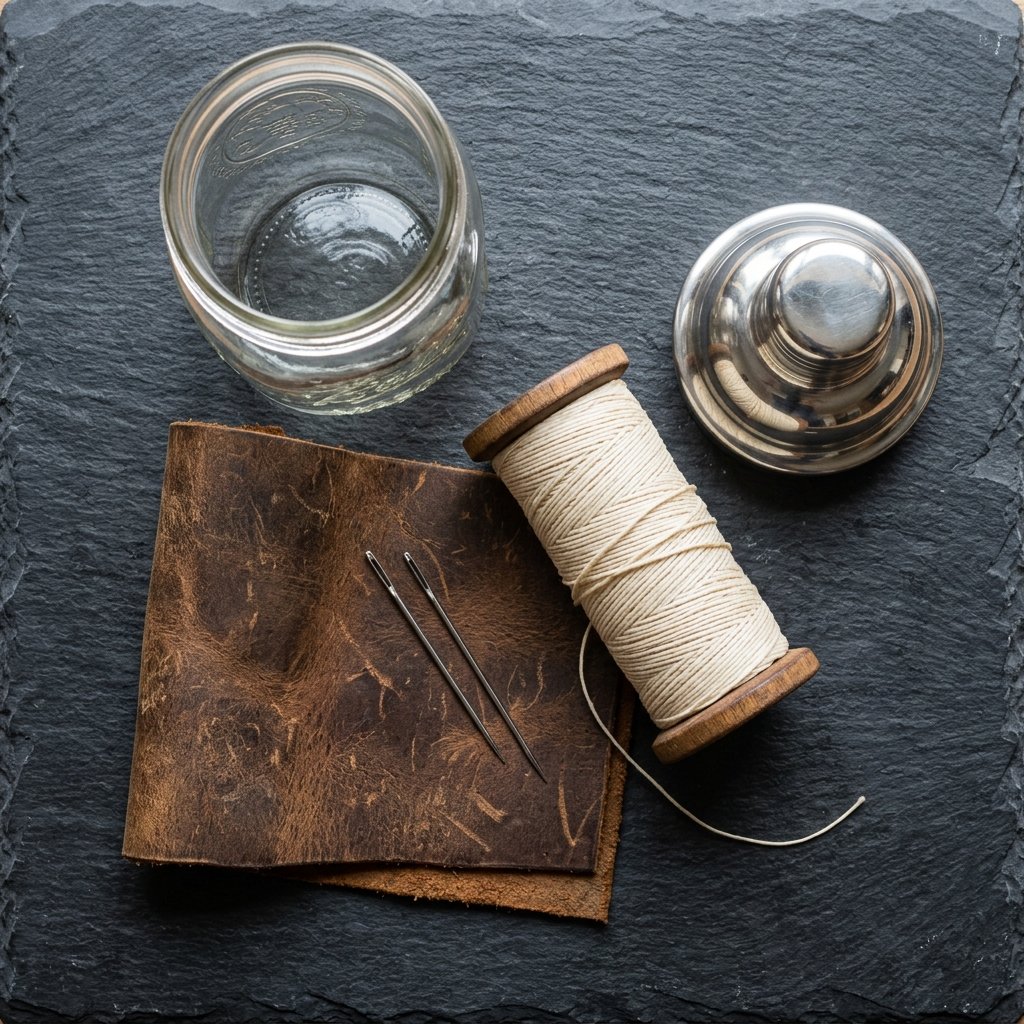
Before we pick up a needle, let’s look at the numbers. If you were to walk into a high-end department store or a boutique leather shop, a hand-stitched cocktail shaker would easily set you back a significant portion of your paycheck. By sourcing your own materials and using a bit of resourceful creativity, we can bring that cost down to nearly zero if you already have a few scraps lying around.
We aren’t just making a shaker; we are engineering a durable piece of gear. The leather acts as a natural insulator, keeping the drink ice-cold while protecting his hands from the freeze. Plus, the grip provided by the textured hide ensures that even the most vigorous shaking won’t result in a kitchen-floor disaster.
| Material Item | Store-Bought Price | DIY Frugal Cost |
|---|---|---|
| 16oz Mason Jar | $12.00 (Designer) | $1.25 (Dollar Tree/Thrifted) |
| Full-Grain Leather Wrap | $65.00 | $0.00 – $5.00 (Upcycled Scrap) |
| Stainless Shaker Lid | $45.00 (Part of Kit) | $6.00 (Online/Bulk) |
| Hand-Stitching Labor | $50.00+ | Priceless (30 Mins) |
| Total Investment | $172.00 | $7.25 – $12.25 |
“The best gifts aren’t bought with a credit card; they are forged with patience and a little bit of elbow grease.” — The Frugal Guru’s Mantra
Sourcing the Hide: Finding Leather for Free
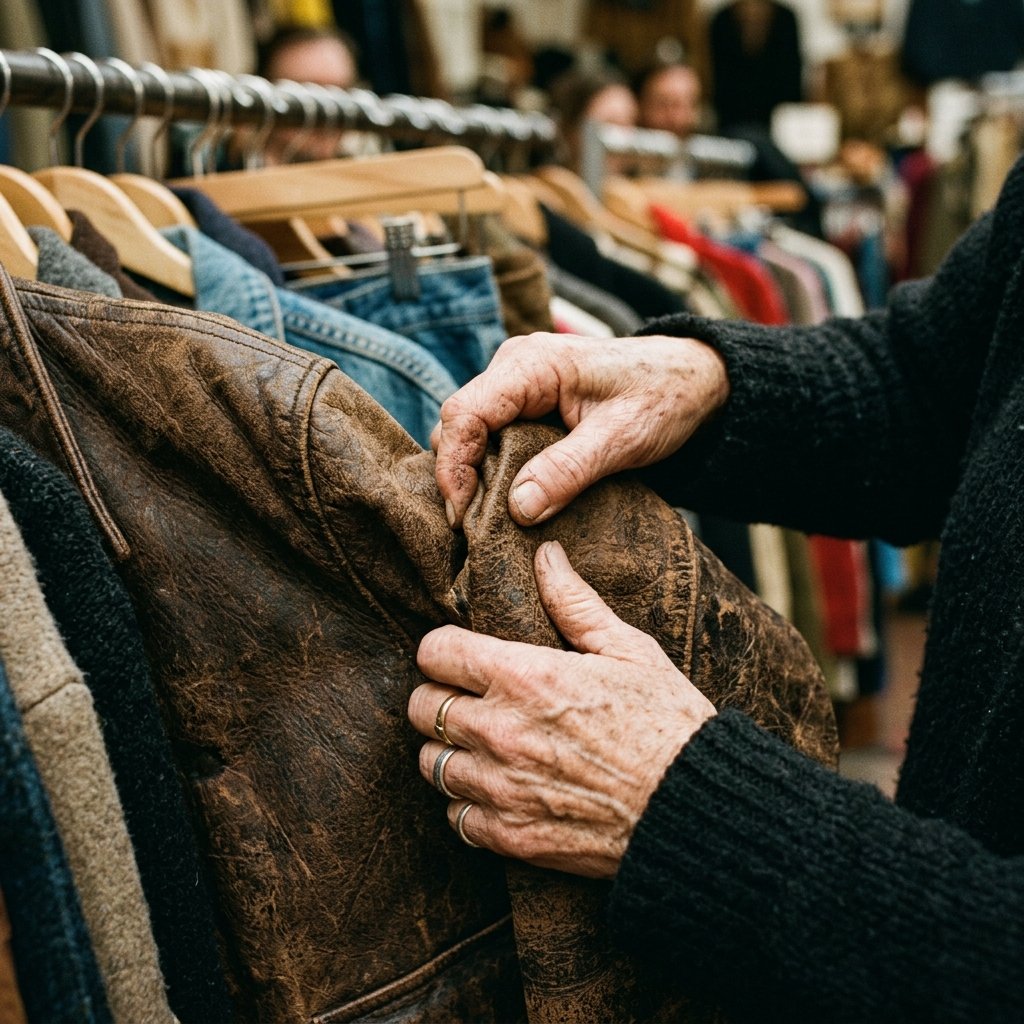
The Thrift Store Goldmine
You don’t need to buy a whole cowhide for this project. In fact, for a single 16oz jar, you only need a piece of leather roughly 10 inches by 4 inches. Look for old leather jackets at thrift stores with tears in the sleeves—these are often marked down to $5 or less. One jacket can provide enough material for 20 cocktail shakers! Alternatively, look for thick leather belts or old purses. The more distressed the leather looks, the more character the final shaker will have.
Identifying Quality
For this project, you want real leather, not faux or ‘vegan’ leather (which is usually just plastic). Real leather will absorb the oils from his hands over time, developing a beautiful patina. To test it, press your fingernail into the back; if it leaves a mark that slowly disappears, it’s the real deal. Avoid anything too thin (like glove leather) as it won’t provide enough structure for the jar.
Pro Tip: If you find a leather piece that is too stiff, rub a small amount of olive oil or coconut oil into it to soften it up before you start cutting. It’s a $0 hack that makes the leather look like a million bucks.
Precision Cutting & Patterning for a Snug Fit
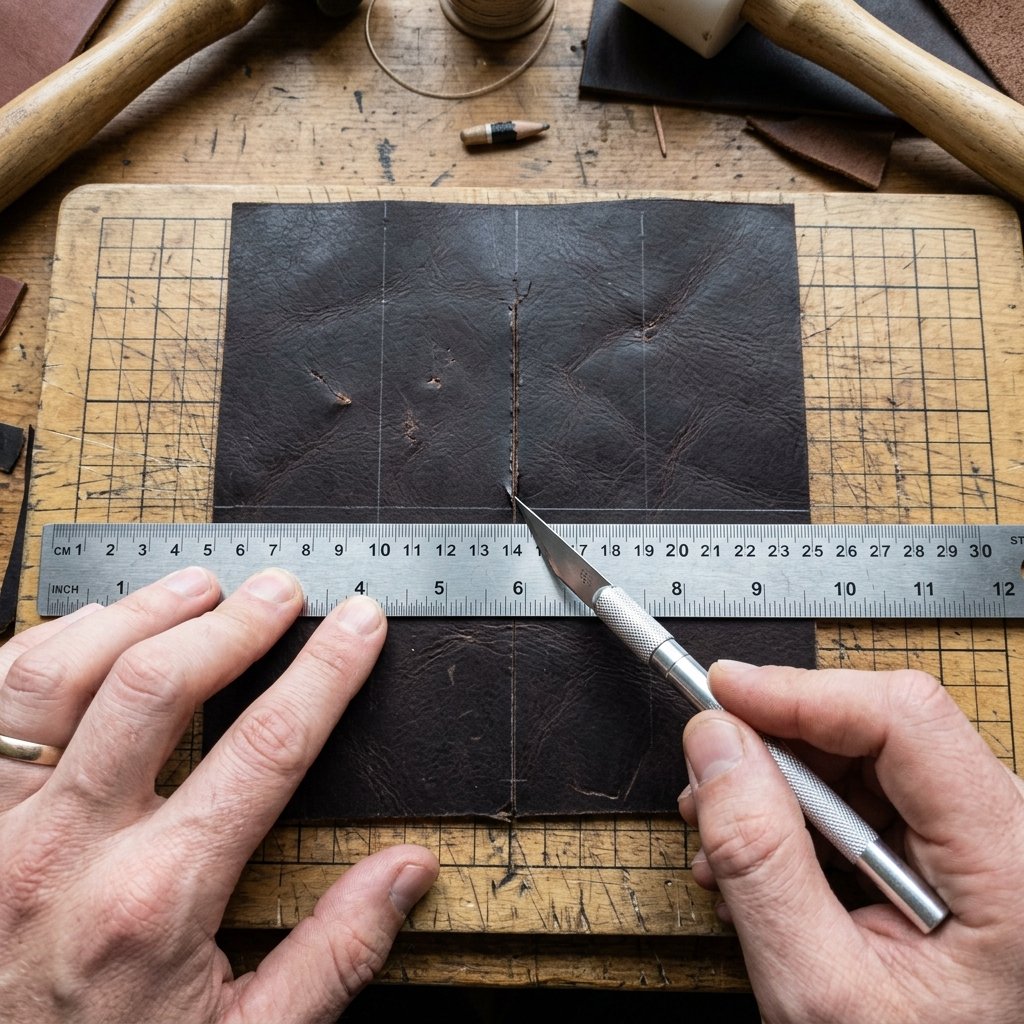
The key to a professional-looking wrap is the fit. It needs to be tight enough that it won’t slip when wet, but not so tight that the glass cracks. We are going to use a simple ‘butt-stitch’ technique where the two ends of the leather meet perfectly without overlapping.
Measuring Your Jar
- Wrap a piece of scrap paper around the jar to determine the exact circumference.
- Mark the point where the paper meets.
- Subtract 1/8th of an inch from that measurement. This ensures the leather has to stretch slightly to close, creating a permanent, snug fit.
- Measure the height from the base of the jar to just below the ‘shoulders’ where the jar begins to curve toward the lid. This is usually around 3.5 to 4 inches for a standard pint jar.
Use a sharp utility knife or heavy-duty fabric shears to cut your leather. Remember: Measure twice, cut once. If you are using a utility knife, use a metal ruler as a guide to ensure your lines are perfectly straight. A wobbly cut is the fastest way to make a DIY project look ‘homemade’ rather than ‘hand-crafted.’
The Art of the Saddle Stitch: Step-by-Step
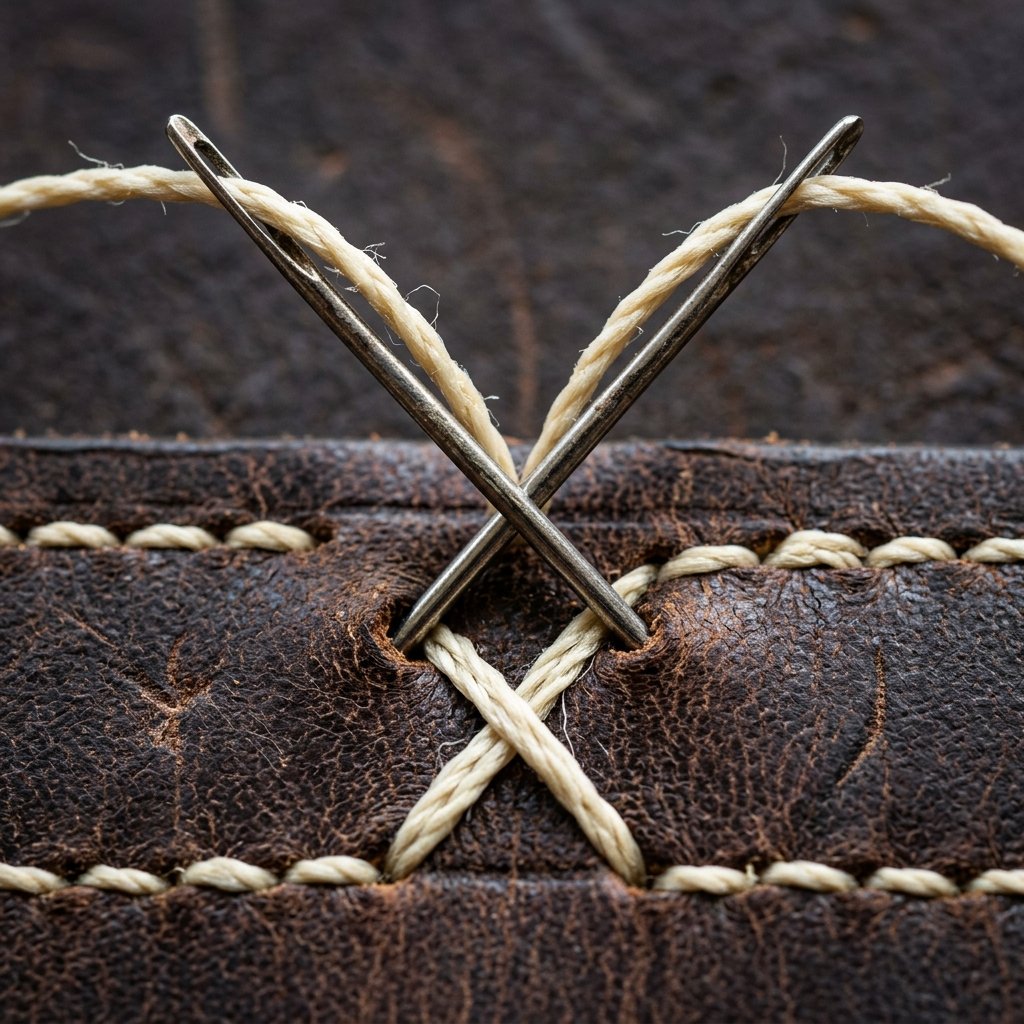
The saddle stitch is the hallmark of high-end leatherwork. Unlike a sewing machine stitch, a saddle stitch uses two needles on a single thread that cross each other through every hole. If one thread breaks, the rest stay tight—it is virtually indestructible.
Preparation: Punching the Holes
Since leather is tough, you can’t just push a needle through it. You need to pre-punch your holes. You can use a dedicated leather punch, but a frugal alternative is a small nail and a hammer, or even a heavy-duty drill bit if you have a steady hand. Space your holes 1/4 inch apart and 1/8 inch from the edge.
The Stitching Process
- Cut a length of waxed thread (or dental floss in a pinch!) that is 4 times the length of the seam.
- Thread a needle onto each end of the string.
- Push the first needle through the top hole and pull it until the thread is centered.
- Pass needle A through the next hole.
- Pass needle B through the same hole from the opposite side.
- Pull both threads tight. Repeat this ‘figure-eight’ motion all the way down the seam.
- To finish, ‘back-stitch’ two holes and cut the thread close. Use a lighter to melt the tip of the thread to lock it in place.
Safety First: When using a hammer and nail to punch holes, work on a scrap piece of wood or a thick magazine to protect your tabletop and prevent the jar from slipping later.
Selecting the Hardware: The Shaker Lid
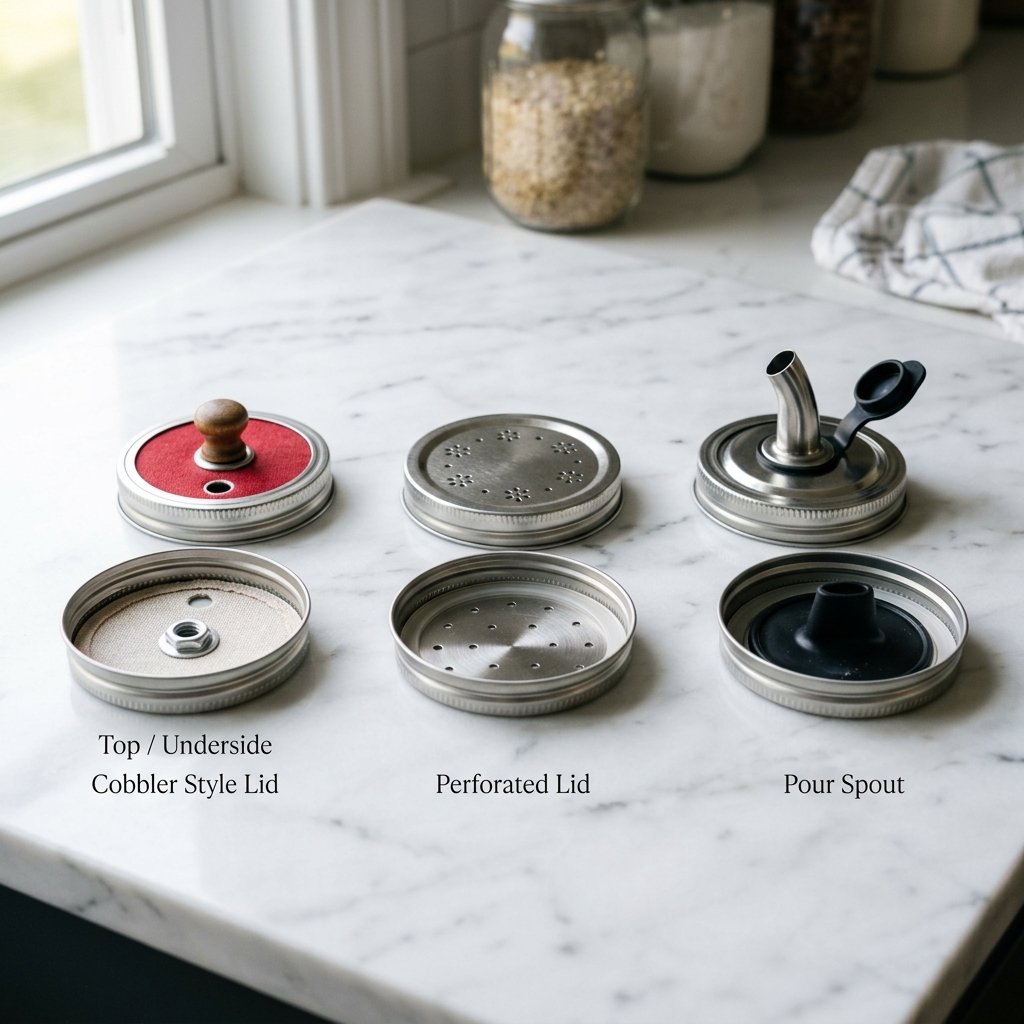
The final piece of the puzzle is the lid. You have two main options depending on your budget and how ‘pro’ he is with his cocktails. While you can technically use a standard two-piece mason jar lid and just poke holes in the flat disk, it tends to leak and looks a bit ‘college dorm.’
The Best Options for a Professional Finish
| Lid Type | Pros | Cons |
|---|---|---|
| The 3-Piece Cobbler Lid | Built-in strainer, very classic look, easy to use. | Slightly more expensive ($8). |
| The Perforated Disk | Very cheap ($2), fits any standard ring. | Requires a separate jigger to measure. |
| The Spout Lid | Great for pouring, very rugged/industrial. | Doesn’t allow for a ‘hard shake’ with ice. |
For the ultimate gift, I recommend the 3-piece stainless steel cobbler lid made specifically for wide-mouth mason jars. It transforms the jar into a legitimate bar tool. If you are on a strict zero-dollar budget, you can use a hammer and a large nail to punch a grid of holes into a standard metal lid disk. It’s rustic, functional, and costs $0.
Finishing Touches: Personalization & Care
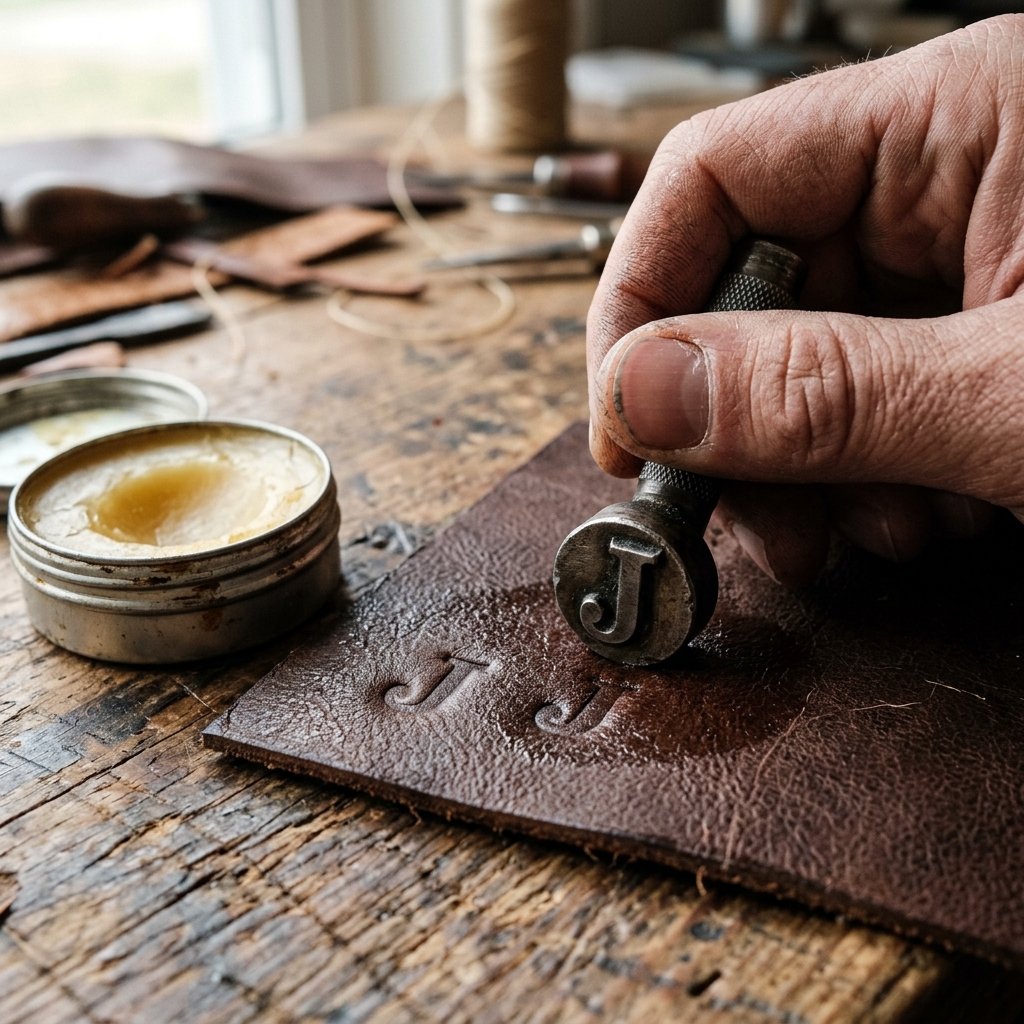
To make this shaker something he will truly keep forever, we need to add those final ‘maker’ touches. This is where you can turn a simple craft into a personalized heirloom.
Custom Branding
If you have a set of metal stamps, you can stamp his initials or a significant date into the leather while it is slightly damp. If not, a clever hack is to use a wood-burning tool (or even a heated metal skewer) to lightly etch a design into the surface. It smells like a campfire and looks incredibly rugged.
Maintenance for Longevity
Because this is a bar tool, it will get wet. Remind him (or include a small tag) that the leather wrap should be slipped off before washing the glass jar. If the leather gets splashed, simply wipe it down. Once a year, he can apply a little bit of leather conditioner or even plain beeswax to keep the hide supple and water-resistant. This ritual of care is part of why men love leather goods—it’s a tool that requires respect.
Budget Mantra: “We don’t buy quality; we build it. We don’t replace things; we mend them. This shaker is a testament to that.”
Conclusion
In a world of disposable plastic and fast-fashion gifts, the DIY Leather Wrapped Mason Jar Cocktail Shaker stands out as a beacon of intentionality. It is more than just a vessel for margaritas or old fashioneds; it is a piece of functional art that tells a story of resourcefulness. By taking the time to hand-stitch a scrap of leather onto a common jar, you’ve created a gift that is rugged, practical, and undeniably elegant. He’ll keep it because it works, but he’ll cherish it because you made it. Now, go find that old leather jacket and start stitching—the perfect cocktail is waiting.

Makenzie is the founder and lead writer at MoneyHackTips.com — a personal finance blog dedicated to delivering street-smart financial wisdom for real people on real budgets. With 300+ published articles covering everything from debt management to investing fundamentals, Makenzie’s mission is to make every dollar work harder. When not writing about money hacks, Makenzie is testing frugal living strategies, optimizing side hustles, and helping readers build financial freedom from scratch.