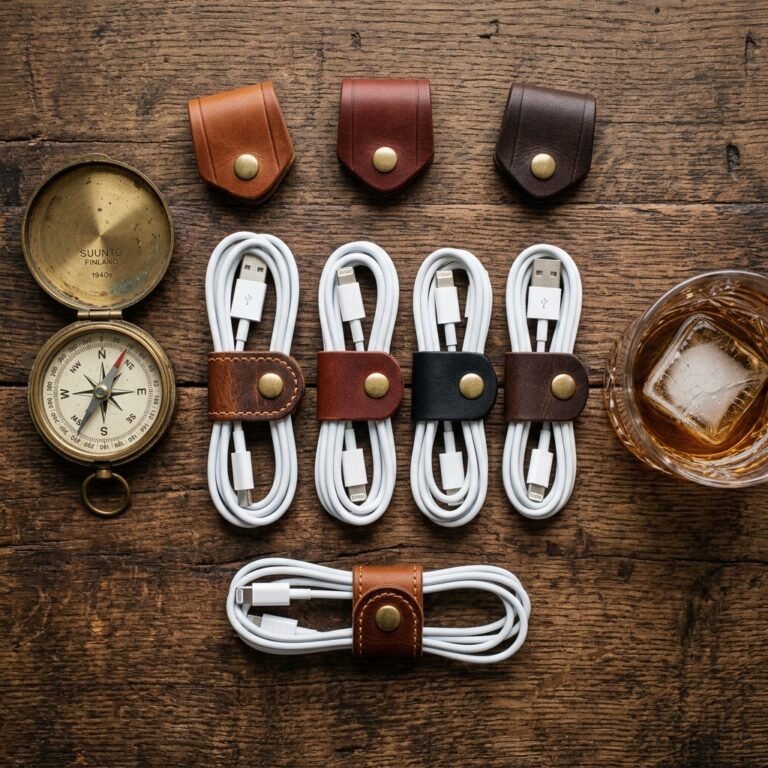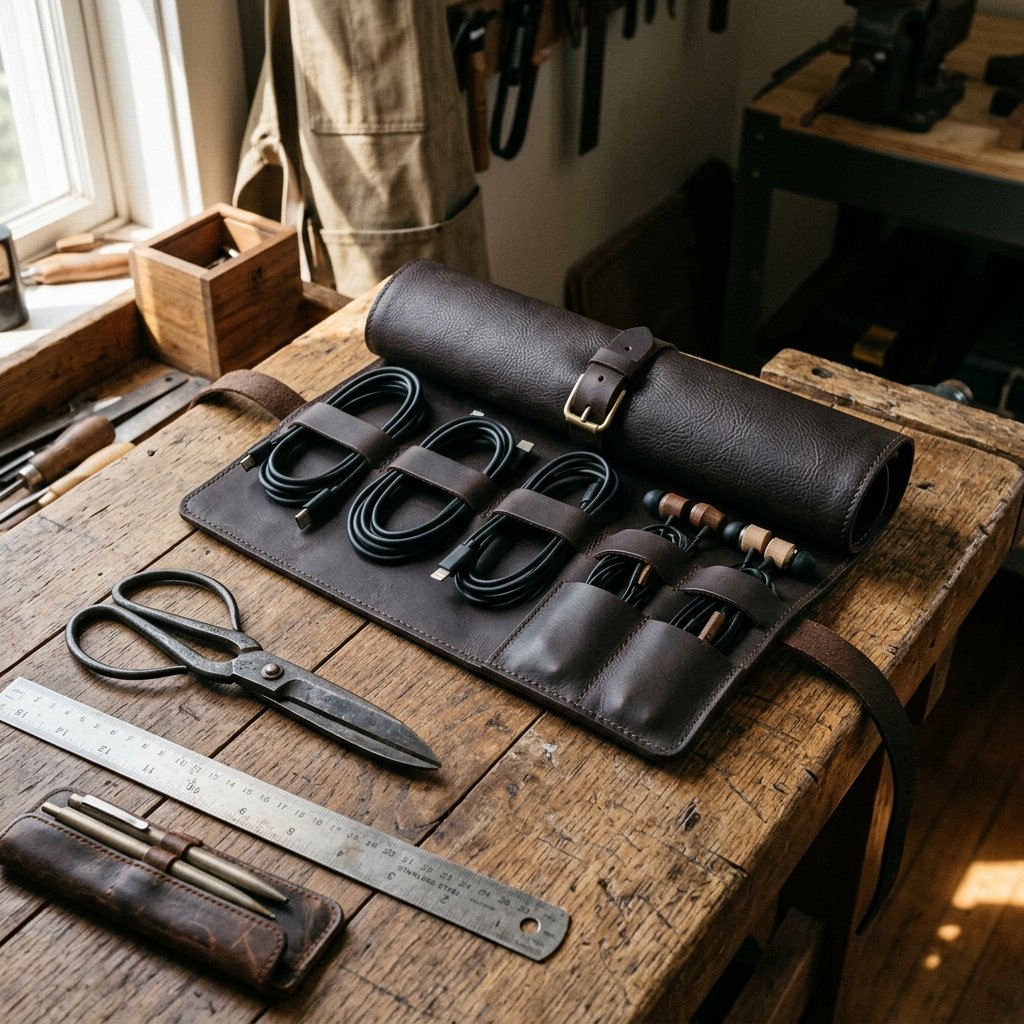

Tangled wires are the bane of the modern man’s existence. Whether he is a digital nomad, a frequent flyer, or just a guy trying to keep his bedside table from looking like a copper-wire bird’s nest, organization is the ultimate gift. But let’s be honest: those high-end leather tech organizers in boutique shops carry a price tag that would make even a millionaire wince. We are talking $50 to $120 for what is essentially a single piece of hide with a few strategically placed holes. As a resourceful DIYer, you know better. You know that with a 15-minute window and a few basic tools, you can craft a piece that isn’t just ‘as good’ as the store-bought version—it’s better because it’s handmade with a rugged, masculine elegance that only real leather can provide.
This project is the epitome of our ‘Trash-to-Treasure’ philosophy. We aren’t just making a cord roll; we are reclaiming the art of the handmade gift. Whether you are upcycling an old leather jacket from a thrift store or using a cheap ‘scrap bag’ find from a craft shop, this guide will show you how to achieve professional, clean lines and a durable finish that will last him a lifetime. Best of all, it requires zero sewing. That’s right—no needles, no thread, just pure, clever engineering. Let’s get to work and turn that scrap of leather into a piece of functional art.
The Anatomy of the Perfect Tech Roll: DIY vs. Retail
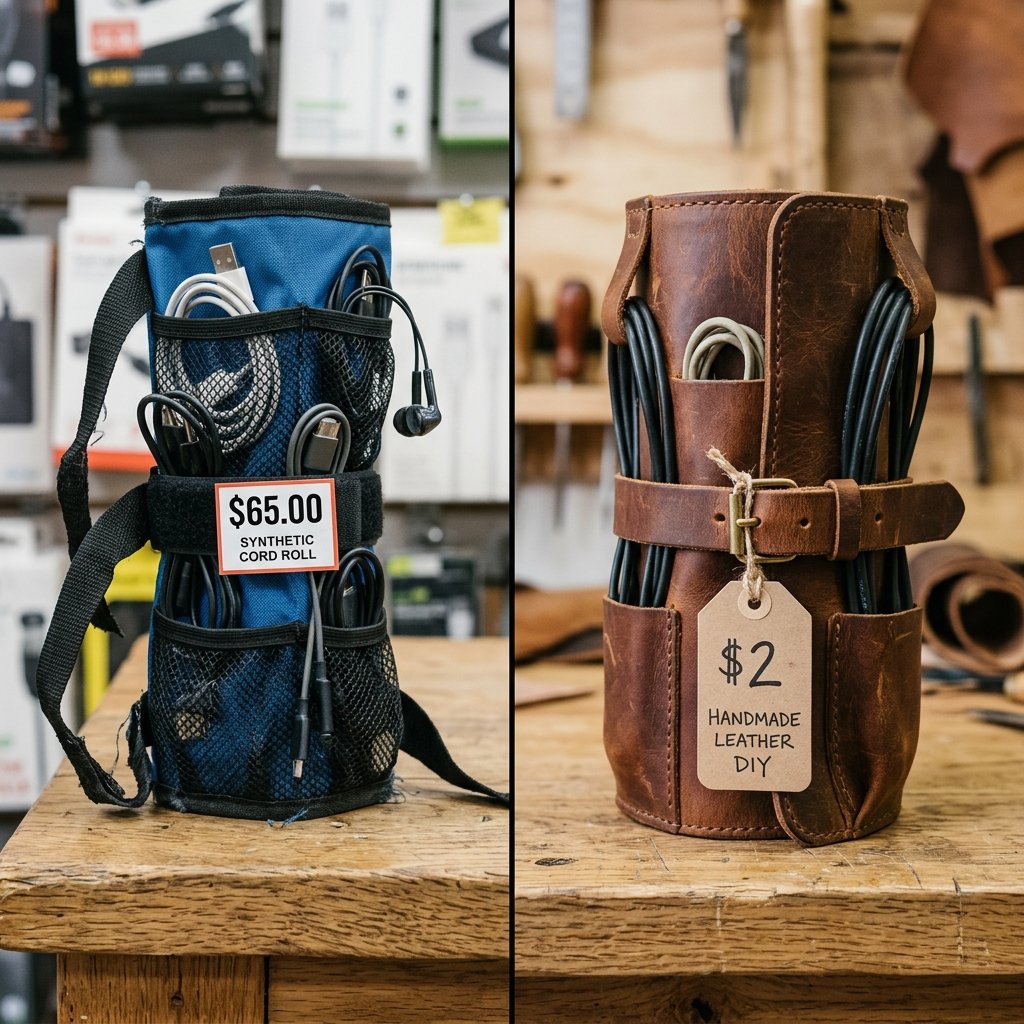
Before we dive into the ‘how-to’, let’s look at the ‘why’. Why spend your precious 15 minutes on this? Beyond the satisfaction of creating something with your hands, the cost savings are staggering. When you buy a tech roll from a luxury brand, you are paying for the logo, the retail space, and the marketing. When you make it yourself, you are paying only for the raw materials—which, if you are a savvy upcycler, might actually be $0.
| Feature | Store-Bought Luxury Brand | Our DIY Leather Tech Roll |
|---|---|---|
| Material Cost | $45.00 – $95.00 | $0.00 – $5.00 |
| Time Investment | 2 hours (shopping/shipping) | 15 Minutes |
| Customization | None (Mass Produced) | Fully Custom (Size & Color) |
| Durability | Often thin, bonded leather | Genuine, thick full-grain scrap |
The secret to a high-end look is all in the choice of leather. You want something with a bit of ‘body’—not so thin that it flops around, but not so thick that it won’t roll up. A 3oz to 5oz leather weight is the ‘Goldilocks’ zone for this project. If you are raiding your local thrift store, look for leather skirts or jackets that have large, flat panels. One old jacket can yield enough material for 5 to 10 cord rolls!
Gathering Your Arsenal: Tools and Materials
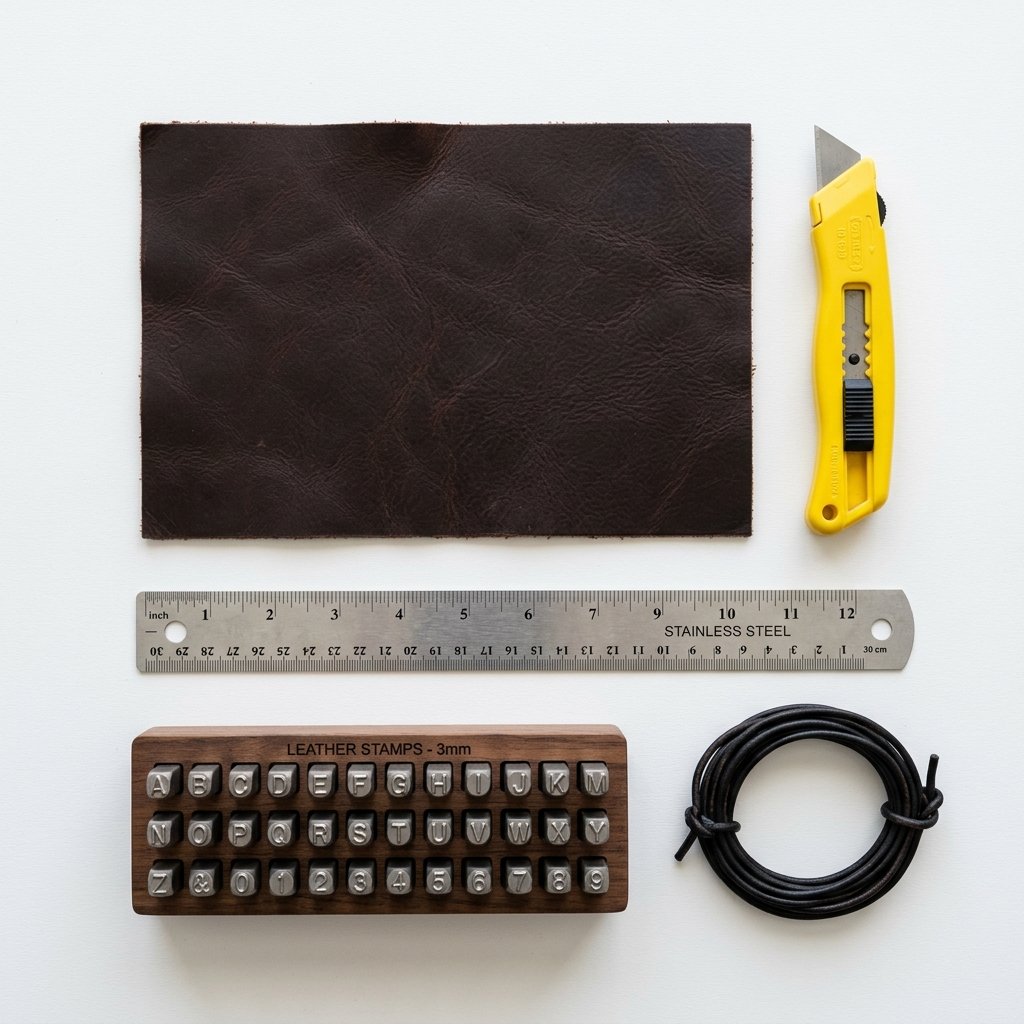
To keep this project under the 15-minute mark, you need to have your tools ready. This isn’t a project that requires a specialized leather-working kit. In fact, you likely have everything you need in your junk drawer or tool box right now. The goal is efficiency and precision.
- Leather Scrap: A rectangle approximately 10 inches by 6 inches.
- Utility Knife or Rotary Cutter: Must be extremely sharp for clean edges.
- Metal Ruler: Essential for straight lines and as a cutting guide.
- Leather Hole Punch or Awl: To create the entry points for the closure.
- Leather Lace or Paracord: 24 inches for the wrap-around tie.
- Cutting Mat or Cardboard: To protect your table surface.
Budget Mantra: A sharp blade is your best friend. A dull blade leads to jagged edges and wasted material. Spend $1 on a fresh blade to save $50 on the final product.
If you want to add an extra layer of ‘sophistication,’ grab a set of metal alphabet stamps. Stamping his initials into the corner of the leather takes only 30 seconds but increases the perceived value of the gift by 100%.
The 15-Minute Blueprint: Step-by-Step Execution
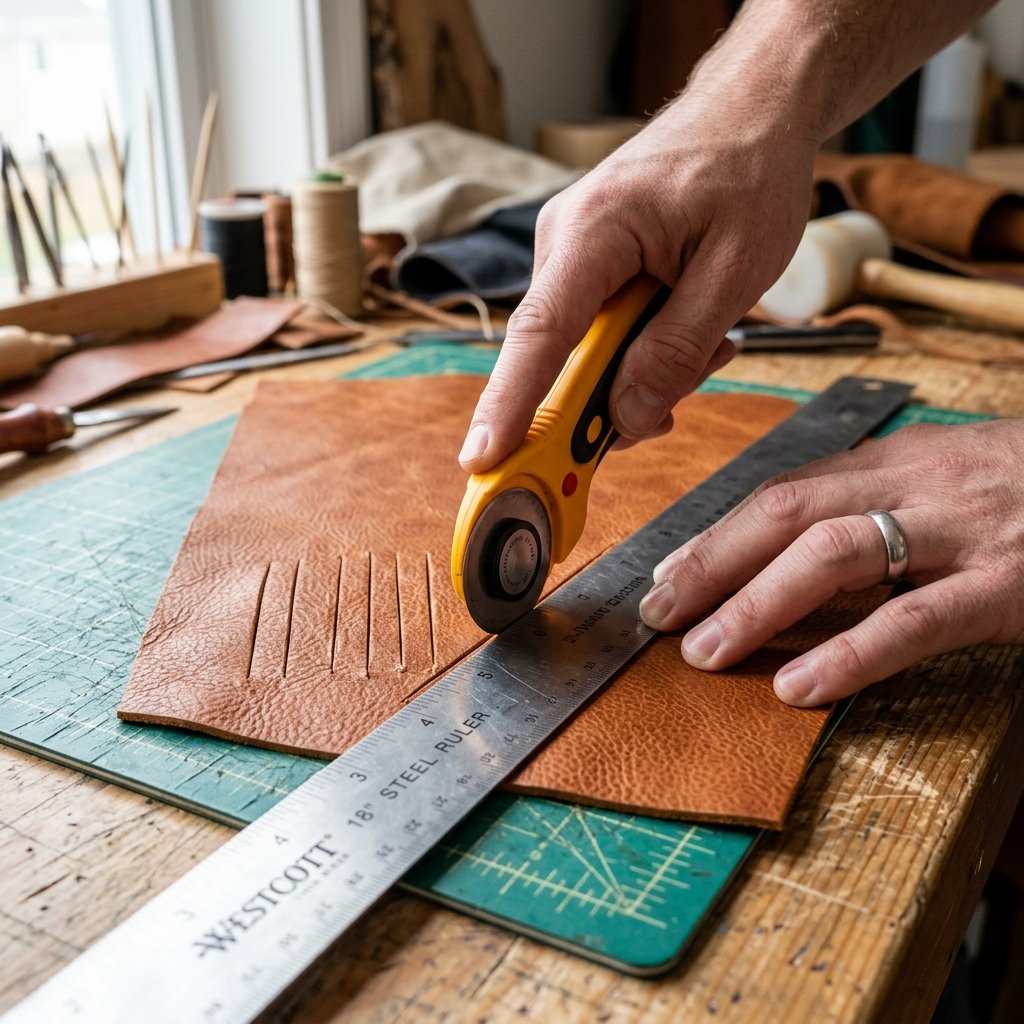
Set your timer. We are going to move through this with the precision of a master tailor. Follow these steps exactly to ensure a professional finish.
Step 1: The Master Cut
Lay your leather flat on the cutting mat. Using your metal ruler and utility knife, cut a perfect rectangle. For a standard tech roll that holds 3-4 cords, 10 inches wide by 6 inches tall is the sweet spot. Ensure your corners are perfectly square.
Step 2: Mapping the Slots
On the backside (the ‘flesh’ side) of the leather, use a pencil to mark where the cords will go. You want pairs of vertical slits. Space each pair about 1.5 inches apart. Each slit should be 1 inch long. For a 10-inch roll, aim for 4 pairs of slits centered vertically.
Step 3: The Precision Slits
This is the most critical part. Align your ruler with your marks and press the knife down firmly. Do not ‘saw’ the leather. One clean, decisive stroke is all you need. Repeat for all 8 slits (4 pairs). These slits are what will hold the cords in place once they are folded.
Step 4: The Closure Attachment
Punch two small holes on one of the 6-inch ends, about 1 inch from the edge and 1 inch apart. Thread your leather lace or paracord through these holes and tie a secure knot on the inside. This cord will wrap around the entire roll to keep it closed.
Pro Tip: To prevent the ends of a leather lace from fraying, apply a tiny drop of super glue or clear nail polish to the tips. If using paracord, quickly singe the ends with a lighter for a rugged, melted finish.
Customization: Making It Rugged and Personal
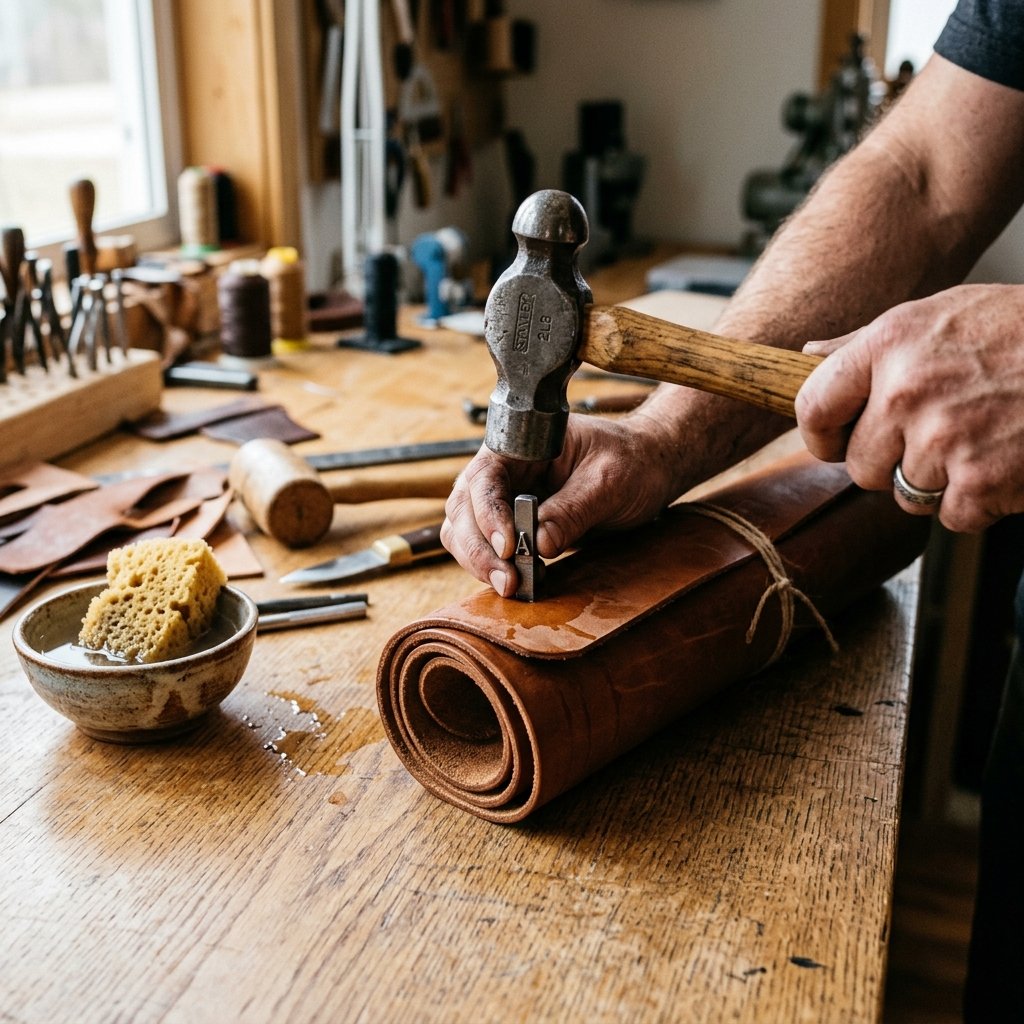
Now that the structure is complete, it’s time to add the ‘Masculine-Elegant’ flair. A plain piece of leather is functional, but a customized piece is a legacy. Men appreciate tools that feel like they were made specifically for their kit.
- Initial Stamping: Dampen the leather slightly with a sponge. Place your metal stamp and give it one firm, heavy strike with a hammer. This ‘debossed’ look is a hallmark of high-end leather goods.
- Edge Burnishing: If the edges look a bit ‘hairy’ or raw, rub them vigorously with a smooth wooden object (like the handle of your scissors) or a bit of beeswax. This creates a slick, dark, professional edge.
- Oil Finishing: Rub a tiny amount of olive oil or specialized leather conditioner into the surface. This will darken the leather and give it that ‘distressed’ look that only gets better with age.
Think about the cords he uses. If he has a bulky laptop power brick, you might want to make one of the slit pairs wider (maybe 2 inches instead of 1.5). This is the beauty of DIY—you are the designer.
Safety First: The Crafter’s Disclaimer
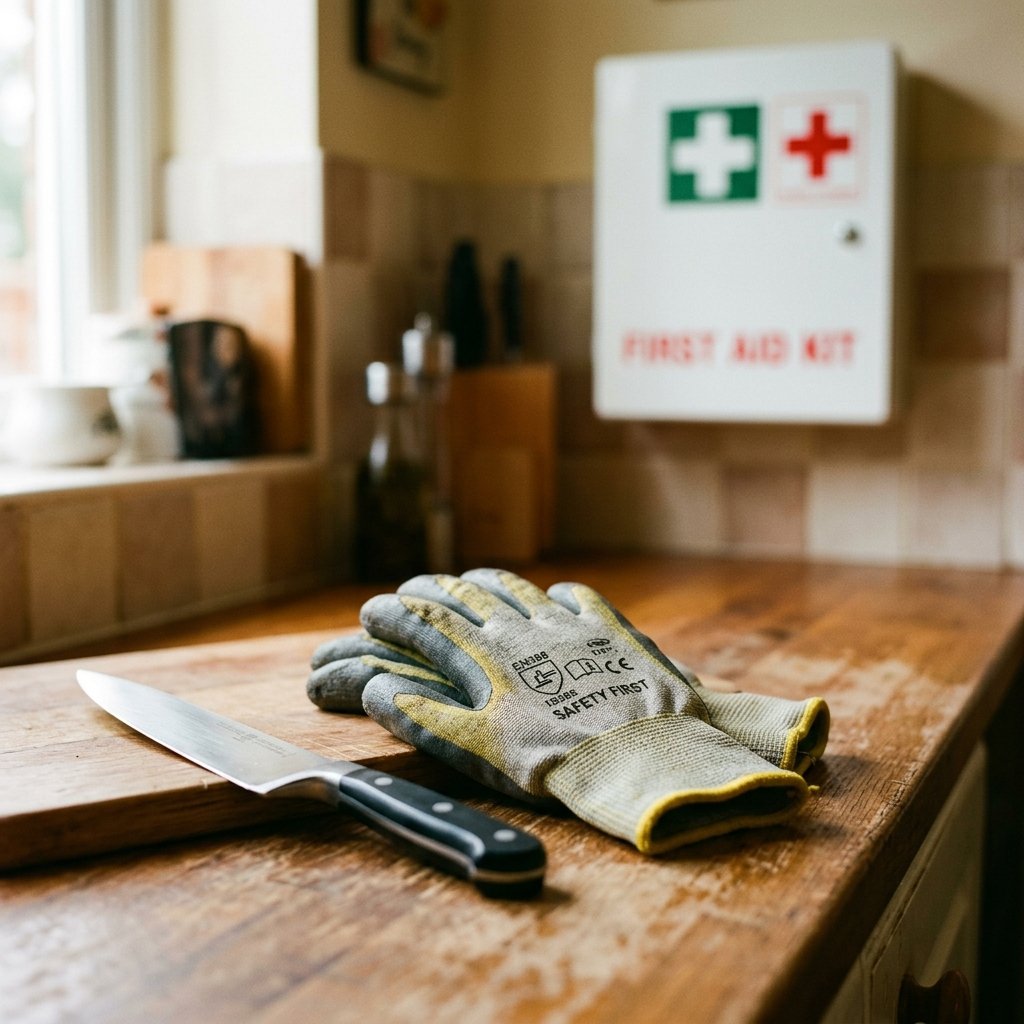
While this project is fast and rewarding, it does involve sharp tools and raw materials. A little bit of caution ensures the only thing you’re cutting is the leather, not your fingers!
Safety Note: Always cut away from your body. When using a metal ruler as a guide, keep your ‘holding’ hand fingers well away from the edge. If you are using leather dyes or heavy conditioners, work in a well-ventilated area to avoid inhaling fumes. If upcycling old leather, ensure it has been cleaned with a damp cloth to remove any vintage dust or mold.
The Final Wrap: Presentation and Gifting
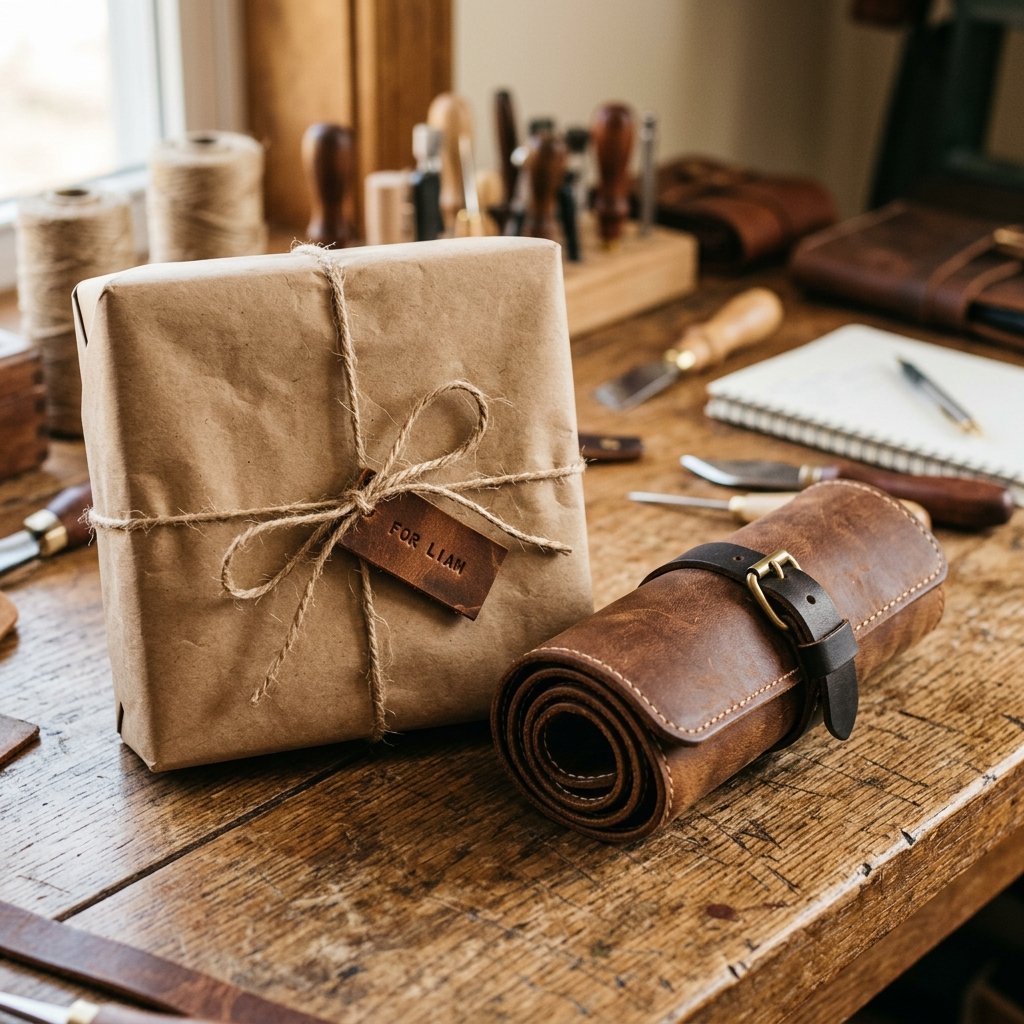
You’ve finished the build in under 15 minutes, but the presentation is what seals the deal. Don’t just hand him a piece of leather. Roll it up with a couple of brand-new, high-quality braided cables already inside. This shows him exactly how to use it and adds immediate value to the gift.
For packaging, skip the shiny wrapping paper. Use brown kraft paper and tie it with a bit of the leftover leather lace or some rustic twine. It fits the ‘rugged’ aesthetic perfectly. You’ve just created a gift that looks like it came from a high-end haberdashery for the price of a cup of coffee. That is the power of being a budget-savvy, crafty expert.
Conclusion
The DIY Leather Tech Cord Roll is more than just a craft; it is a testament to the idea that style and organization don’t have to be expensive. By spending just 15 minutes and a few dollars (or nothing at all!), you have solved a common problem with a sophisticated, durable solution. This is the ultimate ‘Trash-to-Treasure’ win. He gets a gift he will actually use every single day, and you get the satisfaction of knowing you outsmarted the retail market. Now, go find that old leather jacket in the back of the closet and start cutting—your next great gift is just 15 minutes away!

Makenzie is the founder and lead writer at MoneyHackTips.com — a personal finance blog dedicated to delivering street-smart financial wisdom for real people on real budgets. With 300+ published articles covering everything from debt management to investing fundamentals, Makenzie’s mission is to make every dollar work harder. When not writing about money hacks, Makenzie is testing frugal living strategies, optimizing side hustles, and helping readers build financial freedom from scratch.