
The Allure of the Great Outdoors in a Bar of Soap
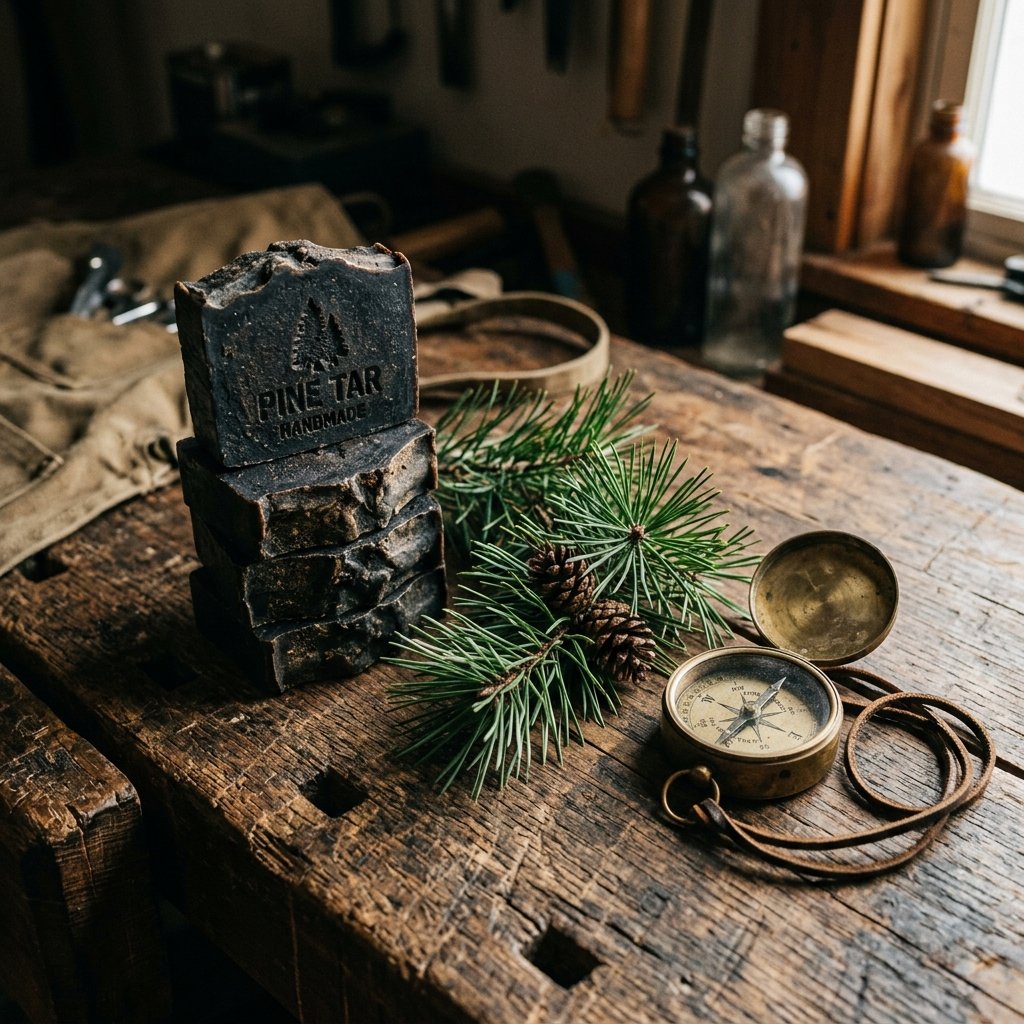
There is something undeniably primal and satisfying about the scent of pine tar. It is the smell of a crackling campfire at dusk, the rugged interior of a woodshop, and the deep, resinous soul of the forest. For the man who prefers the trail to the treadmill, a high-quality pine tar soap isn’t just a cleaning product; it’s a sensory experience. However, if you have ever browsed the aisles of a high-end apothecary or scrolled through specialty grooming sites, you know that these ‘artisanal’ bars can fetch upwards of $10 to $15 per bar. As frugal DIYers and savvy crafters, we know better. Why pay a premium for a brand name when you can manufacture a superior, ruggedly elegant product in your own kitchen for less than $2 per bar?
In this guide, we are going to dive deep into the world of cold-process soap making with a specific focus on pine tar. We will cover how to source ingredients on a budget, the safety protocols for handling lye, and how to package your finished bars so they look like they were plucked from a boutique shelf. Whether you are a handy mom looking for the perfect Father’s Day gift or a budget-savvy crafter wanting to stock up on masculine gifts, this recipe is your blueprint for success.
The Gear List: Sourcing Ingredients Without Breaking the Bank

Making high-end soap doesn’t require a high-end budget. The key is sourcing your fats and oils in bulk. While boutique shops might use exotic butters, we will stick to a rugged, effective blend of accessible oils that provide a rich lather and a hard, long-lasting bar. Pine tar itself is the star of the show—look for ‘Closed Kiln’ pine tar, often found in farm supply stores for a fraction of the price of ‘cosmetic grade’ versions, provided it is 100% pure.
The Cost Comparison: DIY vs. Store-Bought
| Item | Boutique Retail Bar | DIY Adventure Bar |
|---|---|---|
| Price Per Bar | $12.00 | $1.85 |
| Custom Scenting | None (Pre-set) | Fully Customizable |
| Ingredient Control | Hidden ‘Fragrance’ | 100% Natural Oils |
| Giftability Factor | Standard | High (Handmade with Love) |
The Raw Materials
- Pine Tar (20% of total oils): Provides the signature smoky scent and medicinal skin benefits.
- Coconut Oil (30%): For a bubbly, aggressive lather that cuts through grease and grime.
- Olive Oil (40%): For skin conditioning and a hard bar that doesn’t melt in the dish.
- Castor Oil (10%): The ‘secret sauce’ that stabilizes the lather and adds a creamy feel.
- Sodium Hydroxide (Lye): The catalyst for saponification.
- Distilled Water: To dissolve the lye safely.
The Alchemist’s Workshop: Safety Gear and Setup
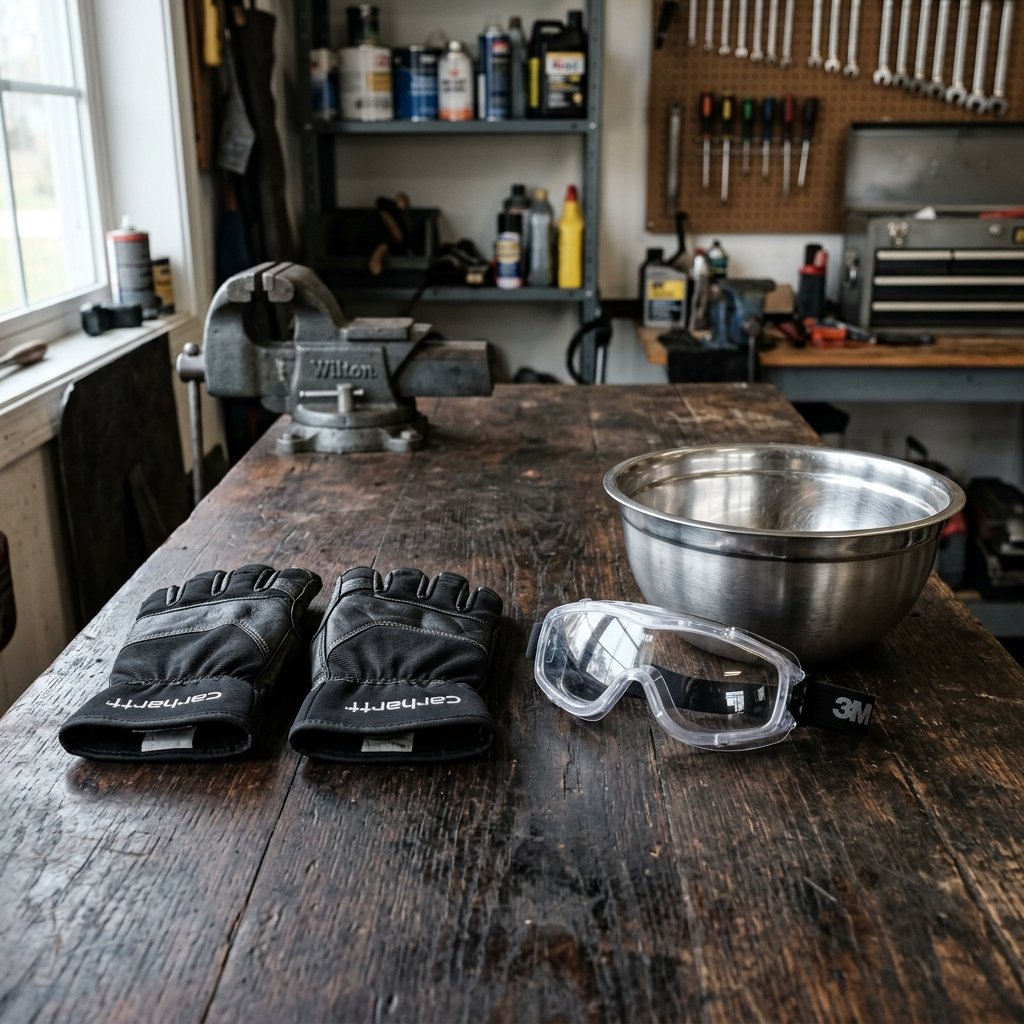
Before we start mixing, we must address the ‘rugged’ reality of soap making: working with lye. Lye is a caustic substance that requires respect, but not fear. By following a few simple safety rules, you can craft with confidence. Think of this as your shop safety briefing before starting a major build.
Safety First: Always wear long sleeves, safety goggles, and nitrile gloves. Always add your lye to the water, never the other way around (remember: ‘The snow falls on the lake’). Work in a well-ventilated area to avoid inhaling initial fumes.
Essential Tools for the Budget Crafter
- Digital Scale: Precision is non-negotiable. Soap making is chemistry, not cooking.
- Immersion Blender (Stick Blender): This turns a 2-hour stirring job into a 5-minute task. Check thrift stores for a used one!
- Stainless Steel or Heat-Safe Plastic Pitchers: Never use aluminum; it reacts dangerously with lye.
- Silicone Molds: These make de-molding a breeze and can be reused for years.
The Master Blueprint: A Step-by-Step Guide to Cold-Process Pine Tar Soap
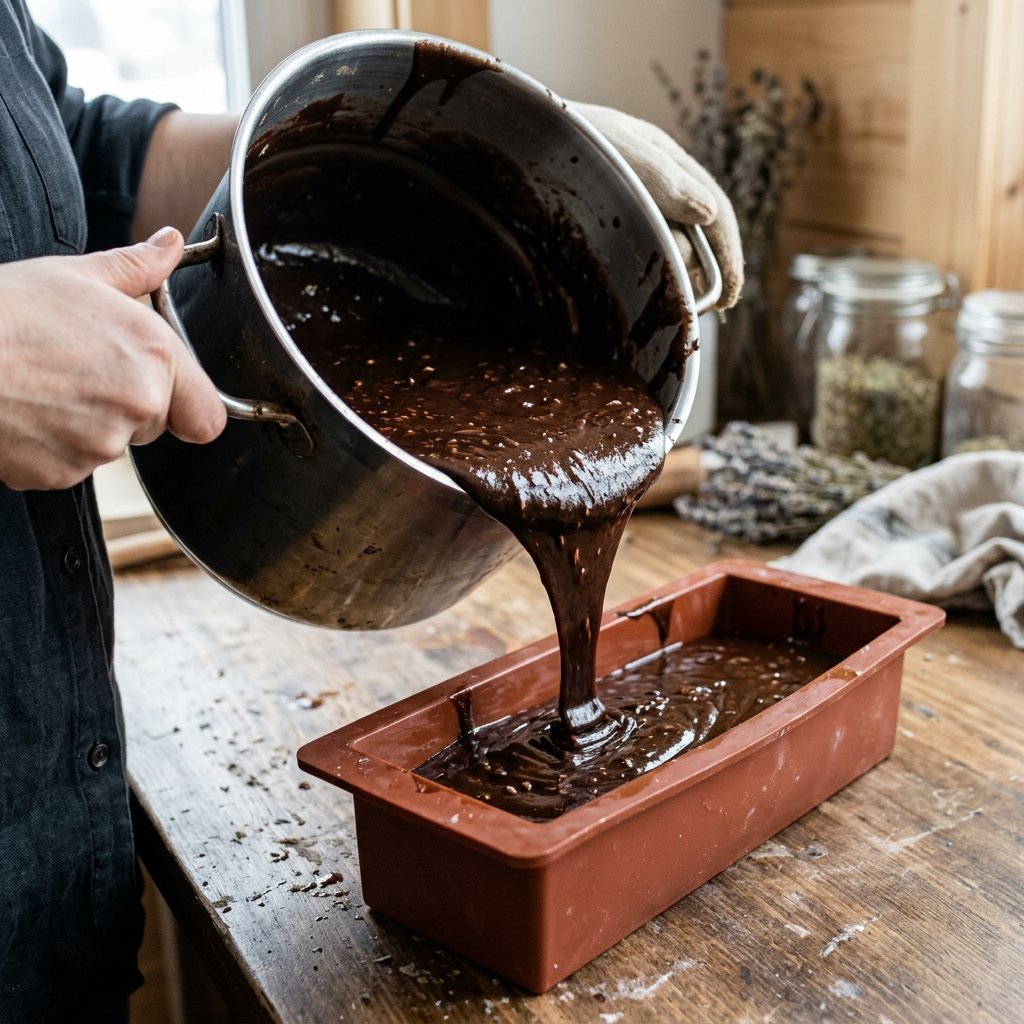
Pine tar soap is unique because pine tar accelerates the soap-making process (it ‘seizes’ or thickens the batter quickly). To manage this, we will work at lower temperatures. This is where your crafty expertise comes into play.
The Formula (Batch Size: 1 lb / 454g)
| Ingredient | Weight (Ounces) | Weight (Grams) |
|---|---|---|
| Olive Oil | 6.4 oz | 181g |
| Coconut Oil | 4.8 oz | 136g |
| Pine Tar | 3.2 oz | 91g |
| Castor Oil | 1.6 oz | 45g |
| Lye (NaOH) | 2.1 oz | 60g |
| Distilled Water | 5.0 oz | 142g |
Execution Steps
- Measure the Water: Pour your distilled water into a heat-safe container.
- Add the Lye: Slowly pour the lye into the water. Stir until clear. Let it cool to roughly 90°F – 100°F.
- Melt the Oils: Combine olive, coconut, and castor oils in a large pot. Warm until melted, then stir in the pine tar. The mixture will be dark and thick.
- Combine: Slowly pour the lye-water into the oil-tar mixture.
- Emulsify: Use your immersion blender in short bursts. Because of the pine tar, it will reach ‘trace’ (the consistency of pudding) in about 1 to 2 minutes.
- Pour: Quickly pour the batter into your mold. Tap the mold on the counter to release air bubbles.
- Cure: Let the soap sit in the mold for 24-48 hours. Once hard, cut into bars and let them ‘cure’ in a cool, dry place for 4-6 weeks. This curing time is essential for a hard, long-lasting bar.
The Scent of the Wild: Crafting Masculine Essential Oil Blends
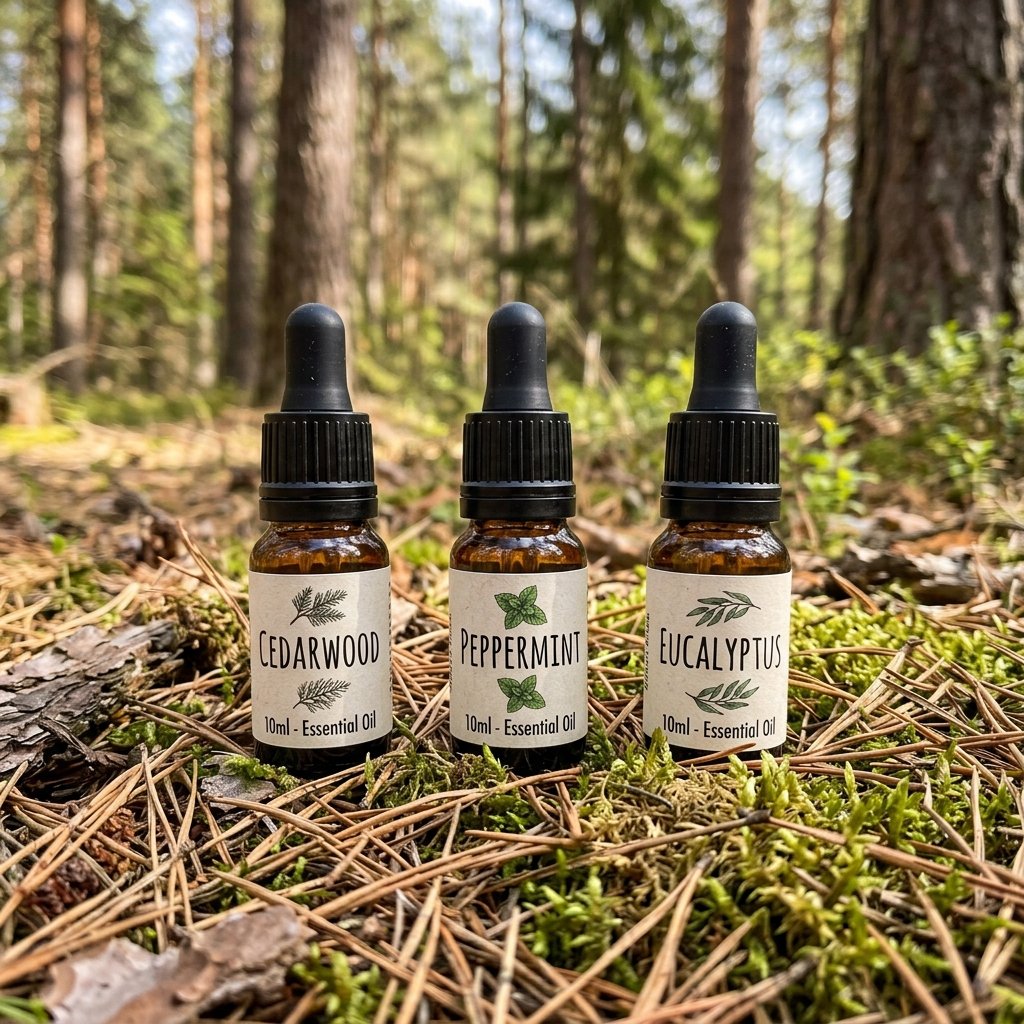
While pine tar has a strong, smoky scent on its own, adding essential oils can elevate the bar from ‘industrial’ to ‘artisanal.’ For a rugged, masculine-elegant profile, we want to lean into woody, earthy, and spicy notes. Since we are being budget-savvy, we will focus on oils that offer the most bang for your buck.
The ‘Adventure’ Blend Ratios
| Oil Type | Scent Profile | Parts per Blend |
|---|---|---|
| Cedarwood | Woody, Base Note | 3 Parts |
| Peppermint | Fresh, Top Note | 1 Part |
| Eucalyptus | Camphoraceous, Mid Note | 1 Part |
Pro Tip: Add your essential oils at the very last second before pouring. Pine tar is a ‘hungry’ ingredient and can overpower subtle scents, so don’t be afraid to use 0.5 oz of essential oil per pound of soap for a scent that actually sticks after the cure.
The Presentation: Rugged Packaging for the Modern Woodsman
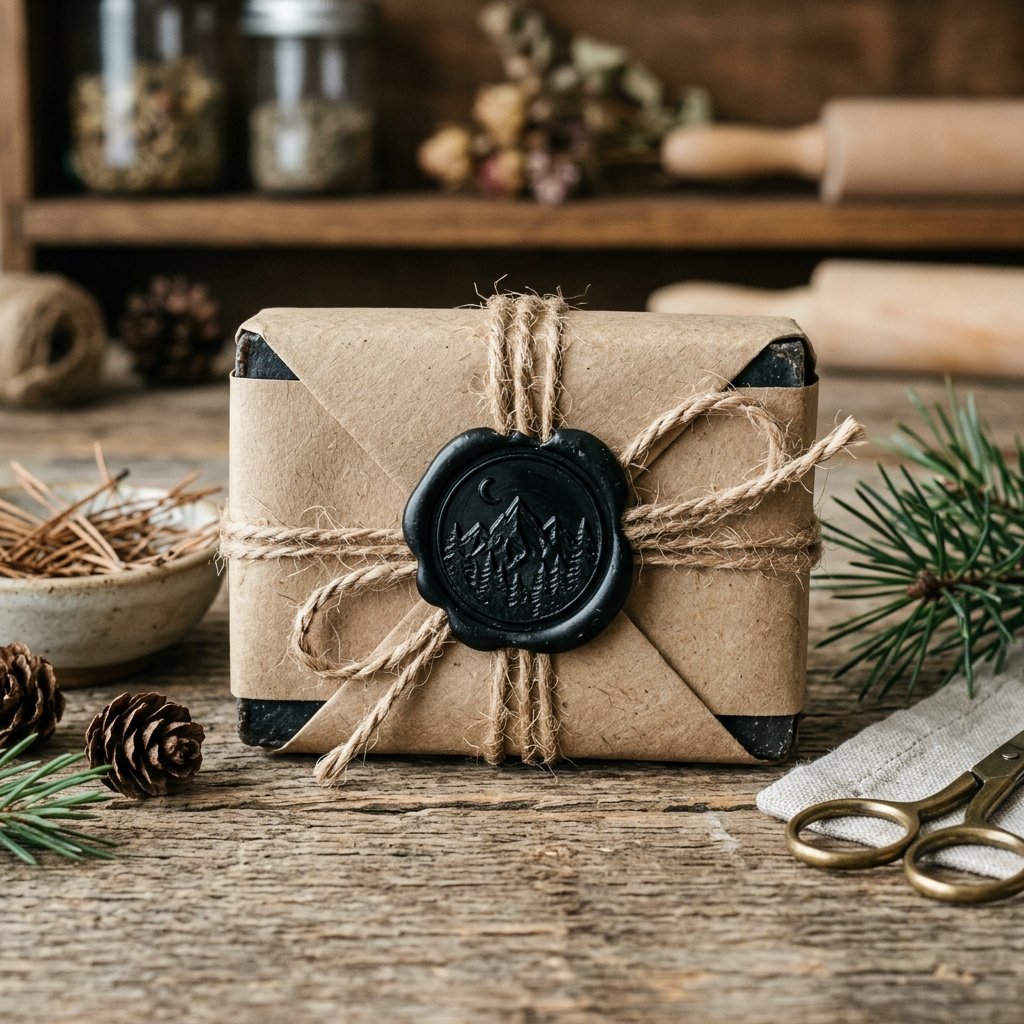
A great gift is 50% product and 50% presentation. To keep with our masculine-elegant theme, we will avoid plastic and frills. Instead, we’ll use raw materials that reflect the ‘Adventure’ theme. This is where your inner upcycler can shine.
Packaging Ideas on a Dime
- Brown Kraft Paper: Wrap the bars like mini-parcels. It’s cheap, recyclable, and looks perfectly rustic.
- Jute Twine: Use heavy-duty twine to tie a sturdy knot around the paper. It adds texture and a ‘tool-shed’ vibe.
- Custom Stamps: Use a rubber stamp with his initials or a simple pine tree icon to brand the paper.
- Upcycled Cigar Boxes: If you’re giving a set of four bars, an old cigar box (often free or $1 at tobacco shops) makes the ultimate gift vessel.
Budget Mantra: “The beauty of a handmade gift lies in the utility of the item and the simplicity of the wrap.”
Conclusion
The Reward: A Gift That Lasts
By following this guide, you’ve done more than just make soap; you’ve crafted a piece of functional art. You’ve taken raw, inexpensive ingredients and transformed them into a rugged grooming essential that rivals any luxury brand. This pine tar soap is tough on dirt but kind to the skin, making it the perfect companion for the man who isn’t afraid to get his hands dirty. Plus, with the money you saved by DIYing, you can afford to tuck a $20 bill (perhaps folded into a money origami tree!) into the packaging for an extra surprise.
Remember, the best gifts aren’t bought; they are built. So, clear off the workbench, gear up, and start your soap-making adventure today. Your skin—and his—will thank you.

Makenzie is the founder and lead writer at MoneyHackTips.com — a personal finance blog dedicated to delivering street-smart financial wisdom for real people on real budgets. With 300+ published articles covering everything from debt management to investing fundamentals, Makenzie’s mission is to make every dollar work harder. When not writing about money hacks, Makenzie is testing frugal living strategies, optimizing side hustles, and helping readers build financial freedom from scratch.