
The Secret to High-End Wedding Style on a Shoestring Budget
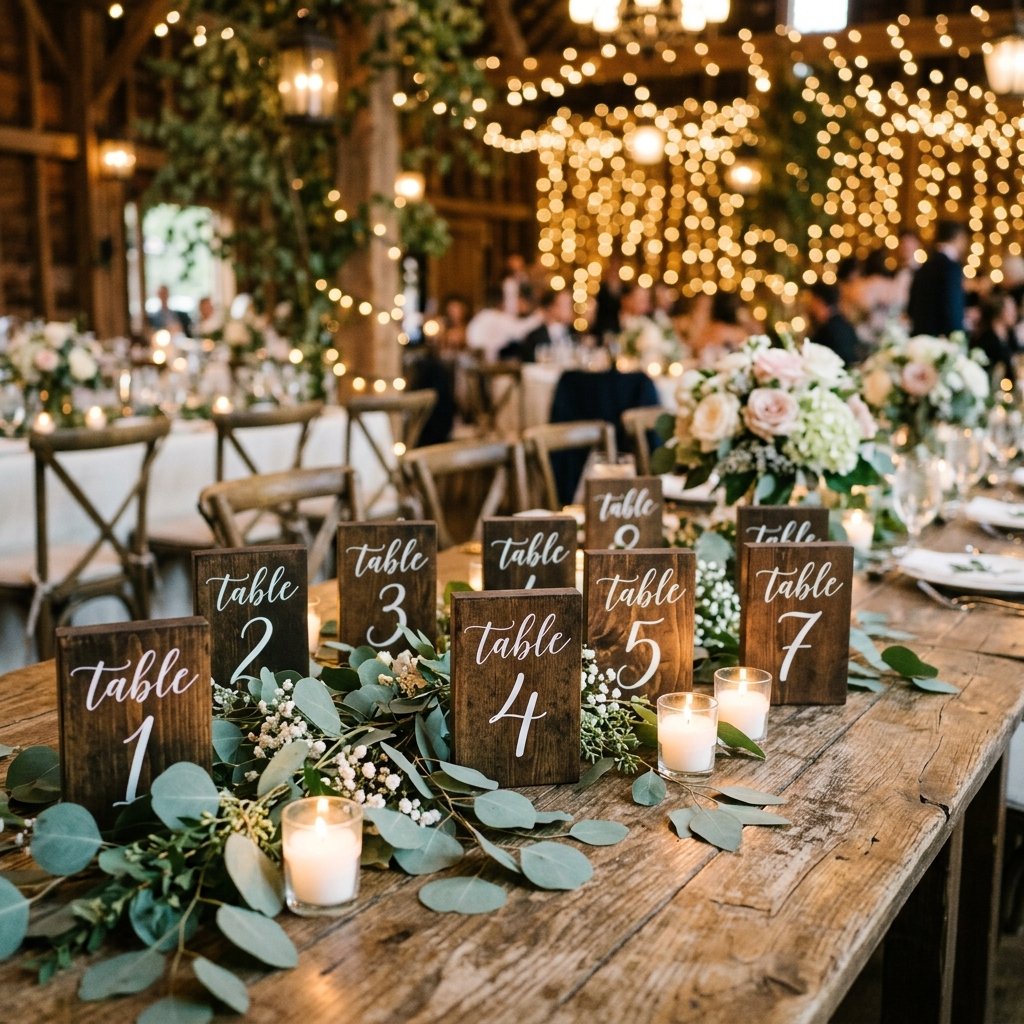
Planning a wedding often feels like watching your bank account spring a thousand tiny leaks. The ‘wedding tax’ is real, and nowhere is it more apparent than in the world of table decor. But what if I told you that the most charming, rugged, and elegant table numbers aren’t found in a boutique catalog, but are currently sitting in a scrap pile behind a construction site or in your own backyard? Welcome to the ultimate guide on creating stunning rustic wood block wedding table numbers for literally pennies. We are going to bypass the $15-per-unit boutique prices and craft a set that looks like it was plucked from a high-end Pinterest board, all while using resourceful, clever, and budget-savvy techniques that even a novice DIYer can master.
Phase 1: The Scavenger Hunt – Sourcing Your Wood for Free
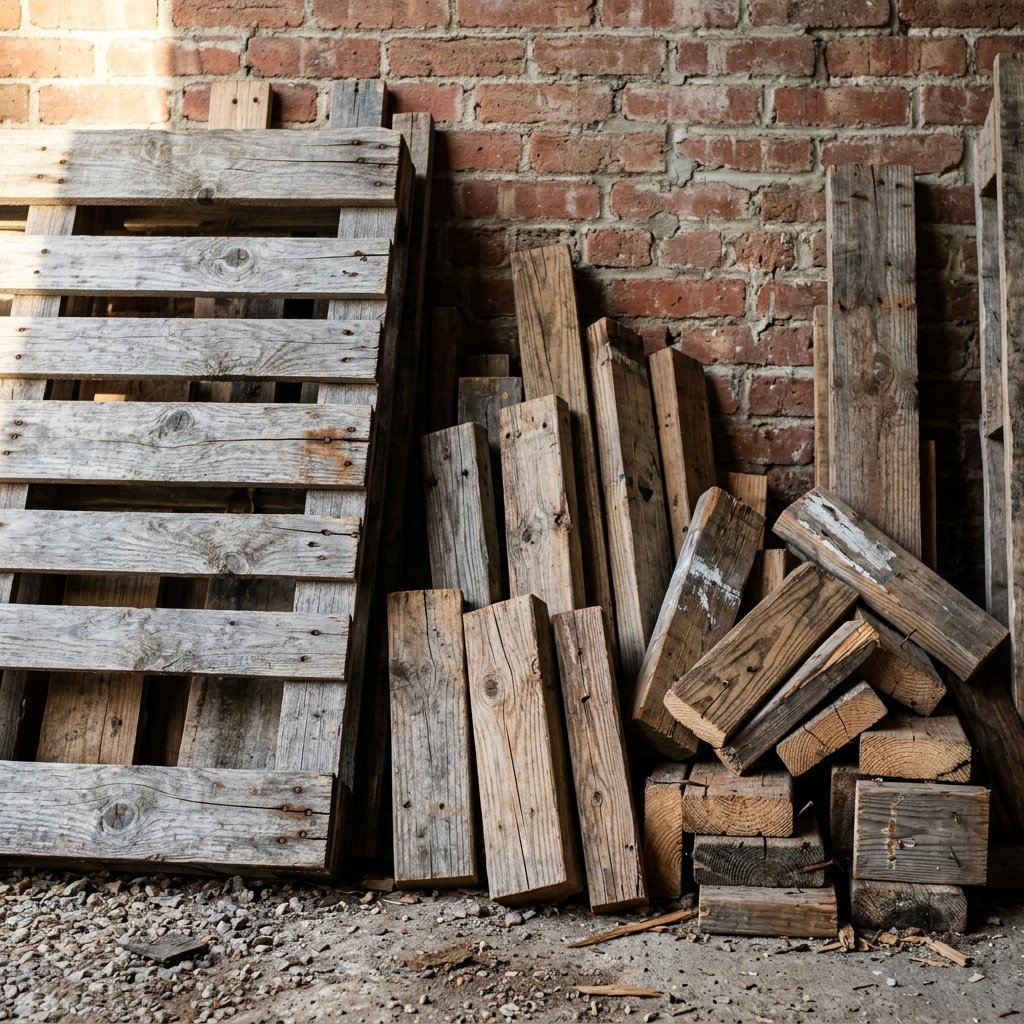
The first rule of the frugal crafter is: Never buy what you can find for free. For these table numbers, we aren’t heading to the big-box lumber yard to spend $20 on a pristine oak board. Instead, we are looking for character, history, and texture. The best wood for this project is reclaimed material that carries its own story.
Where to Look
- Construction Sites: Ask the foreman for ‘off-cuts’ of 2×4 or 4×4 posts. These are usually destined for the dumpster.
- Shipping Pallets: Look for the HT (Heat Treated) stamp to ensure they are safe to handle. The thick ‘stringer’ boards in the middle make perfect blocks.
- Firewood Piles: A split log with one flat face offers an incredible organic, masculine-elegant look.
- Facebook Marketplace: Search for ‘free wood’ or ‘scrap lumber.’
By sourcing scrap wood, your material cost starts at exactly $0.00. This is the foundation of our resourcefully-creative approach.
| Source | Wood Type | Cost Estimate | Vibe |
|---|---|---|---|
| Construction Scrap | 2×4 Pine | $0.00 | Clean, Modern Rustic |
| Old Pallets | Oak/Mixed Hardwood | $0.00 | Weathered, Industrial |
| Fallen Branches | Natural Log | $0.00 | Whimsical, Woodland |
| Thrift Store Blocks | Discarded Toys | $1.00 | Uniform, Classic |
Phase 2: Prepping the Blocks – Rugged Craftsmanship
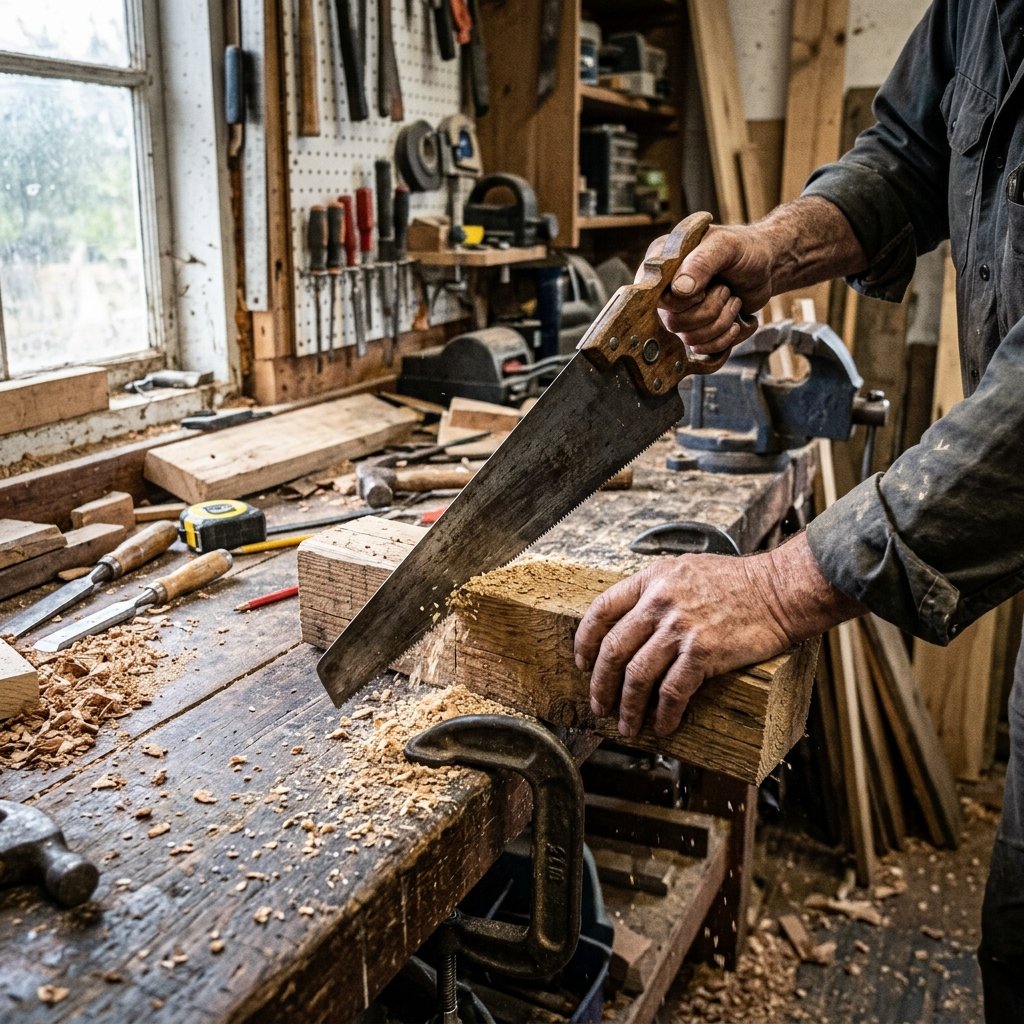
Once you’ve secured your wood, it’s time to transform those rough edges into something masculine and elegant. You don’t need a professional workshop; a few basic hand tools will do the trick. We want our blocks to be roughly 4 inches by 6 inches, or 5×5 squares, depending on the height of your centerpieces.
The Cutting and Sanding Process
- Measure and Mark: Use a square to ensure your lines are straight. For a $0 budget, a ruler or even the edge of another block works.
- The Cut: Use a hand saw for a rugged, textured edge, or a miter saw for a crisp, professional finish.
- Sanding for Success: Start with 80-grit sandpaper to remove splinters and rough patches. Move to 120-grit for a smooth touch, and finish with 220-grit if you want a buttery-soft surface.
Safety First: When working with old wood or pallets, always wear a mask to avoid inhaling dust or old finishes. If the wood has nails, use a hammer or pry bar to remove them carefully before cutting.
The goal isn’t perfection; it’s character. Small knots, cracks, and nail holes add to the ‘pennies-on-the-dollar’ charm that makes these pieces feel authentic.
Phase 3: The ‘Pantry Stain’ – Finishing Without the Chemicals
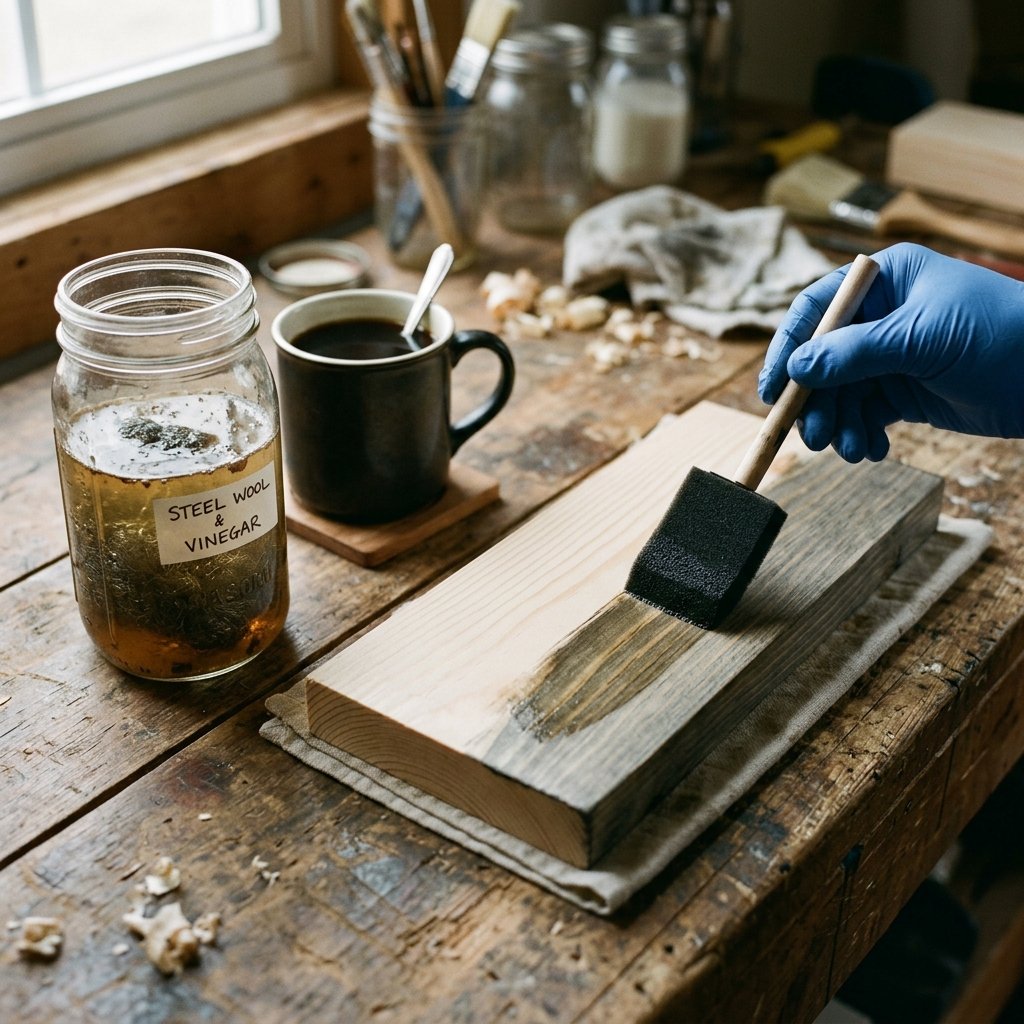
Why spend $12 on a tin of chemical-heavy stain when you have everything you need in your kitchen? We are going to use the iron acetate reaction to age the wood instantly, giving it a rich, silvery-grey or deep espresso tone that looks decades old.
The Homemade ‘Steel Wool & Vinegar’ Recipe
| Ingredient | Amount | Purpose |
|---|---|---|
| Steel Wool (Grade #0000) | 1 Pad | Provides the iron for the reaction |
| White Vinegar | 2 Cups | The acidic base that dissolves the iron |
| Glass Jar | 1 Large | Mixing container (do not use metal) |
| Black Tea or Coffee | 1 Strong Cup | Adds tannins to the wood for a darker finish |
Step-by-Step Staining:
- Drop the steel wool into the vinegar and let it sit for 24 to 48 hours. The longer it sits, the darker the ‘stain’ will be.
- Brew a very strong pot of black tea. Paint the tea onto your wooden blocks first. The tannins in the tea react with the iron solution.
- Once the tea is dry, brush on your vinegar/iron mixture. Watch the magic happen! The wood will turn a stunning dark grey or brown within minutes.
This method costs approximately $0.50 for a whole set of 20 table numbers, compared to $15.00 for a commercial stain and sealer.
Phase 4: Lettering and Numbering – The ‘Pencil Transfer’ Hack
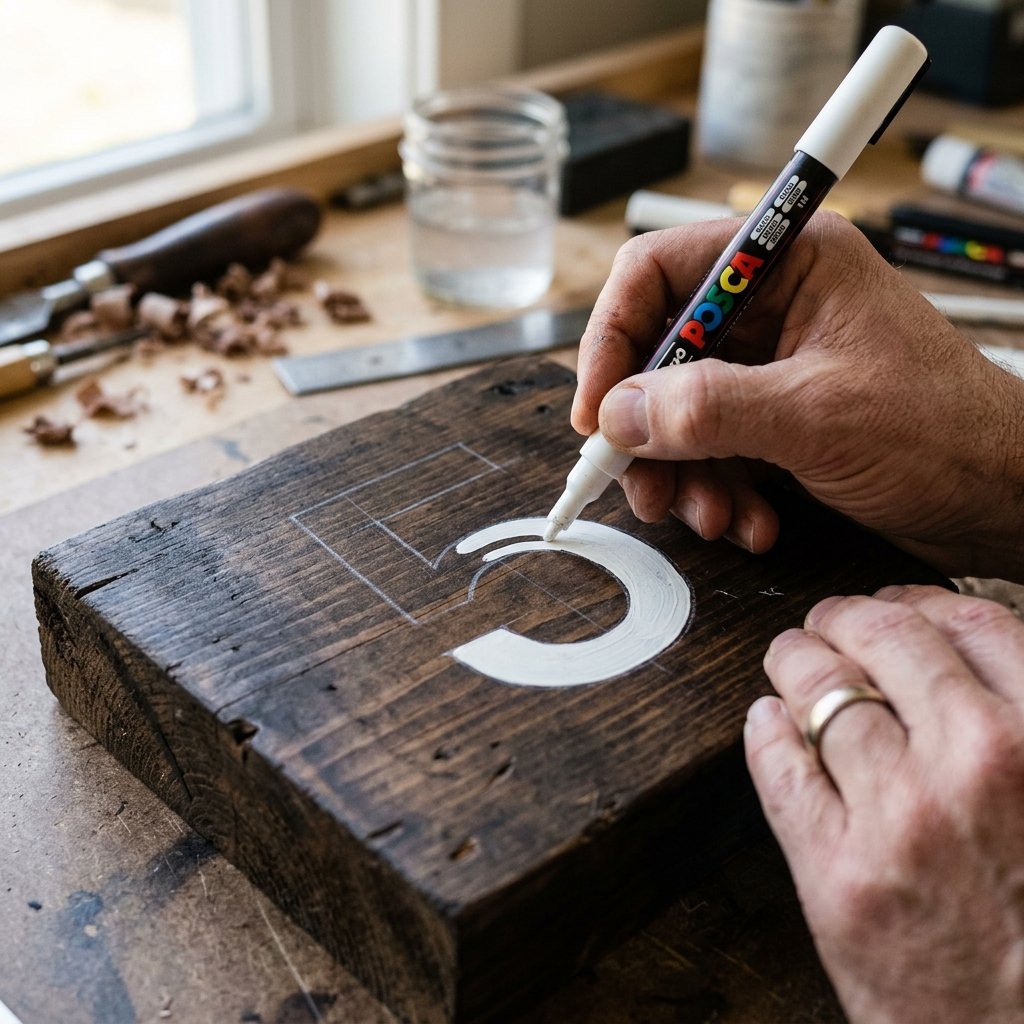
You don’t need a steady hand or a calligraphy degree to get professional results. We’re going to use a clever transfer technique that ensures every number is perfectly centered and styled. This is the secret weapon of the budget-savvy crafter.
The Low-Tech Transfer Method
- Print Your Numbers: Use a computer to print your table numbers in a font that matches your wedding theme (e.g., a bold serif for masculine-elegant or a flowing script for boho-chic).
- The Lead Trick: Flip the paper over. Use a soft lead pencil to heavily shade the back of the area where the number is.
- Trace: Tape the paper (lead-side down) onto your wood block. Trace the outline of the number with a ballpoint pen, pressing firmly.
- Fill: Remove the paper. You will see a faint pencil outline on the wood. Use a $1.25 white or gold paint pen from the dollar store to fill in the outline.
This method allows you to mimic $100 professional signage for the cost of a single ink cartridge and a paint pen.
Phase 5: Styling the Table – The Masculine-Elegant Finish
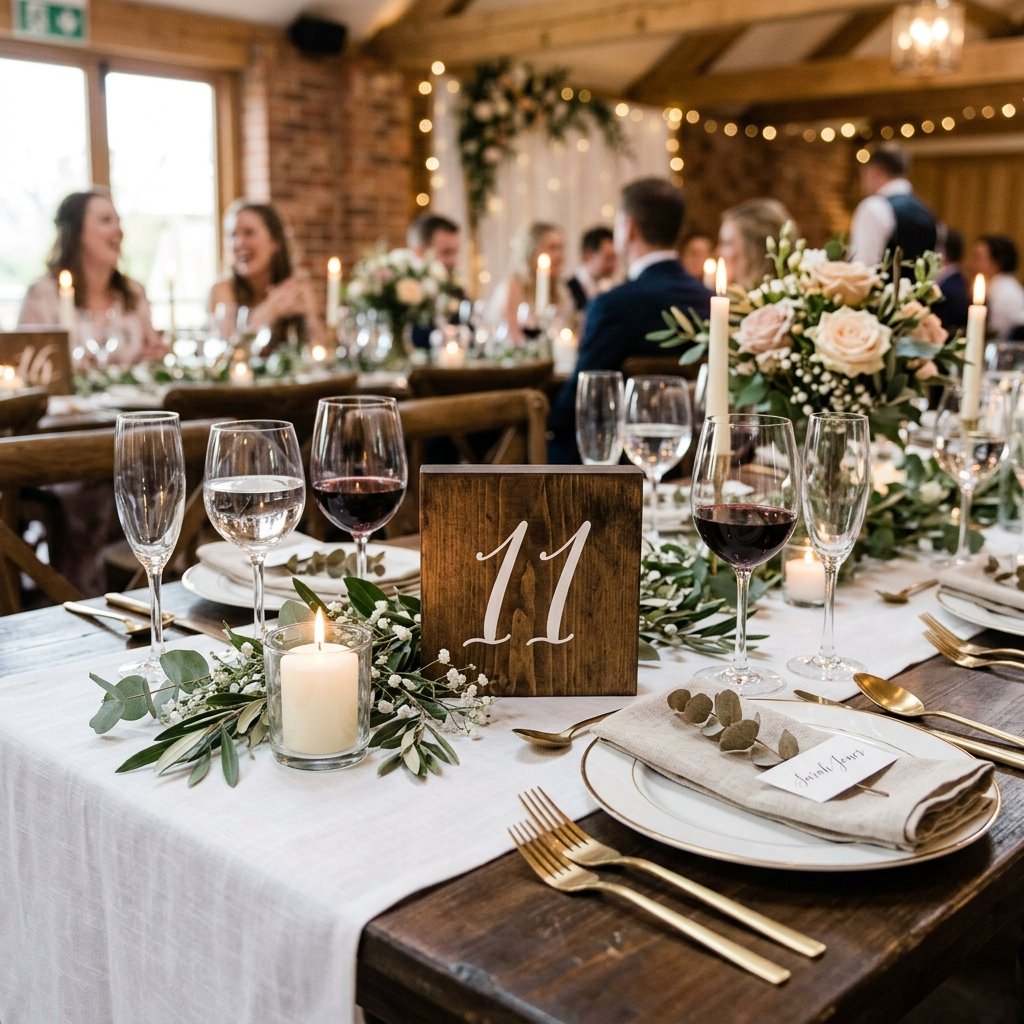
Now that your blocks are finished, let’s talk about the ‘total look.’ A wood block on its own is a craft; a wood block styled with intention is decor. To achieve that high-end look, we need to balance the ruggedness of the wood with softer, more refined elements.
The Budget Stylist’s Checklist
- Greenery: Snip branches from your backyard or buy a single bunch of eucalyptus from the grocery store for $5. A few sprigs around the base of the block add life.
- Candlelight: Use standard glass tea light holders (found at thrift stores for $0.10 each). The flickering light against the dark wood creates a warm, inviting glow.
- Texture: Place the block on a small square of cheesecloth or burlap to ground the centerpiece.
| Item | Retail Price | DIY/Frugal Price | Savings |
|---|---|---|---|
| Table Number Block | $12.00 | $0.05 | 99% |
| Eucalyptus Sprig | $3.00 | $0.50 | 83% |
| Votive Holder | $2.50 | $0.25 | 90% |
| Total Per Table | $17.50 | $0.80 | $16.70 |
Conclusion
A Toast to Your Resourcefulness
Creating your own wedding decor isn’t just about saving money—though saving over $300 on a 20-table wedding is a massive win. It’s about the satisfaction of looking around your reception and knowing that your hands built the atmosphere. These rustic wood block table numbers prove that with a bit of cleverness, a rugged aesthetic, and a budget-savvy mindset, you can create something truly stunning for pennies. So, grab that scrap wood, brew that tea, and start crafting. Your guests will never guess that their elegant table markers were once a forgotten pallet in a parking lot. Happy crafting, and congratulations on a beautiful, budget-friendly wedding!

Makenzie is the founder and lead writer at MoneyHackTips.com — a personal finance blog dedicated to delivering street-smart financial wisdom for real people on real budgets. With 300+ published articles covering everything from debt management to investing fundamentals, Makenzie’s mission is to make every dollar work harder. When not writing about money hacks, Makenzie is testing frugal living strategies, optimizing side hustles, and helping readers build financial freedom from scratch.