
The Art of Preserving Your Big Day
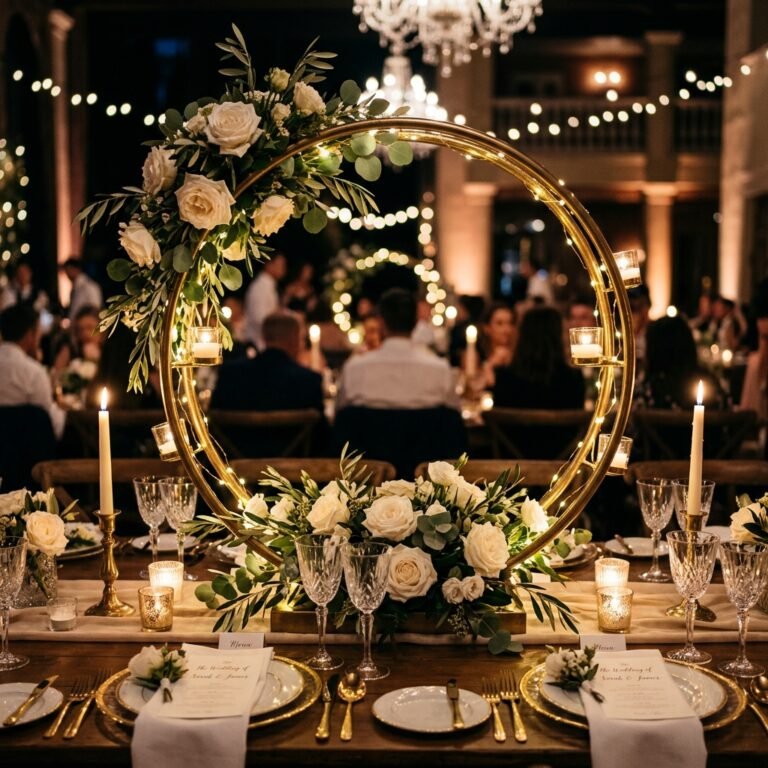
Your wedding flowers are more than just botanical arrangements; they are vibrant witnesses to one of the most significant moments of your life. However, once the last dance is over, those $200 to $500 bouquets often end up wilting in a vase until they are unceremoniously tossed away. As a resourceful DIYer, you know better. You see the potential for a timeless piece of home decor that captures the essence of your celebration without the $400+ price tag of professional floral preservation services. By taking a rugged, hands-on approach, you can create a stunning shadow box that looks like it belongs in a high-end gallery but costs less than a fancy dinner. This guide will walk you through the clever techniques needed to dry your blooms, source budget-friendly frames, and assemble a masterpiece that will last for decades.
The Science of the Eternal Bloom: Drying Your Flowers
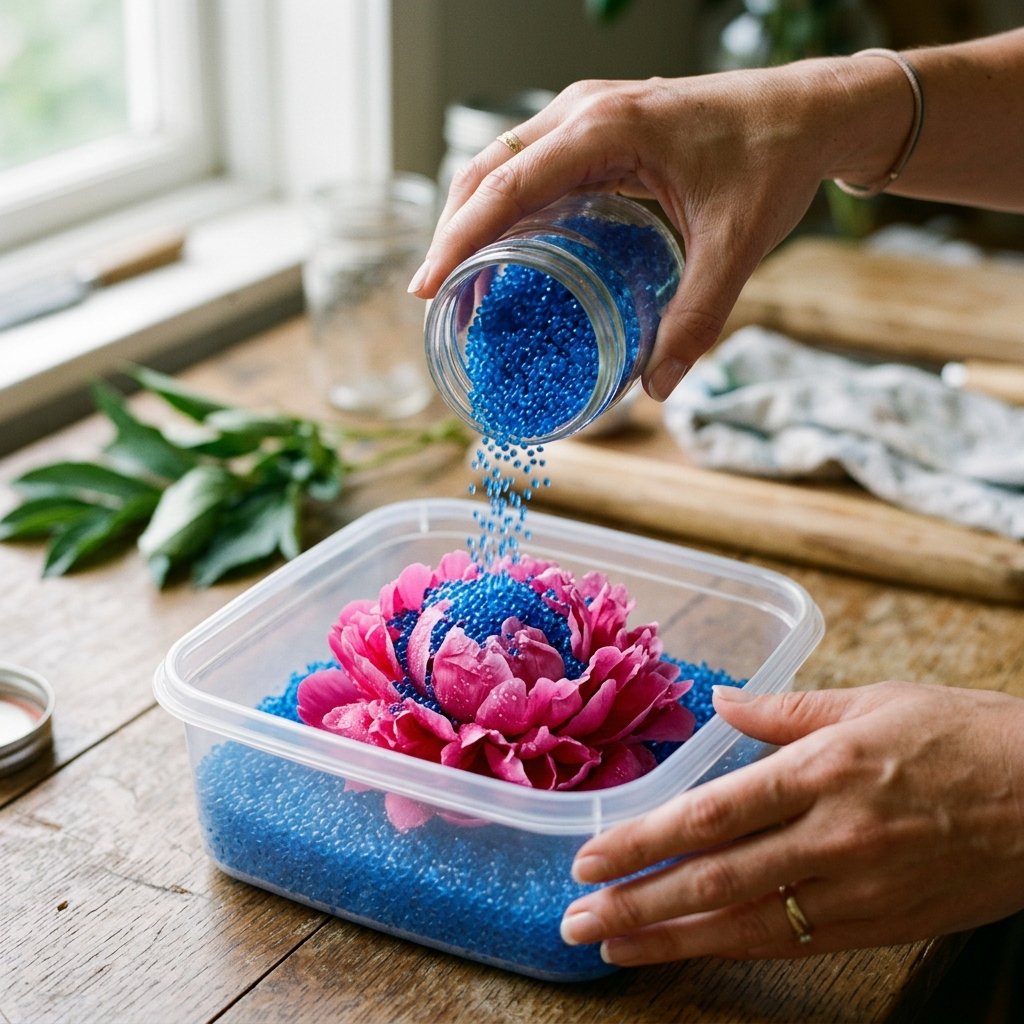
Before you can even think about the frame, you must master the art of dehydration. Moisture is the enemy of longevity. If you want your flowers to retain their structural integrity and color, you have two primary budget-friendly paths: air drying or silica gel. Air drying is 100% free but works best for hardier flowers like roses and lavender. Silica gel, while requiring a small initial investment, is the gold standard for preserving the three-dimensional shape of delicate petals.
Drying Method Comparison
| Method | Estimated Cost | Best For | Timeframe |
|---|---|---|---|
| Air Drying | $0 | Roses, Lavender, Eucalyptus | 2-3 Weeks |
| Silica Gel | $15 – $25 | Peonies, Ranunculus, Lilies | 3-7 Days |
| Microwave Silica | $15 | Quick projects | 2-5 Minutes |
“Patience is the secret ingredient in every masterpiece. Do not rush the drying process, or you risk mold ruining your memories.”
To air dry, simply tie your bouquet with twine and hang it upside down in a cool, dark, and dry place. For silica gel, bury the flower heads in an airtight container filled with the crystals, ensuring every petal is supported. This tactical approach prevents the flowers from flattening, giving your shadow box that professional, high-end depth.
Scavenging for the Perfect Vessel: Frame Sourcing Hacks
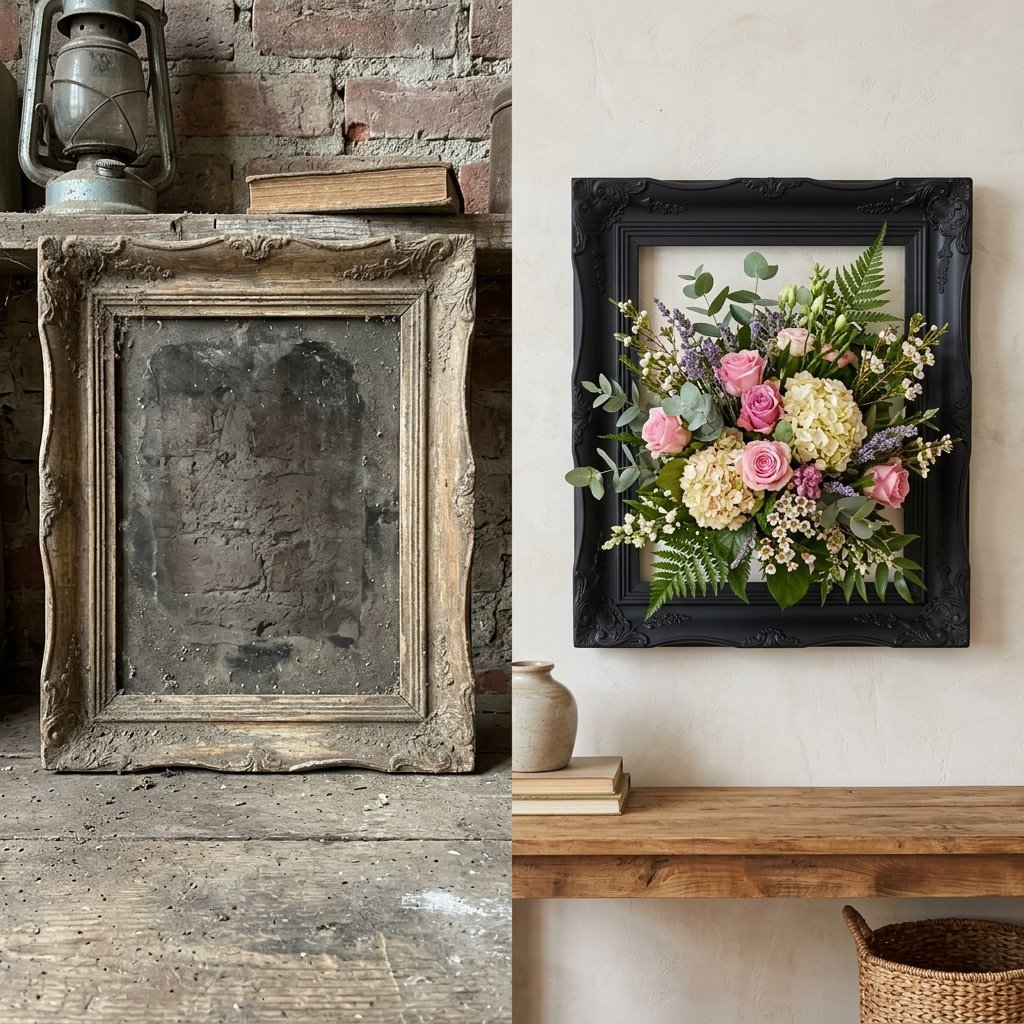
A shadow box is essentially a deep frame, and buying them brand new at boutique craft stores can be a budget-killer. A savvy crafter knows how to hunt for value. You can often find high-quality wooden frames at thrift stores for $2 to $5. Don’t worry about the color; a quick coat of matte black or metallic gold spray paint can transform a dated oak frame into a modern masterpiece.
Where to Find Budget Shadow Boxes
- Thrift Stores & Estate Sales: Look for depth. If the frame is at least 2 inches deep, it can be converted into a shadow box.
- Dollar Tree: While their standard frames are shallow, you can sometimes find ‘box’ frames in the craft aisle. Alternatively, hot-glue two identical frames together back-to-back for a clever ‘double-sided’ glass look.
- Big Box Clearance: Check the ‘as-is’ section of home decor stores for frames with minor glass scratches that can be hidden by floral placement.
If you are feeling particularly rugged and handy, you can build your own frame using scrap 1×2 lumber and a piece of plexiglass. This gives you total control over the dimensions, allowing for a custom-fit display that accommodates even the largest proteas or sunflowers.
Composition and Layout: Designing with Precision
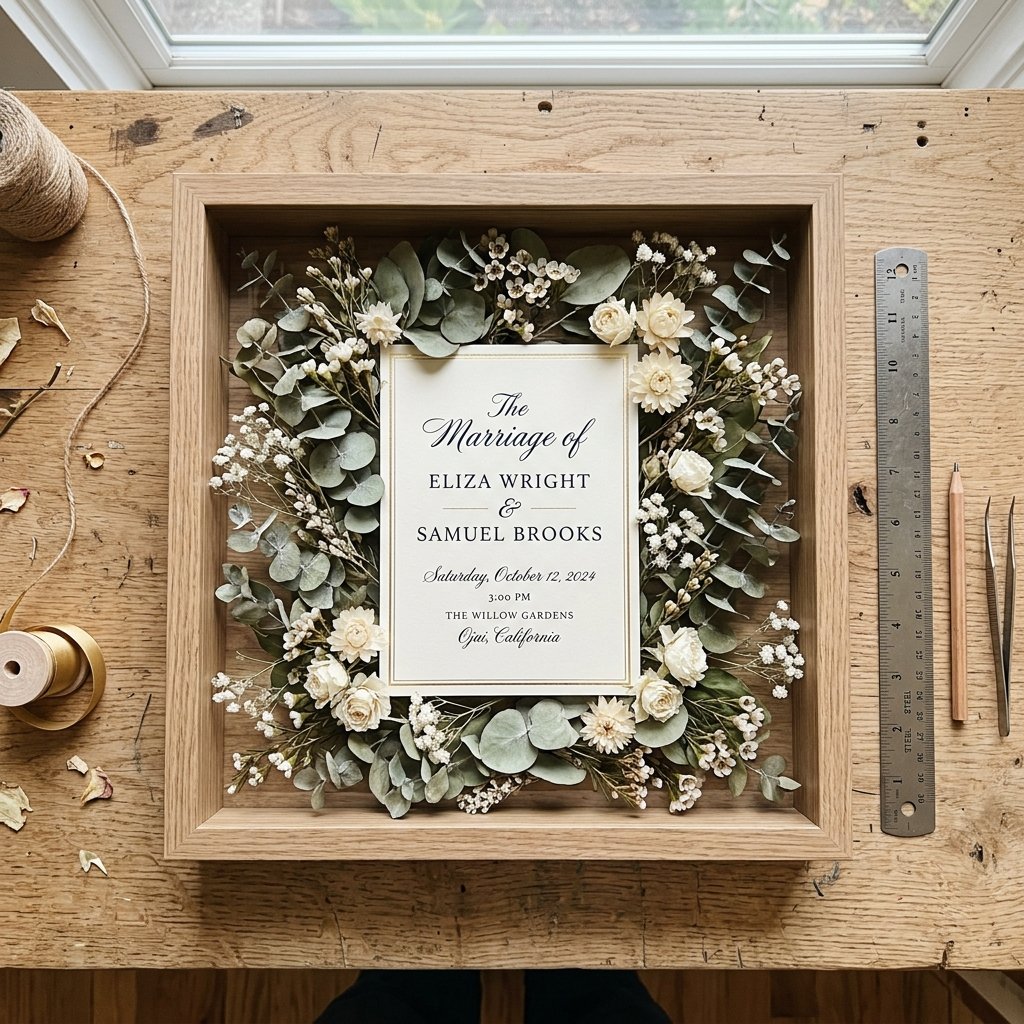
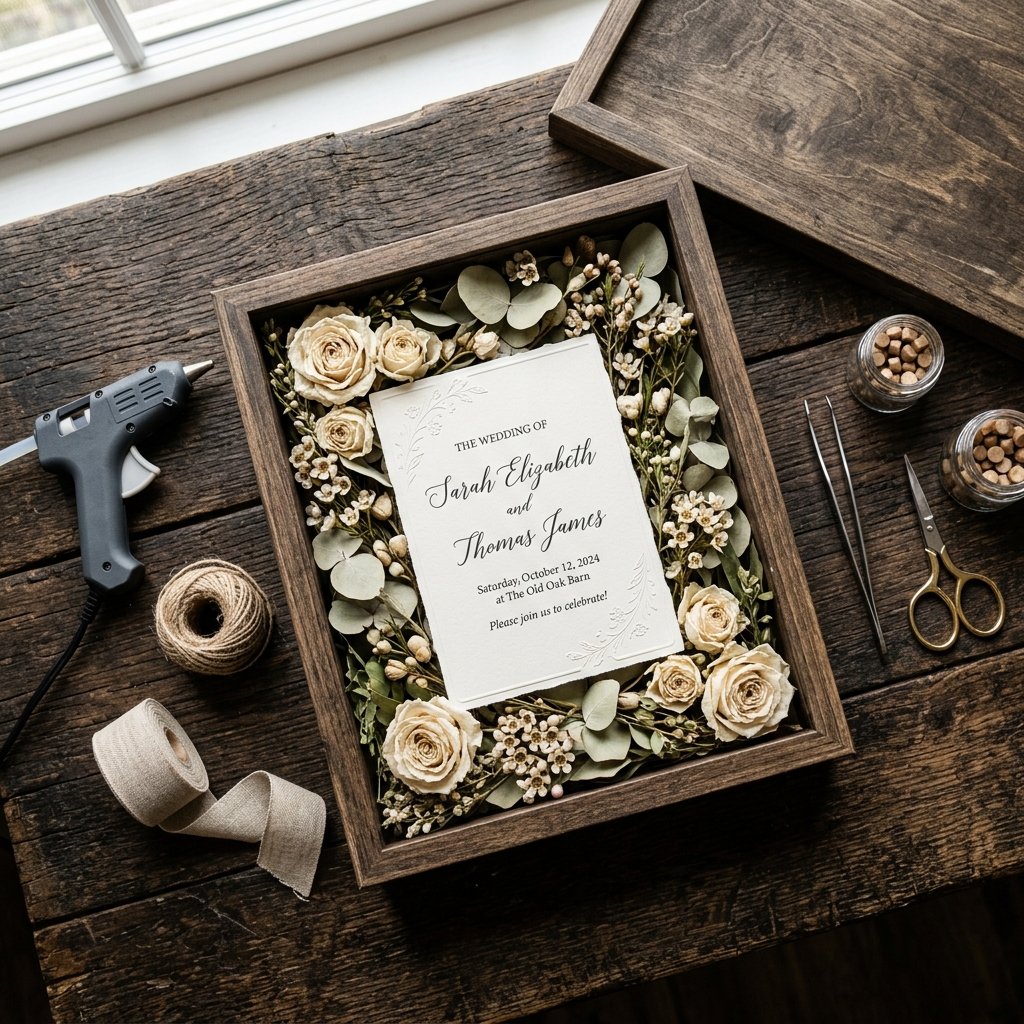
The difference between a cluttered box and a curated exhibit lies in the layout. Before you touch the glue gun, do a dry run. Lay your shadow box flat on the table and arrange your elements until the visual weight feels balanced. You aren’t just displaying flowers; you are telling a story. Consider including your wedding invitation, a stray boutonniere, or even a piece of lace from a dress alteration.
Layout Styles to Consider
- The Minimalist: A single, perfectly preserved bloom centered in the box with plenty of negative space.
- The Wildflower Meadow: A dense, bottom-heavy arrangement where flowers appear to be growing upward from the base of the frame.
- The Memento Mix: A structured layout where the invitation is the focal point, flanked by floral accents.
“Design Rule: Work in odd numbers. Three large roses often look more balanced than two or four.”
Use acid-free cardstock as your background. Standard construction paper will yellow over time, but a high-quality linen-textured cardstock provides a masculine-elegant backdrop that highlights the organic textures of the dried botanicals.
The Assembly: Securing Your Legacy
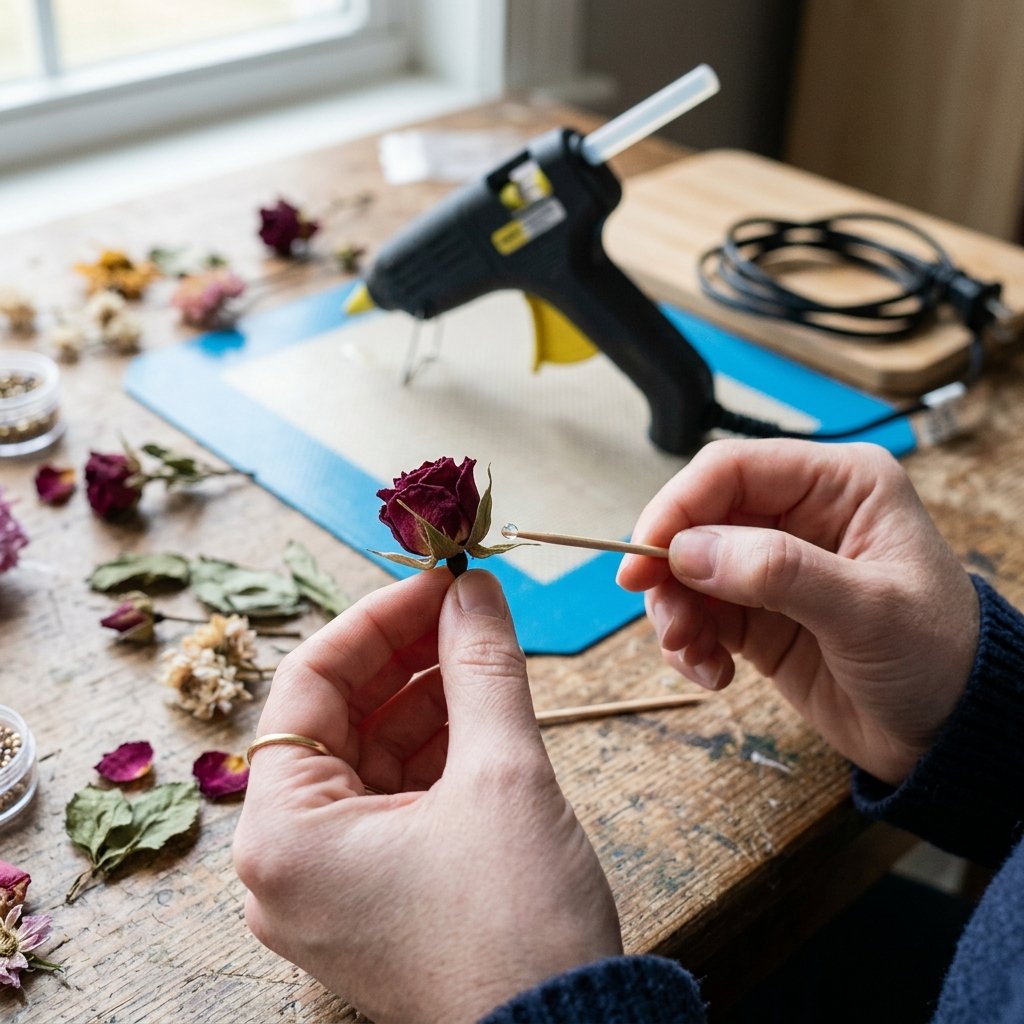
Once you are happy with the layout, it is time for the permanent phase. This requires a steady hand and the right adhesive. While hot glue is the go-to for most crafters, it can be stringy and brittle. For a professional-grade bond, consider a combination of hot glue for immediate ‘tack’ and a few dabs of E6000 for long-term durability.
Step-by-Step Assembly Guide
- Clean the Glass: Use a 50/50 mix of vinegar and water to ensure there are no fingerprints on the inside of the glass. Once it’s sealed, you can’t go back.
- Anchor the Heavy Items: Glue the largest flowers or the invitation first. These are your anchors.
- Layer the Foliage: Tuck smaller leaves and filler flowers (like baby’s breath) behind and around the anchors to create depth.
- The Shake Test: Before sealing the back, gently tilt the box to ensure nothing moves. If a petal wiggles, add a tiny drop of glue using a toothpick for surgical precision.
Safety Note: When using strong adhesives like E6000, ensure you are in a well-ventilated area to avoid inhaling fumes.
Final Tip: If you have leftover petals that fell off during the drying process, scatter them at the bottom of the box. It creates a ‘fallen petal’ aesthetic that looks intentional and romantic.
Cost Analysis: DIY vs. Professional Services
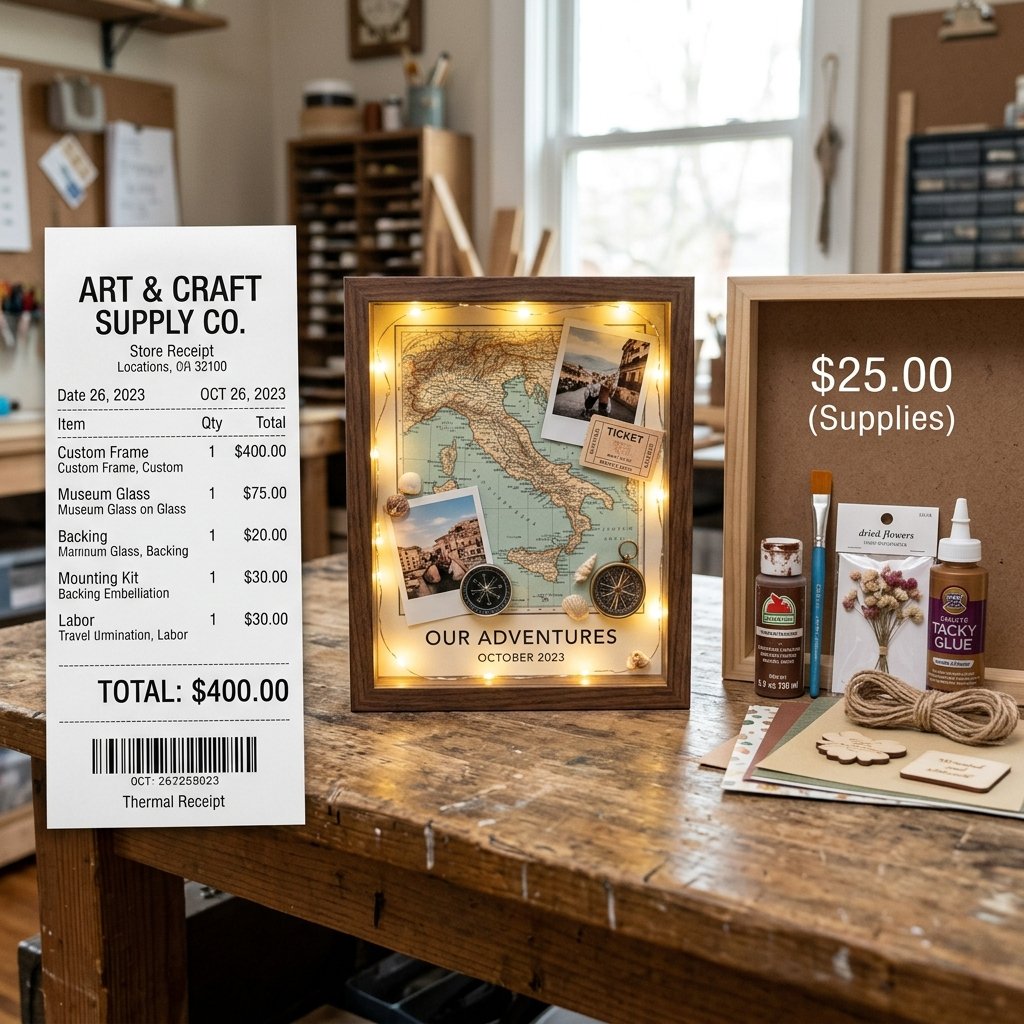
Is the effort worth it? Let’s look at the numbers. Professional floral preservation is a luxury service. They often use freeze-drying technology, which is impressive but expensive. For the budget-savvy couple, the DIY route is an absolute no-brainer, saving you enough money to fund a weekend getaway.
Investment Comparison
| Expense Item | Professional Service | DIY Shadow Box |
|---|---|---|
| Preservation Fee | $250 – $400 | $0 – $20 (Silica) |
| Frame/Shadow Box | Included | $5 – $20 |
| Labor/Shipping | $50 | $0 (Your Sweat Equity) |
| Total Cost | $300 – $450+ | $15 – $40 |
By doing it yourself, you aren’t just saving over 90% of the cost; you are also imbuing the object with your own craft and care. That personal touch is something no professional service can replicate.
Conclusion
A Timeless Tribute on a Dime
Creating your own dried flower shadow box is the ultimate ‘trash-to-treasure’ project. You’ve taken a bouquet that was destined for the compost bin and transformed it into a sophisticated piece of wall art. By being resourceful with your materials and clever with your drying techniques, you’ve preserved the magic of your wedding day for the price of a few craft supplies. Whether you keep it for your own home or gift it to a spouse as a first-anniversary present (the ‘paper’ anniversary), this project stands as a testament to your creativity and budget-savvy nature. Now, hang that box with pride, knowing you’ve mastered the art of the frugal forever-bloom.

Makenzie is the founder and lead writer at MoneyHackTips.com — a personal finance blog dedicated to delivering street-smart financial wisdom for real people on real budgets. With 300+ published articles covering everything from debt management to investing fundamentals, Makenzie’s mission is to make every dollar work harder. When not writing about money hacks, Makenzie is testing frugal living strategies, optimizing side hustles, and helping readers build financial freedom from scratch.