
The Secret to High-End Aesthetics on a Shoestring Budget
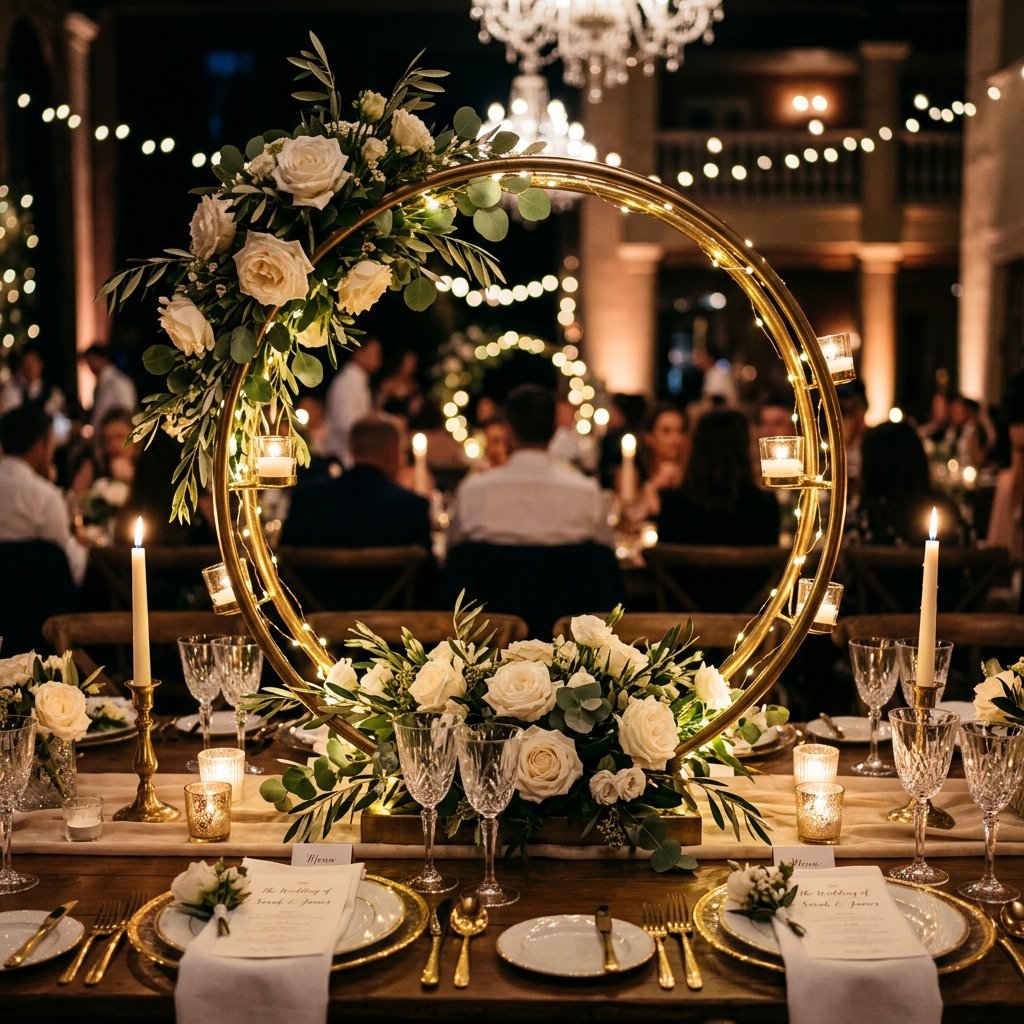
Let’s be honest: when you flip through a luxury bridal magazine or scroll through a high-end Pinterest board, the price tags associated with those ‘minimalist’ and ‘modern’ aesthetics are enough to make any frugal DIYer’s heart skip a beat. Those stunning brass hoop centerpieces that seem to float effortlessly above tables? They can easily run $150 to $300 per table when commissioned from a professional florist or event designer. But here is the clever truth: with a little resourcefulness, a can of the right metallic spray paint, and some savvy sourcing, you can replicate that exact look for under $10 per centerpiece.
As a seasoned ‘trash-to-treasure’ guru, I’ve spent years perfecting the art of the ‘dupe.’ Whether you are a budget-savvy bride, a handy parent helping with a school gala, or a crafty gift-giver looking to elevate a dinner party, this guide is your blueprint for success. We are going to take humble materials—think plastic hoops, scrap wood, and hardware store staples—and transform them into ruggedly elegant works of art. People won’t just think you spent a fortune; they will be convinced you hired a top-tier stylist from the city. Let’s roll up our sleeves and get to work on these masterpieces.
The Master Material List & Budget Breakdown
Sourcing Your Supplies Like a Pro
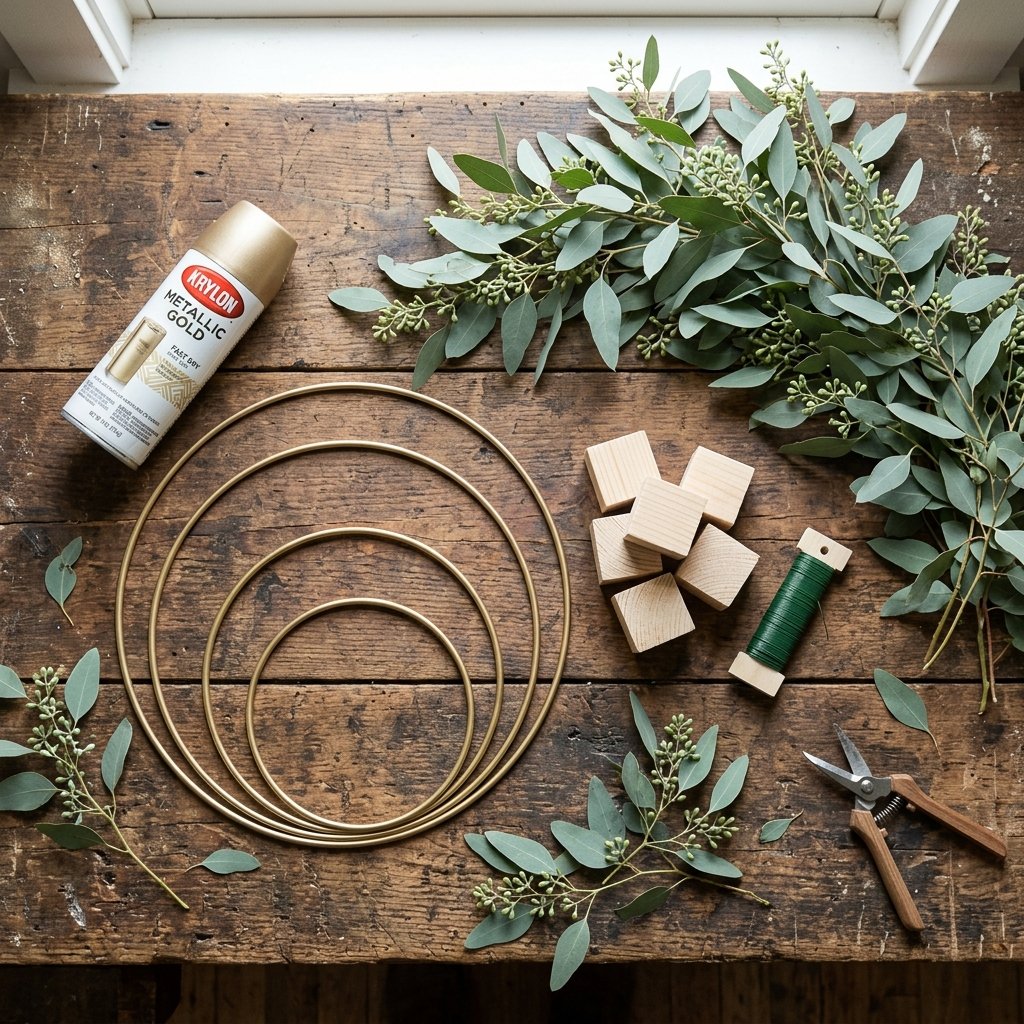
The key to a successful ‘high-end’ DIY is starting with the right bones. You don’t need solid brass—that would be heavy and prohibitively expensive. Instead, we look for lightweight, circular forms that we can finish with a premium metallic coat. You can find these hoops at craft stores, but for the truly budget-conscious, check the toy aisle of the dollar store for hula hoops (for large floor pieces) or use metal macramé rings for tabletop versions.
Below is a breakdown of what you’ll need to create 10 professional-grade centerpieces. Note how we favor multi-purpose tools and bulk-buy savings to keep costs down.
| Item | Source | Estimated Cost (per 10 units) |
|---|---|---|
| 12-inch Metal or Plastic Hoops | Craft Store / Dollar Store | $12.50 |
| Premium Brass/Gold Metallic Spray Paint | Hardware Store | $8.00 |
| Wooden Mounting Blocks (Scrap 2x4s or plaques) | Hardware Store / Scrap Pile | $5.00 |
| Floral Wire & Greenery Tape | Dollar Store | $2.50 |
| Assorted Faux Greenery (Eucalyptus/Fern) | Bulk Online / Clearance | $30.00 |
| Hot Glue Sticks (High Temp) | Existing Stash | $0.00 |
| Total Estimated Cost | — | $58.00 |
“The frugal crafter doesn’t see a plastic toy; they see a structural skeleton waiting for its golden skin. Always look for the shape first, the color second.”
Achieving the Perfect Brass Finish: The Spray Painting Masterclass

The Art of the Metallic Illusion
The difference between a ‘DIY project’ and a ‘designer piece’ often lies in the finish. If your paint is drippy, dull, or uneven, the illusion is shattered. To get that masculine-elegant brass look, you need a technique that mimics plated metal. Avoid cheap ‘gold’ paints that look like yellow glitter; instead, look for cans labeled ‘Antique Brass,’ ‘Champagne Bronze,’ or ‘Brushed Gold.’
Steps for a Flawless Finish:
- Prep the Surface: If using plastic hoops, lightly sand them with 220-grit sandpaper. This gives the paint ‘teeth’ to grab onto, preventing peeling.
- The Environment: Paint in a well-ventilated area, ideally outdoors on a day with low humidity. High humidity is the enemy of metallic sheen.
- Thin, Even Coats: Never try to cover the hoop in one go. Hold the can 8 to 12 inches away and apply three very thin coats.
- The 15-Minute Rule: Wait 15 minutes between coats to ensure the paint settles without sagging.
By taking your time with the finish, you ensure the hoops have a rugged durability and a sophisticated glow that catches the light of the venue perfectly.
Structural Integrity: Building a Rock-Solid Base
Ensuring Your Centerpieces Don’t Tip
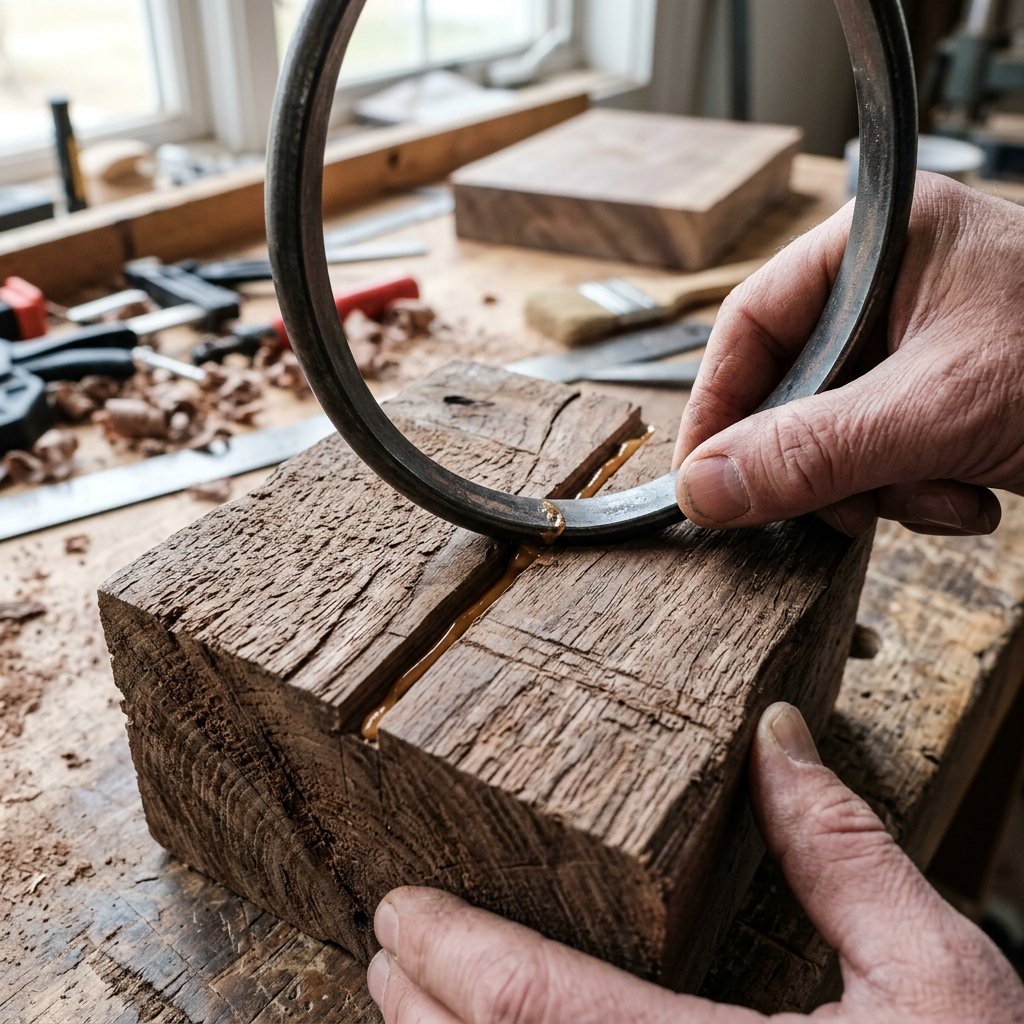
There is nothing less elegant than a centerpiece that falls over when a guest bumps the table. Because these hoops can become ‘top-heavy’ once you add floral elements, the base must be heavy and secure. For a rugged and practical approach, we use wooden blocks. You can buy pre-cut rounds at craft stores, but a savvy DIYer will use a miter saw to cut 4×4 scrap posts into 1-inch thick squares.
How to Secure the Hoop:
- Mark the Center: Find the center of your wooden block.
- The Channel Cut: Use a small hand saw or a Dremel tool to create a shallow groove (about 1/4 inch deep) across the center of the block. This groove will ‘seat’ the hoop.
- Heavy-Duty Bonding: Fill the groove with E6000 industrial adhesive or high-temp hot glue. Press the hoop into the groove and hold it perfectly vertical until set.
- The Finishing Touch: Paint the base the same brass color as the hoop, or stain it a dark walnut for a more organic, masculine-elegant contrast.
| Base Material | Pros | Cons |
|---|---|---|
| Wood Block | Very stable, low cost | Requires cutting tools |
| Concrete Pour | Industrial look, heavy | Long dry time (24h) |
| Floral Foam Brick | Easy to hide with moss | Lightweight, needs a tray |
Floral Mechanics: Less is More for Luxury
Designing Your Floral Focal Point
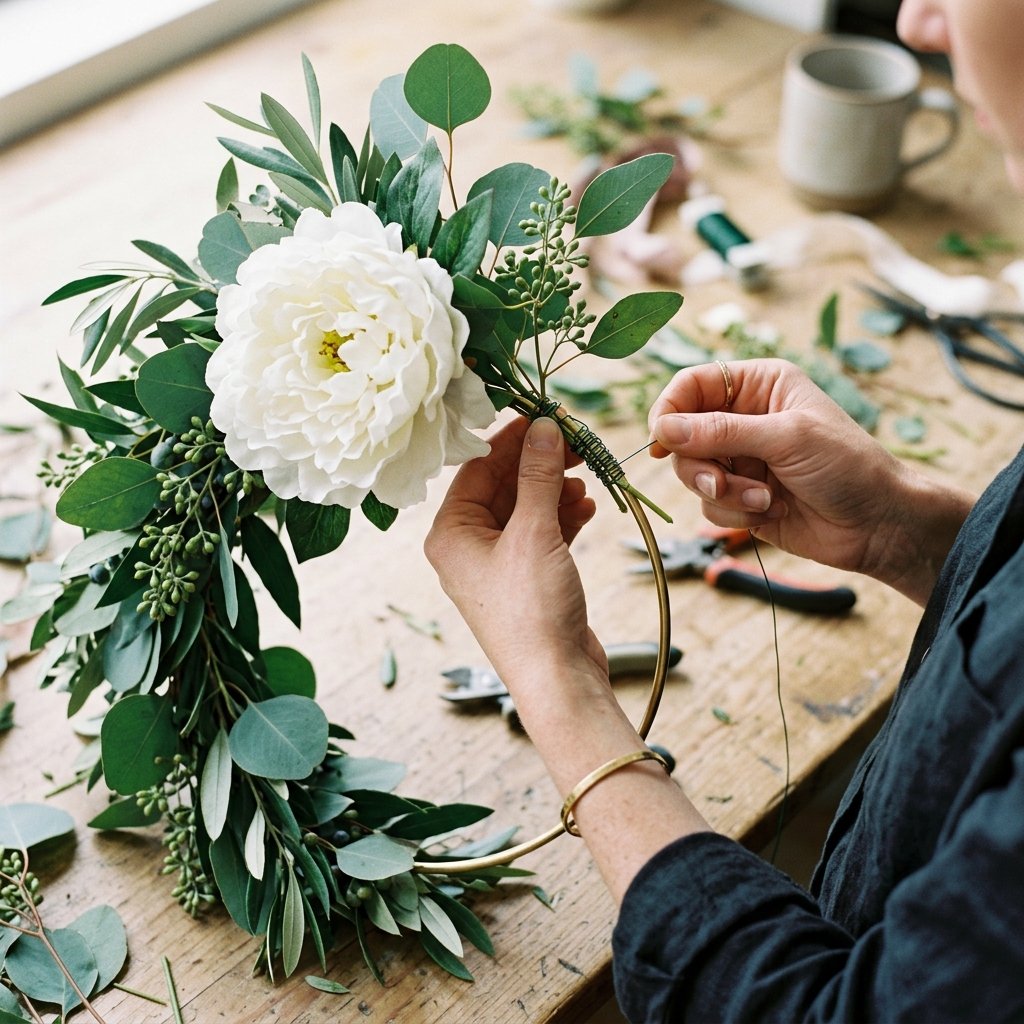
The biggest mistake DIYers make is over-stuffing the hoop. Modern luxury is about negative space. You want the brass to show! We are aiming for an asymmetrical design—placing the flowers on one ‘side’ of the hoop (roughly at the 4 o’clock or 8 o’clock position).
The Layering Technique:
- The Foundation: Start with your ‘hardy’ greenery. Secure two or three sprigs of seeded eucalyptus or ruscus to the hoop using 26-gauge floral wire. Wrap the wire tightly; it should be invisible.
- The Focal Blooms: Choose 3 large ‘statement’ flowers (like silk roses, peonies, or dahlias). Trim the stems to 2 inches and wire them directly onto the hoop, overlapping the greenery stems.
- The Texture: Add ‘filler’ elements like baby’s breath, dried bunny tails, or small berries to fill any gaps where the wire shows.
- The ‘Invisible’ Finish: Use green floral tape to cover any exposed wire ends so they don’t scratch your guests or the table linens.
“Design with the ‘Rule of Three.’ Three types of foliage, three focal flowers, and three different heights. This creates a natural, professional flow that mimics high-end floral artistry.”
The Grand Comparison: DIY vs. Professional Florist
Why Your Wallet Will Thank You
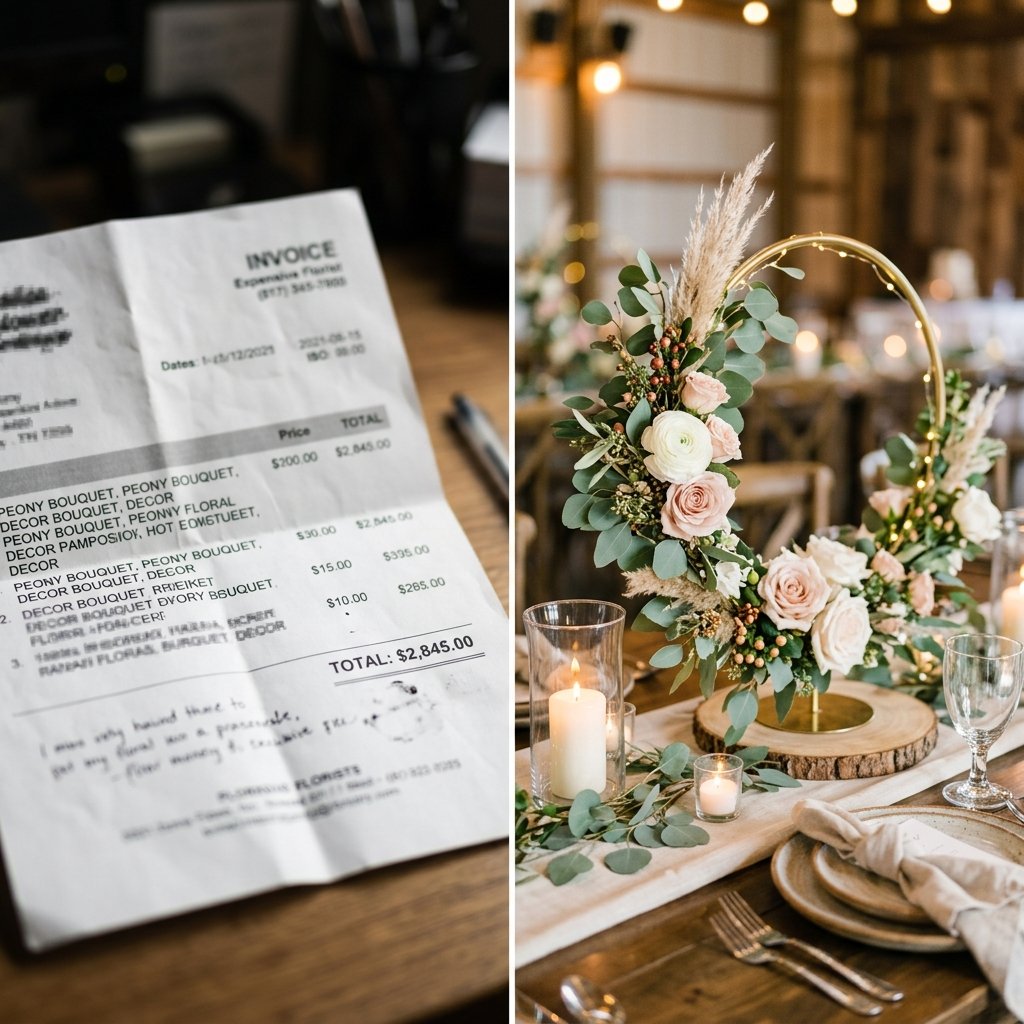
When you choose to be a resourceful creator, you aren’t just ‘saving money’—you are reclaiming your budget to spend on things that matter, like a better honeymoon or a down payment on a home. Let’s look at the cold, hard numbers. A professional florist charges not just for materials, but for labor, overhead, delivery, and a significant markup. By doing the labor yourself (which takes about 20 minutes per hoop once you have the system down), you are essentially ‘paying yourself’ a high hourly wage.
| Expense Category | Professional Rental/Florist | DIY Resourceful Method |
|---|---|---|
| Centerpiece Unit Cost | $185.00 | $5.80 |
| Setup & Delivery Fee | $250.00 | $0.00 (Handy Mom/Dad help!) |
| Labor/Design Fee | Included in markup | $0.00 (Your creative joy) |
| Total for 15 Tables | $3,025.00 | $87.00 |
The savings are staggering. You are looking at a 97% cost reduction. That is the power of a clever, budget-savvy mindset. You are getting the same visual impact for a fraction of the price, and because you made them, you can even sell them on Facebook Marketplace after the event to make a 100% profit!
Conclusion
You Are the Master of Your Venue
Creating these DIY brass hoop centerpieces is more than just a craft project; it is a testament to your resourcefulness and your eye for elegance. By taking simple, everyday items and applying professional finishing techniques, you’ve created a luxury atmosphere that would typically cost thousands of dollars. Whether they are sitting atop a wedding table, a mantle, or a buffet, these hoops carry the weight of your creativity and the pride of your ‘trash-to-treasure’ skills.
Remember, the most beautiful events aren’t defined by how much you spent, but by the thought, care, and cleverness you put into the details. Now, go forth, grab that spray paint, and prepare for the inevitable question from your guests: ‘Where on earth did you find these? They must have cost a fortune!’ Just smile and know that your budget is as safe as your style is impeccable.

Makenzie is the founder and lead writer at MoneyHackTips.com — a personal finance blog dedicated to delivering street-smart financial wisdom for real people on real budgets. With 300+ published articles covering everything from debt management to investing fundamentals, Makenzie’s mission is to make every dollar work harder. When not writing about money hacks, Makenzie is testing frugal living strategies, optimizing side hustles, and helping readers build financial freedom from scratch.