
The Art of the Elegant Scavenge
Welcome, fellow makers and budget-conscious visionaries! There is a profound satisfaction in taking something destined for the recycling bin—a humble pickle jar, a forgotten jelly container, or a dusty $0.50 thrift store find—and elevating it to the status of a centerpiece that looks like it stepped off the pages of a high-end bridal magazine. This project isn’t just about saving money; it’s about the resourceful alchemy of combining the delicate, feminine intricacy of lace with the rugged, masculine utility of jute twine. Whether you are planning a $500 wedding or simply want to add a touch of ‘masculine-elegant’ charm to your mantel, these DIY glass vase centerpieces are your ticket to high-style decor on a shoestring budget.
In this masterclass, we won’t just slap glue on glass. We are going to dive deep into the textures, the adhesives that actually hold, and the styling secrets that distinguish a ‘craft project’ from a ‘professional design.’ By the time we’re done, you’ll have a fleet of stunning vessels that tell a story of clever craftsmanship and savvy styling. Let’s roll up our sleeves and turn some glass into gold.
The Treasure Hunt: Sourcing Glass and Materials on a Dime
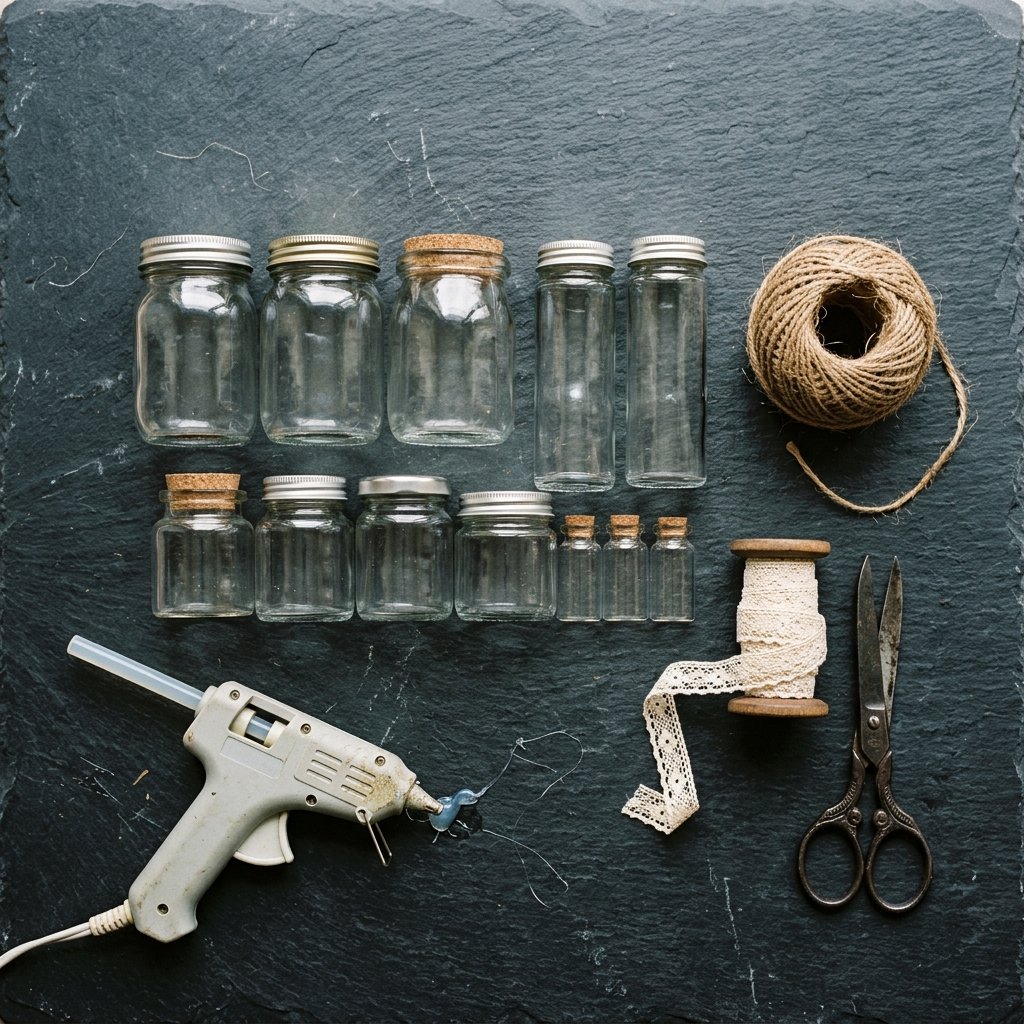
Finding Your Canvas
The beauty of this project lies in the variety. A uniform look is fine, but a curated collection of different heights and shapes creates visual interest. Scour your pantry first. Spaghetti sauce jars, olive jars, and even glass milk bottles are perfect candidates. If you’re aiming for a larger event, hit your local thrift stores on ‘half-off’ days. You can often find heavy, high-quality glass vases for under $1.00.
The Material Breakdown
To achieve that professional look, you need the right supplies. Don’t settle for the first lace you see; look for rolls of lace ribbon at the Dollar Tree or clearance bins at fabric stores. For the twine, a standard 2-ply or 3-ply jute provides that perfect rugged texture. Below is a comparison of what you might pay at a boutique vs. our DIY approach.
| Item Source | Estimated Cost (Per Vase) | Visual Impact |
|---|---|---|
| Boutique Wedding Rental | $15.00 – $25.00 | High, but temporary |
| Store-Bought ‘Rustic’ Vase | $12.99 | Generic and plastic-feeling |
| DIY Upcycled Glass | $0.75 – $1.50 | Unique, high-texture, custom |
“The frugal crafter doesn’t see trash; they see raw potential waiting for a coat of glue and a bit of lace.”
The Foundation: Prepping for Perfection

Removing the Evidence
Nothing kills the ‘high-end’ vibe faster than a lingering barcode or a sticky residue from a tomato sauce label. To ensure your lace and twine adhere perfectly, you must start with a pristine surface. Soak your glass in hot, soapy water for 20 minutes. For stubborn adhesive, a mixture of equal parts baking soda and vegetable oil works wonders as a natural ‘Goo Gone’ alternative. Rub it on, let it sit for 5 minutes, and scrub away.
Degreasing the Surface
Once the labels are gone, wipe the glass down with rubbing alcohol. This removes any oils from your fingerprints, ensuring that your hot glue or spray adhesive forms a permanent bond. This step is non-negotiable for a professional finish that won’t peel off in humid weather or during transport to a venue.
Mender’s Tip: “Always dry your glass with a lint-free cloth. Even a tiny fiber trapped under the lace can create a bump that ruins the sleek silhouette of your centerpiece.”
Lace Mastery: Adding the Elegant Layer
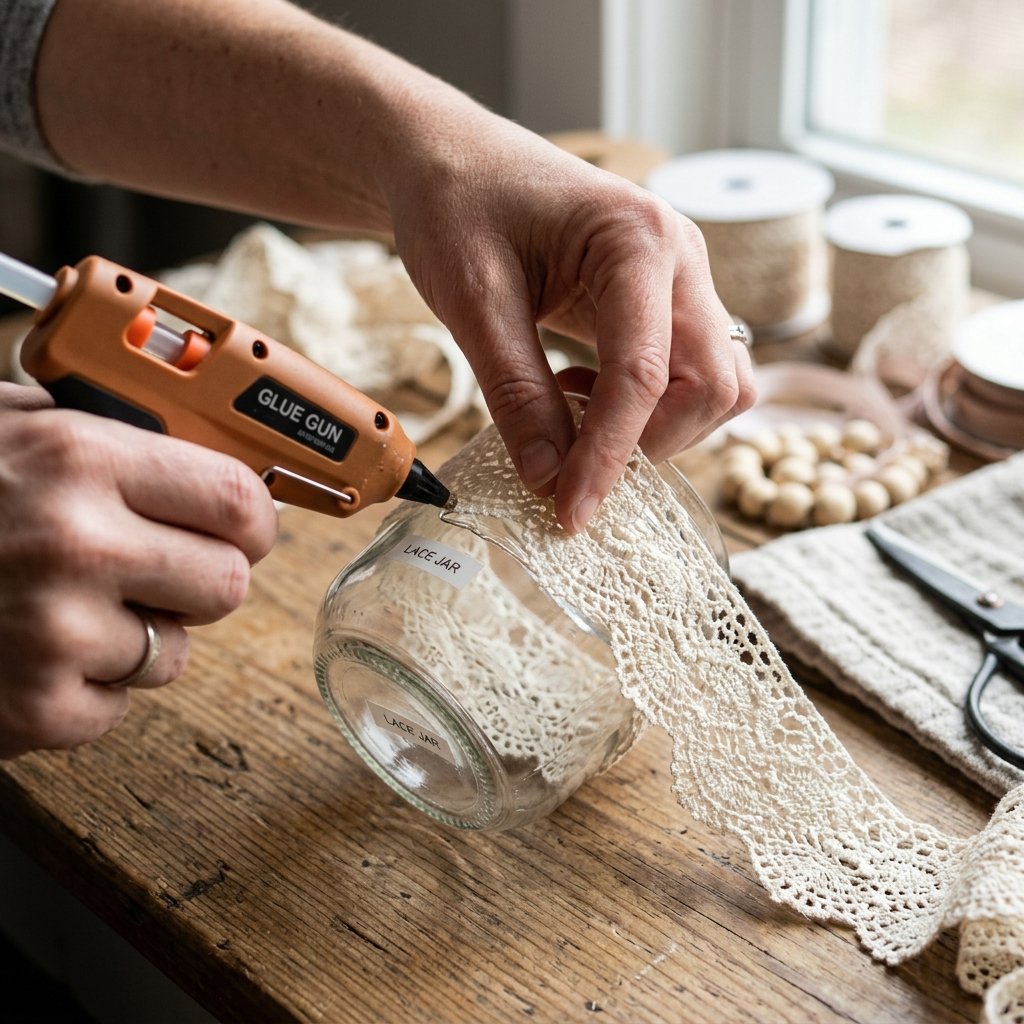
Choosing Your Pattern
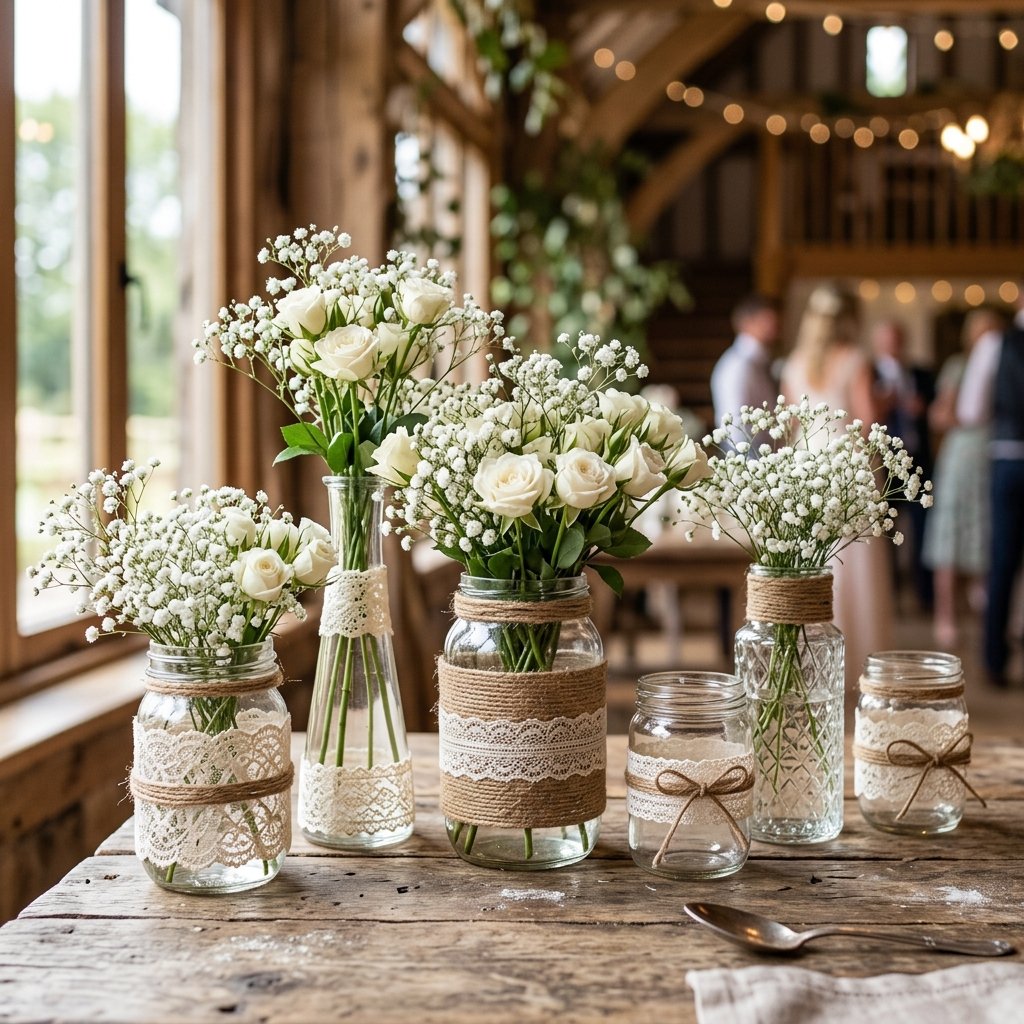
Lace comes in many forms: floral, geometric, and crocheted. For a masculine-elegant look, I recommend a wider, thicker crocheted lace. It provides more structural integrity and covers more surface area. If you want a more delicate ‘shabby chic’ feel, go for a fine floral lace with scalloped edges.
The Precision Wrap
- Measure the circumference of your vase and add 1/2 inch for overlap.
- Apply a thin, vertical line of hot glue to the back of the vase.
- Press the starting edge of the lace into the glue, ensuring it is perfectly level.
- Wrap the lace tightly around the jar, pulling it taut to avoid sagging.
- Apply a final bead of glue on the overlap and press firmly.
For a seamless look, always ensure your ‘seams’ are all facing the same direction. This way, when you set the table, you can turn the seams away from the guests’ view, creating a flawless 360-degree display.
Twine and Tension: The Rugged Finishing Touch
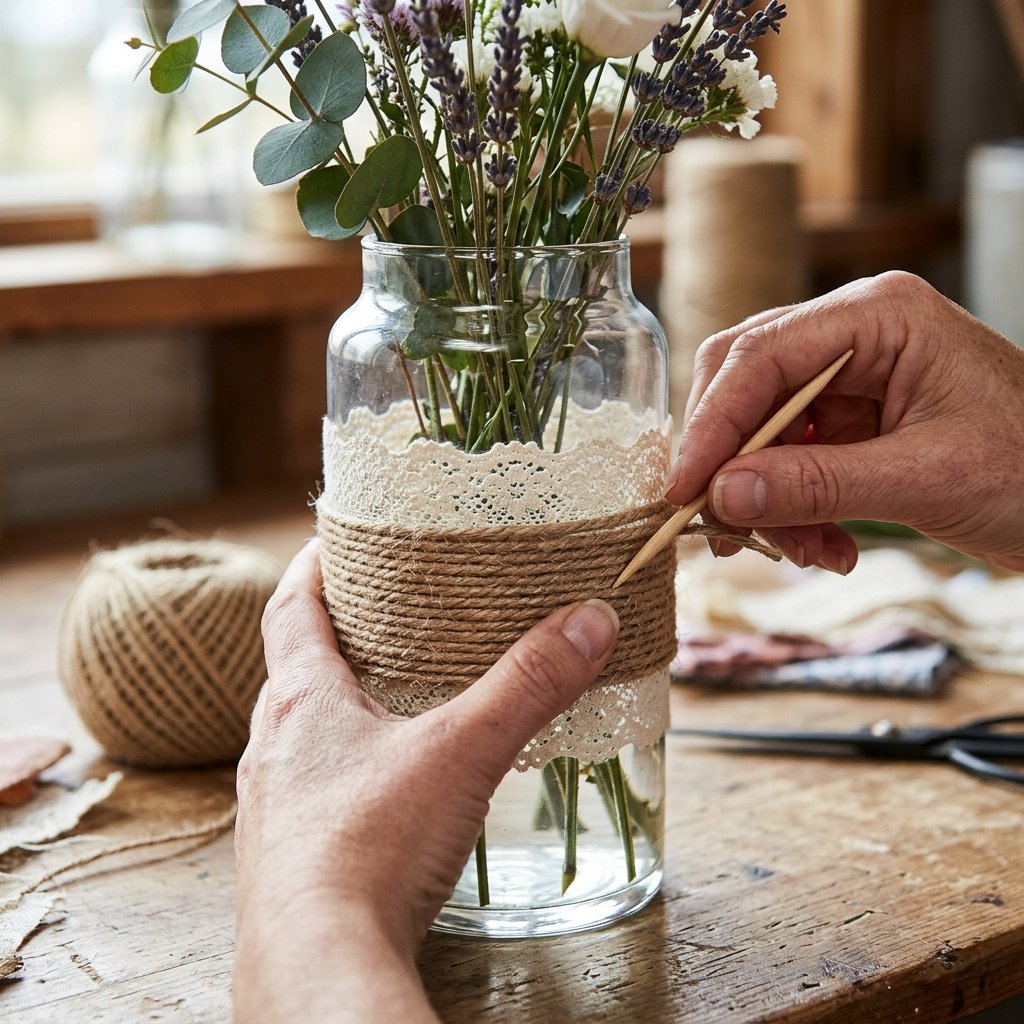
The Power of Contrast
This is where the ‘rugged’ meets the ‘refined.’ The twine serves two purposes: it secures the lace and adds a coarse, earthy element that grounds the design. You can do a simple wrap around the neck of the vase, or create a wide band of twine at the base or center.
Advanced Wrapping Techniques
Instead of a simple bow, try the ‘Infinite Coil’ method. Start by gluing the end of the twine at the bottom of where you want your band to be. Wrap the twine upward, keeping each row tight against the previous one so no glass or lace shows through. Secure the end with a tiny dot of glue tucked under the final loop.
| Wrap Style | Difficulty | Best For… |
|---|---|---|
| The Simple Bow | Easy | Mason jars and casual events |
| The Multi-Tier Band | Medium | Tall, slender cylinder vases |
| The Full-Base Coil | Advanced | Creating a ‘weighted’ rustic look |
Rugged Wisdom: “Twine is forgiving, but tension is key. Keep your pull steady; a loose wrap is a sloppy wrap.”
The Grand Reveal: Styling and Floral Pairings
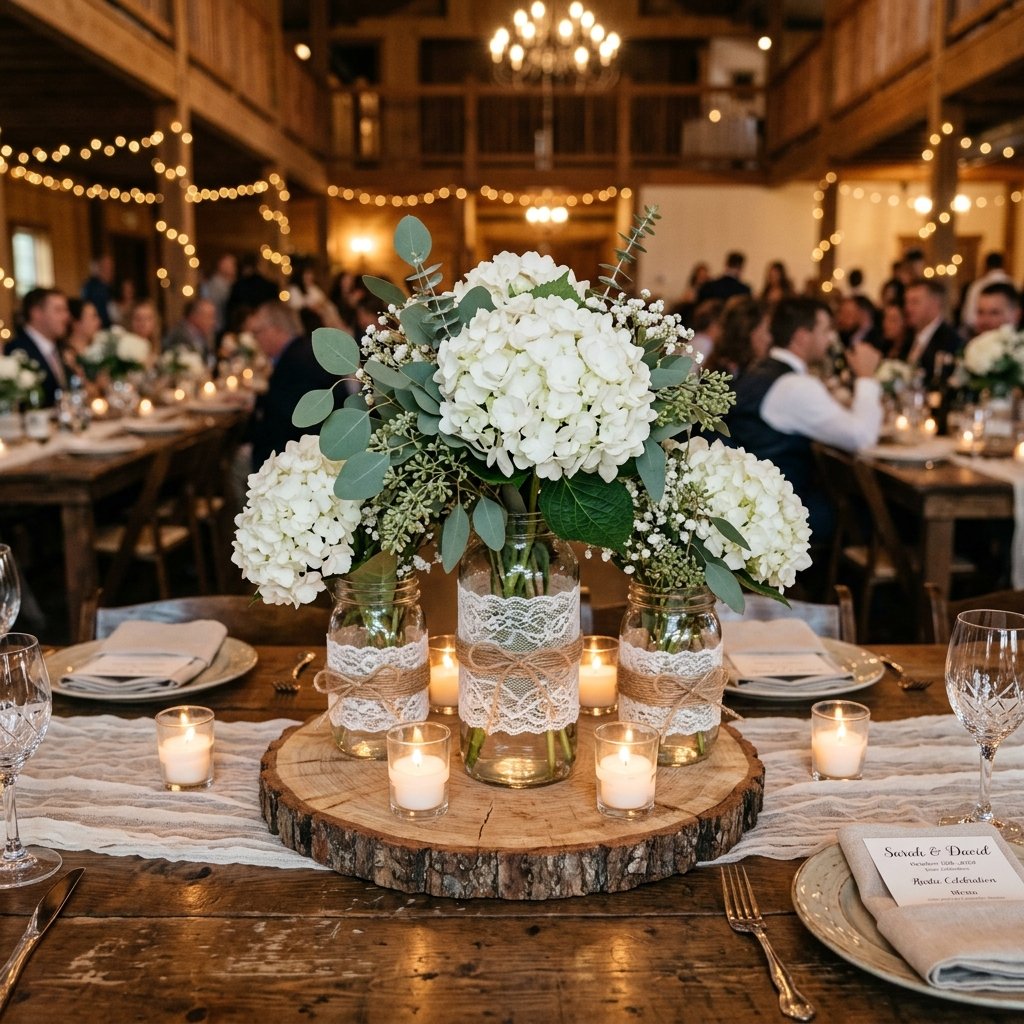
Choosing Your Greenery
Now that your vessels are ready, what you put inside them matters just as much as the exterior. For a budget-savvy wedding, go heavy on the greenery. Eucalyptus, ferns, and even sprigs of rosemary look stunning against the lace and twine. For florals, stick to hearty, affordable options like Baby’s Breath, Carnations, or Mums.
Creating a Tablescape
Don’t just place one vase in the middle of a table. Group them in odd numbers (3 or 5) of varying heights. Place them on a wood slice or a simple burlap runner to complete the look. Adding a few tealight candles around the base will make the lace patterns ‘glow’ as the light filters through the threads.
- Tall Vases: Use for long-stemmed flowers like lilies or dried wheat.
- Medium Vases: Perfect for full bouquets of roses or peonies.
- Small Jars: Best for single buds or tea light candles.
Scaling Up: Production Tips for Large Events

The Assembly Line Method
If you are making 50 of these for a wedding, you cannot treat each one as a solo art project. You need a system. Set up a dedicated workspace and tackle the project in phases. Batch processing will save you hours of time and keep your workspace cleaner.
Timeline for Success
| Phase | Action | Estimated Time (50 Vases) |
|---|---|---|
| Phase 1 | De-labeling and Cleaning | 2 Hours |
| Phase 2 | Cutting Lace and Twine to Length | 1 Hour |
| Phase 3 | The ‘Big Glue’ (Lace Application) | 3 Hours |
| Phase 4 | Twine Detailing and Quality Check | 2 Hours |
“Preparation is the mother of craft. Cut all your ribbons and twine before you even plug in the glue gun. Your future self will thank you.”
Conclusion
Your Masterpiece Awaits
You’ve done it! You’ve taken the forgotten and the mundane and transformed them into simply beautiful centerpieces that exude both elegance and rugged charm. This project is a testament to the fact that style isn’t about how much you spend, but how much creativity and care you pour into your work. Whether these vases grace the tables of a grand wedding or sit quietly on your kitchen windowsill, they serve as a reminder of your resourceful spirit.
Don’t stop here. Take these techniques—the cleaning, the layering, the tension-wrapping—and apply them to other areas of your home. The world is full of ‘trash’ just waiting for a crafter like you to see its true potential. Now, go forth, keep your glue gun hot, and continue making the world a bit more beautiful, one upcycled jar at a time!

Makenzie is the founder and lead writer at MoneyHackTips.com — a personal finance blog dedicated to delivering street-smart financial wisdom for real people on real budgets. With 300+ published articles covering everything from debt management to investing fundamentals, Makenzie’s mission is to make every dollar work harder. When not writing about money hacks, Makenzie is testing frugal living strategies, optimizing side hustles, and helping readers build financial freedom from scratch.