
The Secret to a Million-Dollar Atmosphere on a Shoestring Budget
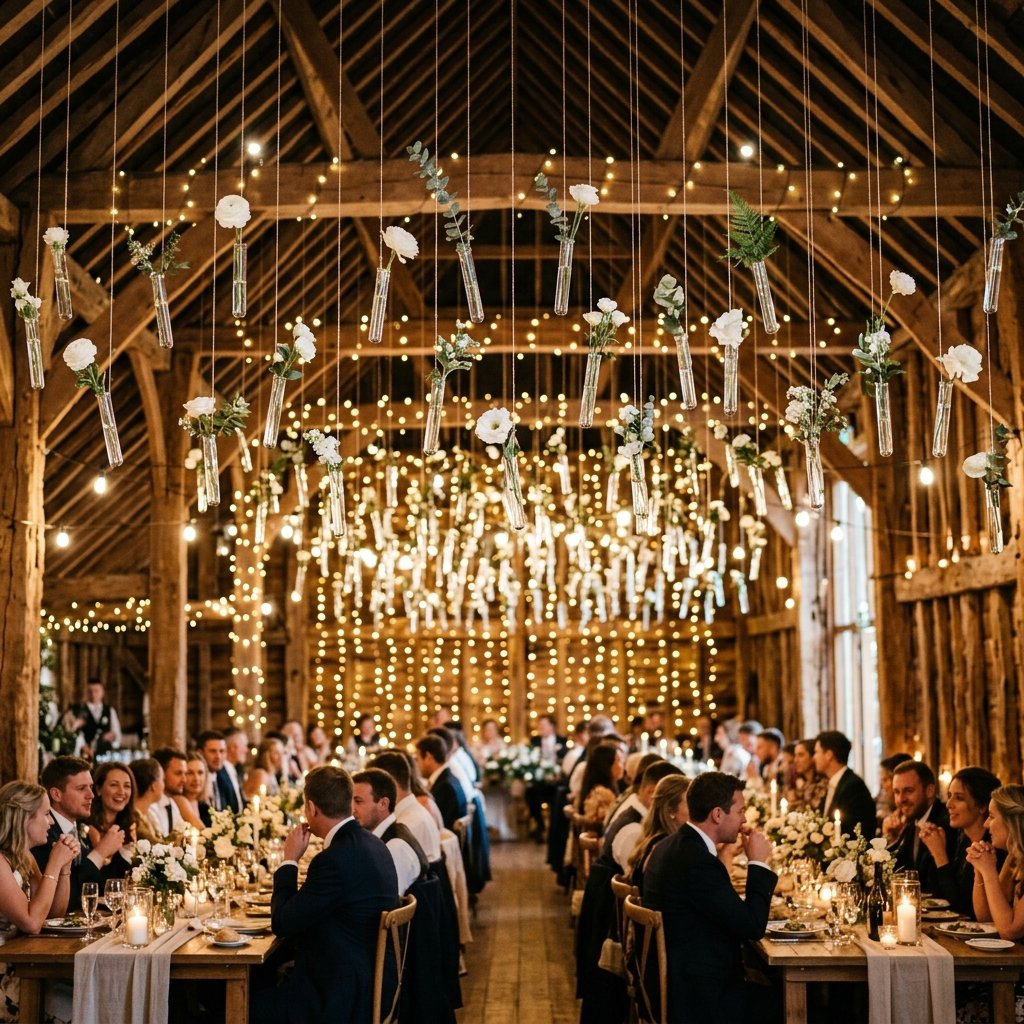
In the world of high-end wedding design, the ‘Floating Garden’ aesthetic has become the ultimate symbol of modern elegance. You’ve seen it on Pinterest: hundreds of delicate glass vessels suspended in mid-air, creating a shimmering, ethereal canopy of blooms. Usually, this look comes with a $2,000 to $5,000 florist surcharge. But here is the clever, budget-savvy secret—you can replicate this entire installation yourself for less than the cost of a single designer centerpiece. By using laboratory-grade test tubes and a bit of rugged engineering, we are going to turn your venue into a botanical masterpiece. Whether you are a frugal bride, a handy dad helping with decor, or a crafty event stylist, this guide will show you how to master the hanging test tube hack with precision and style.
The Inventory: Sourcing Your Ethereal Glassware for Pennies
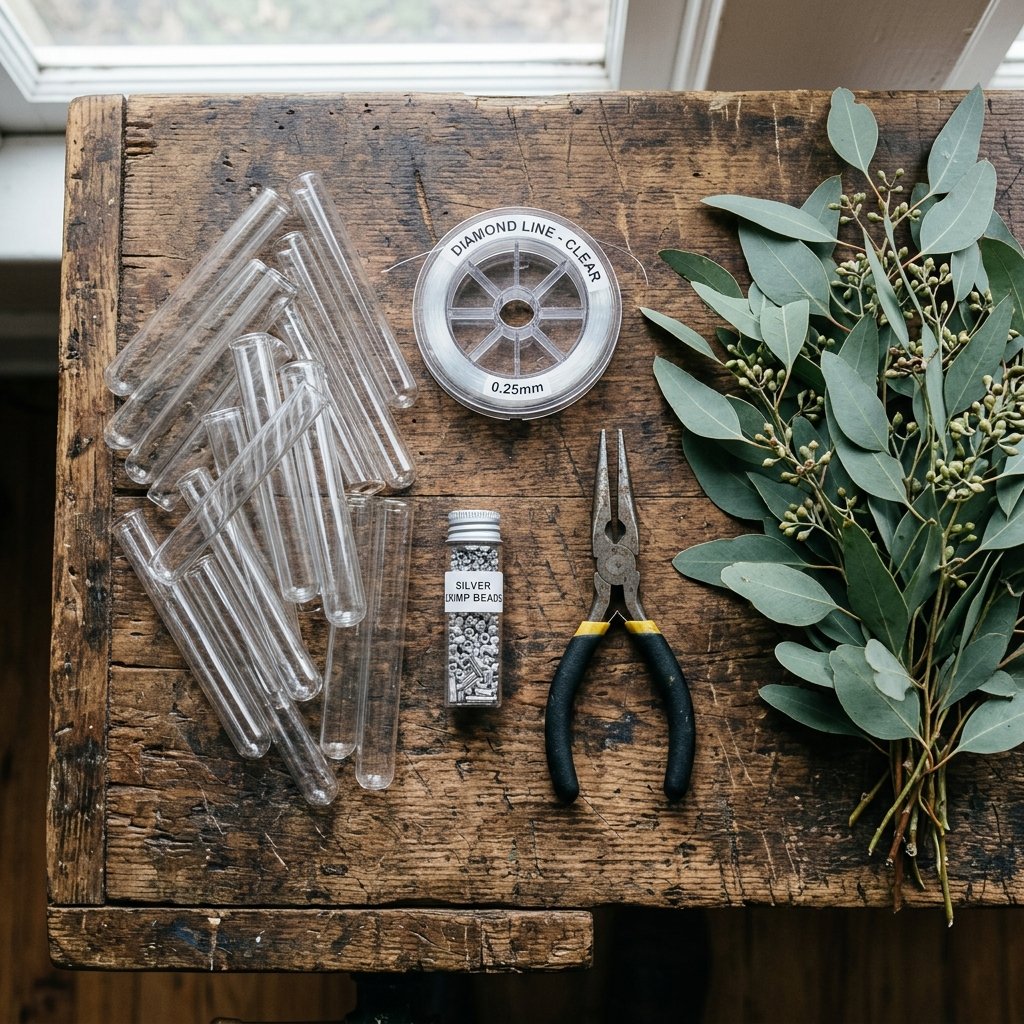
To pull off this hack, you don’t need a degree in chemistry, but you do need to be resourceful. The key is sourcing bulk glass or acrylic tubes that offer that high-end sparkle without the boutique price tag. While craft stores sell these individually for $2.00 or $3.00 each, a savvy DIYer looks toward scientific supply wholesalers or bulk discount sites where the price drops to roughly $0.30 to $0.50 per unit.
Essential Materials List
- Glass vs. Plastic Test Tubes: Glass offers better clarity and weight, but plastic (PET) is shatterproof and lighter for massive installations.
- Monofilament (Fishing Line): Use a 20lb to 30lb test line for security. It’s nearly invisible and incredibly strong.
- Crimp Beads or Small Washers: These act as stoppers to keep your tubes from sliding.
- Command Hooks or S-Hooks: Depending on your venue’s ceiling (exposed beams vs. drop ceilings).
- Floral Snips: For clean cuts on your stems to ensure maximum water uptake.
| Item | Bulk Source Price | Retail Store Price | Potential Savings |
|---|---|---|---|
| 100 Glass Test Tubes | $35.00 | $250.00 | 86% |
| 500ft Fishing Line | $6.00 | $15.00 | 60% |
| Bulk Greenery/Stems | $40.00 | $150.00 | 73% |
The Financial Breakdown: Florist Fees vs. Your Crafty Cunning
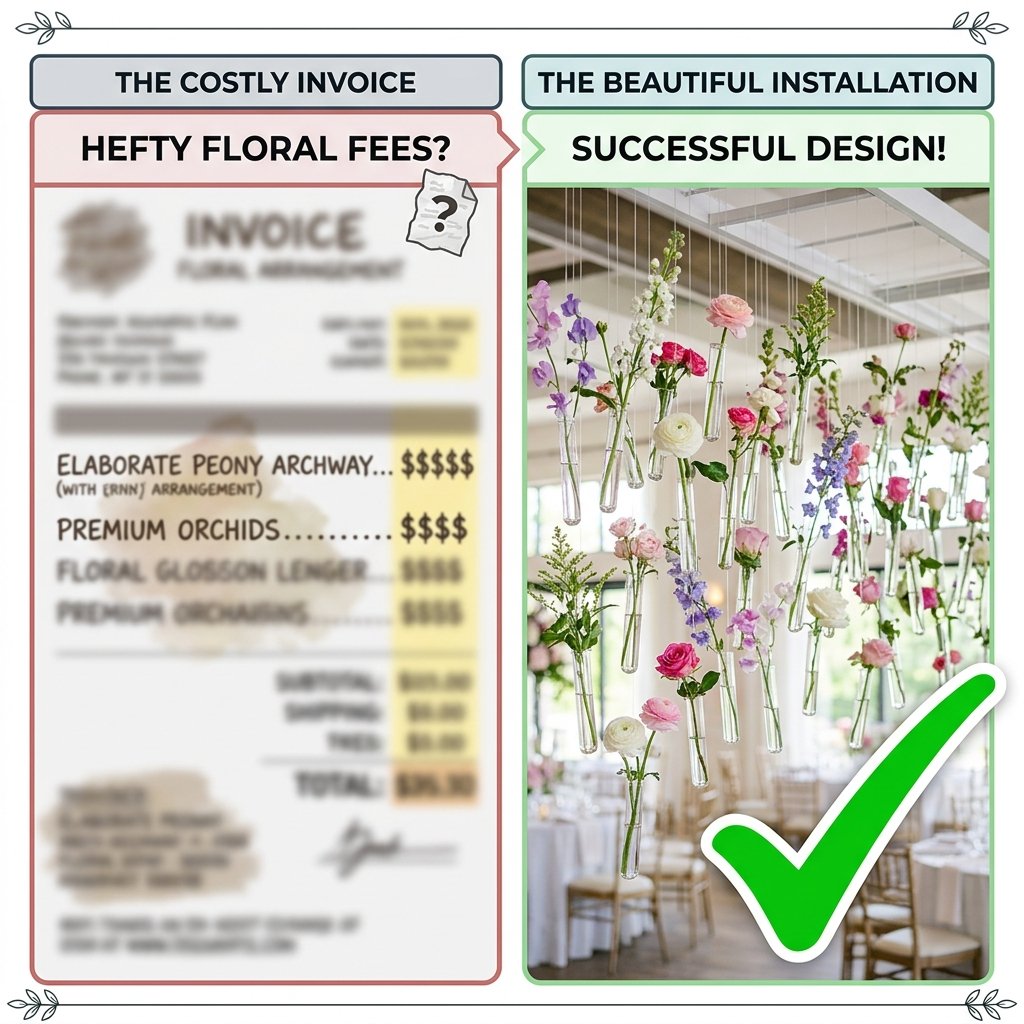
Why is this hack so popular? Because the ‘labor’ is where florists make their money. Stringing 100 individual tubes takes time, but it doesn’t take a professional license. By taking on the assembly yourself (or with a few helpful bridesmaids), you are essentially paying yourself $100 per hour in savings.
“Budgeting isn’t about choosing the cheapest option; it’s about allocating your funds where they create the most impact. A hanging installation creates more ‘wow’ factor than 20 standard table bouquets combined.”
| Expense Category | Professional Florist Quote | DIY Execution Cost |
|---|---|---|
| Materials & Vessels | $450 | $45 |
| Floral Product | $600 | $80 |
| Labor & Installation | $1,200 | $0 (DIY) |
| Total Cost | $2,250 | $125 |
By choosing this DIY path, you save over $2,100, which can be redirected toward your honeymoon, a better photographer, or that open bar your guests will actually remember.
The Engineering: Knotting, Hanging, and Gravity-Defying Placement
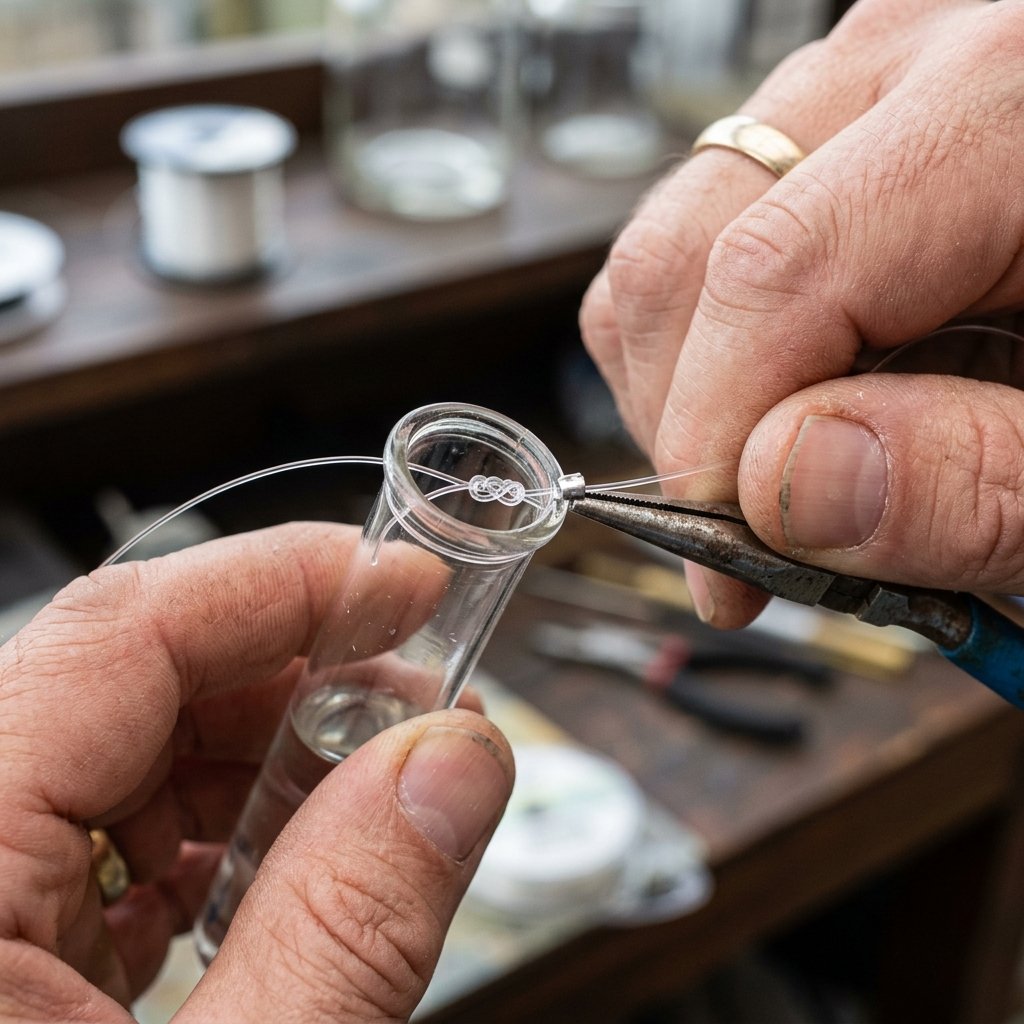
To ensure your installation looks like a professional work of art rather than a science experiment gone wrong, you must master the ‘Invisible Hang.’ This requires a bit of rugged practicality and attention to detail. We aren’t just tying knots; we are building a suspension system.
Step-by-Step Assembly Instructions
- The Measurement: Cut your fishing line into varying lengths ranging from 12 inches to 48 inches. This creates the ‘staggered’ look that is essential for a high-end aesthetic.
- The Cinch Knot: Wrap the line around the neck of the test tube twice. Use a Constrictor Knot or a simple Double Overhand Knot. Ensure it sits snugly just below the flared lip of the tube.
- The Crimp (Optional but Recommended): If using heavy glass, slide a jewelry crimp bead onto the line above the knot and squeeze it shut with pliers. This prevents any slipping when the tube is filled with water.
- The Top Loop: Create a small loop at the top of the line. This will be your attachment point for hooks or beams.
- The Fill: Use a narrow-spout watering can or a large syringe to fill the tubes 3/4 full only after they are hung to avoid spills and weight issues during transport.
Safety Note: Always test your knots with a dry run. Hang a tube over a soft surface and fill it with water to ensure your knots hold the weight for at least 24 hours before the big event.
Botanical Selection: The Best Blooms for Water-Challenged Vessels
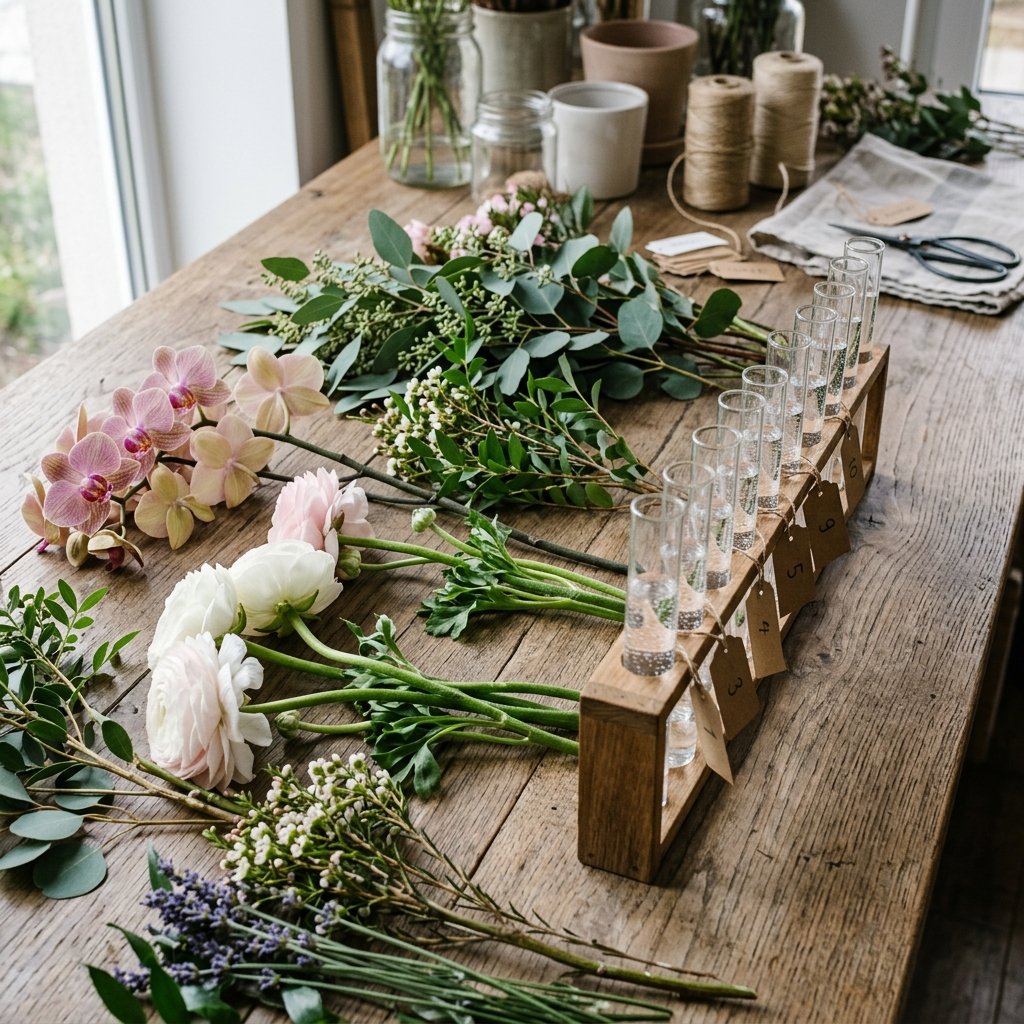
Not every flower is built for the test tube life. Because these vessels hold a limited amount of water, you need ‘rugged’ blooms—flowers that can withstand temperature changes and limited hydration without wilting before the cake is cut. Think of these as the marathon runners of the floral world.
Top 5 Flowers for Test Tube Success
- Orchids (Phalaenopsis or Dendrobium): The undisputed king of hanging florals. They are lightweight, elegant, and can last days with minimal water.
- Baby’s Breath (Gypsophila): For a cloud-like effect. It actually looks great even as it dries, making it a zero-risk choice.
- Ranunculus: These offer a high-petal count and a ‘garden rose’ look but have much sturdier, hollow stems that fit perfectly in narrow tubes.
- Eucalyptus (Silver Dollar or Willow): Provides movement and a fresh scent. It is incredibly hardy and won’t wilt for hours.
- Carnations: Don’t scoff! Modern ‘Antique’ or ‘Dusty’ carnations look like expensive heirloom flowers and are practically indestructible.
Pro Tip: Always cut your stems at a 45-degree angle. This increases the surface area for water absorption, which is vital in a small 10ml to 20ml test tube environment.
Venue Integration: From Industrial Lofts to Rustic Barns

The beauty of this hack is its versatility. Depending on how you hang them, the vibe changes completely. This is where your inner ‘Event Stylist’ comes out to play.
Style Guide for Different Venues
- The Industrial Loft: Hang the tubes from black iron piping or exposed ductwork using thin wire instead of fishing line for a more ‘rugged-masculine’ edge.
- The Rustic Barn: Wrap a large fallen branch in fairy lights, suspend the branch from the rafters, and hang your test tubes directly from the wood for a ‘forest-enchanted’ look.
- The Modern Gallery: Use perfectly uniform lengths of fishing line to create a geometric grid. This creates a clean, architectural ‘curtain’ of flowers.
- Outdoor Tent: Attach the lines to the internal frame of the tent. The slight breeze will cause the tubes to sway gently, creating a dynamic, living installation.
Regardless of the venue, aim for a density of at least 10 to 15 tubes per square meter to create a lush, full appearance. Anything less can look sparse and accidental.
The Installation Strategy: Timing and Execution

Execution is where many DIYers get stressed, but with a plan, it’s a breeze. You cannot do this the morning of the wedding alone. You need a ‘Strike Team’ of 2-3 people.
The Timeline for Success
- 2 Weeks Before: Prep all your lines. Cut, knot, and crimp the tubes so they are ready to hang. Store them in egg cartons or foam blocks to keep them upright and organized.
- 1 Day Before: Transport the ‘pre-strung’ tubes to the venue. Hang the empty tubes first. This is the most time-consuming part.
- Wedding Morning: This is when you add the water and the flowers. Use a plastic squeeze bottle (like a condiment bottle) to fill the tubes quickly without splashing. Then, simply drop in your pre-cut stems.
“The goal is to be the ‘Crafty Expert’ who finishes early. Preparation is the difference between a stressed bride and a savvy creator.”
Conclusion
Your High-End Vision, Realized for Less
Mastering the hanging test tube floral hack is more than just a way to save money—it’s a way to bring a unique, personal touch of ‘masculine elegance’ and ‘crafty sophistication’ to your big day. By sourcing in bulk, engineering your suspension with care, and choosing hardy botanicals, you create an environment that your guests will be talking about for years. You don’t need a massive budget to have a massive impact; you just need a bit of resourcefulness and the willingness to look at a simple laboratory tool as a vessel for beauty. Now, grab those tubes, start knotting, and prepare to watch your wedding venue transform into an ethereal floating garden that looks like it stepped right off the pages of a high-fashion magazine.

Makenzie is the founder and lead writer at MoneyHackTips.com — a personal finance blog dedicated to delivering street-smart financial wisdom for real people on real budgets. With 300+ published articles covering everything from debt management to investing fundamentals, Makenzie’s mission is to make every dollar work harder. When not writing about money hacks, Makenzie is testing frugal living strategies, optimizing side hustles, and helping readers build financial freedom from scratch.