
Unlock Your Home’s Hidden Vertical Potential
Let’s be honest: we’ve all stared at that one empty, awkward slice of wall in the kitchen or the tiny, cramped corner of a balcony and thought, “I wish I could put a garden there.” But when you look at high-end home decor catalogs, a sleek vertical planter can easily run you $50 to $120. For the frugal DIYer, that’s not just a budget-buster; it’s a challenge. We don’t just want a garden; we want a bespoke, ruggedly elegant solution that looks like it belongs in a Soho loft but costs less than a fancy latte.
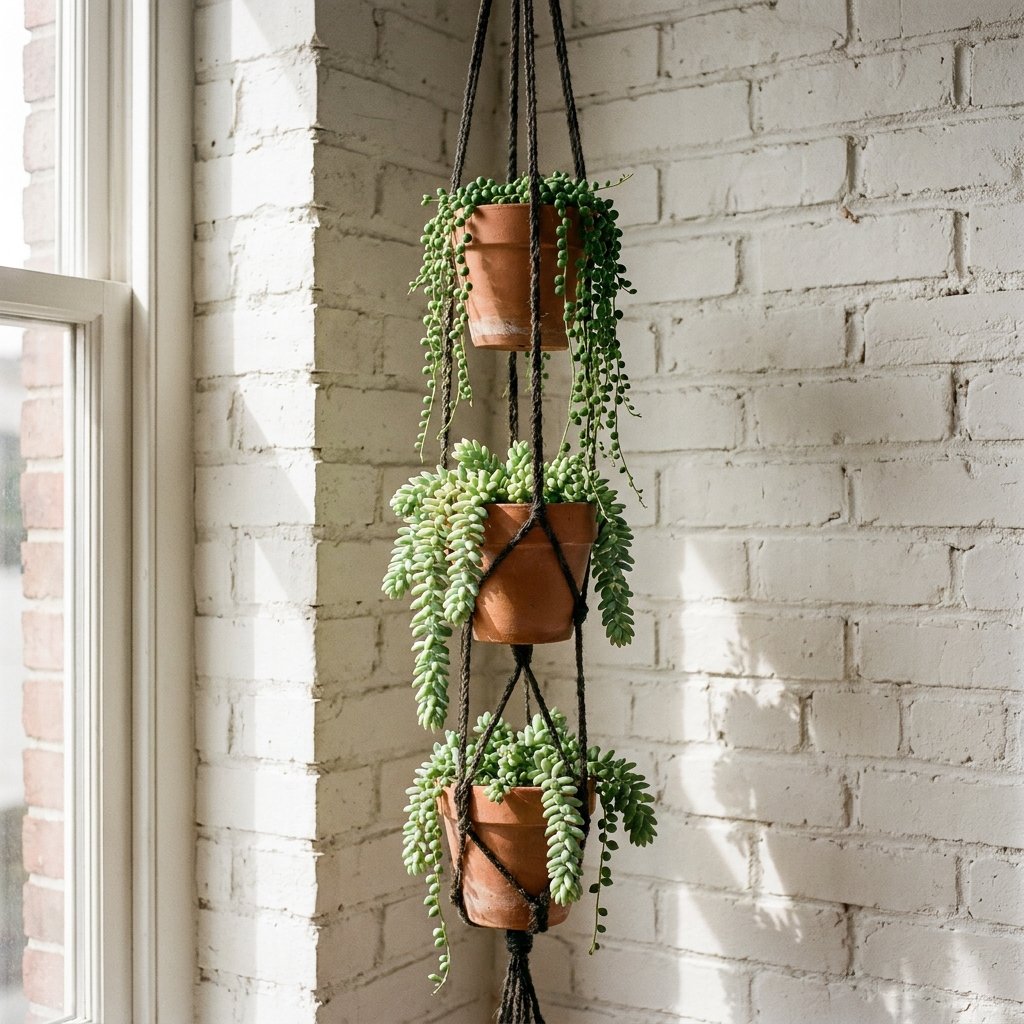
Enter the Dollar Store Clay Pot Hanging Wall Planter. By combining basic terracotta pots with a few clever hardware store finds and a bit of crafty ingenuity, we are going to build a stunning, space-saving botanical display. This project is the ultimate game changer for urban dwellers, handy parents looking for a weekend project, and anyone who believes that “budget” doesn’t have to mean “cheap.” We are going to age these pots for a weathered, masculine-elegant look and secure them with knots that would make a sailor proud. Let’s roll up our sleeves and maximize your space.
The Tactical Inventory: Materials and Cost Breakdown
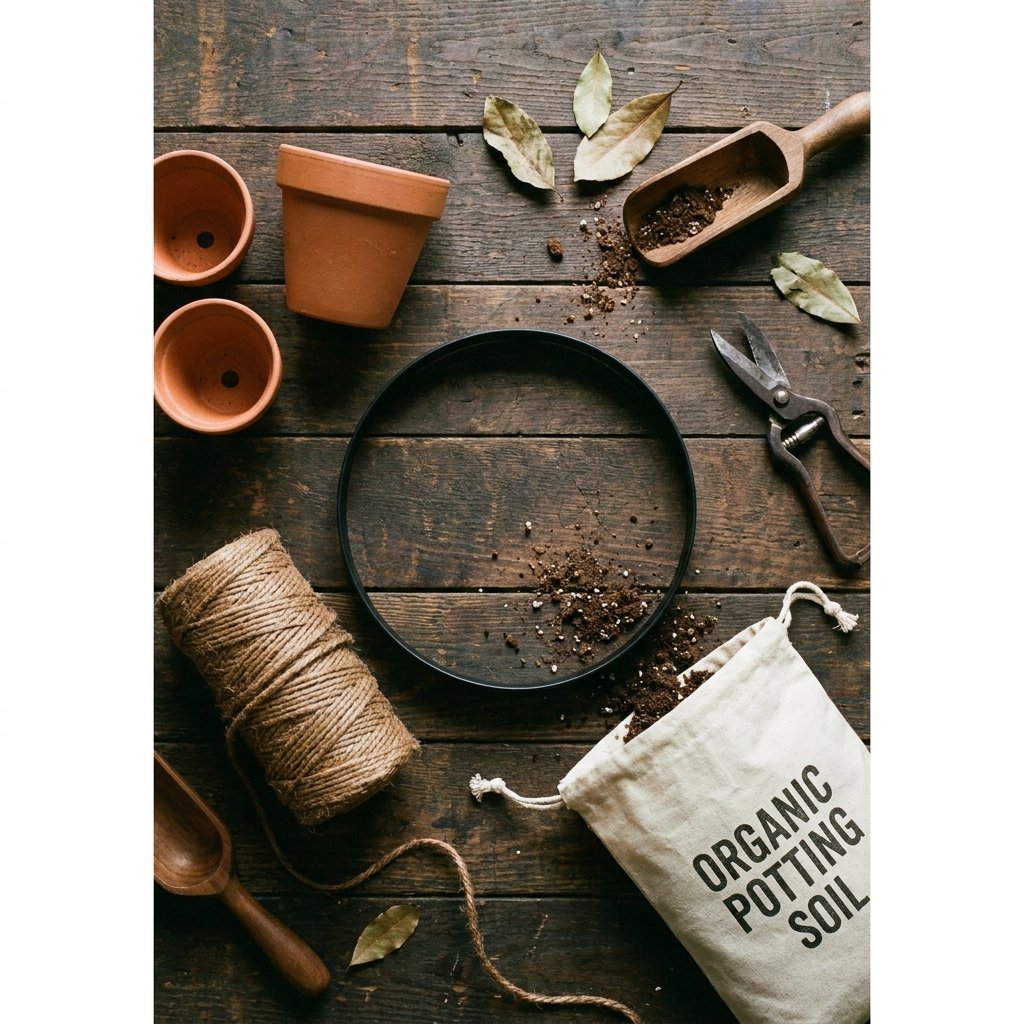
Scouting Your Supplies
The secret to a high-end look is choosing materials with texture and weight. While we are sourcing the core components from the Dollar Store, we are looking for the ‘diamonds in the rough.’ You’ll need three to four small clay pots—terracotta is a classic for a reason; it breathes well and develops a beautiful patina over time. For the suspension, skip the flimsy plastic twine and opt for thick cotton rope or heavy-duty jute. This adds a rugged, organic feel to the piece.
Budget Comparison: DIY vs. Big Box Retail
| Item | Dollar Store / DIY Cost | Retail Store Price |
|---|---|---|
| 3 Terracotta Pots | $3.75 | $12.00 |
| 10ft Jute/Cotton Rope | $1.25 | $8.00 |
| Wooden Dowel or Metal Ring | $1.25 | $15.00 |
| Potting Mix & Succulents | $3.00 (Scraps/Propagated) | $25.00 |
| Total | $9.25 | $60.00 |
As you can see, you are saving over 80% by taking the DIY route. That extra $50 stays in your pocket for more plants or your next project. When scouting your pots, ensure they have a drainage hole at the bottom; this is non-negotiable for plant health and serves as the structural anchor for our hanging method.
The ‘Aged Stone’ Transformation: Elevating Cheap Clay
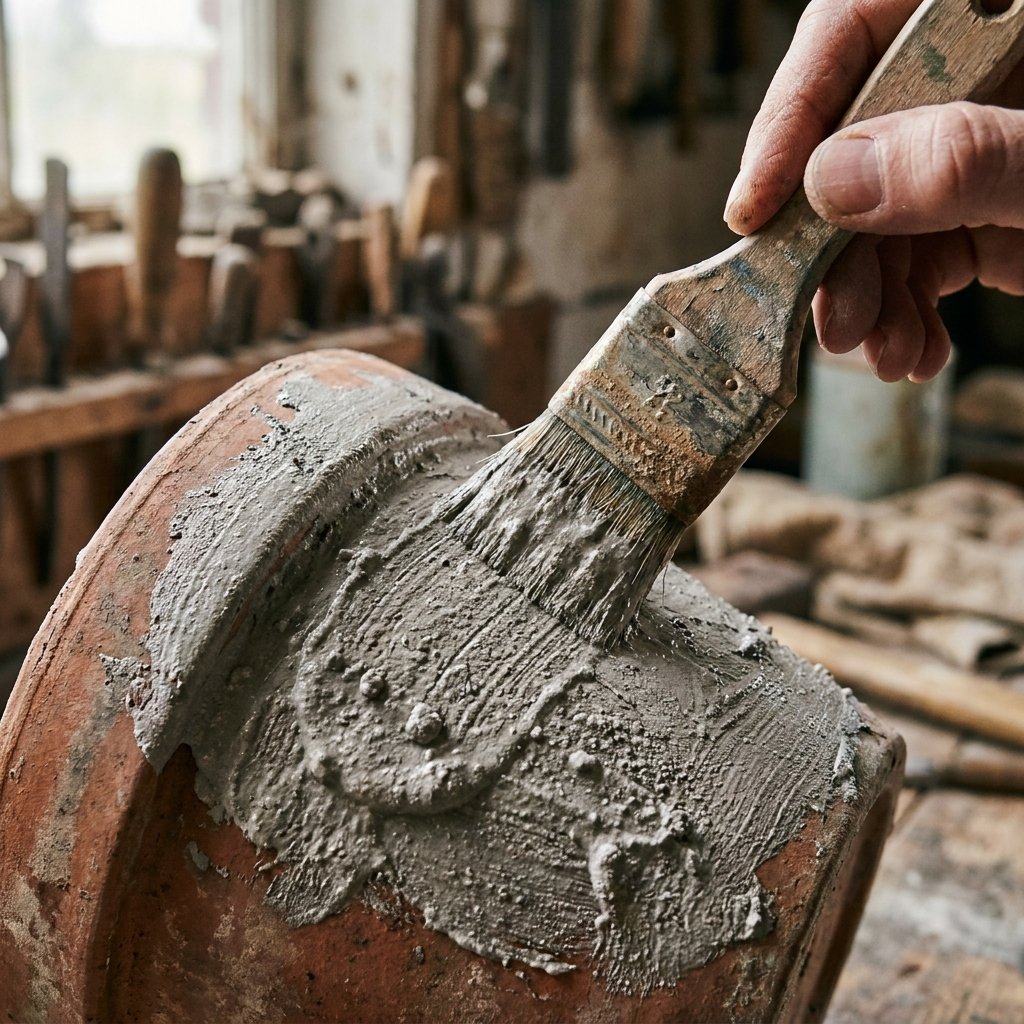
Giving New Pots an Antique Soul
Fresh terracotta can sometimes look a bit too bright and ‘new’ for a sophisticated space. To achieve that rugged, masculine-elegant aesthetic, we are going to use the ‘Baking Soda Paint Trick.’ This technique adds a gritty, stone-like texture that mimics expensive artisan pottery found in high-end boutiques.
- Step 1: Mix one cup of matte acrylic paint (charcoal grey or off-white works best) with 1/4 cup of baking soda. The mixture should become thick and slightly foamy.
- Step 2: Use a stiff brush to ‘stipple’ the paint onto the pots. Don’t worry about being perfect; the goal is irregularity and texture.
- Step 3: While the paint is still tacky, lightly dust a small amount of dry cinnamon or dark soil onto the surface to simulate natural oxidation and age.
“The beauty of upcycling is in the imperfections. A pot that looks like it has survived a hundred seasons in a Mediterranean garden has far more character than a plastic tub from a shelf.”
Allow the pots to dry for at least 45 minutes before handling. This textured finish not only looks incredible but also provides a better grip for our rope suspension system.
The Master’s Knot: Secure Suspension Engineering
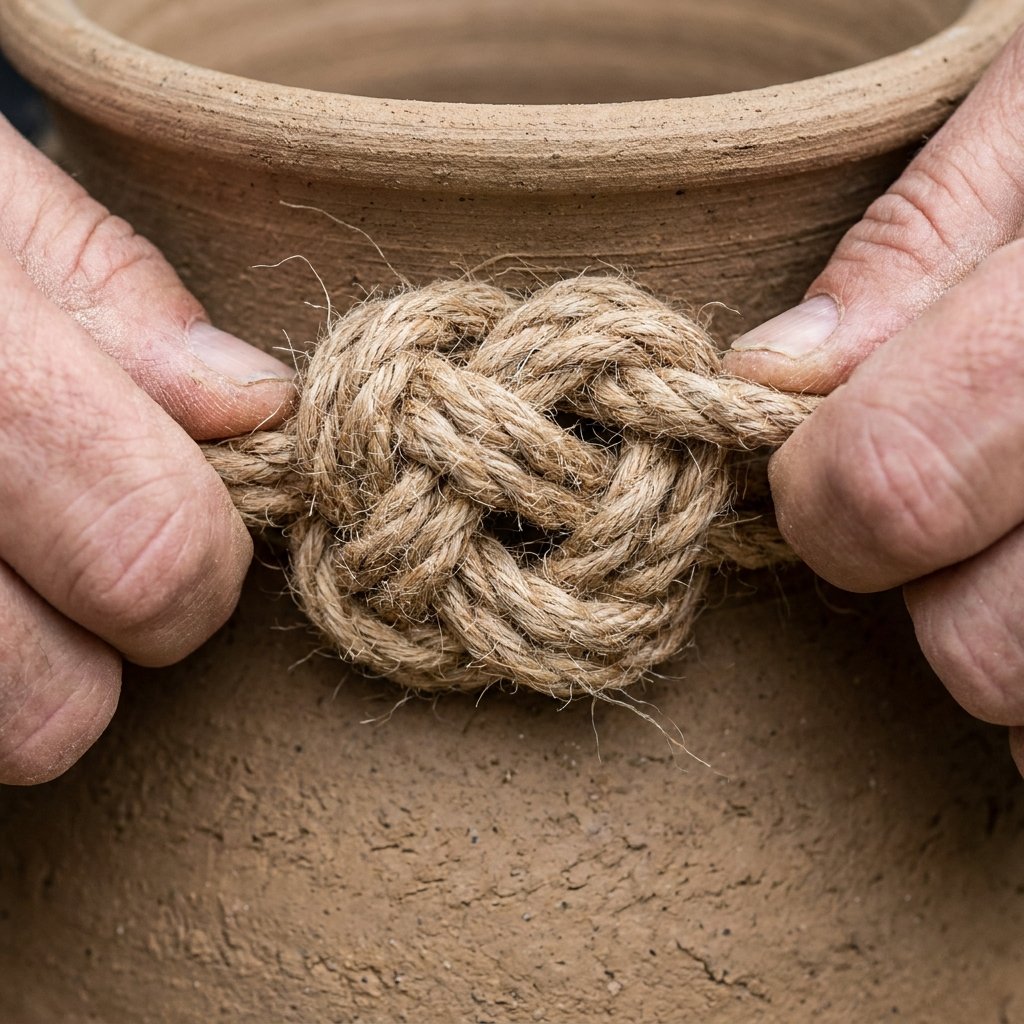
Building the Vertical Backbone
Now we move into the structural phase. We aren’t just tying strings; we are engineering a gravity-defying display. We will use a series of ‘Overhand Knots’ and ‘Washer Anchors’ to ensure your plants stay on the wall and not on the floor.
The Assembly Process
- Measure and Cut: Cut three lengths of rope, each approximately 4 feet long. This gives you plenty of slack for knots and adjustments.
- The Top Anchor: Loop all three ropes through your metal ring or over your wooden dowel. Secure them with a Lark’s Head knot to create a sturdy starting point.
- The Pot Stop: Slide your first pot onto the ropes. To keep the pot from sliding down, we will use a small metal washer or a thick twig threaded through the drainage hole, then tied off with a Double Overhand knot directly underneath.
- Spacing: Space your pots approximately 8 inches apart. Consistency is key here for the visual ‘rhythm’ of the piece.
“Measure twice, cut once, and always tug-test your knots. A garden is only as good as the structure that holds it.”
This method ensures that each pot sits level. If you find a pot is tilting, simply adjust the knot tension or the placement of the internal anchor until it sits perfectly flush against the wall.
Botanical Strategy: Choosing the Right Greenery
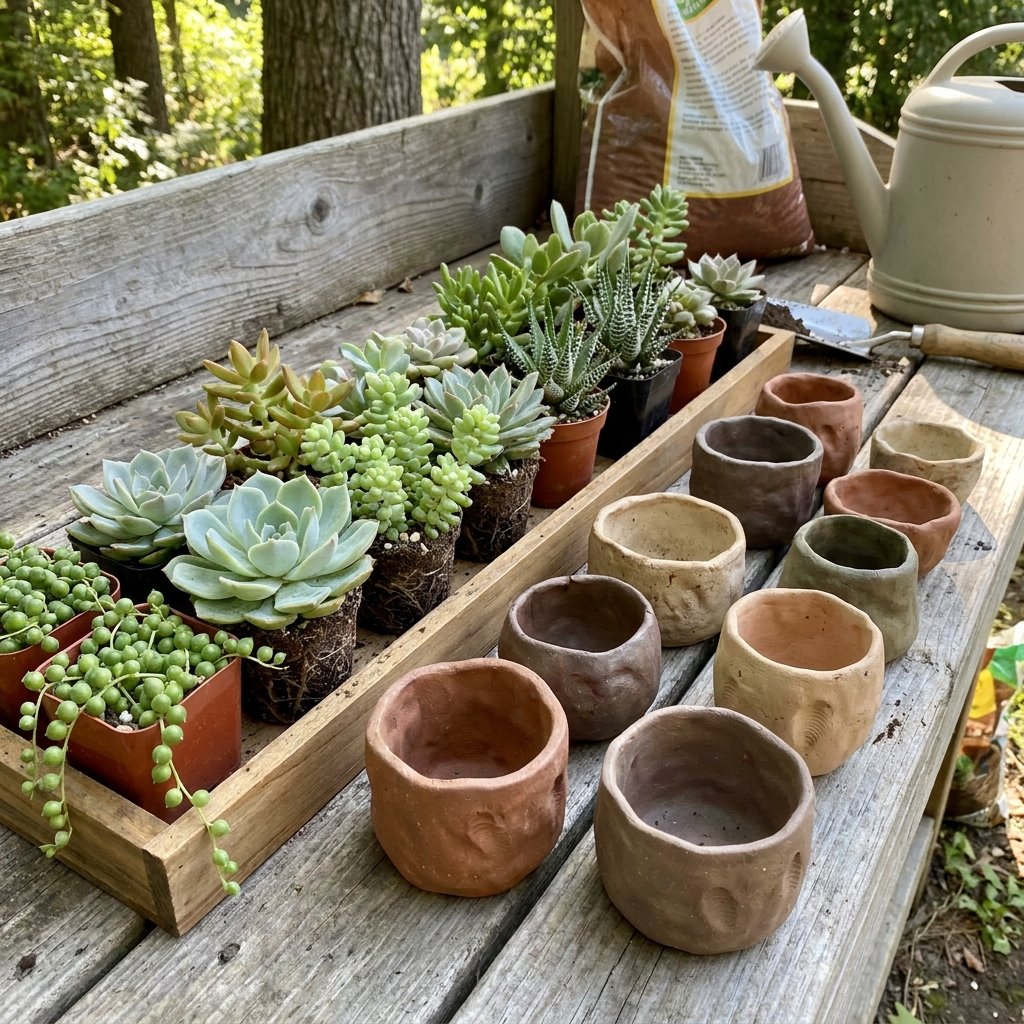
Maximizing Life in Small Vessels
Because these Dollar Store pots are typically 3 to 4 inches in diameter, you need to be strategic about what you plant. You want ‘trailers’ and ‘reachers’—plants that will either grow upward to fill the vertical space or cascade down to hide the rope and add movement.
Plant Compatibility Guide
| Plant Type | Light Needs | Growth Habit |
|---|---|---|
| String of Pearls | Bright, Indirect | Cascading/Trailing |
| Burro’s Tail | Full Sun | Heavy/Succulent Drape |
| English Ivy | Low to Medium | Aggressive Vine |
| Sweet Basil | High Sun | Upright/Bushy (Edible) |
For a masculine-elegant look, I highly recommend succulents with muted tones—think Echeveria with dusty blue leaves or Haworthia with rugged white stripes. If you are placing this in a kitchen, go for a Vertical Herb Garden. Having fresh rosemary, thyme, and mint at arm’s reach while cooking is a total game changer for any home chef.
Installation and Styling: The Final Reveal
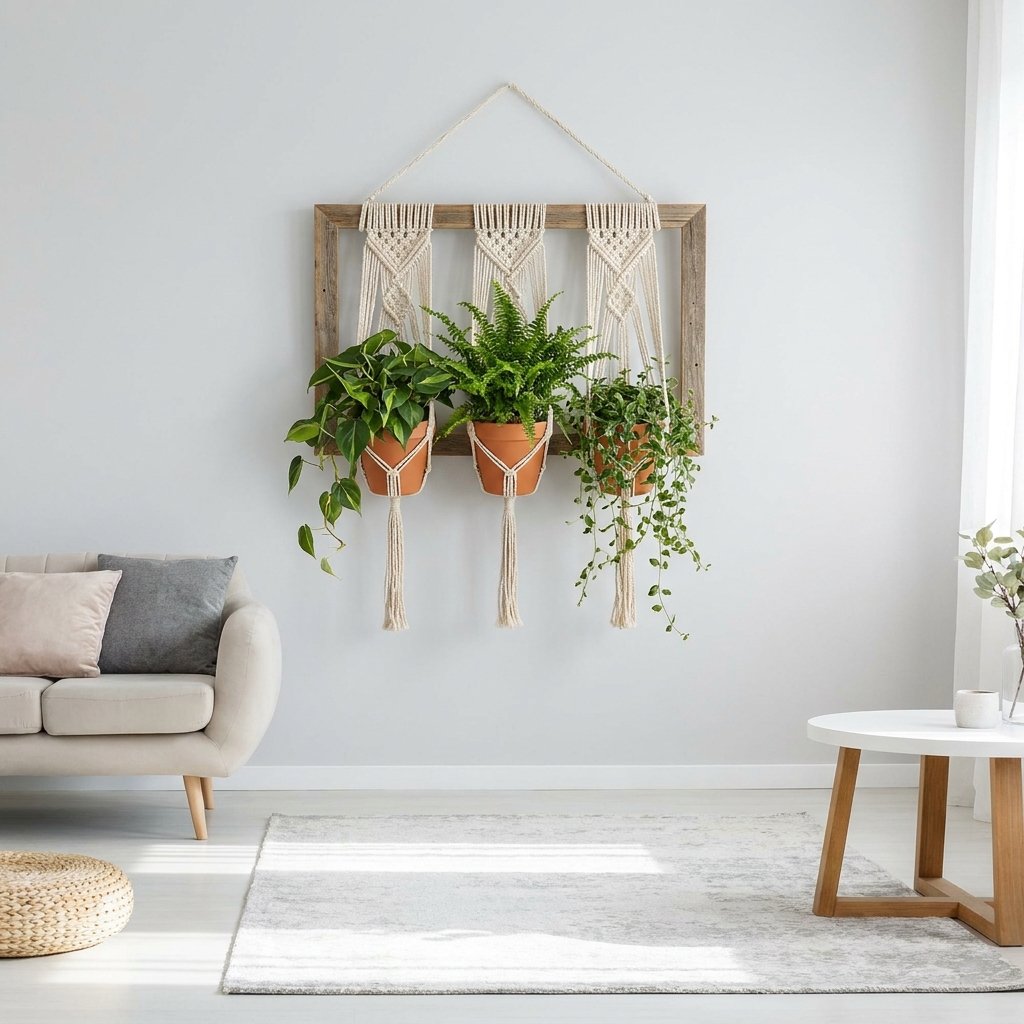
Mounting Your Masterpiece
The final step is the most rewarding. To mount your planter, use a heavy-duty brass hook or a matte black ‘S’ hook. Ensure you are drilling into a stud or using a high-quality wall anchor, especially if you are using real soil and watering your plants, as the weight can increase significantly when wet.
Styling Tips for Maximum Impact
- Layering: Hang two or three of these units at varying heights to create a ‘living wall’ effect.
- Contrast: If your wall is white, use dark charcoal pots and black rope. If your wall is dark or brick, stick with the natural terracotta and light cream cotton rope.
- Maintenance: Since these pots are small, they will dry out faster than large planters. Use a long-necked watering can or a simple spray bottle to keep your greenery hydrated without making a mess on your floors.
By using these simple, budget-friendly materials, you’ve created a piece of functional art. This hanging planter doesn’t just hold plants; it breathes life into dead space and proves that with a little resourcefulness, your home can look like a million bucks for under $10.
Conclusion
Your Space, Reimagined
Maximizing a small space doesn’t require a massive renovation or a designer’s budget. It requires the clever application of simple tools and a willingness to see the potential in everyday items. This Dollar Store clay pot hanging planter is more than just a craft; it’s a testament to the power of frugal DIY ingenuity. You’ve taken $1.25 items and transformed them into a sophisticated vertical garden that saves floor space and cleans the air. So, the next time you see a blank wall, don’t see a problem—see a canvas for your next great upcycling project. Happy crafting!

Makenzie is the founder and lead writer at MoneyHackTips.com — a personal finance blog dedicated to delivering street-smart financial wisdom for real people on real budgets. With 300+ published articles covering everything from debt management to investing fundamentals, Makenzie’s mission is to make every dollar work harder. When not writing about money hacks, Makenzie is testing frugal living strategies, optimizing side hustles, and helping readers build financial freedom from scratch.