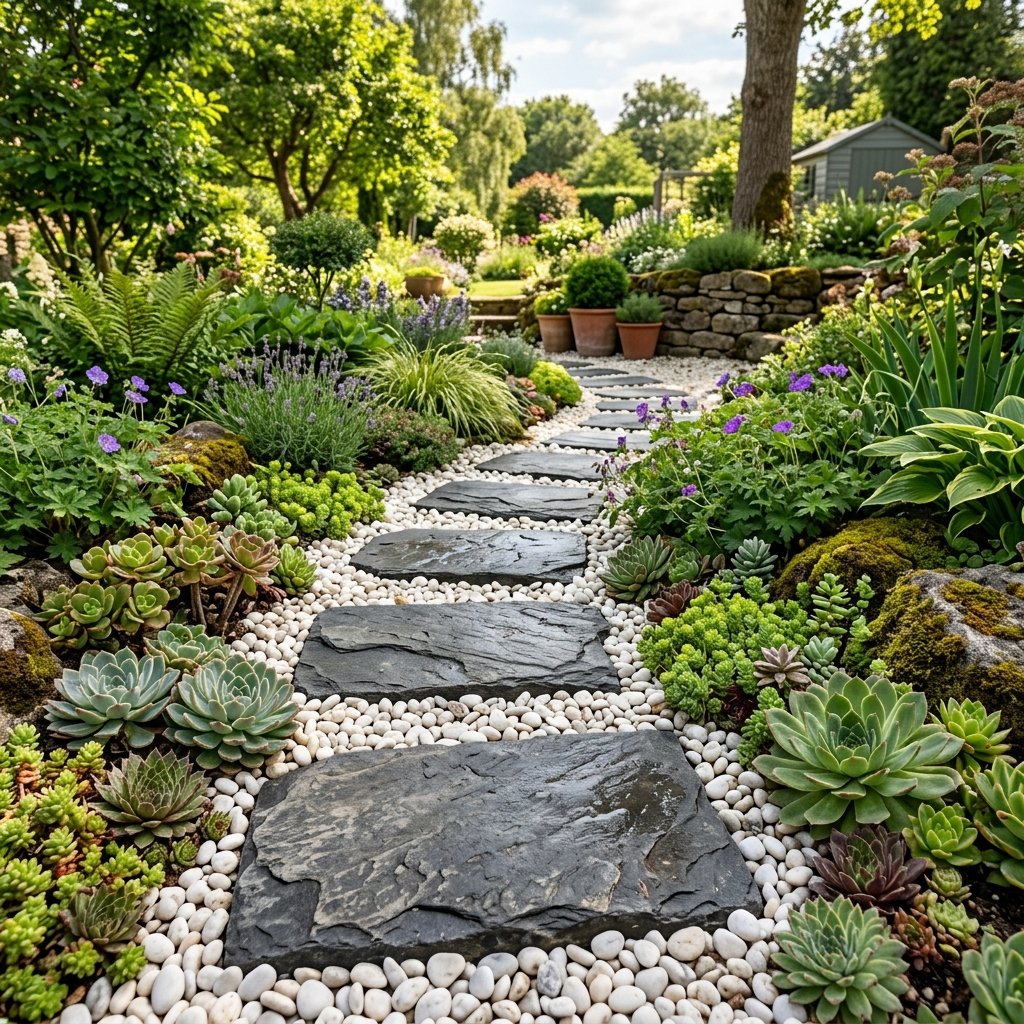

Let’s be honest: curb appeal is often the first thing people notice, but it is also the first thing to drain your bank account. If you have been eyeing those high-end, natural slate stepping stones at the local stone yard, you know they can easily run you $30 to $50 per stone. For a full garden path, you are looking at a mortgage payment. But what if I told you that with a little grit, some clever resourcefulness, and a trip to the Dollar Tree, you could create jaw-dropping, rugged, and masculine-elegant faux slate stones for under $10? This isn’t just about saving money; it is about the craft of the upcycle. We are going to take basic materials and transform them into something that looks like it was quarried from the mountains of Vermont. Whether you are a frugal DIYer looking to spruce up the backyard or a handy parent teaching the kids the value of a dollar, this project is the ultimate ‘Trash-to-Treasure’ win. We are going to use simple plastic molds, a bit of concrete, and a clever painting technique to mimic that iconic cleft-slate texture that defines luxury outdoor spaces.
The High-End Dupe: Real Slate vs. Dollar Tree DIY

Before we dive into the ‘how-to,’ let’s look at the ‘why.’ Real slate is beautiful because of its natural layers and deep, earthy tones. However, it is heavy, expensive, and difficult to cut. Our DIY version uses a concrete base with a textured finish that provides the same weight and durability but at a fraction of the cost. By using a specific molding technique, we can replicate the ‘cleft’ surface that gives slate its character. This project is perfect for those who want a sophisticated, rugged look without the high-end price tag.
| Feature | Store-Bought Natural Slate | DIY Faux Slate (Dollar Tree) |
|---|---|---|
| Cost Per Stone | $25 – $55 | $1.25 – $2.50 |
| Weight | Very Heavy / Brittle | Solid / Durable |
| Customization | Limited to Stock | Infinite (Size & Color) |
| Installation | Requires Professional Base | Easy DIY Laying |
Why the Dollar Tree?
The secret weapon in this project is the Dollar Tree Pizza Pan or the Plastic Serving Tray. These serve as our molds. They are the perfect diameter for a standard stepping stone, and because they are flexible plastic or thin metal, the cured concrete pops right out. We are also going to source our mixing tools and even some of our texturing materials from the same aisles, keeping our total investment incredibly low.
The $10 Master List: Sourcing Your Materials
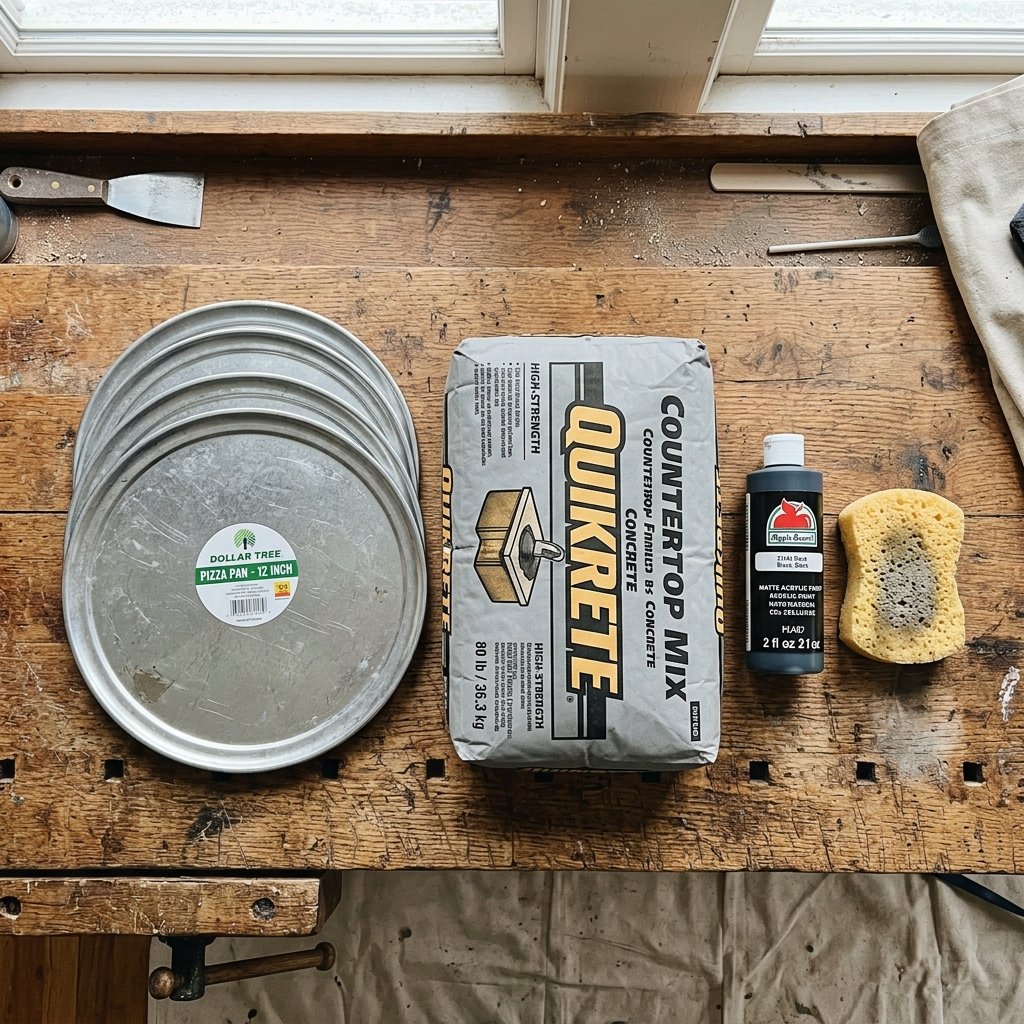
To keep this project under the $10 mark, we need to be strategic. You likely already have some of these items in your garage, but if not, the Dollar Tree and a quick stop at a hardware store will cover the rest. Remember, the goal is rugged elegance, so don’t be afraid to get your hands dirty.
| Item | Source | Estimated Cost |
|---|---|---|
| Round Pizza Pan or Plastic Tray | Dollar Tree | $1.25 |
| Cooking Spray (Release Agent) | Dollar Tree | $1.25 |
| Bag of Quick-Set Concrete (80lb) | Hardware Store | $5.50 |
| Charcoal/Black Acrylic Paint | Dollar Tree | $1.25 |
| Large Sponge | Dollar Tree | $1.25 |
| Total Investment | — | $10.50 (Makes ~8 stones) |
Budget Mantra: A dollar saved is a dollar earned, but a dollar upcycled is a masterpiece created.
A Note on Safety
Always wear a dust mask and heavy-duty rubber gloves when mixing concrete. The alkaline nature of cement can irritate the skin and the dust is not something you want in your lungs. Work in a well-ventilated area, preferably outdoors.
The Concrete Mix: Achieving the ‘Cleft’ Slate Texture
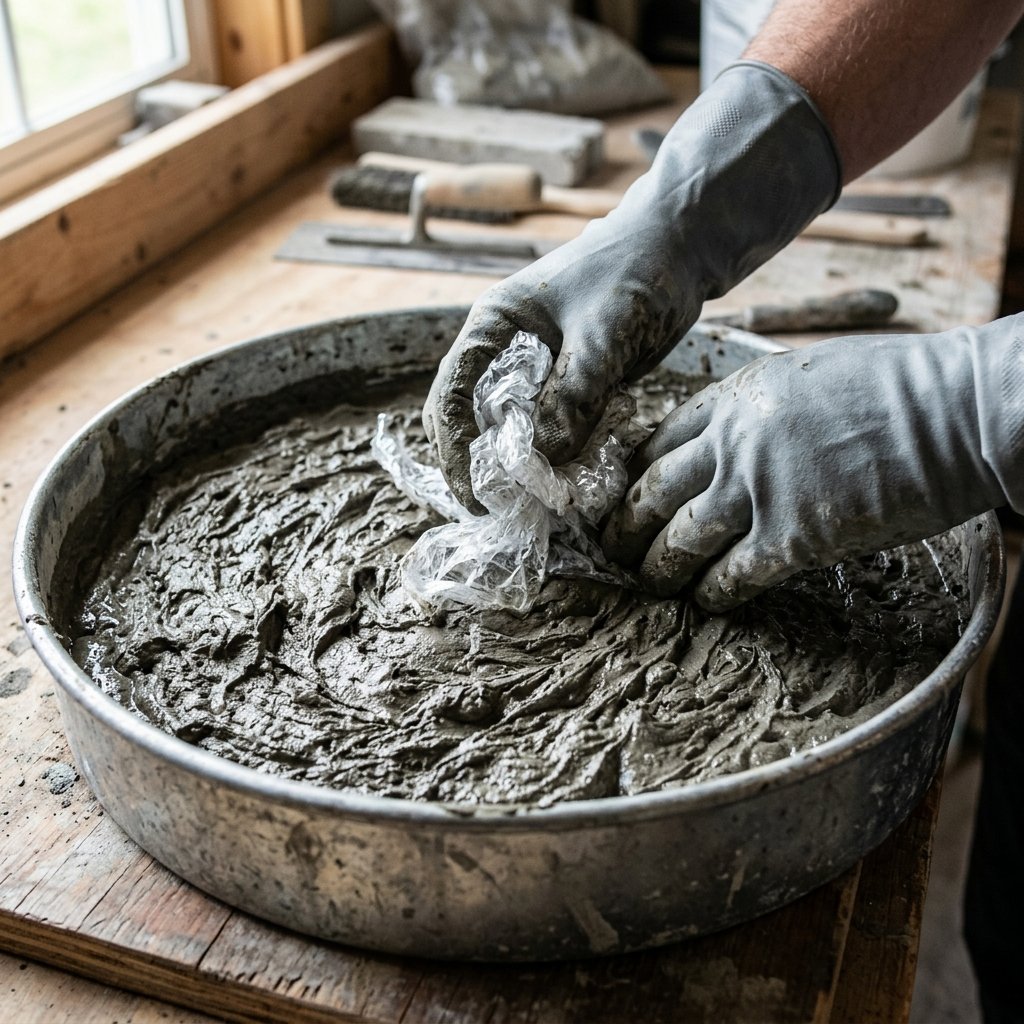
The key to a convincing faux slate is the texture. Real slate is formed in layers, and when it is split, it creates a ‘cleft’ surface. We are going to mimic this using a slightly thicker concrete mix and a piece of crumpled plastic wrap or a textured sponge. You don’t want a smooth, sidewalk-like finish; you want peaks and valleys.
- Step 1: Prep the Mold. Liberally coat your Dollar Tree pizza pan with cooking spray. This is your release agent. If you skip this, your stone will stay in the pan forever.
- Step 2: The Mix. In a bucket, combine your concrete and water. Aim for a consistency similar to thick peanut butter. If it is too runny, the texture won’t hold. If it is too dry, it will crumble.
- Step 3: The Pour. Fill the pan about 1.5 inches deep. Tap the sides of the pan vigorously for 60 seconds to release air bubbles—this ensures the stone doesn’t have unsightly ‘Swiss cheese’ holes on the surface.
- Step 4: Creating the Cleft. Take a piece of crumpled plastic wrap and press it into the wet surface of the concrete. Gently pull it up to create ridges. Alternatively, use a coarse sponge to ‘dab’ the surface, pulling the cement up into small peaks.
The Art of the Finish: Painting and Weatherproofing
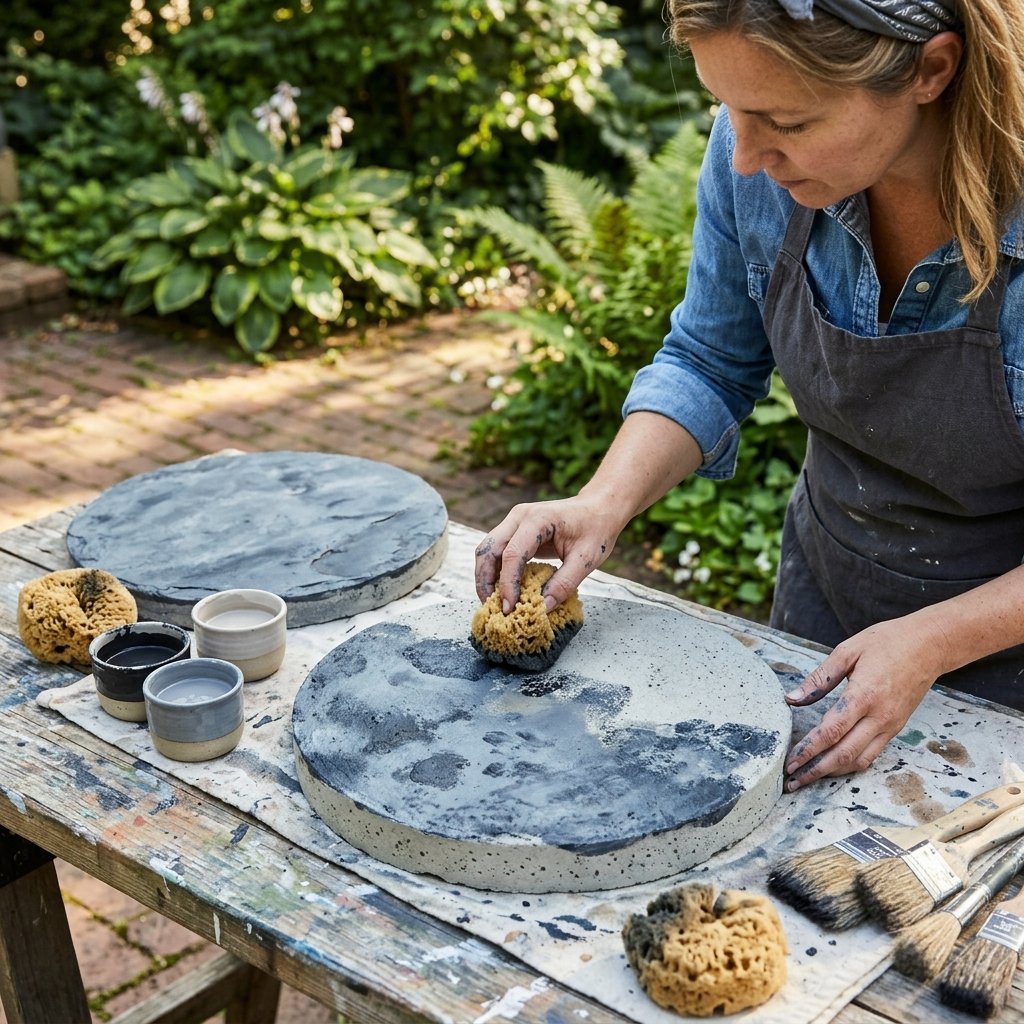
Once your stones have cured for at least 24 to 48 hours, pop them out of the molds. They will be a light, boring grey. This is where the magic happens. We are going to use a ‘dry brush’ and ‘washing’ technique to give them the deep, multi-tonal look of charcoal slate.
The Layering Process
- The Base Wash: Mix your black acrylic paint with water (50/50 ratio). Brush this over the entire stone, letting it settle into the deep crevices of the texture you created. Let it dry for 10 minutes.
- The Highlight: Take a small amount of undiluted grey or white paint on a dry sponge. Lightly hit only the high points of the texture. This creates the ‘shimmer’ and depth found in natural stone.
- The Earth Tone (Optional): For a more weathered look, add a tiny ‘wash’ of burnt umber or rust-colored paint in small patches to mimic iron deposits.
Pro Tip: To make these stones last through rain and snow, apply a coat of clear matte outdoor sealer. It protects the paint and gives the stone a slightly damp, ‘high-end’ look that makes the colors pop.
Installation: Laying Your Masterpiece Path
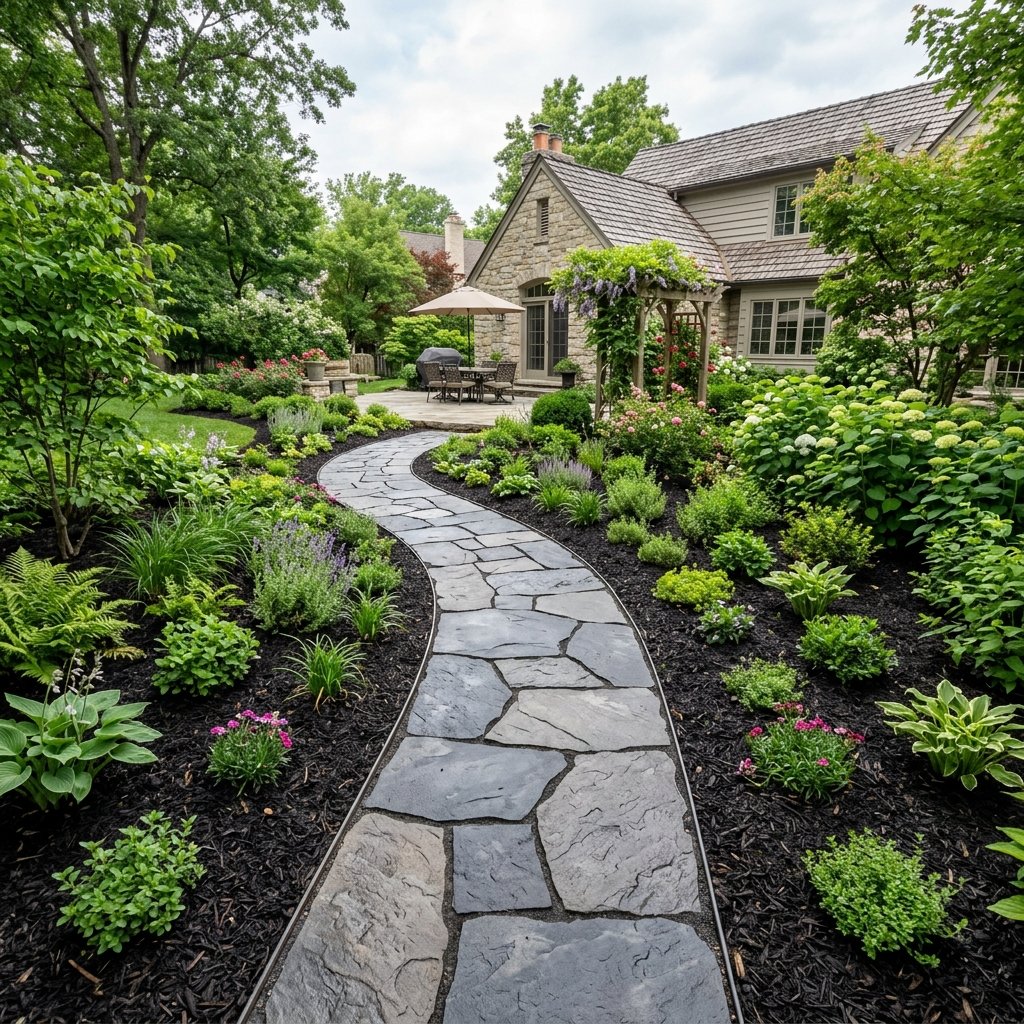
You’ve made your stones; now you need to set them. A rugged path shouldn’t just sit on top of the grass; it needs to be integrated into the landscape. This ensures safety and longevity.
- Mark Your Path: Lay the stones out on the grass to find the perfect stride length. Usually, 20-24 inches from the center of one stone to the next is ideal.
- Dig In: Trace around each stone with a trowel. Remove the sod and about 2 inches of soil.
- Leveling: Add a half-inch of sand or fine gravel into the hole. This prevents the stone from shifting or cracking when you step on it.
- Set and Fill: Place the stone in the hole, ensuring it is flush with the ground level (this makes mowing over them a breeze). Fill the gaps with pea gravel, moss, or mulch for a professional finish.
| Laying Material | Best For | Aesthetic |
|---|---|---|
| Pea Gravel | Drainage | Modern/Rugged |
| River Rocks | Natural Look | Rustic/Elegant |
| Creeping Thyme | Living Path | English Garden |
| Black Mulch | Contrast | High-End/Clean |
Conclusion
Creating a stunning, high-end garden doesn’t require a massive budget or a professional landscaping crew. By being resourceful and looking at a $1.25 pizza pan as a tool of creation rather than just kitchenware, you’ve unlocked a secret to home improvement that most people miss. These DIY faux slate stepping stones are durable, sophisticated, and cost less than a fancy cup of coffee. You’ve successfully turned ‘trash’—or at least very cheap basics—into a treasure that will welcome guests to your home for years to come. Now, grab your gloves, head to the Dollar Tree, and start pouring. Your dream garden path is only $10 and a weekend away!

Makenzie is the founder and lead writer at MoneyHackTips.com — a personal finance blog dedicated to delivering street-smart financial wisdom for real people on real budgets. With 300+ published articles covering everything from debt management to investing fundamentals, Makenzie’s mission is to make every dollar work harder. When not writing about money hacks, Makenzie is testing frugal living strategies, optimizing side hustles, and helping readers build financial freedom from scratch.