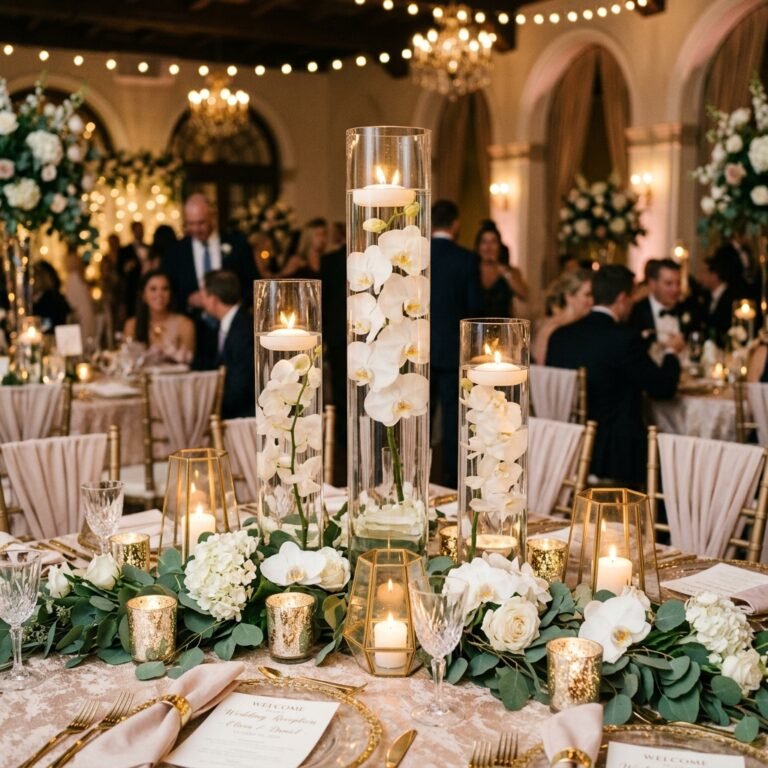
The High-End Aesthetic on a Shoestring Budget
We have all been there: scrolling through a high-end home decor catalog, eyes widening at a set of ‘artisan-crafted’ terracotta or stone candlesticks priced at a staggering $75 to $150. While the aesthetic is undeniably sophisticated—earthy, weighted, and timeless—the price tag is often a deterrent for the resourceful DIYer. But what if I told you that the secret to achieving that rugged, masculine-elegant look lies not in a luxury showroom, but in the dusty bins of your local thrift store? By combining a bit of clever scouting with a simple, budget-savvy painting technique, you can replicate the Pottery Barn look for less than the cost of a fancy latte.
This guide isn’t just about slapping some paint on a piece of brass; it is about a complete material transformation. We are going to take mismatched, dated, and perhaps even ugly candlesticks and give them the ‘soul’ of ancient pottery. Whether you are a handy parent looking to spruce up the mantel or a frugal crafter preparing for a budget-friendly wedding, this process is designed to be approachable, ruggedly practical, and incredibly satisfying. We will focus on the ‘Baking Soda Paint’ method—a favorite among upcyclers for its ability to turn slick surfaces into something that looks like it was unearthed from an archaeological dig. Let’s get our hands dirty and turn some trash into treasure.
Scouting the Diamond in the Rough: Selecting Your Base
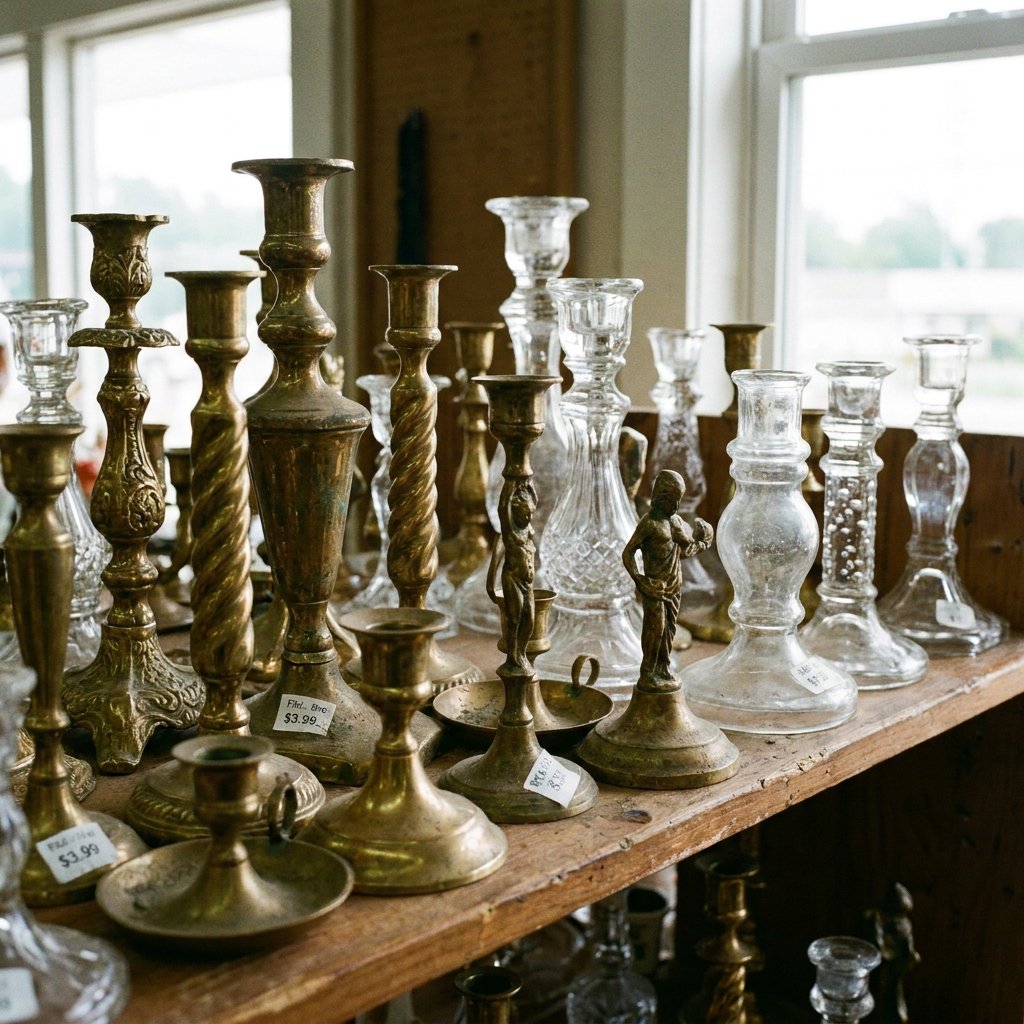
The first step in any successful upcycle is the hunt. You aren’t looking for beauty; you are looking for form and silhouette. When you walk into a thrift store or browse a garage sale, ignore the chipped gold plating, the dated floral patterns, or the tarnished silver. Instead, look at the ‘bones’ of the candlestick. A good candidate for a Pottery Barn dupe has interesting curves, a solid base, and a height that complements other pieces in a potential set.
Materials to Look For
- Brass and Metal: These are the gold standard. They have great weight and usually feature classic, turned-wood-style silhouettes that look incredible when matted down.
- Glass and Crystal: Don’t overlook these! While they look ‘cheap’ when clear, once they are coated in a thick, textured paint, they take on the appearance of heavy ceramic or cast stone.
- Wood: Already halfway there. Wood takes paint beautifully, though you may need to lightly sand any high-gloss varnish first.
Aim to spend no more than $1.00 to $3.00 per candlestick. This leaves us plenty of room in our $10 budget for the finishing materials. Remember, the goal is a cohesive set, so look for varying heights—a small, medium, and large trio creates the most visually pleasing ‘vignette’ on a dining table or shelf.
“The beauty of a thrifted find isn’t in its current state, but in its structural potential. Look for the silhouette, not the shine.”
The Chemistry of Chic: Crafting the Perfect Textured Medium

To achieve that authentic, expensive pottery look, we need texture. Flat paint alone will look like… well, painted thrift store items. We need to create a ‘slip’ that mimics the grittiness of clay or stone. The most cost-effective way to do this is by mixing household baking soda with standard acrylic craft paint. This creates a chemical reaction that thickens the paint and leaves a matte, grainy finish upon drying.
The DIY Material Budget
| Item | Source | Estimated Cost |
|---|---|---|
| Thrifted Candlesticks (Set of 3) | Goodwill / Yard Sale | $4.50 |
| Acrylic Paint (Matte) | Dollar Tree / Craft Store | $1.25 |
| Baking Soda | Pantry / Grocery Store | $1.00 |
| Cheap Chip Brush | Hardware Store | $1.00 |
| TOTAL | $7.75 |
When choosing your paint color, think ‘Organic.’ Pottery Barn’s palette usually consists of Greige, Charcoal, Terracotta, and Off-White. Avoid anything with a sheen; we want ‘Ultra-Matte’ or ‘Flat.’ For a rugged, masculine-elegant vibe, a deep charcoal or a warm, sandy beige works wonders. You can even mix colors to create a custom ‘stone’ hue.
The Application Phase: Layering for Depth and Dimension
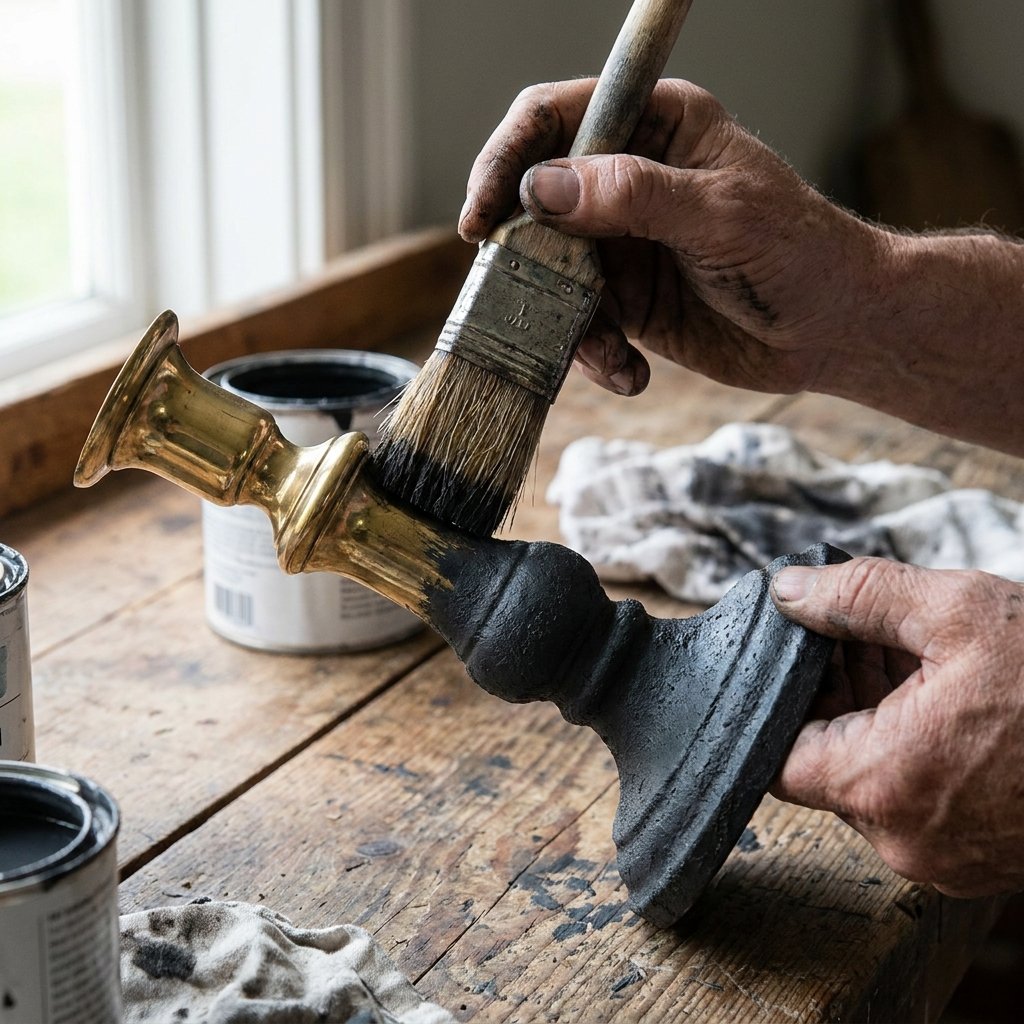
Now that we have our ‘stone’ mixture, it is time to transform the surface. This isn’t your typical smooth-stroke painting job. We want to be intentional with our texture to hide the original material of the candlestick. Before you start, ensure your candlesticks are clean and free of wax or dust. A quick wipe with rubbing alcohol is usually enough to ensure the paint bonds well.
The Stippling Technique
- The First Coat: Use a chip brush to apply a thin layer of your mixture. Don’t worry if it looks a bit ‘streaky’ at first. This is your foundation.
- The Stippling Motion: Instead of long strokes, use the tip of the brush to ‘pounce’ or ‘dab’ the paint onto the surface. This creates small peaks and valleys in the texture that mimic the feel of hand-thrown pottery.
- Drying Time: Let the first coat dry for at least 30 minutes. The baking soda will cause the paint to dry faster than usual, but it needs to be firm before the next layer.
- The Second Coat: Apply a second, thicker coat using the same stippling motion. Focus on areas where the original material might still be peeking through, such as the crevices of a brass turning.
“Consistency is the enemy of authenticity. Allow some areas to be slightly more textured than others to mimic the natural imperfections of stone.”
Refining the Patina: Professional Finishing Touches
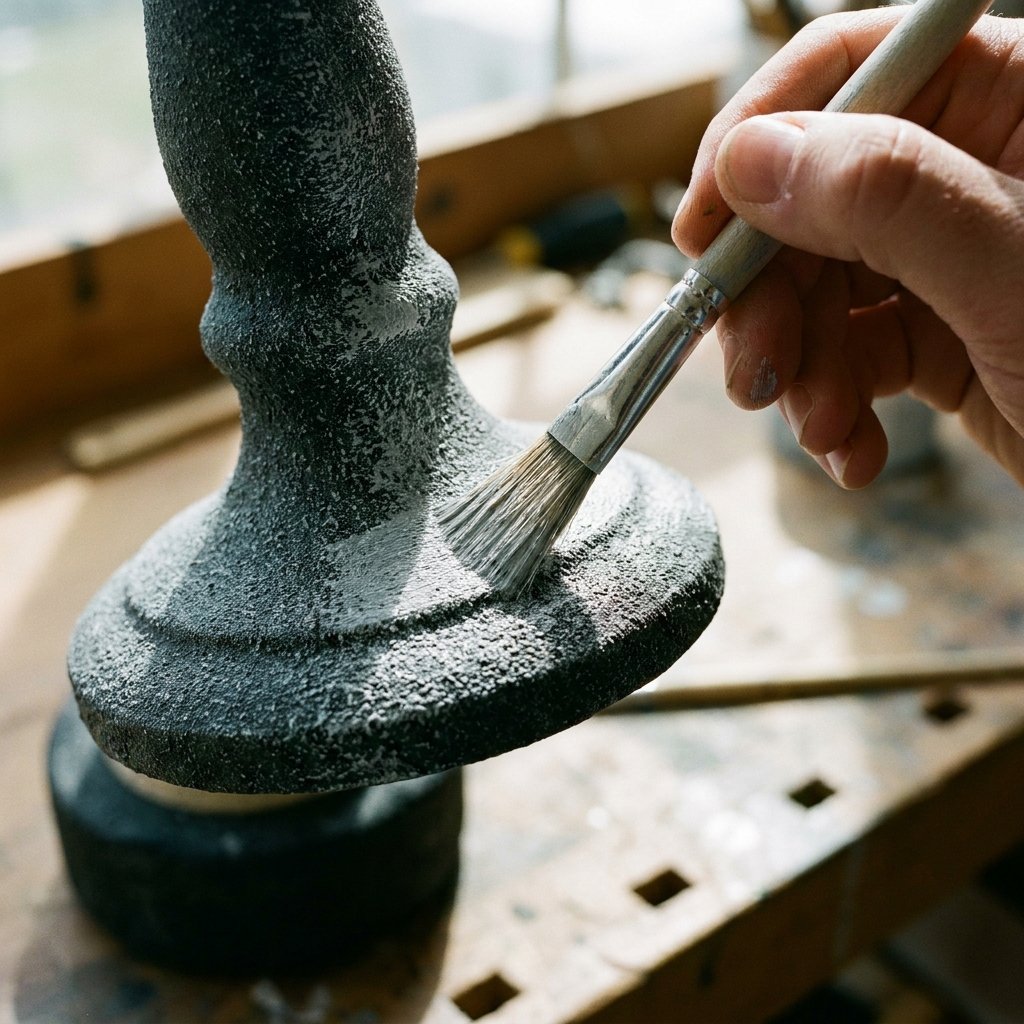
If you stop at the paint, you’ll have a great-looking piece, but if you want to fool the neighbors into thinking you spent $100, you need a patina. High-end pottery is rarely one solid color; it has depth, highlights, and shadows. We can achieve this through ‘Dry Brushing’ or ‘Wiping.’
How to Add Visual Depth
Once your base coat is completely dry (wait at least 2 hours), take a slightly lighter shade of your base color. For example, if you used Charcoal, use a light gray. If you used Terracotta, use a pale peach or cream. Dip just the very tips of a dry brush into the paint, then wipe most of it off onto a paper towel until the brush feels almost ‘dry.’
Lightly flick the brush over the raised textures of your candlestick. This will catch the ‘peaks’ created by your stippling, making the texture pop and giving the piece an aged, weathered appearance. If you want a more ‘earthy’ look, you can even rub a small amount of actual dirt or dark cinnamon into the crevices and wipe away the excess. This mimics the look of ‘age’ and ‘soot’ found on vintage Mediterranean pottery.
| Technique | Visual Effect | Difficulty |
|---|---|---|
| Dry Brushing | Highlights texture & peaks | Easy |
| Dark Waxing | Adds deep shadows in crevices | Moderate |
| Sanding | Reveals ‘clay’ underneath | Easy |
| Dirt/Spice Rub | Authentic ‘aged’ patina | Very Easy |
The Final Reveal: Styling and Cost Comparison
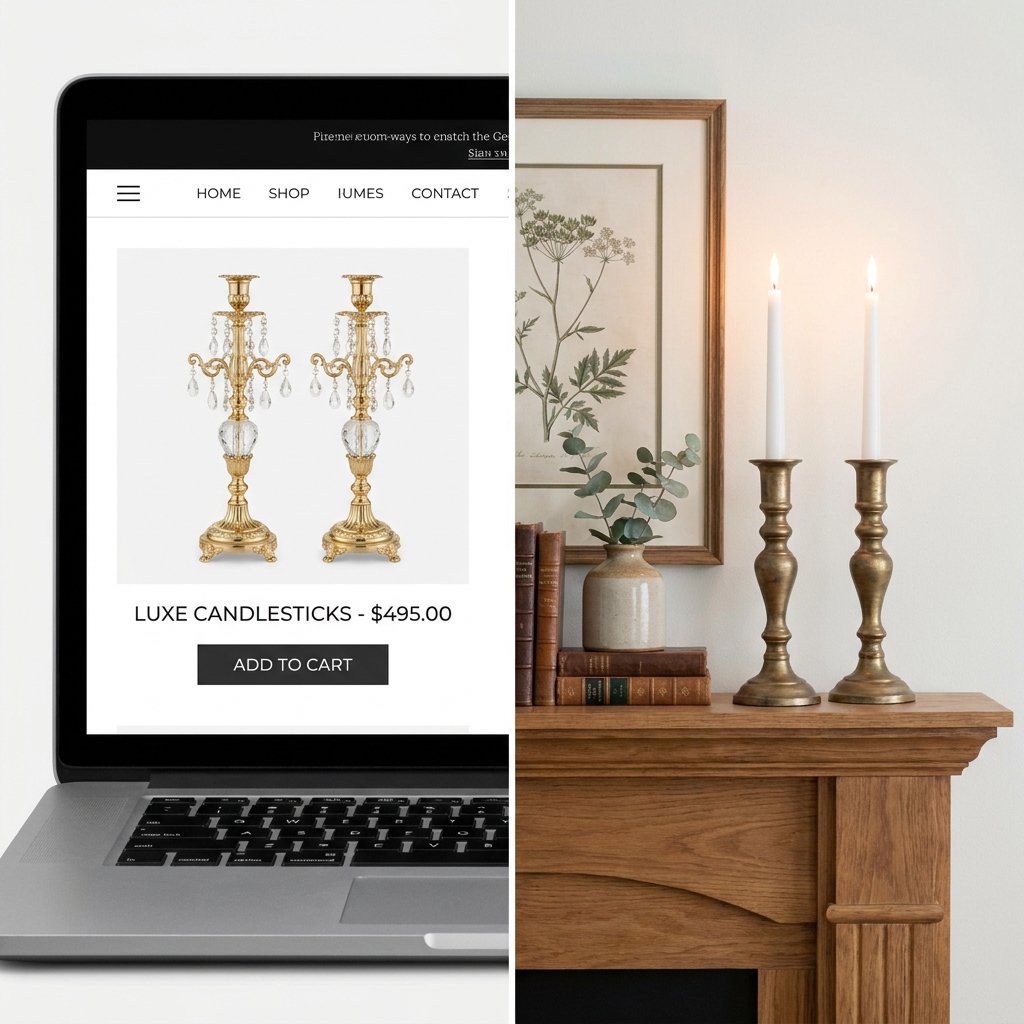
Your masterpieces are now dry and ready for the spotlight. The final step in the ‘Trash-to-Treasure’ process is styling. To maintain that high-end look, pair your new ‘pottery’ candlesticks with high-quality candles. 100% Beeswax tapers or hand-dipped white candles provide a beautiful contrast to the rugged texture of the bases. Group them in odd numbers (threes or fives) on a wooden dough bowl or a clean white mantelpiece.
The Ultimate Savings Breakdown
Let’s look at the numbers. A similar set of three textured stone candlesticks from a high-end retailer like Pottery Barn or West Elm would easily set you back a significant amount of cash. By being resourceful, you have achieved the same aesthetic impact for a fraction of the price.
| Source | Item Set (3 Candlesticks) | Price |
|---|---|---|
| Pottery Barn | Artisan Stone Taper Holders | $89.00 |
| West Elm | Terracotta Pillar Holders | $72.00 |
| Your DIY Version | Thrifted + Baking Soda Paint | $7.75 |
That is a total savings of over $80! With that extra cash, you could buy a whole lot more baking soda and paint—or, better yet, put it toward your next big upcycling project.
Conclusion
Embrace the Imperfect
Upcycling is more than just a way to save money; it is a way to infuse your home with character and story. These candlesticks, once forgotten in a thrift store bin, now carry the weight and beauty of designer decor because of your creativity and a few dollars’ worth of materials. The ‘Baking Soda Paint’ trick is a foundational skill for any frugal DIYer—once you master it on candlesticks, you can move on to vases, lamps, and even picture frames. Remember, in the world of high-end home decor, perfection is boring. It is the texture, the patina, and the rugged ‘hand-made’ feel that truly makes a house feel like a curated home. Now, go forth and scout your next masterpiece!

Makenzie is the founder and lead writer at MoneyHackTips.com — a personal finance blog dedicated to delivering street-smart financial wisdom for real people on real budgets. With 300+ published articles covering everything from debt management to investing fundamentals, Makenzie’s mission is to make every dollar work harder. When not writing about money hacks, Makenzie is testing frugal living strategies, optimizing side hustles, and helping readers build financial freedom from scratch.