
There is something inherently soulful about a well-worn flannel shirt. It carries the history of crisp autumn mornings, wood-chopping sessions, and cozy evenings by the fire. But when the elbows wear thin or the cuffs fray beyond repair, don’t consign those memories to the rag bin. As a frugal DIYer, you know that ‘trash’ is simply a treasure waiting for a clever intervention. This Thanksgiving, we are going to elevate your holiday table with a rugged, masculine-elegant table runner crafted entirely from upcycled flannel shirts. This project isn’t just about saving $40 to $60 on high-end store-bought linens; it is about creating a conversation piece that embodies the spirit of gratitude and resourcefulness. Whether you are a handy parent looking to teach the kids about sustainability or a crafty gift-giver preparing for a host, this guide will walk you through the process of turning textile waste into a stunning center-piece for your feast.
The Hunt: Sourcing Your Plaid Palette
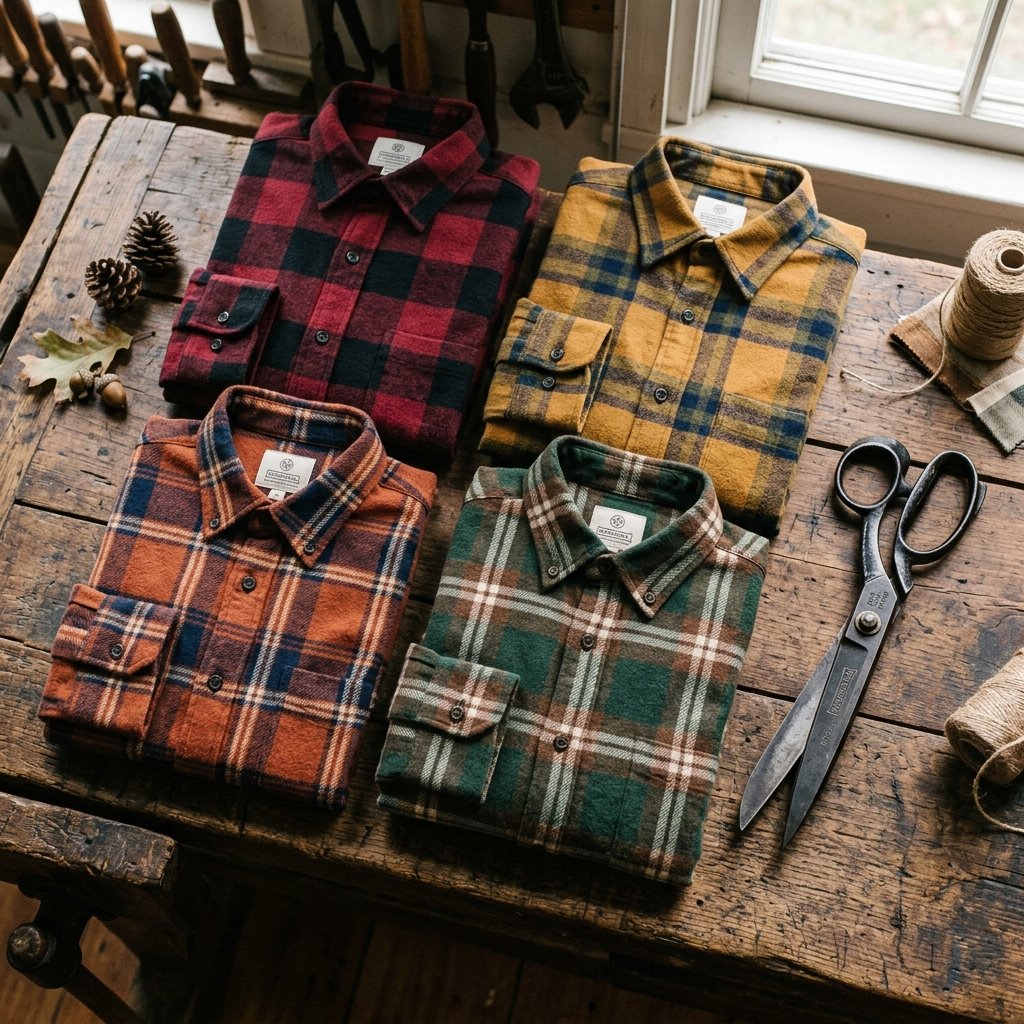
The secret to a high-end look on a zero-dollar budget lies in your selection of materials. You don’t need new fabric; you need character. Start by raiding your own closet for retired work shirts. If your personal stash is low, head to the local thrift store on a ‘fill-a-bag’ day. Look for 100% cotton flannel because it has the best weight and drape. Don’t worry about stains on the sleeves or holes in the elbows—we only need the large, flat panels from the back and the front. Aim for a cohesive color story; for a classic Thanksgiving look, mix deep forest greens, rich burgundies, and earthy tans. If you want a more modern, masculine-elegant vibe, stick to a monochrome palette of greys, blacks, and creams.
| Source | Estimated Cost | Potential Yield |
|---|---|---|
| Personal Closet | $0.00 | 2-3 Runners |
| Thrift Store (Half-Off Days) | $1.50 – $3.00 | 1 Large Runner |
| Garage Sales | $0.50 – $1.00 | Multiple Scraps |
| Store-Bought New Runner | $35.00 – $85.00 | 1 Runner |
The Budget Guru Mantra: Before you buy new, look at what you already own with new eyes. Every old shirt is just a yard of high-quality fabric waiting for a second life.
The Toolkit: Minimalist Gear for Maximum Impact
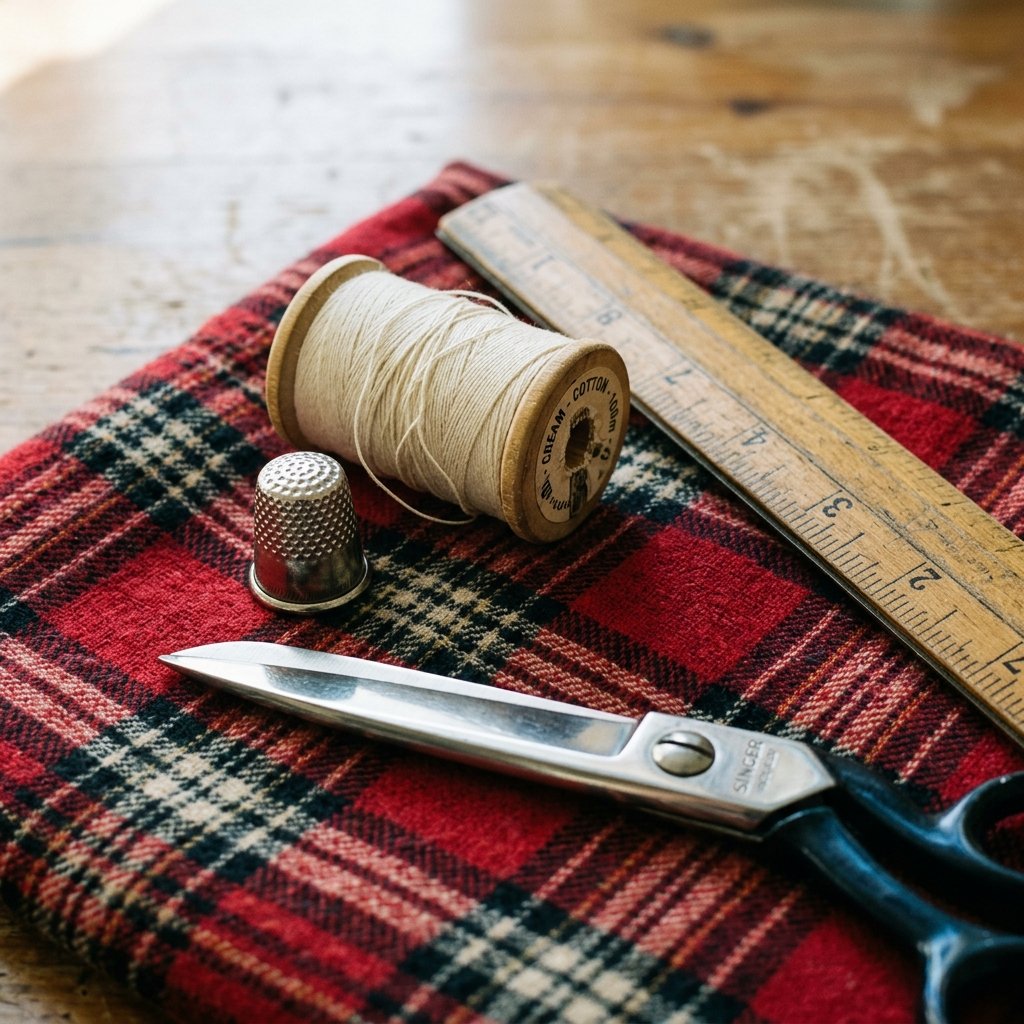
You don’t need a high-tech sewing studio to pull this off. This project is designed for the practical crafter who appreciates a rugged, handmade aesthetic. While a sewing machine makes the work faster, hand-stitching adds a level of artisanal charm that a machine simply cannot replicate. If you choose to hand-sew, you’ll be using a simple running stitch or a ladder stitch for invisible joins. For the truly time-crunched, high-quality fabric glue or iron-on hem tape can turn this into a no-sew project that still looks professional.
- Fabric Shears: A sharp pair is non-negotiable for clean edges.
- Acrylic Ruler or T-Square: To ensure your strips are perfectly straight.
- Rotary Cutter and Mat (Optional): Ideal for cutting multiple layers at once.
- Pins or Fabric Clips: To hold your patchwork in place.
- Heavy-Duty Thread: Choose a contrasting color like cream or gold for a ‘visible mending’ look.
Deconstruction and Preparation: Cutting with Purpose
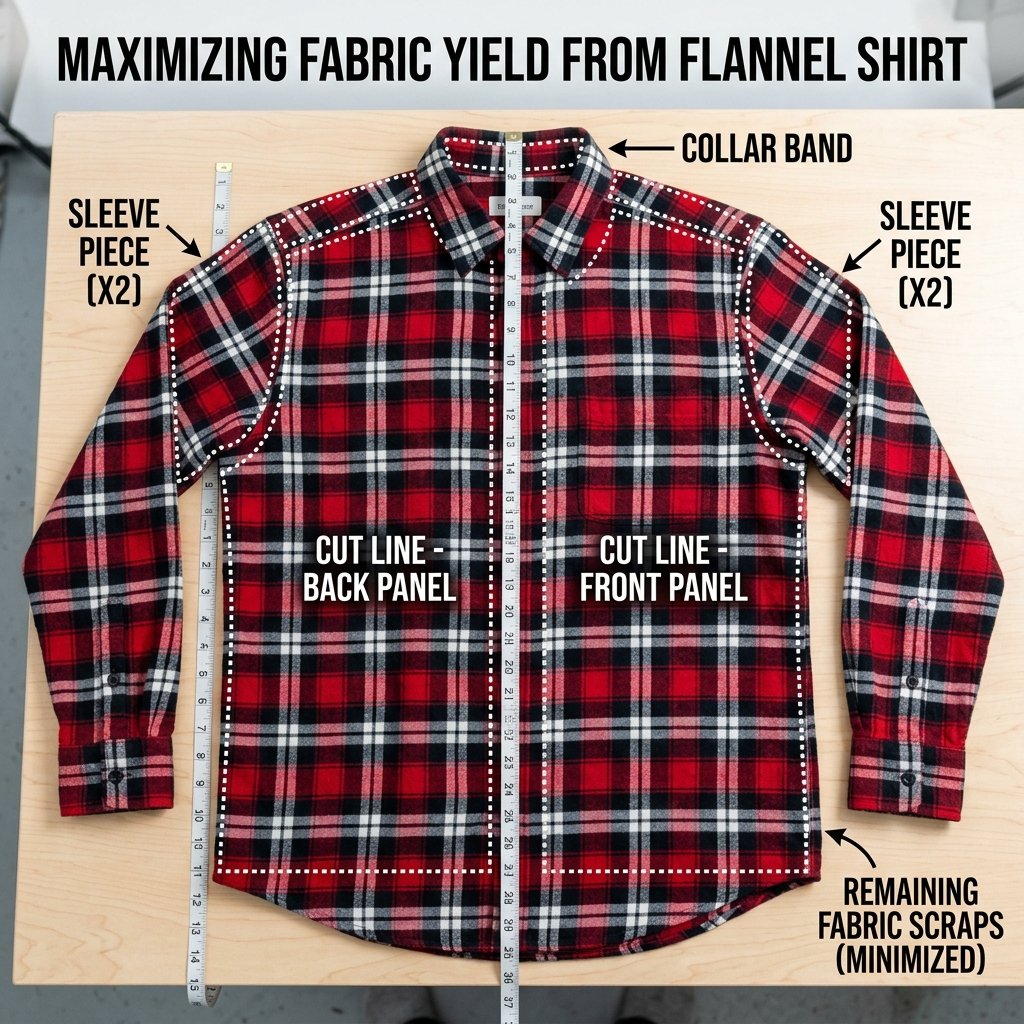
Before we build, we must deconstruct. Lay your shirt flat on a large surface. Using your shears, cut along the side seams and around the armholes to remove the sleeves. Cut across the back yoke and down the front placket (the button strip). You should be left with one large rectangular back panel and two smaller front panels. Pro Tip: Save the buttons! They make excellent accents for future projects or can be used as decorative ‘anchors’ at the ends of your runner. Once you have your panels, iron them flat using plenty of steam to remove any ‘wear wrinkles’ and set the grain of the fabric.
Standard Measurements for Table Success
A standard table runner is typically 12 to 14 inches wide and should hang about 6 to 12 inches off each end of the table. For a standard 6-foot table, aim for a finished length of 84 to 96 inches. Since a single shirt back is usually only 20-25 inches long, we will be joining several sections together to reach our target length.
| Table Length | Recommended Runner Length | Number of Shirts Needed |
|---|---|---|
| 4 Feet (48″) | 60″ – 72″ | 3-4 Shirts |
| 6 Feet (72″) | 84″ – 96″ | 5-6 Shirts |
| 8 Feet (96″) | 108″ – 120″ | 7-8 Shirts |
Assembly: The Rugged Patchwork Method
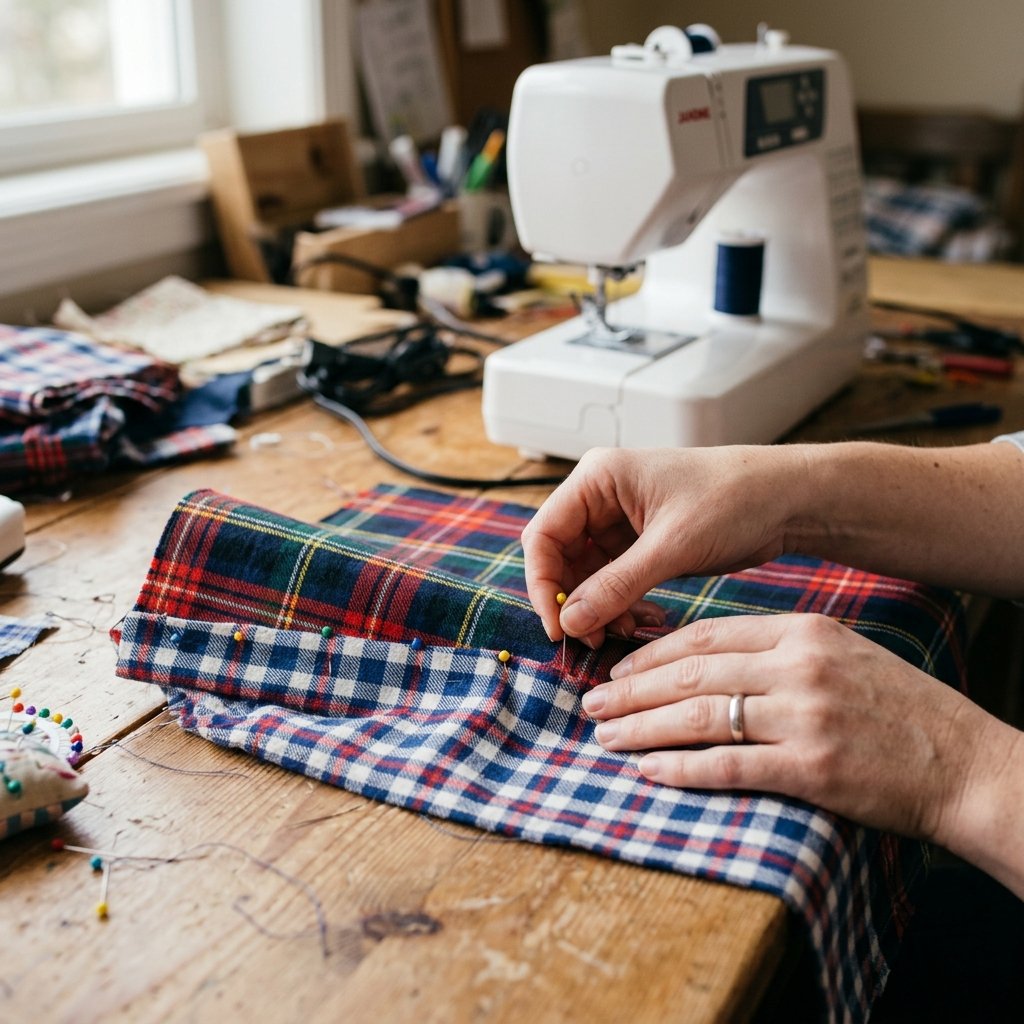
Now for the creative part. You can choose a linear design, where you sew long strips of different flannels together, or a block patchwork design for a more traditional quilt-like feel. For the most budget-savvy and efficient build, we recommend the ‘Random Strip’ method. This allows you to use every scrap of fabric, regardless of the shirt size.
- Layout: Arrange your fabric strips on the floor or a long table to find a color balance you like. Avoid putting two very similar patterns side-by-side.
- Pinning: Place two strips right-sides together and pin along the short edge.
- The Join: Sew a 1/2 inch seam. If hand-sewing, use a tight backstitch for durability. If using a machine, a straight stitch followed by a zigzag stitch on the raw edge will prevent fraying.
- Pressing: This is the ‘Expert Secret’—always iron your seams open and flat after every single join. This ensures your runner lies perfectly flat on the table.
- Squaring Up: Once you’ve reached your desired length, use your ruler and shears to trim the long edges so the runner is a consistent width from end to end.
Folding Step: To ensure perfectly straight ends, fold your runner in half lengthwise, matching the side edges, and then cut the ends at a 45-degree angle to create a ‘pointed’ finish, or leave them square for a more modern look.
The Finishing Touch: Fringing vs. Hemming
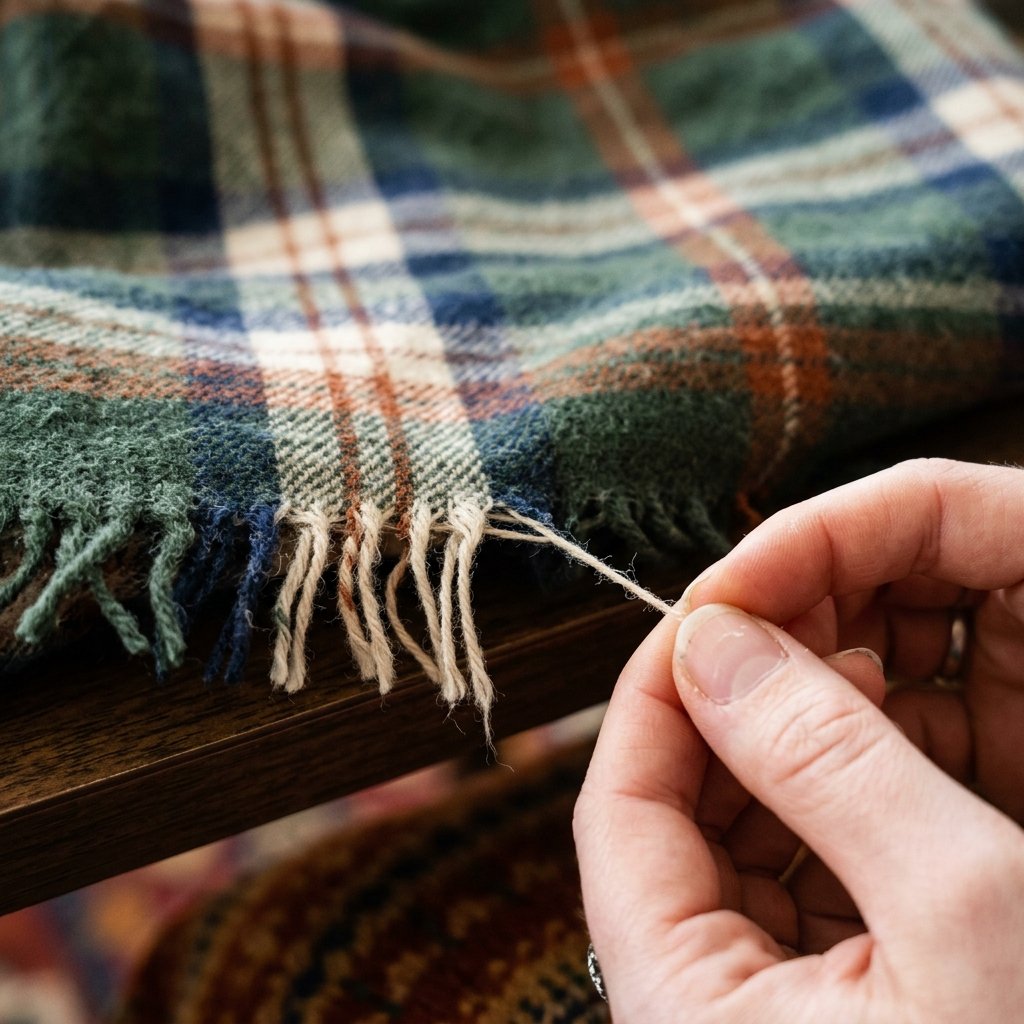
How you finish the edges defines the style. For a rugged, rustic look, leave the edges raw and create a fringe. Flannel frays beautifully! Simply pull out the longitudinal threads (the ones running the length of the runner) until you have a 1/2 inch fringe all the way around. This look is perfect for a farmhouse-style Thanksgiving. If you prefer a masculine-elegant finish, fold the edges over by 1/4 inch, then another 1/2 inch, and sew a clean hem. For a truly unique touch, consider adding a ‘heavy’ element to the ends, like a small leather scrap or a decorative wooden bead, to help the runner hang straight.
Fraying Technique for the Perfect Fringe
- Use a large sewing needle or a seam ripper to gently catch the edge threads.
- Pull one thread at a time to ensure the fringe remains even.
- Once you reach your desired fringe depth, sew a ‘stay-stitch’ line just above the fringe to prevent it from unraveling further during washing.
Styling Your Upcycled Masterpiece
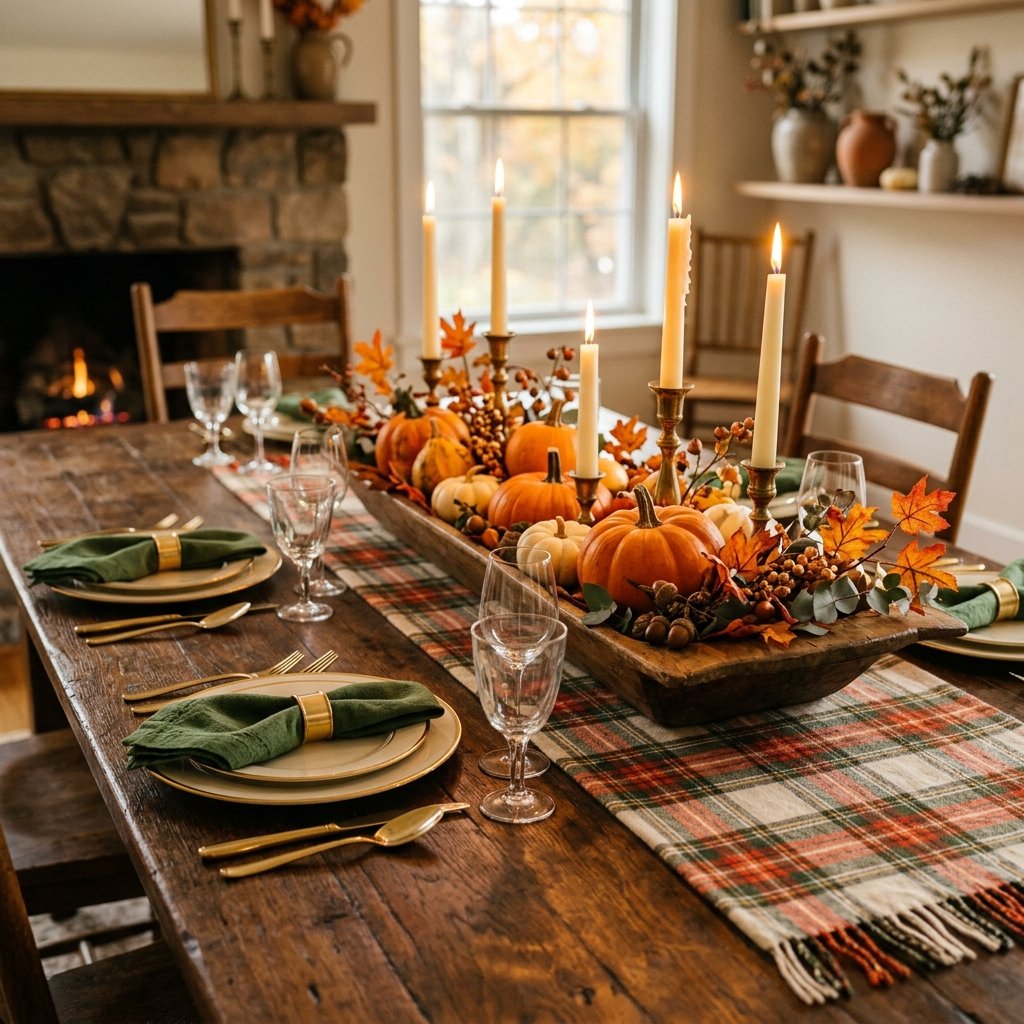
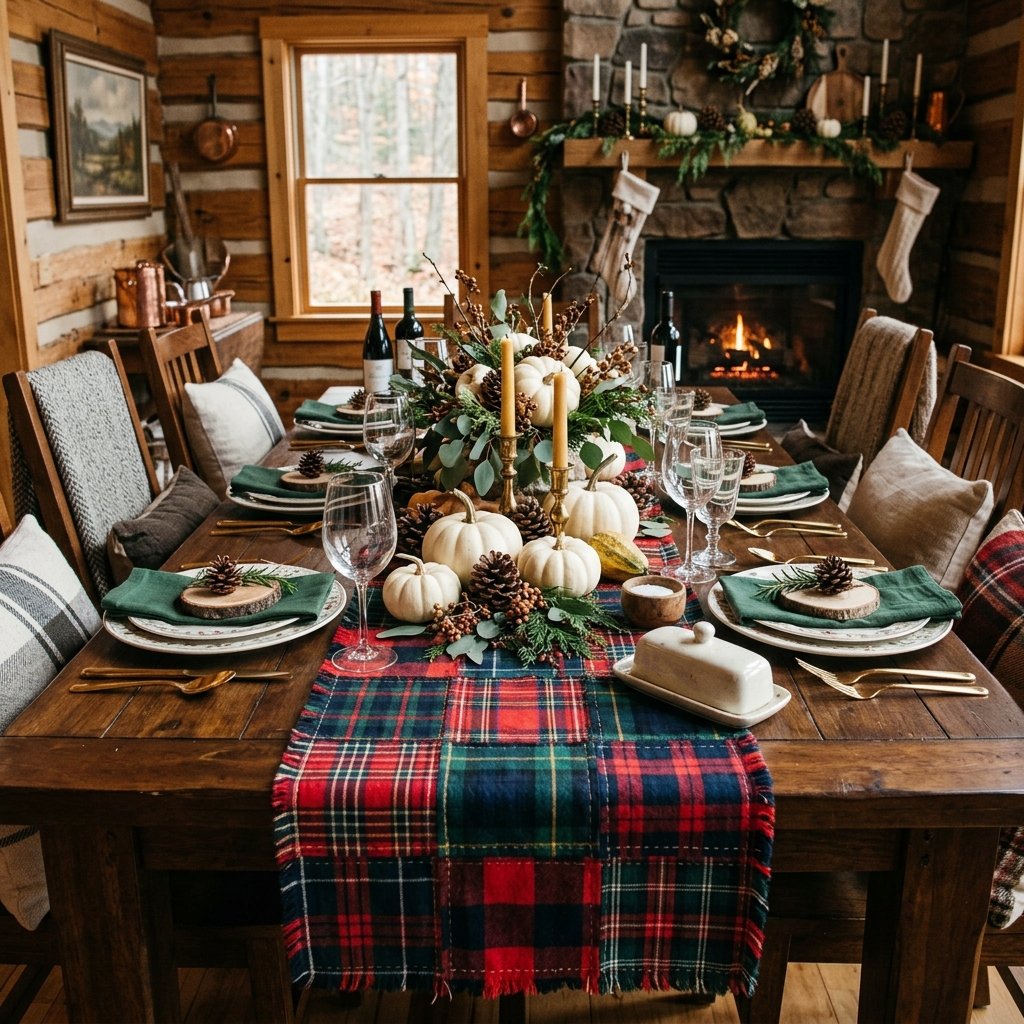
Your runner is done, and it cost you next to nothing. Now, let’s make it look like a million bucks. The beauty of flannel is its texture; it pairs perfectly with other natural elements. For your Thanksgiving feast, layer the runner over a plain white or cream tablecloth to make the colors pop. Center a row of mismatched brass candlesticks down the middle. Scatter dried eucalyptus, pinecones, and small white gourds directly onto the flannel. The clever crafter knows that the contrast between the soft, rugged fabric and the hard, metallic accents is what creates that ‘high-end’ designer look. Best of all, when the gravy spills (and it will), you can simply toss your upcycled creation in the wash—flannel only gets softer and better with age!
| Element | Style Tip | Cost |
|---|---|---|
| Centerpiece | Natural pinecones and acorns gathered from the yard | FREE |
| Candles | Varying heights of white taper candles | $5.00 |
| Greenery | Dried herbs or eucalyptus sprigs | $3.00 |
| Total Styling Cost | Professional Look on a Dime | Under $10 |
Conclusion
Creating a DIY upcycled flannel table runner is more than just a craft project; it is a testament to the power of resourceful creativity. By taking something destined for the landfill and turning it into the heart of your Thanksgiving table, you are honoring the tradition of making much out of little. This runner will not only protect your table but will also provide a warm, tactile backdrop for the memories you make this holiday season. So, grab those old shirts, sharpen your shears, and get ready to impress your guests with your budget-savvy brilliance. Happy upcycling, and may your Thanksgiving be as cozy as your new decor!

Makenzie is the founder and lead writer at MoneyHackTips.com — a personal finance blog dedicated to delivering street-smart financial wisdom for real people on real budgets. With 300+ published articles covering everything from debt management to investing fundamentals, Makenzie’s mission is to make every dollar work harder. When not writing about money hacks, Makenzie is testing frugal living strategies, optimizing side hustles, and helping readers build financial freedom from scratch.