The Revolution of the ‘Lazy’ Flip
Let’s be honest: we’ve all been there. You find a structurally sound piece of furniture at a thrift store or on the curb, but it’s covered in that slick, shiny, faux-wood plastic known as laminate. Traditional DIY wisdom tells you that you must spend 4 to 6 hours hunched over in a mask, sanding away the finish until your arms ache, followed by several coats of smelly, oil-based primer. I’m here to tell you that those days are over. This is the resourceful, clever, and budget-savvy way to get a professional, rugged finish without the manual labor. We are leveraging modern paint technology to work smarter, not harder. If you’re a busy parent, a frugal crafter, or just someone who values their weekend time, this guide is your manifesto for high-end results on a zero-effort (relatively speaking) schedule.
“True creativity is finding the shortest path between a ‘trash’ item and a ‘treasure’ result without sacrificing the integrity of the finish.”
The Science of the Slick: Why Laminate is Different
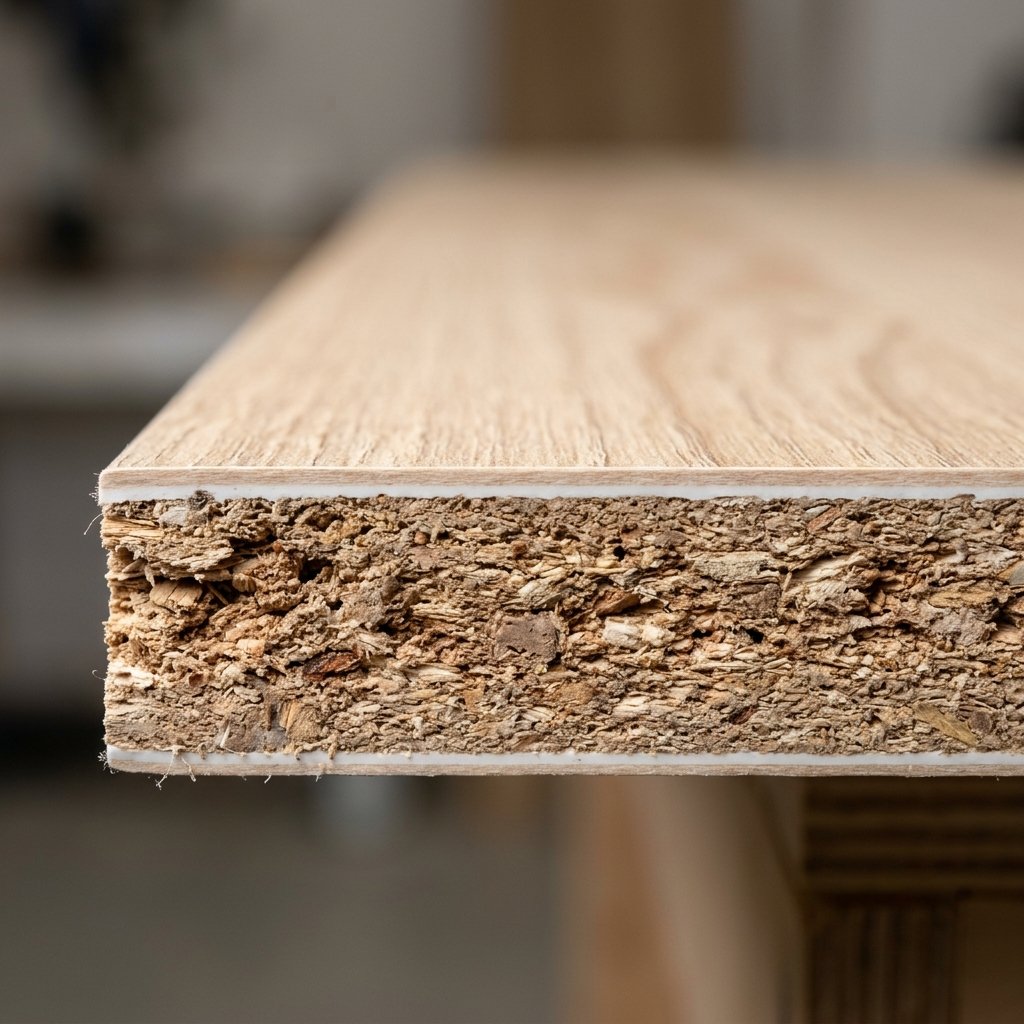
Before we dive into the ‘how,’ we need to understand the ‘why.’ Laminate isn’t real wood; it’s a printed paper or plastic layer glued over particle board. Because it is non-porous, standard latex paint will slide right off or peel within days. The secret to skipping the sanding phase is choosing products with high-adhesion bonding properties. We aren’t just ‘painting’ the surface; we are chemically bonding a new layer to it. This approach is perfect for the handy upcycler who wants a masculine-elegant look—think deep navy, forest green, or matte black—without the dusty mess of a sander in a small apartment or garage.
Understanding Your Surface
- High-Pressure Laminate (HPL): Very shiny and hard, often found on kitchen counters.
- Melamine: A thinner, plastic-feeling coating common in IKEA furniture.
- Paper Laminate: The cheapest version, often found in budget bookshelves; it looks like wood grain but feels like paper.
The Lazy Arsenal: Your Essential No-Prep Materials

To pull off a no-sand flip, you need the right tools. Skimping here means more work later. We are looking for Chalk Paint, Mineral Paint, or All-in-One Bonding Paints. These are the ‘holy grails’ for the frugal DIYer because they contain built-in primers and binders that grab onto slick surfaces.
| Material | Estimated Cost | Why You Need It |
|---|---|---|
| TSP Alternative (Deglosser) | $8.00 | Chemically ‘sands’ the surface and removes grease. |
| High-Density Foam Roller | $5.00 | Ensures a smooth, factory-like finish without brush marks. |
| Chalk or Mineral Paint | $25.00 | The magic ingredient that sticks to plastic without priming. |
| Matte Polycrylic Spray | $12.00 | The ‘lazy’ way to seal the piece for rugged durability. |
| Microfiber Cloths | $2.00 | To ensure a dust-free surface before the first coat. |
By investing roughly $50, you can transform a piece that would cost $500 at a high-end boutique. That is a 90% savings for the budget-savvy decorator.
The Step-by-Step ‘Lazy’ Transformation
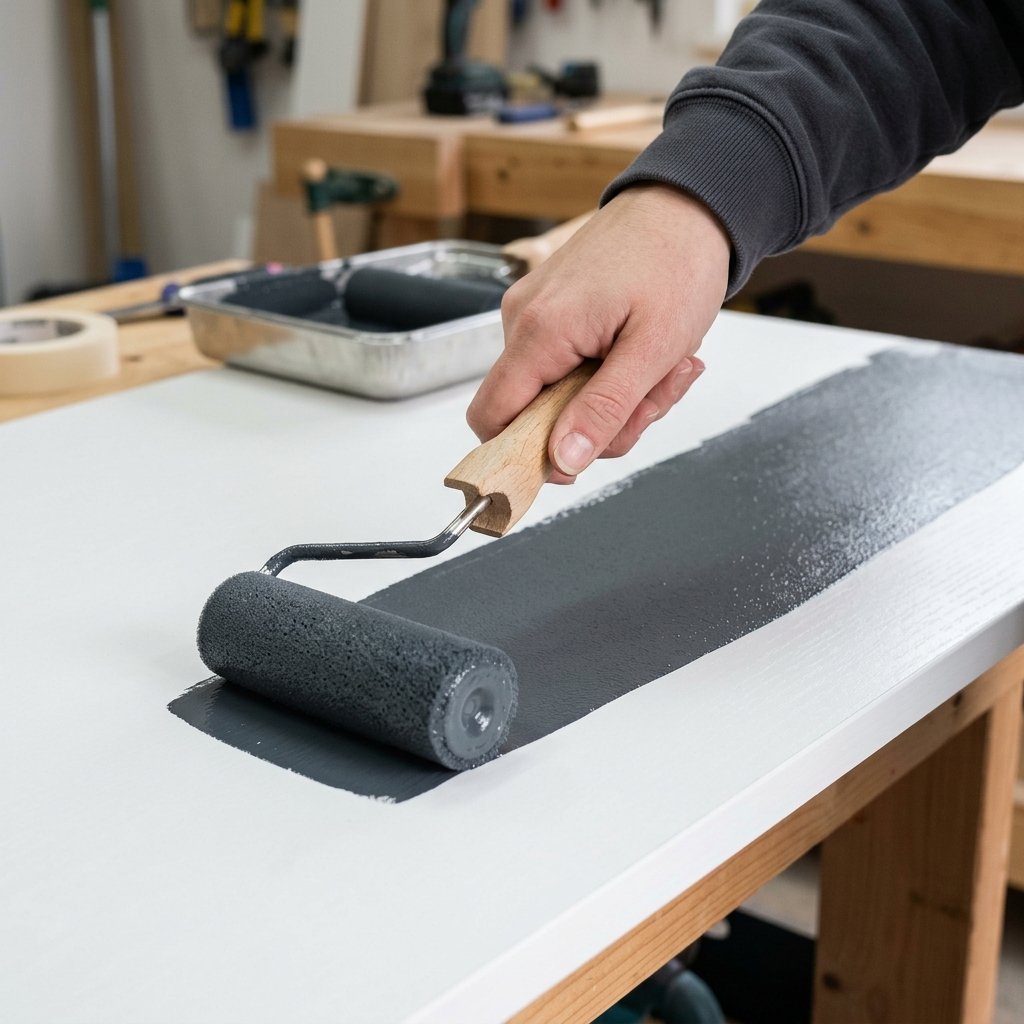
Follow these steps precisely. While we are skipping the hard labor, we are not skipping the strategy. Precision is the mark of a crafty expert.
- The Chemical Clean: Instead of sanding, soak a rag in your TSP Alternative or liquid deglosser. Scrub the entire piece. This removes skin oils and ‘etches’ the slick surface so the paint can grab. This takes 10 minutes instead of 2 hours of sanding.
- The Hardware Removal: Don’t paint around handles. Take them off. If they are ugly, soak them in a 50/50 mix of vinegar and water to clean them, or hit them with a can of $6 metallic spray paint for an instant upgrade.
- The First ‘Thin’ Coat: Use your foam roller. The first coat will look ‘streaky’ and terrible. Do not panic. This is the bonding layer. Let it dry for at least 2 hours.
- The Second ‘Coverage’ Coat: This is where the magic happens. The paint will level out and become opaque. Because we are using a foam roller, the finish will be masculine-elegant and smooth.
- The Lazy Seal: Once dry (wait 24 hours), use a spray-on polycrylic. No brushes, no streaks, just a quick 5-minute spray session to protect your work from scratches.
“The secret to a professional finish isn’t the strength of your arm, but the patience of your drying time.”
Cost Comparison: DIY Flip vs. Retail Reality

Why do we do this? Because the math doesn’t lie. For the frugal DIYer, the savings are the ultimate reward. Let’s look at the breakdown of a standard 6-drawer dresser transformation.
| Expense Item | Brand New Designer Dresser | The ‘Lazy’ DIY Flip |
|---|---|---|
| Base Furniture | $850.00 | $25.00 (Facebook Marketplace) |
| Paint & Supplies | Included | $45.00 |
| New Hardware | Included | $15.00 (Amazon/Hobby Lobby) |
| Labor Time | 0 Hours | 3 Hours (Active Time) |
| TOTAL COST | $850.00 | $85.00 |
By choosing the DIY route, you are saving $765.00. That is money that can go toward your savings, a vacation, or your next five craft projects. This is the essence of being clever and budget-savvy.
Troubleshooting & Expert Tips for Longevity
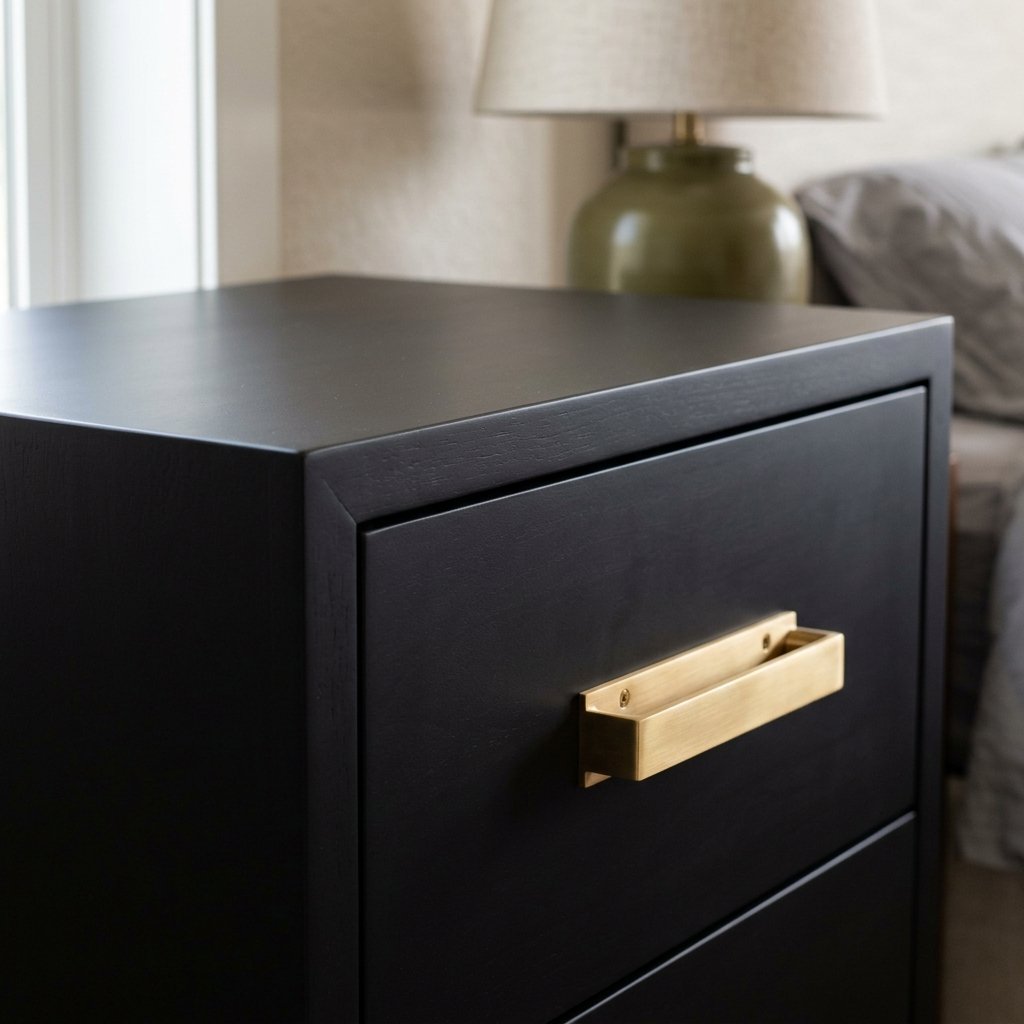
Even the ‘lazy’ way requires a bit of craft-expert knowledge to ensure the paint doesn’t chip when you accidentally bump it with a vacuum cleaner.
Avoid These Common Pitfalls
- Humidity is the enemy: Do not paint in a damp garage. The ‘bonding’ paint needs a dry environment to cure properly.
- The ‘Scratch Test’: Wait 7 days before putting heavy objects on your new piece. Paint ‘dries’ in hours, but ‘cures’ (hardens to maximum strength) in about a week.
- Thin is Win: Multiple thin coats are always superior to one thick, gloppy coat. Thick coats will sag and peel.
“A rugged, durable finish is built in layers, not in shortcuts. Even a lazy guide respects the cure time.”
Conclusion
Your Weekend Masterpiece Awaits
Upcycling doesn’t have to be a grueling chore. By embracing the ‘Lazy Girl’ (and guy!) philosophy, you are choosing to use modern materials to bypass outdated, labor-intensive methods. You’ve turned a $25 piece of ‘trash’ into a $800 centerpiece using nothing but a deglosser, a foam roller, and a bit of strategic patience. This is more than just a furniture flip; it’s a way to reclaim your space and your budget with rugged elegance and resourceful creativity. Now, go find that ugly laminate dresser and show it who’s boss!

Makenzie is the founder and lead writer at MoneyHackTips.com — a personal finance blog dedicated to delivering street-smart financial wisdom for real people on real budgets. With 300+ published articles covering everything from debt management to investing fundamentals, Makenzie’s mission is to make every dollar work harder. When not writing about money hacks, Makenzie is testing frugal living strategies, optimizing side hustles, and helping readers build financial freedom from scratch.