The Art of the High-End Hustle: Why Your Laptop Deserves Upcycled Luxury
In a world of mass-produced plastic and generic neoprene, there is something deeply satisfying about carrying a piece of tech protected by a custom-fitted, hand-crafted sleeve that cost you exactly $0. We aren’t just talking about a craft project; we are talking about industrial-strength upcycling. By transforming discarded cotton jerseys into thick, shock-absorbent ‘T-Shirt Yarn’ (affectionately known as ‘Tarn’), you can create a rugged yet sophisticated case that rivals boutique artisanal products. This guide is for the frugal innovator who values utility, aesthetics, and the clever reuse of materials. Whether you are a student on a shoestring budget or a professional looking for a unique, tactile accessory, this project proves that luxury is a mindset, not a price tag.
Budget Mantra: Your trash is just raw material waiting for a better assignment.
The Raw Materials: Sourcing the Perfect ‘Tarn’ Foundation
Selecting Your Fabric Scraps
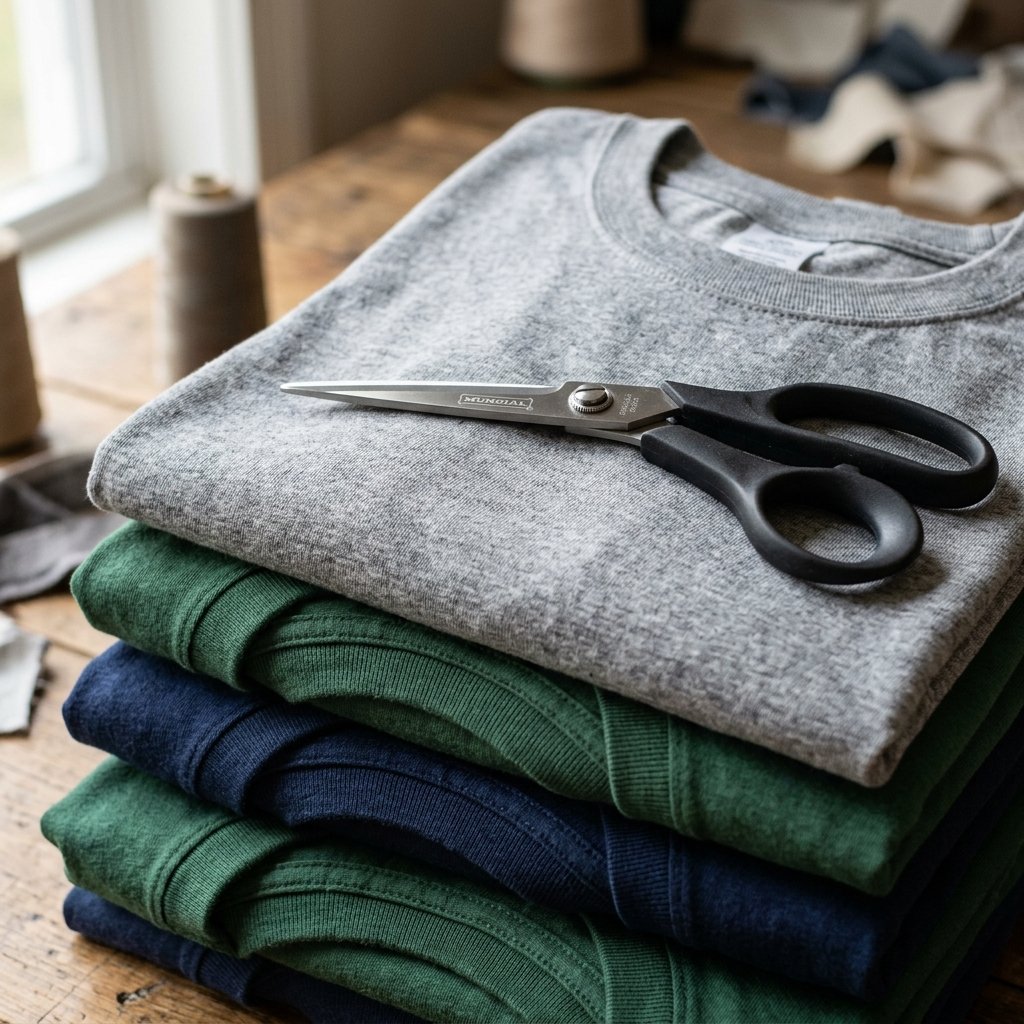
Not all shirts are created equal. For a laptop sleeve that offers genuine protection, you need fabric with the right weight and ‘memory.’ Look for 100% cotton jersey. Avoid side seams if possible, as they create bulk in your yarn, though we can work around them. The thicker the shirt, the more ‘cushion’ your laptop will have.
| Material Source | Suitability | Why? |
|---|---|---|
| Old Heavyweight Gildan T-Shirts | Excellent | Thick, durable, and creates chunky yarn. |
| Thin Undershirts | Fair | Good for lining, but lacks shock absorption. |
| Jersey Bed Sheets | Superior | Provides massive continuous lengths of yarn. |
| Polyester Blends | Poor | Does not ‘curl’ properly when stretched. |
To get started, you will need 2 to 3 large t-shirts for a standard 13-inch laptop. If you are working with a 16-inch workstation, aim for 4 shirts. This is the ultimate way to clear out that drawer of ‘event’ shirts you never wear while gaining a bespoke tech accessory.
The ‘Tarn’ Factory: Converting Rags into Continuous Yarn
The Spiral Cut Technique
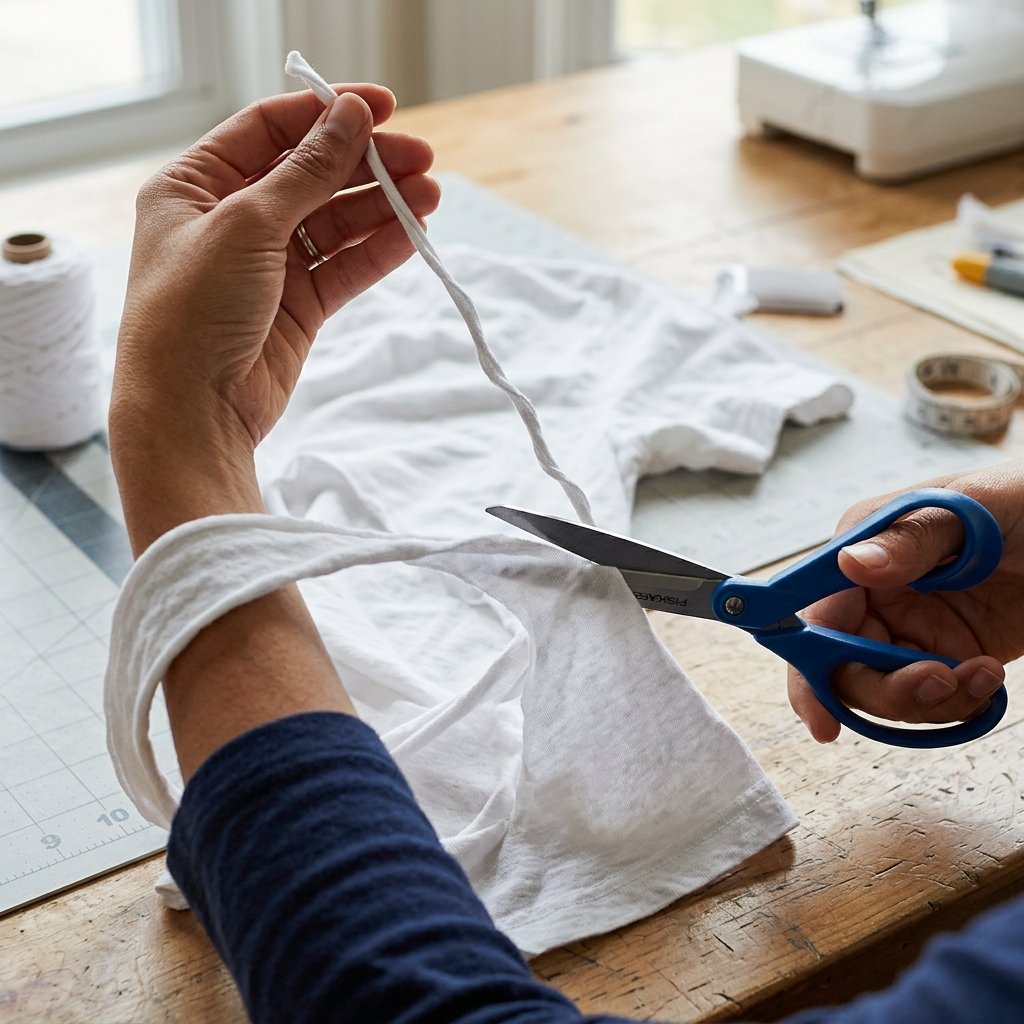
The secret to a professional-looking sleeve is avoiding knots. We use the spiral cut method to turn a single shirt into one long, continuous strand of yarn. Follow these steps for maximum efficiency:
- Lay the shirt flat and cut off the bottom hem and the top section (from the armpits up). You are left with a fabric tube.
- Fold the tube in half, but leave about 1 inch of the bottom layer protruding past the top layer.
- Cut strips (about 1.5 inches wide) through both layers, stopping at the 1-inch overlap. Do not cut all the way through!
- Open the shirt so the uncut 1-inch bridge is centered.
- Cut diagonally from the first slit to the second, the second to the third, and so on. This creates one unbroken strand.
Pro Tip: Once cut, grab the strand in sections and pull it tight. The jersey will curl inward, hiding the raw edges and creating a rounded, professional-looking cord.
Construction Phase: The No-Sew ‘Rugged Braid’ Method
Choosing Your Build: Crochet vs. Finger Knitting
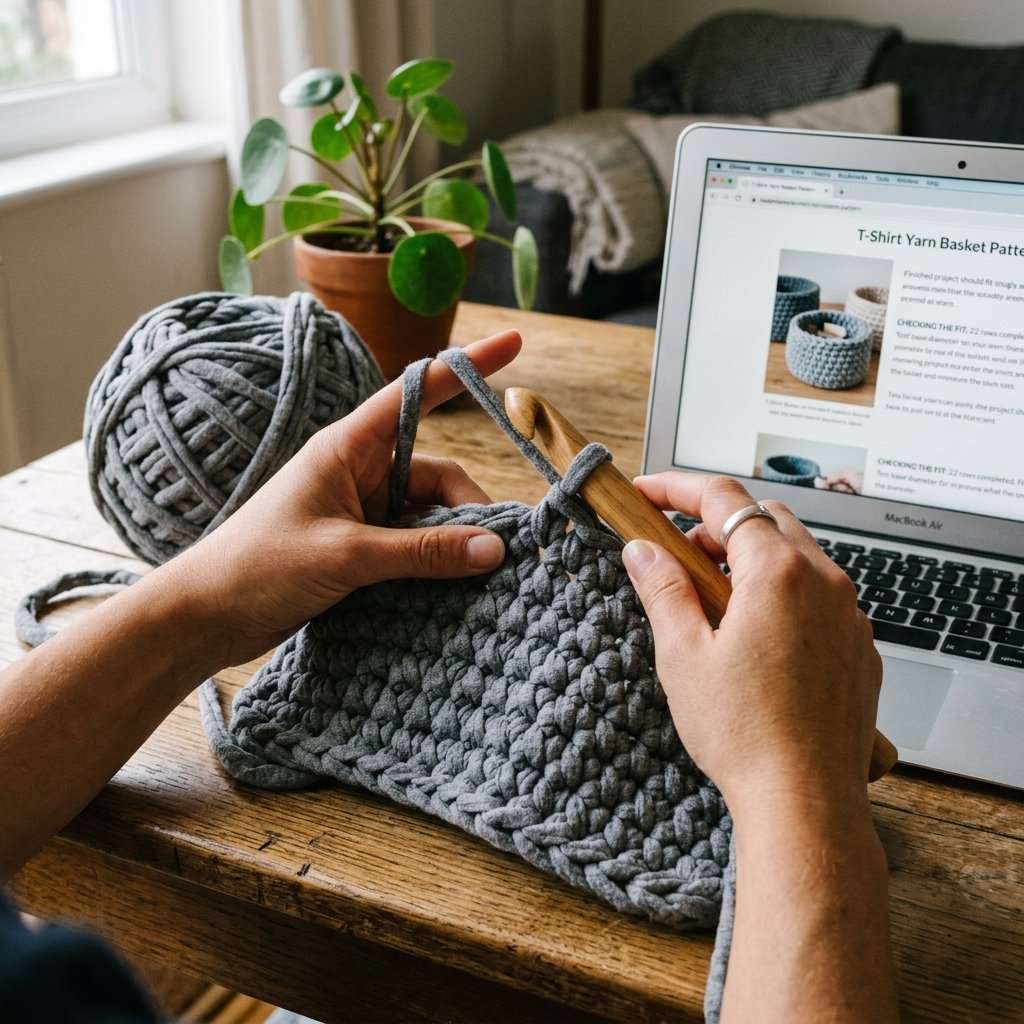
You don’t need a sewing machine or even knitting needles for this. The thick gauge of T-shirt yarn is perfect for finger knitting or using a large 10mm or 12mm crochet hook. For a masculine-elegant look, we recommend the Single Crochet Stitch or a Double-Strand Braid for maximum density.
| Feature | Store-Bought Neoprene | DIY T-Shirt Yarn |
|---|---|---|
| Cost | $25 – $45 | $0 |
| Durability | Medium (tears easily) | High (washable & tough) |
| Customization | None | 100% Tailored to Size |
| Time Investment | 5 minutes (shopping) | 90 minutes (crafting) |
The Step-by-Step Build
- Measure the Base: Create a foundation chain that is exactly the width of your laptop. Add one extra stitch for ‘turn’ room.
- Work the Rounds: Instead of turning the work, crochet around both sides of your starting chain. This creates a seamless ‘pocket’ bottom.
- Build the Walls: Continue crocheting in a spiral. Because T-shirt yarn is bulky, this goes quickly. You only need about 12-15 rounds to reach the height of a standard laptop.
- Check the Tension: Keep your stitches tight. A dense weave provides better protection against bumps and scratches.
The Finishing Touches: Adding Practical Elegance
Hardware and Closures
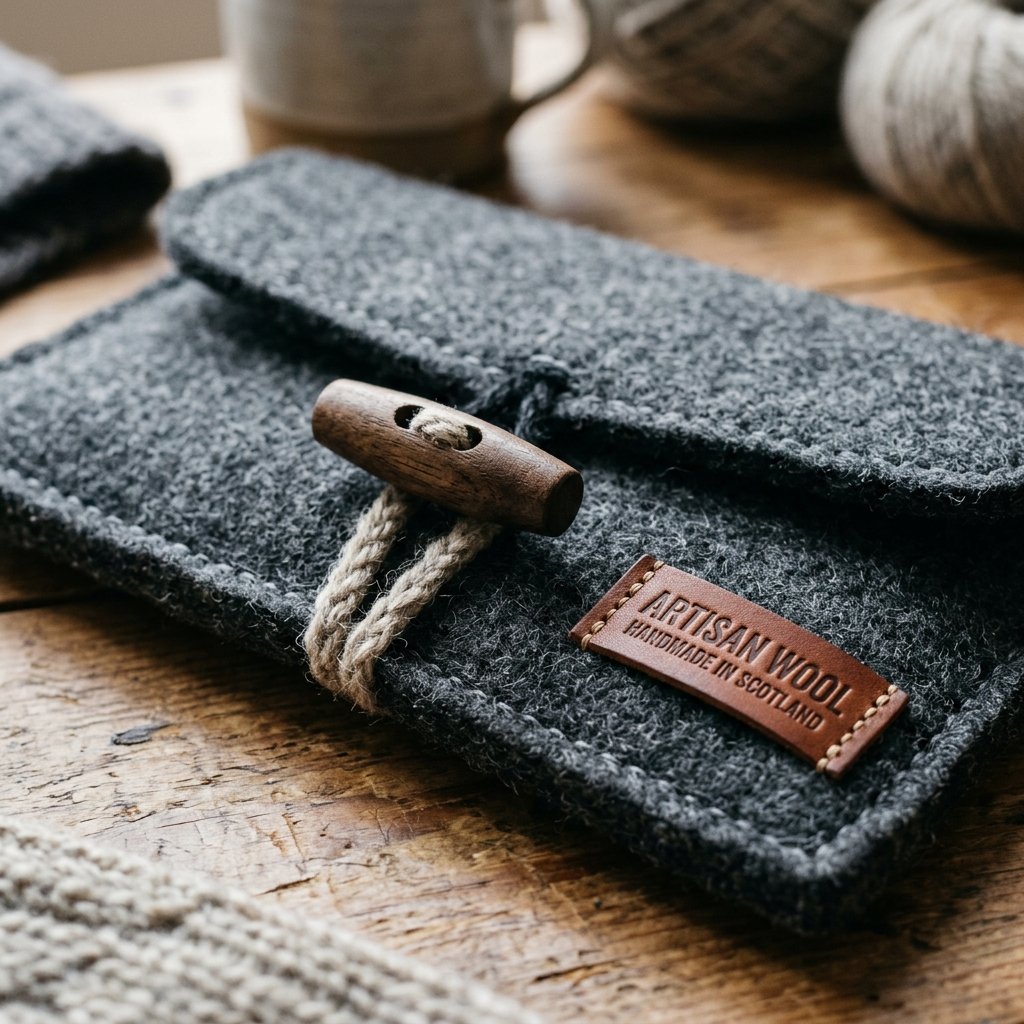
A sleeve is only as good as its closure. To maintain the rugged, tactile aesthetic, avoid cheap plastic zippers. Instead, opt for oversized wooden buttons, leather scraps, or even a simple ‘flap and cord’ system.
- The Toggle Closure: Use a 2-inch wooden toggle or even a smoothed piece of driftwood for a coastal/rugged vibe.
- Leather Reinforcement: If you have an old leather belt or jacket scrap, sew a small patch onto the corners. This adds industrial flair and extra protection to high-impact areas.
- The Paracord Loop: Use a scrap of yarn to create a reinforced loop that hooks over your button. It’s simple, effective, and won’t break.
Safety Note: When using heavy-duty needles to sew through multiple layers of Tarn and leather, use a thimble or pliers to pull the needle through to avoid finger fatigue or injury.
Conclusion
Your Tech, Reimagined
By following this guide, you’ve turned a pile of forgotten laundry into a high-performance, eco-friendly tech shield. Not only have you saved roughly $40, but you’ve also kept fabric out of the landfill and created a conversation piece that is as functional as it is stylish. The beauty of the T-shirt yarn laptop sleeve lies in its resilience; if it gets dirty, simply toss it in the wash. If you upgrade your laptop, you can unravel the yarn and re-knit it to a new size. That is the ultimate frugal win: a product that evolves with your needs without ever costing a dime. Now, go forth and upcycle with pride!

Makenzie is the founder and lead writer at MoneyHackTips.com — a personal finance blog dedicated to delivering street-smart financial wisdom for real people on real budgets. With 300+ published articles covering everything from debt management to investing fundamentals, Makenzie’s mission is to make every dollar work harder. When not writing about money hacks, Makenzie is testing frugal living strategies, optimizing side hustles, and helping readers build financial freedom from scratch.