
There is a unique thrill that comes from walking into a dusty thrift store with $10 in your pocket and walking out with a blank canvas. For the frugal DIYer, a boring, oversized, or outdated denim jacket is not just a piece of discarded clothing; it is an opportunity. It is the foundation for a rugged, masculine-elegant, bespoke garment that would easily retail for $300 or more at a high-end boutique.
Welcome to the ultimate trash-to-treasure masterclass. Whether you are a handy parent looking to upcycle hand-me-downs, a crafty gift-giver crafting a thoughtful Father’s Day present, or a budget-savvy style enthusiast, this guide will teach you how to elevate cheap denim into heirloom-quality fashion. We will blend the rugged appeal of heavy-duty hardware with the meticulous, resourceful art of Japanese sashiko mending and strategic distressing.
The secret to high-end design is not how much money you spend; it is the intentionality of your details. A frayed edge here, a brass rivet there, and suddenly, trash becomes a treasure.
Grab your fabric scissors, thread your needles, and let us dive into the crafty-expert techniques that will completely revolutionize your wardrobe on a dime!
The Thrift Store Hunt: Sourcing Your Denim Canvas
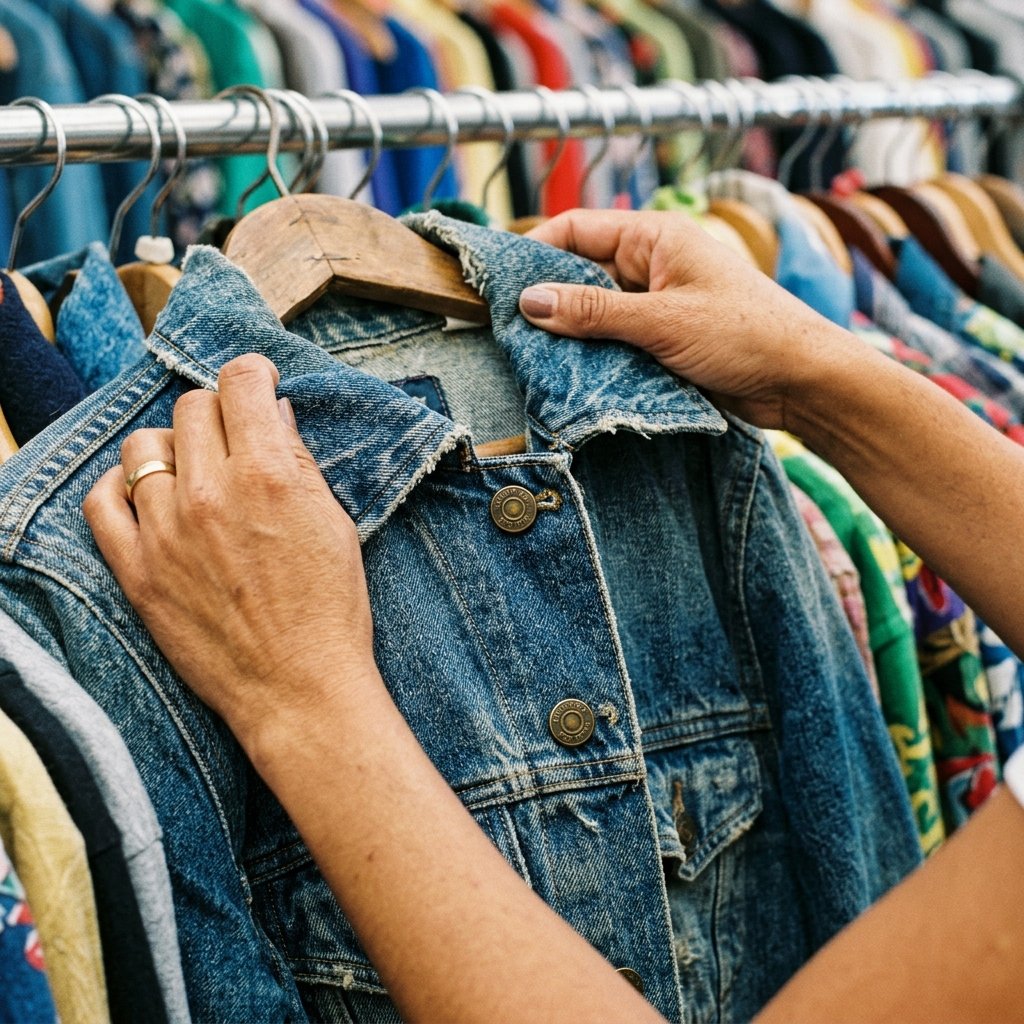
Before we can create a masterpiece, we need the right foundation. Not all thrifted jackets are created equal. You are looking for a piece that has good bones, even if the exterior is currently lacking inspiration.
What to Look For in a Thrifted Jacket
- 100% Cotton Rigid Denim: Check the care tag. You want heavy, non-stretch denim. Stretch denim (containing elastane or spandex) does not distress well and can pucker when hand-sewn or patched.
- Solid Hardware: Ensure the main buttons are intact. While we can add rivets and swap out some elements, replacing a whole set of front shank buttons requires specialized tools.
- The Right Fit (or Oversized): You can always take a jacket in, but letting it out is a chore. An oversized trucker jacket offers a fantastic, relaxed silhouette that is very much in style for both men and women.
Prepping the Canvas
Once you bring your $5 to $15 prize home, it needs a deep clean to strip away years of thrift store dust and fabric softeners. Wash it in hot water with a cup of white vinegar to kill odors and break down any residual grime. Dry it on high heat to tighten the fibers, prepping them for the distressing process.
The Alchemist’s Touch: Strategic Distressing and Bleaching
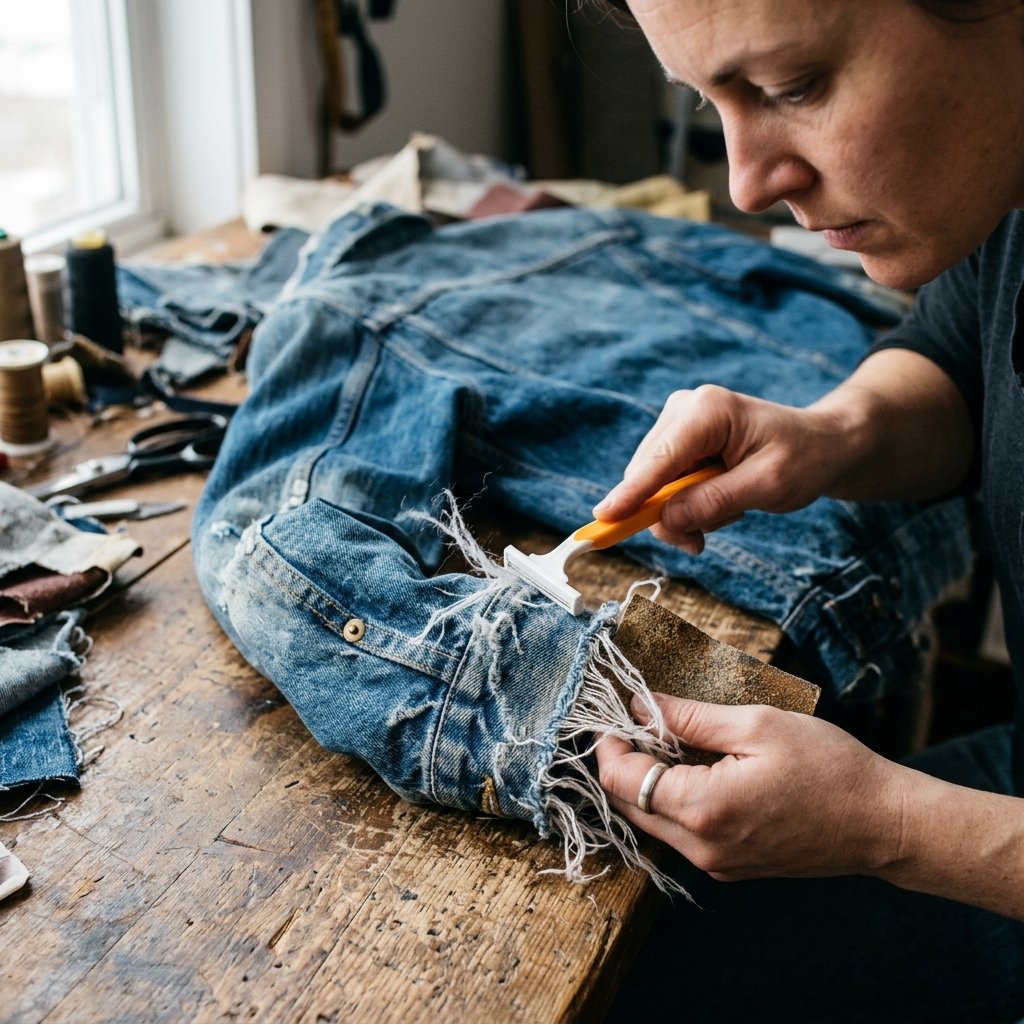
High-end designer denim often features a “lived-in” look that tells a story. We are going to recreate decades of natural wear and tear in an afternoon using items you likely already have in your garage or bathroom.
Tools of the Trade
- Sandpaper (medium to coarse grit)
- A standard disposable shaving razor
- Tweezers
- Household bleach and a spray bottle
Step-by-Step Distressing
- Identify Wear Points: Think about where a jacket naturally wears down—the collar edges, the cuffs, the elbows, and the pocket flaps.
- Sand It Down: Take your coarse sandpaper and vigorously rub the edges of the cuffs and collar. You will see the blue dye begin to lift, revealing the white core yarns underneath.
- The Razor Trick: For pocket edges or the hem, drag a disposable razor back and forth over the fabric. This creates a beautifully authentic, frayed micro-distressing that looks incredibly natural.
- Creating Holes: To make a larger distressed hole, cut two parallel horizontal slits in the denim. Use your tweezers to carefully pluck out the vertical (blue) threads, leaving only the horizontal (white) threads intact.
Safety Note: When working with bleach, always operate outdoors or in a highly ventilated area. Wear gloves to protect your hands, and wear clothes you do not mind ruining!
Custom Bleach Splattering
To add a rugged, artistic flair, mix a solution of 50% bleach and 50% water in a spray bottle. Lay the jacket flat outside on a piece of cardboard. Adjust the nozzle to a “stream” setting and lightly flick the bottle to create organic splatters. Let it sit for 10 to 15 minutes until the spots turn a rusty orange or pale white, then immediately neutralize the bleach by washing the jacket in cold water.
Grandma’s Secret Meets Rugged Style: Sashiko and Visible Mending
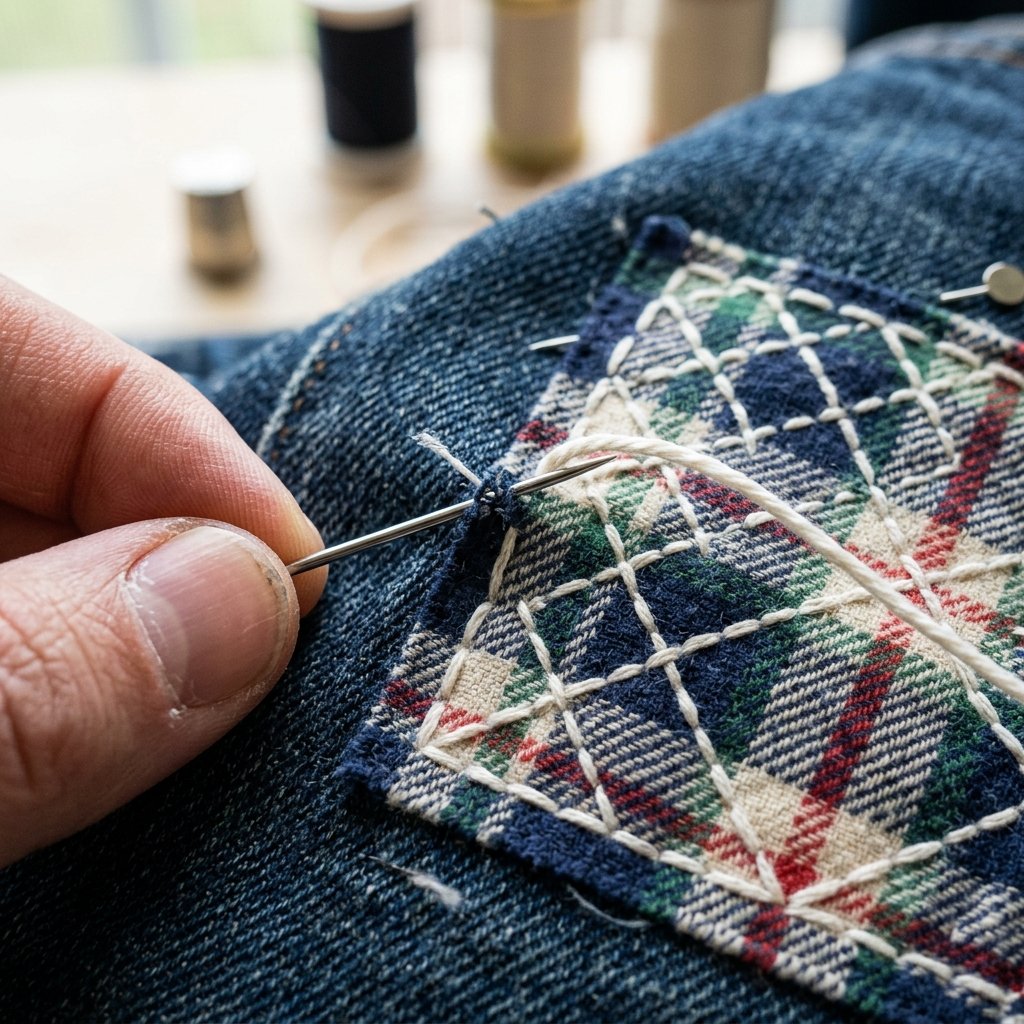
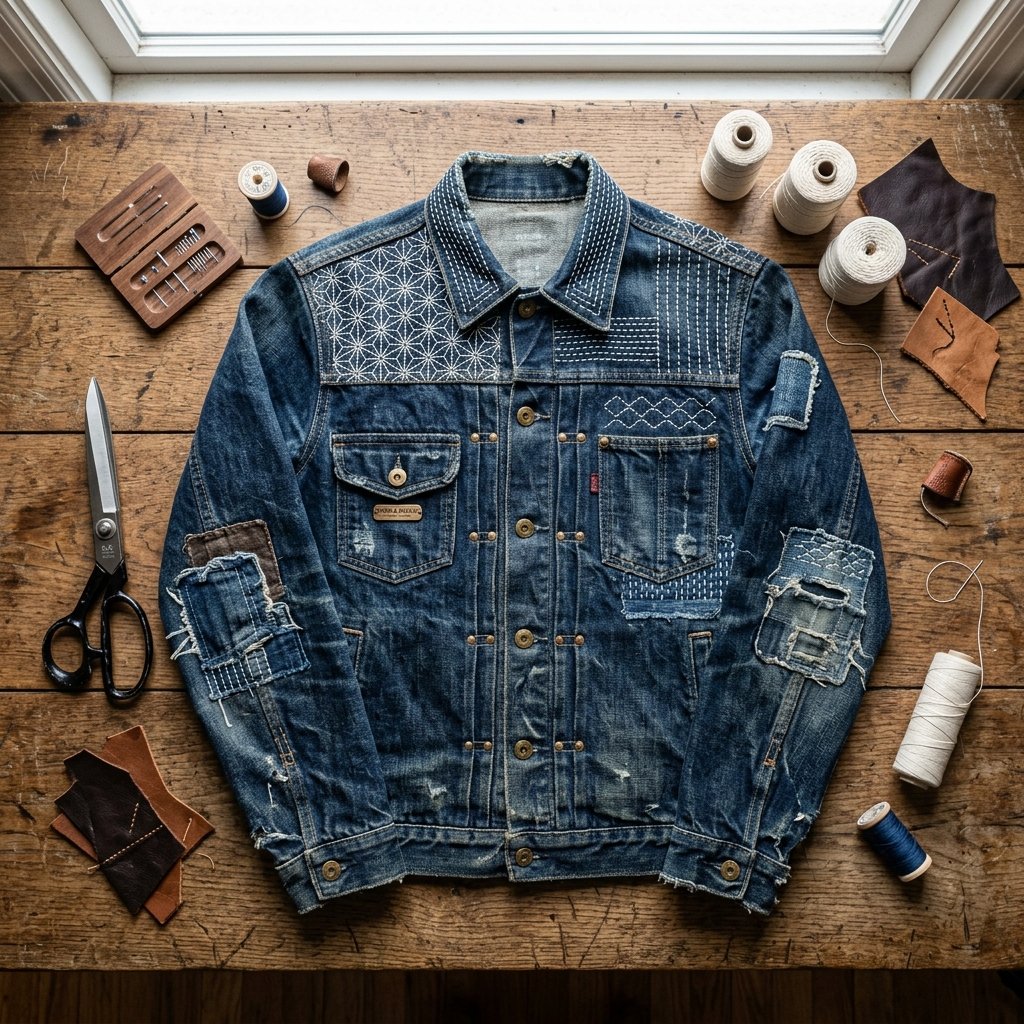
Here is where your jacket transitions from “just a distressed thrift find” to a bespoke, handmade artisan piece. Sashiko is a traditional Japanese form of functional embroidery used to reinforce worn out points or patch holes. It is incredibly practical, highly masculine-elegant, and requires zero sewing machine skills.
The Art of the Running Stitch
You do not need to be a master tailor to pull this off. Sashiko relies on a simple, rhythmic running stitch.
- Materials Needed: A heavy-duty embroidery needle (or sashiko needle), thick white cotton thread (or embroidery floss), and scrap fabric (flannel, leather, or contrasting denim) for backing.
- The Technique: Place your scrap fabric behind a distressed hole or thin area. Pin it in place. Thread your needle and tie a knot. Bring the needle up from the inside of the jacket, and simply stitch in straight, parallel lines over the patch.
- The Rule of Thumb: Keep your stitches the size of a grain of rice, and the space between them about half that size.
Do not strive for machine-like perfection. The beauty of visible mending lies in the human touch. The slight irregularities in your stitches scream “hand-crafted” and add immense value to the garment’s aesthetic. You can stitch geometric patterns, simple grids, or rugged cross-hatches over the elbows and shoulders.
The Devil is in the Details: Hardware Upgrades and Leather Accents

To truly achieve that high-end designer look, we must address the hardware and accents. Cheap jackets look cheap because of flimsy buttons and thin thread. We are going to upgrade these elements for pennies.
Adding Rugged Rivets
You can buy a kit of brass or copper clothing rivets online for under $10. These kits usually come with a small anvil and setter tool. Use a hammer to install copper rivets at the corners of the chest pockets and along the hem. This instantly gives the jacket a heavy-duty, heritage-workwear vibe.
Leather Scraps for Luxury
If you have an old leather belt, a ruined leather purse, or even scrap leather from a craft store, you have gold. Cut a small rectangle of leather and hand-stitch it over the back waistband where the brand tag usually sits. You can also cut small leather triangles and stitch them onto the collar points. This mix of canvas, denim, and leather is the hallmark of expensive, masculine-elegant design.
Collar Makeover
If the collar is hopelessly frayed or stained, cover it! Measure the collar and cut a piece of corduroy, heavy flannel, or faux shearling to size. Hand-sew it directly over the existing collar using a hidden ladder stitch or a bold, contrasting whipstitch. This single modification can make a $5 jacket look like a $150 vintage rancher coat.
The Master Blueprint: DIY Costs vs. Designer Price Tags
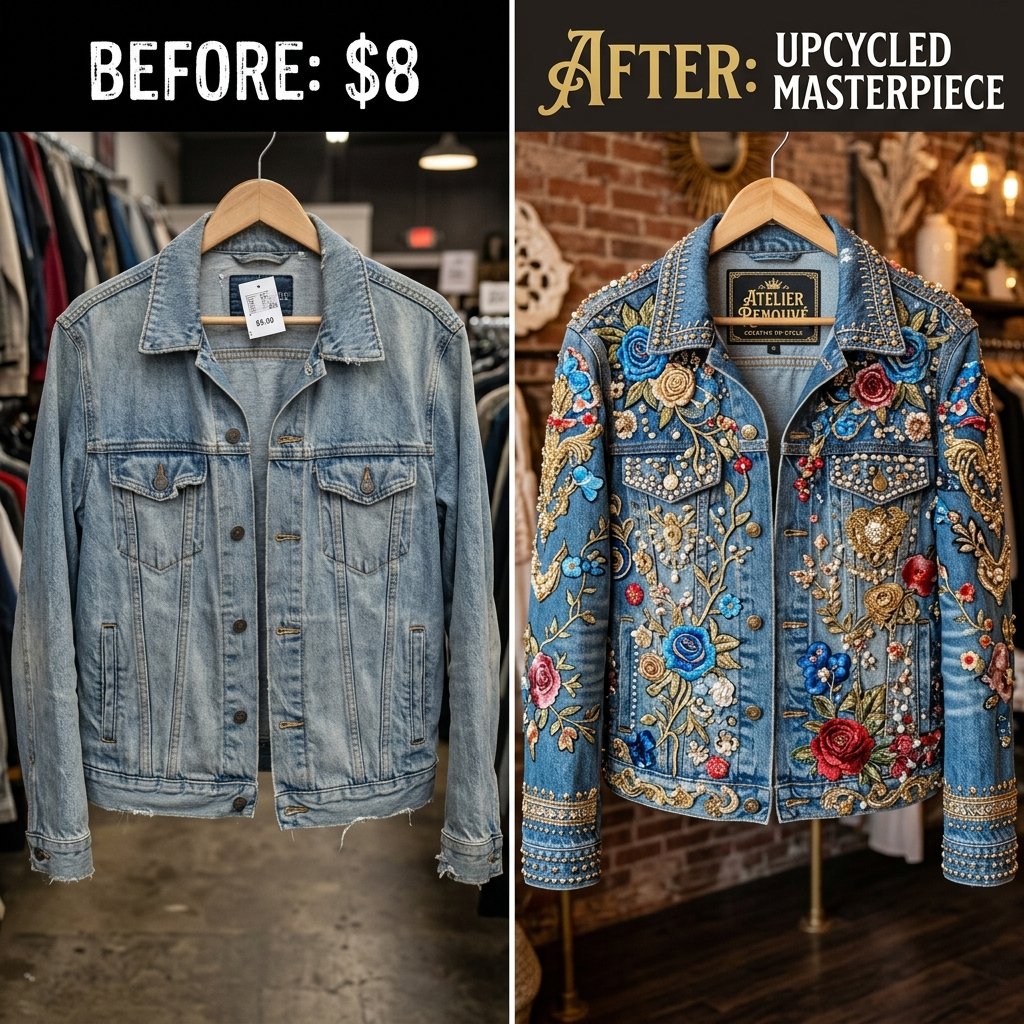
Frugal DIYers know that time is money, but the savings on a project like this are absolutely staggering. When you compare the pennies spent on craft supplies to the exorbitant markups of boutique fashion, the value of upcycling becomes undeniable. Let us break down the budget.
| Material / Technique | DIY Estimated Cost | Designer Equivalent Cost |
|---|---|---|
| Thrifted Denim Jacket Base | $8.00 | $120.00 (Base Jacket) |
| Distressing Tools (Sandpaper/Razor) | $0.00 (Already owned) | $50.00 (Pre-distressed fee) |
| Sashiko Thread & Needles | $4.00 | $80.00 (Artisan detailing) |
| Copper Rivets & Leather Scraps | $5.00 | $45.00 (Hardware upgrade) |
| Total Investment | $17.00 | $295.00+ |
For less than the cost of a takeout dinner, you have engineered a garment that turns heads, sparks conversations, and carries your personal creative signature. You saved over $275 while keeping textiles out of the landfill. That is the definition of budget-savvy brilliance.
Conclusion
Turning a boring thrifted denim jacket into a high-end designer masterpiece is not about having a degree in fashion design or owning an expensive sewing machine. It is about resourcefulness, a little bit of elbow grease, and the courage to take a razor blade and some bleach to a piece of clothing. By combining rugged distressing techniques with the delicate, intentional art of visible mending and hardware upgrades, you have created something entirely unique.
This upcycled jacket is more than just a frugal fashion statement; it is a testament to the power of DIY. Whether you are wearing it out on a weekend adventure, gifting it to a loved one, or simply hanging it in your closet as a badge of crafty honor, wear it with immense pride. You took trash, infused it with creativity, and forged an absolute treasure. Now, get out there and start hunting for your next canvas!

Makenzie is the founder and lead writer at MoneyHackTips.com — a personal finance blog dedicated to delivering street-smart financial wisdom for real people on real budgets. With 300+ published articles covering everything from debt management to investing fundamentals, Makenzie’s mission is to make every dollar work harder. When not writing about money hacks, Makenzie is testing frugal living strategies, optimizing side hustles, and helping readers build financial freedom from scratch.