
The Rugged Beauty of Trash-to-Treasure Utility
Every gardener knows the price of a beautiful flower bed: stiff joints and stained knees. While big-box retailers will happily sell you a neon-colored foam slab for $25 or more, a true frugal craftsman knows that the best solutions are often sitting right in the bottom of your rag bin. Those 100% cotton T-shirts that are too stained for the public eye but too soft to throw away are the secret ingredient to a professional-grade kneeling pad. This project isn’t just about saving a few bucks; it’s about resourceful engineering. We are going to take the natural shock-absorption of cotton fibers and layer them into a dense, resilient cushion that rivals high-end ergonomic gear. Whether you are a weekend warrior in the vegetable patch or a dedicated landscaper, this DIY project is the ultimate marriage of masculine elegance and practical upcycling. Let’s stop throwing away perfectly good textiles and start building gear that works as hard as we do.
The Budget Breakdown: Why DIY Beats the Big Box Store
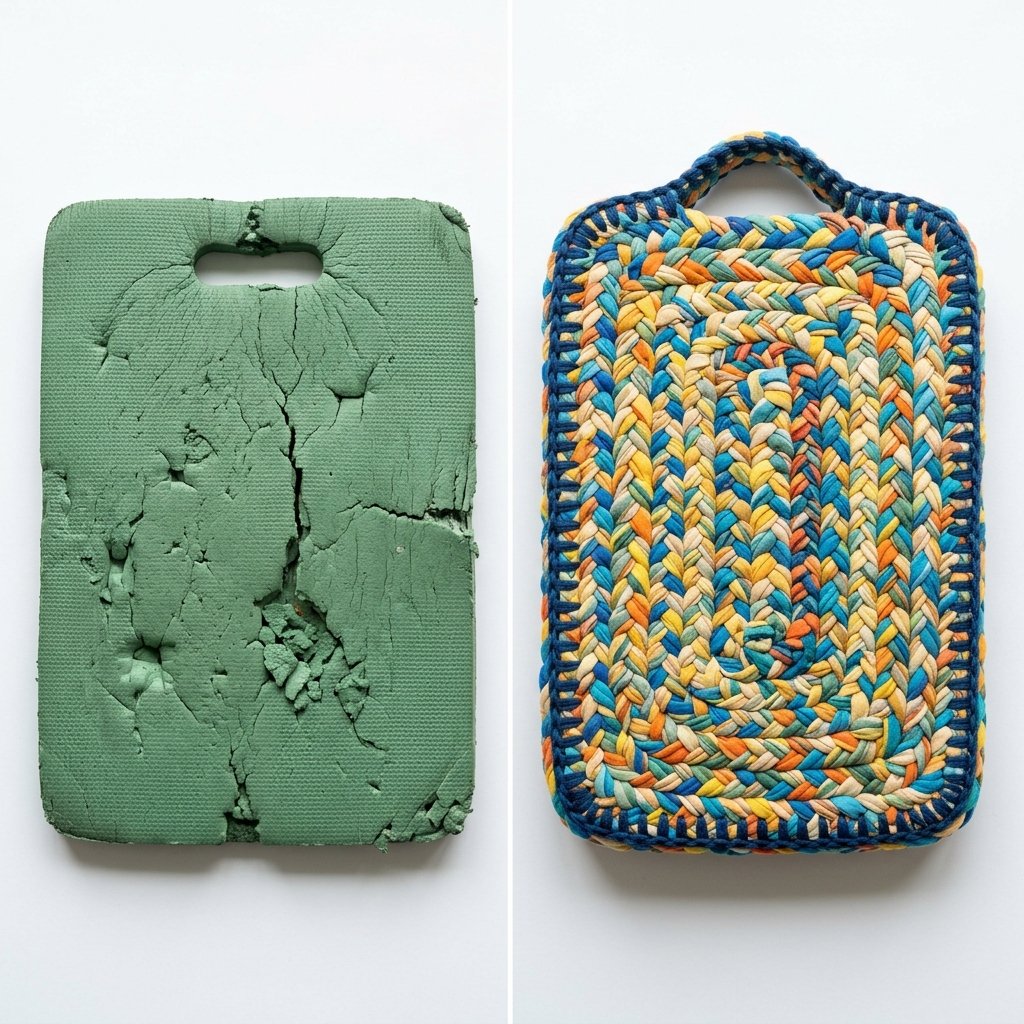
Before we pick up the shears, let’s talk numbers. In a world of disposable consumerism, choosing to upcycle is a radical act of financial savvy. A high-quality, high-density foam pad from a gardening boutique can easily set you back a significant amount, and they often crack or degrade after a single season of UV exposure. By using T-shirts, you are creating a breathable, washable, and 100% free alternative that can be reinforced for extra durability.
| Feature | Store-Bought Foam Pad | DIY Upcycled T-Shirt Pad |
|---|---|---|
| Initial Cost | $15 – $40 | $0.00 |
| Material | Synthetic Petroleum-based Foam | Natural Cotton/Jersey Scraps |
| Durability | Prone to cracking and sun damage | Machine washable and repairable |
| Customization | One size fits all | Tailored to your specific knee width |
| Eco-Impact | High (Landfill bound) | Zero (Trash-to-Treasure) |
The math is simple: for the 0 minutes it takes to drive to the store, you can spend 45 minutes at your workbench and create something that lasts longer and feels better. Plus, you get the satisfaction of knowing your old favorite concert tee is still serving a purpose in the dirt.
Gathering Your Arsenal: Materials and Preparation
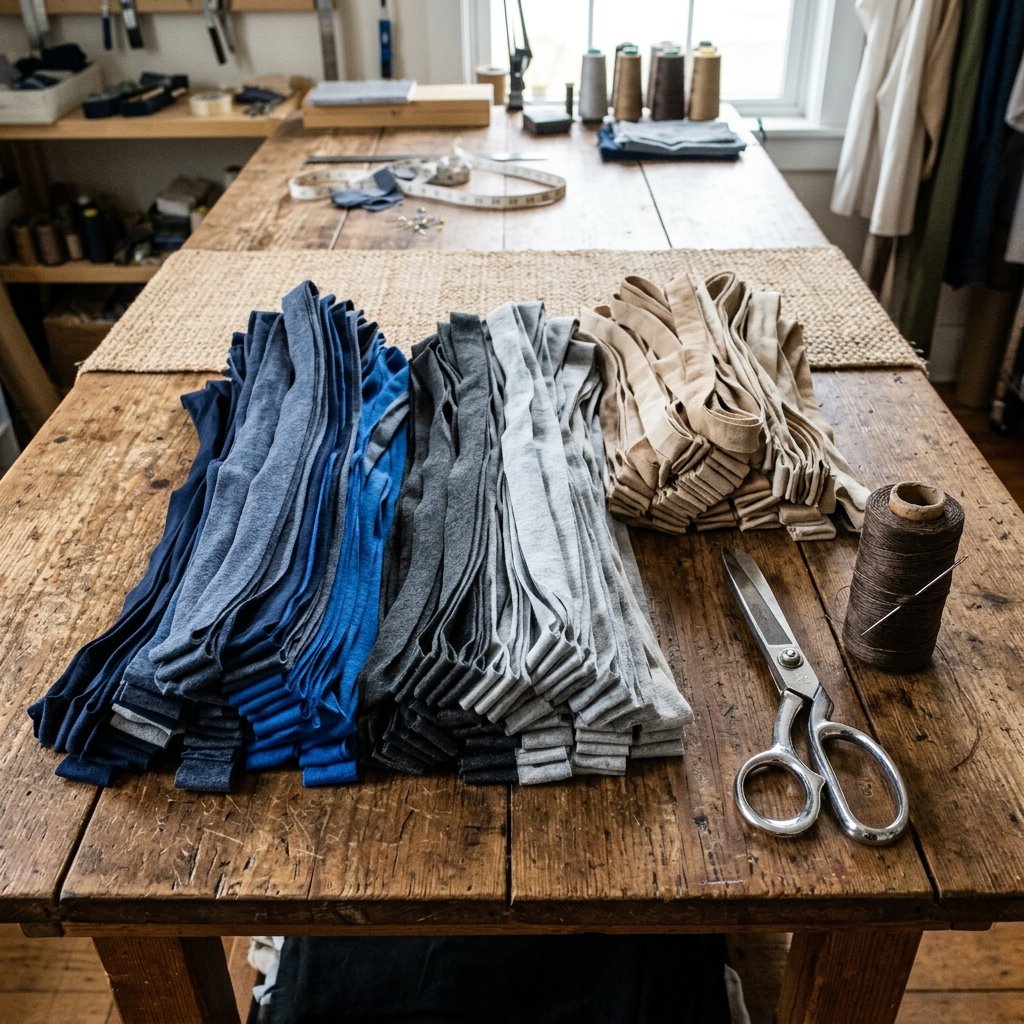
The Raw Materials
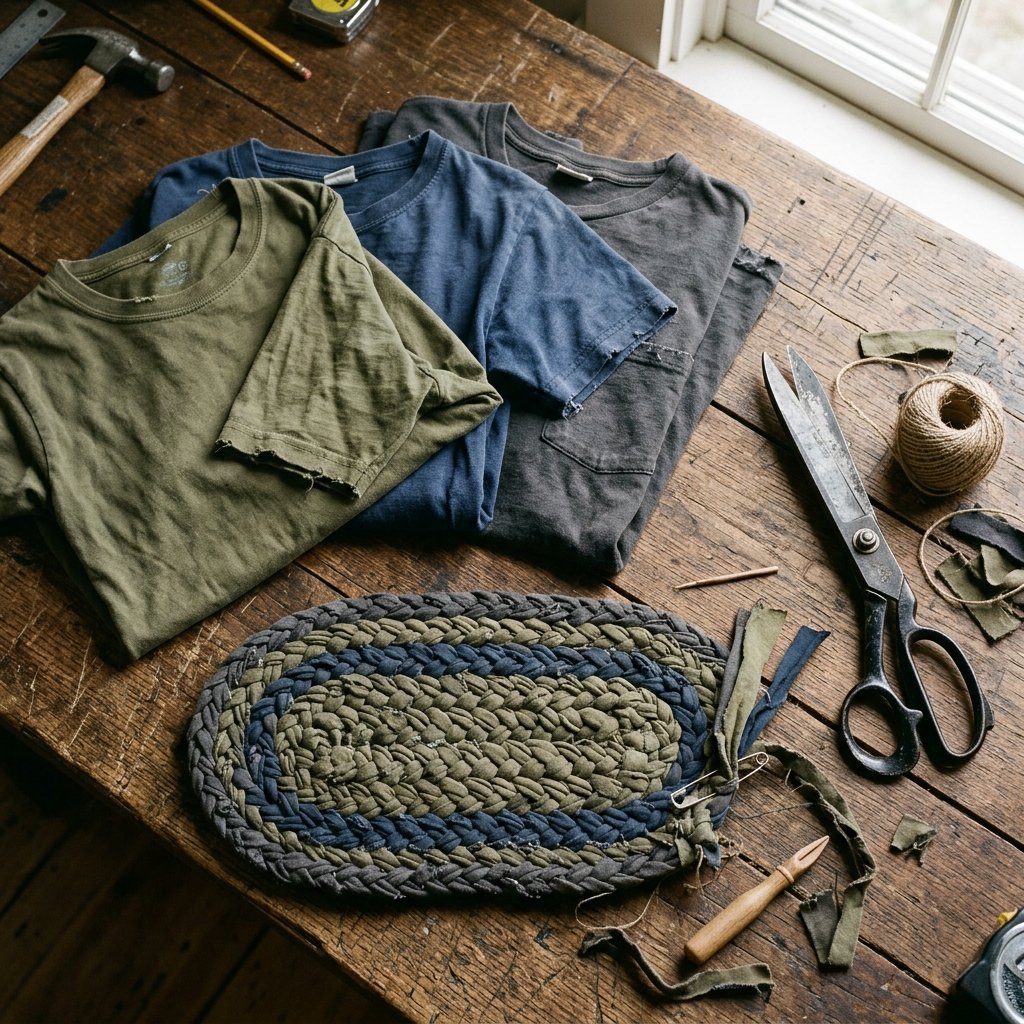
To achieve a ‘super soft’ result, you need bulk. We aren’t just making a thin mat; we are building a multi-layered cushion. For a standard 12×18 inch pad, you will want to source at least 5 to 8 large T-shirts. 100% cotton is the gold standard here because it compresses well without losing its ‘memory’ over time.
- Old T-Shirts: Various colors for a rugged, variegated look.
- Heavy-Duty Fabric Shears: To cut through multiple layers of jersey.
- Large Safety Pins or Binder Clips: To hold your braids or layers in place.
- Needle and Heavy Thread: (Optional for the no-sew version, but recommended for longevity).
- A Heavy-Duty Trash Bag or Plastic Liner: This is the ‘pro-tip’ for weatherproofing.
Budget Mantra: Use what you have. If you don’t have enough T-shirts, check the ‘free’ bin at local thrift stores or ask neighbors for their ‘paint clothes’ rags.
Start by washing and drying all your shirts to ensure they are fully shrunk. Lay them flat and remove any hard plastic graphics or thick seams that might feel uncomfortable under your knees. We want the soft jersey material only.
Step-by-Step Construction: The Braided Core Method
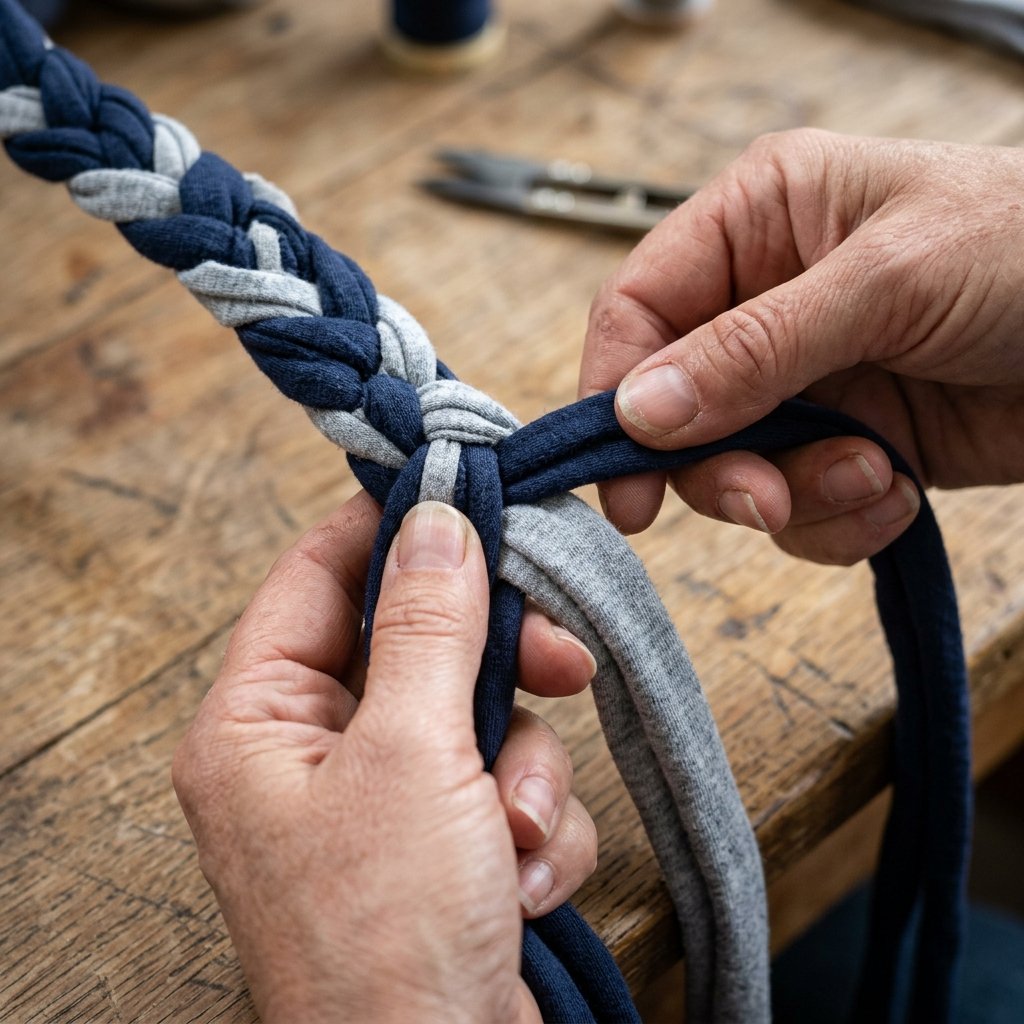
This is the ‘Easiest Way’ because it requires no complex weaving or expensive machinery. We are going to use a simple three-strand braid to create thick ‘rope’ that we will then coil into a pad. This method provides the maximum amount of cushioning and airflow.
- Cut the Strips: Cut your T-shirts into long, continuous strips about 3 inches wide. Don’t worry about raw edges; jersey cotton curls inward, creating a neat tube-like appearance naturally.
- The Anchor: Take three strips and tie them together at one end. Secure this knot to a heavy table or have a partner hold it.
- Braid with Tension: Braid the strips tightly. As you reach the end of a strip, simply overlap a new strip by 2 inches and keep braiding; the friction will hold them together, though a small stitch adds 100% security.
- The Coil: Once you have a ‘rope’ that is approximately 15-20 feet long, start coiling it on a flat surface like a cinnamon roll.
- Secure the Layers: As you coil, use your needle and thread (or even heavy-duty zip ties for a truly rugged ‘shop’ look) to sew the edges of the braids together. Pass the needle horizontally through the braids to hide the thread.
By the time you reach the end of your rope, you will have a circular or oval pad that is roughly 2 inches thick. This density is what provides the ‘super soft’ relief for your patellar tendons.
The ‘Weatherproof’ Upgrade: Protecting Your Work
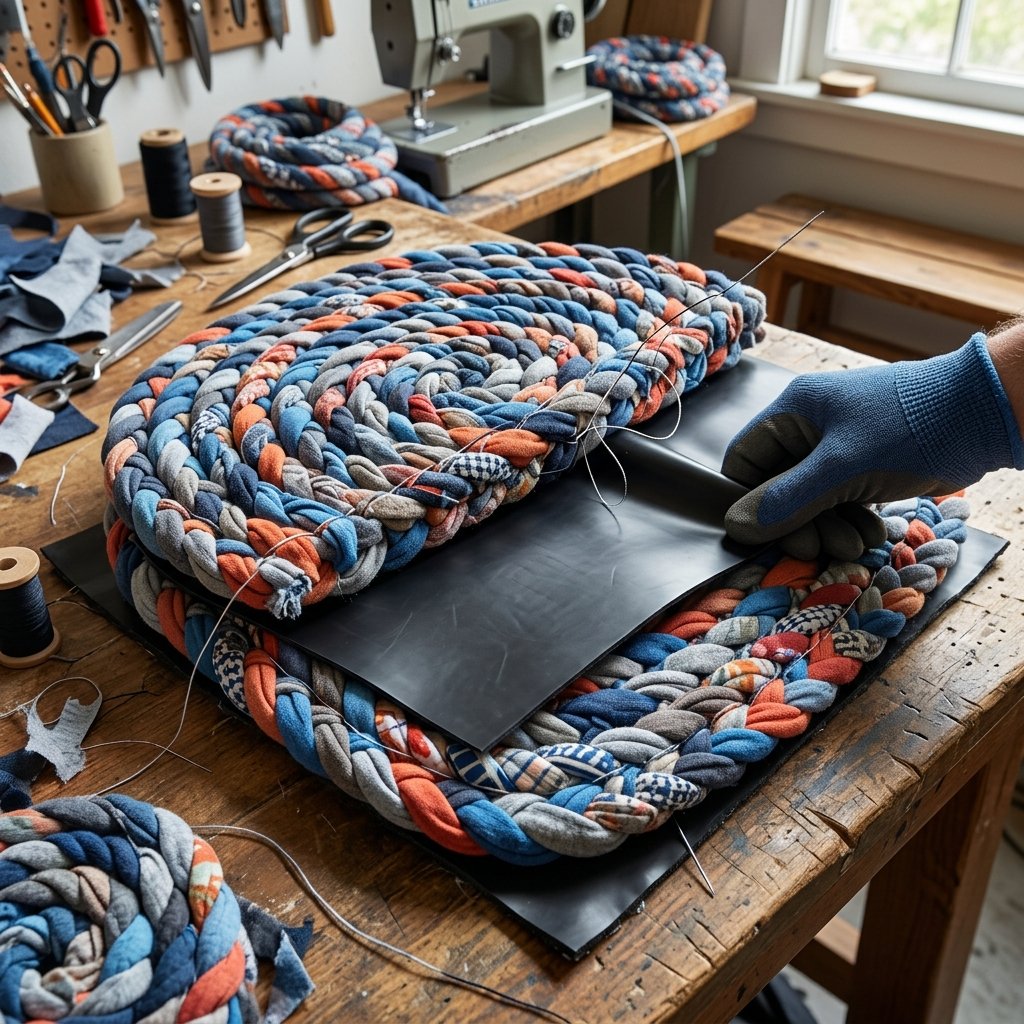
The Secret Internal Liner
A common mistake in DIY gardening gear is forgetting about moisture. Wet soil will soak into cotton instantly, making your pad heavy and prone to mildew. To prevent this, we use a clever, budget-savvy trick involving recycled plastic.
| Liner Material | Pros | Cons |
|---|---|---|
| Heavy-Duty Trash Bag | Free, very flexible | Can be noisy/crinkly |
| Old Shower Curtain | Extremely durable, waterproof | Harder to sew through |
| Potting Soil Bag | Rugged, thick plastic | Stiff, requires heavy needle |
Before you finish the final outer layer of your pad, insert a folded piece of plastic (cut from a thick 3-mil trash bag) into the center of your coil or between your braided layers. This creates a moisture barrier that keeps the bottom of the pad dry while the top remains soft and breathable. If you want to go the extra mile, spray the finished pad with a fabric protector or wax to help shed water during those early morning dewy gardening sessions.
Customizing for Comfort and Style
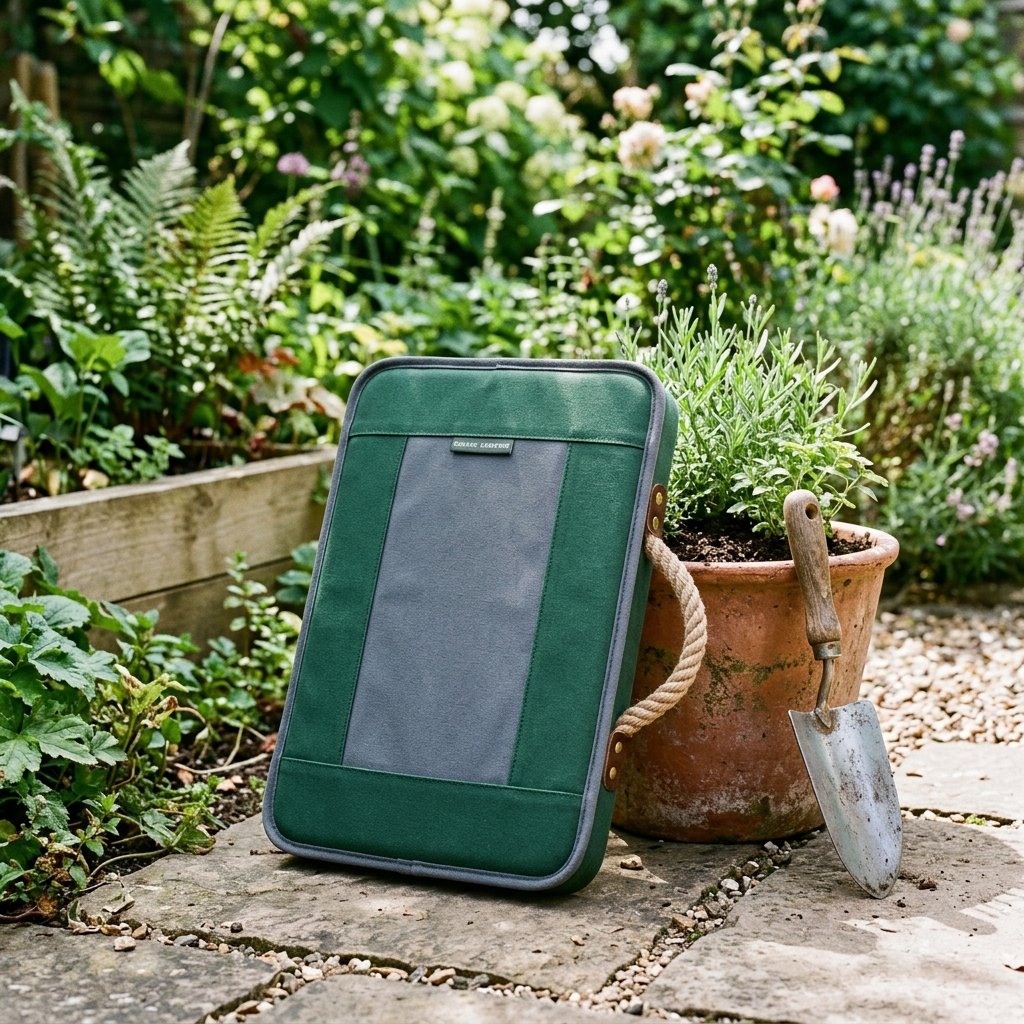
Just because it’s made of old rags doesn’t mean it shouldn’t look like a piece of high-end outdoor gear. You can customize the ergonomics and aesthetics with these simple tweaks:
- The Handle: Leave a loop of the braid at the end of your coil to serve as a carrying handle. This allows you to clip the pad to your garden belt or hang it in the shed.
- Color Blocking: Use dark colors (navy, black, charcoal) for the bottom to hide dirt, and lighter colors (grey, heather green) for the top to stay cool in the sun.
- The ‘Double-Wide’: If you find yourself moving side-to-side often, create two smaller circular pads and join them in the middle for a ‘butterfly’ shape that accommodates a wider stance.
Pro Tip: For extra-sensitive knees, insert a layer of old bubble wrap inside the pad along with the plastic liner. It adds an extra layer of air-cushioned comfort for zero additional cost.
Maintenance: Keeping Your Pad Fresh for Seasons to Come

Cleaning and Longevity
Unlike store-bought foam that harbors bacteria in its pores, your upcycled cotton pad is remarkably easy to maintain. Because we used T-shirts, the entire unit is machine washable (provided you secured your stitches well).
- Shake it out: After every use, give the pad a good whack against a post to remove loose dirt.
- Cold Wash: If it gets muddy, toss it in the washing machine on a cold, heavy-duty cycle.
- Air Dry: Always air dry your pad. The high heat of a dryer can degrade any plastic liners you added and may cause the cotton to shrink unevenly.
- Sun Power: Let it dry in the sun; UV rays act as a natural disinfectant for organic materials.
With proper care, a well-constructed T-shirt pad can last 3 to 5 years. If a braid comes loose, it takes only 2 minutes to stitch it back into place, making this a truly sustainable piece of equipment.
Conclusion
Final Thoughts: The Joy of Resourceful Crafting
There is a unique satisfaction that comes from kneeling on your own handiwork while you tend to your garden. This DIY garden kneeling pad represents everything we value: frugality, utility, and creative problem-solving. You’ve successfully diverted waste from the landfill, saved yourself a trip to the store, and protected your health with a custom tool designed for your specific needs. This project proves that you don’t need a massive budget or high-tech materials to achieve professional results. All you need are a few old shirts, a bit of patience, and the willingness to get your hands dirty. Now, grab those shears, raid the closet, and give your knees the super soft, rugged protection they deserve. Happy gardening!

Makenzie is the founder and lead writer at MoneyHackTips.com — a personal finance blog dedicated to delivering street-smart financial wisdom for real people on real budgets. With 300+ published articles covering everything from debt management to investing fundamentals, Makenzie’s mission is to make every dollar work harder. When not writing about money hacks, Makenzie is testing frugal living strategies, optimizing side hustles, and helping readers build financial freedom from scratch.