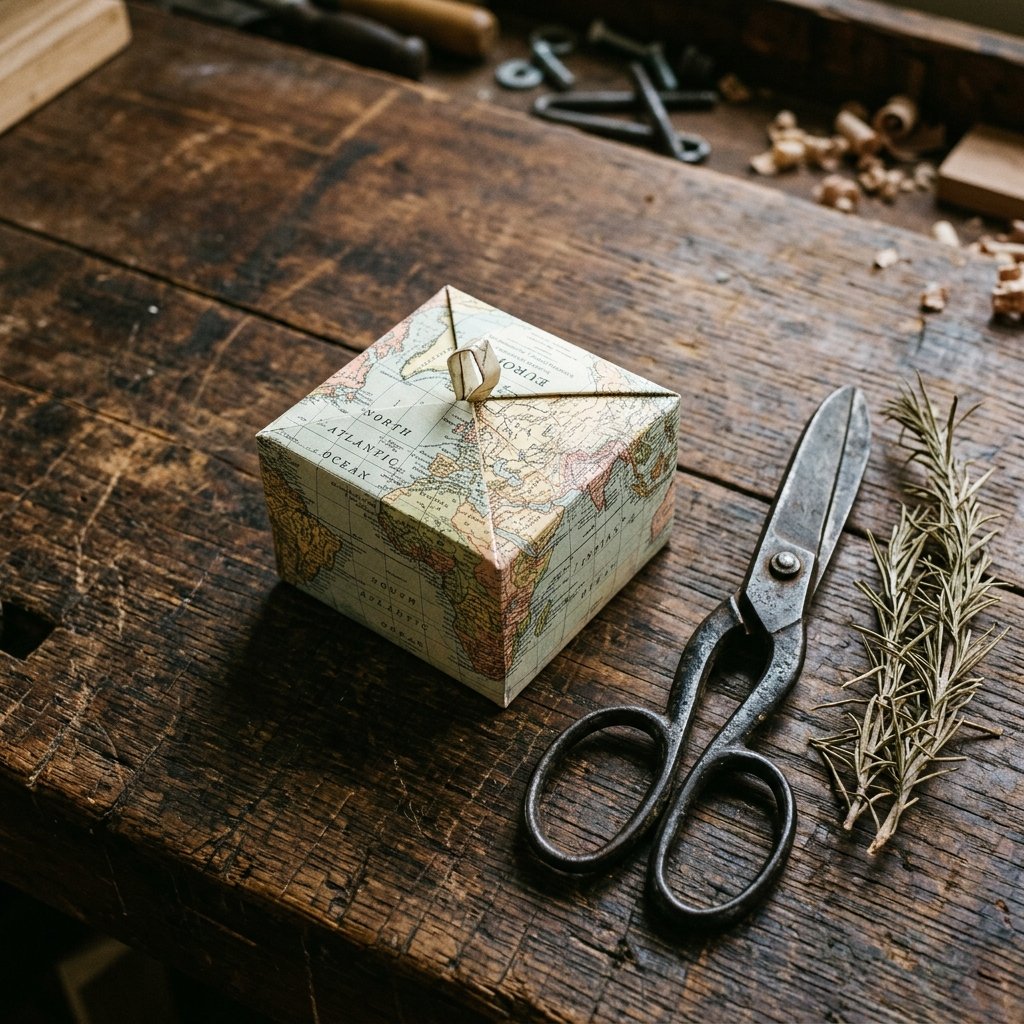

Let’s talk straight: spending $5.00 on a flimsy, glitter-covered cardboard box that will end up in a landfill before the party is over is a tactical error. As resourceful crafters and budget-savvy gift-givers, we can do better. Whether you are a handy parent looking to organize small toy parts or a creative gift-giver wanting to add a masculine-elegant touch to a handmade present, the traditional Japanese Masu box is your secret weapon.
This isn’t just about folding paper; it’s about the rugged satisfaction of turning ‘trash’—think old blueprints, brown paper grocery bags, or last month’s calendar—into a functional piece of art. In exactly 2 minutes, you can master a skill that ensures you never have to make a last-minute run to the drugstore for gift wrap again. This guide will walk you through the precise, crisp folds required to create a sturdy, professional-looking container from any square scrap of paper you have lying around.
The Strategic Advantage: Why Scrap Paper Wins
Before we dive into the folds, let’s look at why upcycling scrap paper is the ultimate clever move. Not only are you saving 100% of the cost of store-bought packaging, but you are also creating a unique, personalized experience for the recipient. A gift box made from a page of an old atlas for a traveler, or a comic book page for a kid, shows a level of thoughtfulness that a generic box simply cannot match.
Materials Needed & Estimated Cost
| Material | Source | Cost |
|---|---|---|
| Scrap Paper | Junk mail, old maps, magazines, brown bags | $0.00 |
| Scissors (Optional) | Kitchen or craft shears | $0.00 (Owned) |
| Bone Folder (Optional) | Use your thumbnail or a butter knife | $0.00 |
| Total Investment | Your Recycling Bin | $0.00 |
“The most resourceful tool you own is your own two hands. Don’t buy what you can build with what you already have.”
Step-by-Step: The 120-Second Folding Blueprint
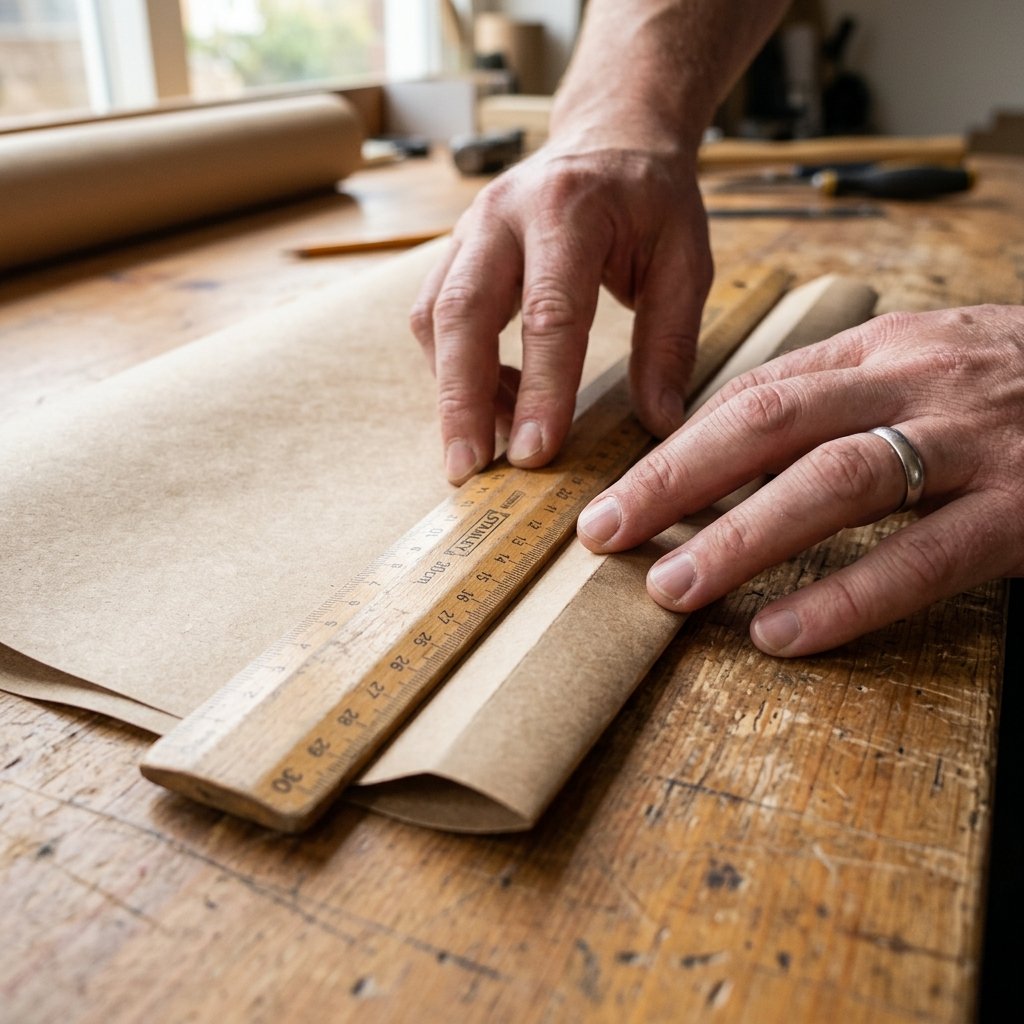
To begin, ensure your paper is a perfect square. If you are starting with a standard 8.5 x 11 inch sheet, fold one corner across to the opposite edge to form a triangle and trim off the excess strip. Now, follow these high-precision steps:
- The X-Fold: Fold your square in half diagonally both ways. When you unfold, you should have an ‘X’ creased into the paper. Make sure these folds are razor-sharp.
- The Cross-Fold: Fold the paper in half horizontally and vertically. Unfold. You now have a grid of creases meeting in the center.
- The Blintz Fold: Bring all four corners to the exact center point. This creates a smaller square. This is the foundation of your box’s strength.
- The Side Walls: Fold the top and bottom edges of your square to the center line. Unfold them. Now, fold the left and right edges to the center line and unfold.
- The Transformation: Open two opposite corners so they are flat again. Lift the other two folded sides up to form the side walls.
- The Final Lock: Tuck the remaining flaps over the edges and into the center of the box. They should snap into place, locking the structure without any need for tape or glue.
“Precision in the first fold ensures perfection in the final lock. Take 5 seconds more to align your corners exactly.”
Rugged Customization: Elevating the Aesthetic
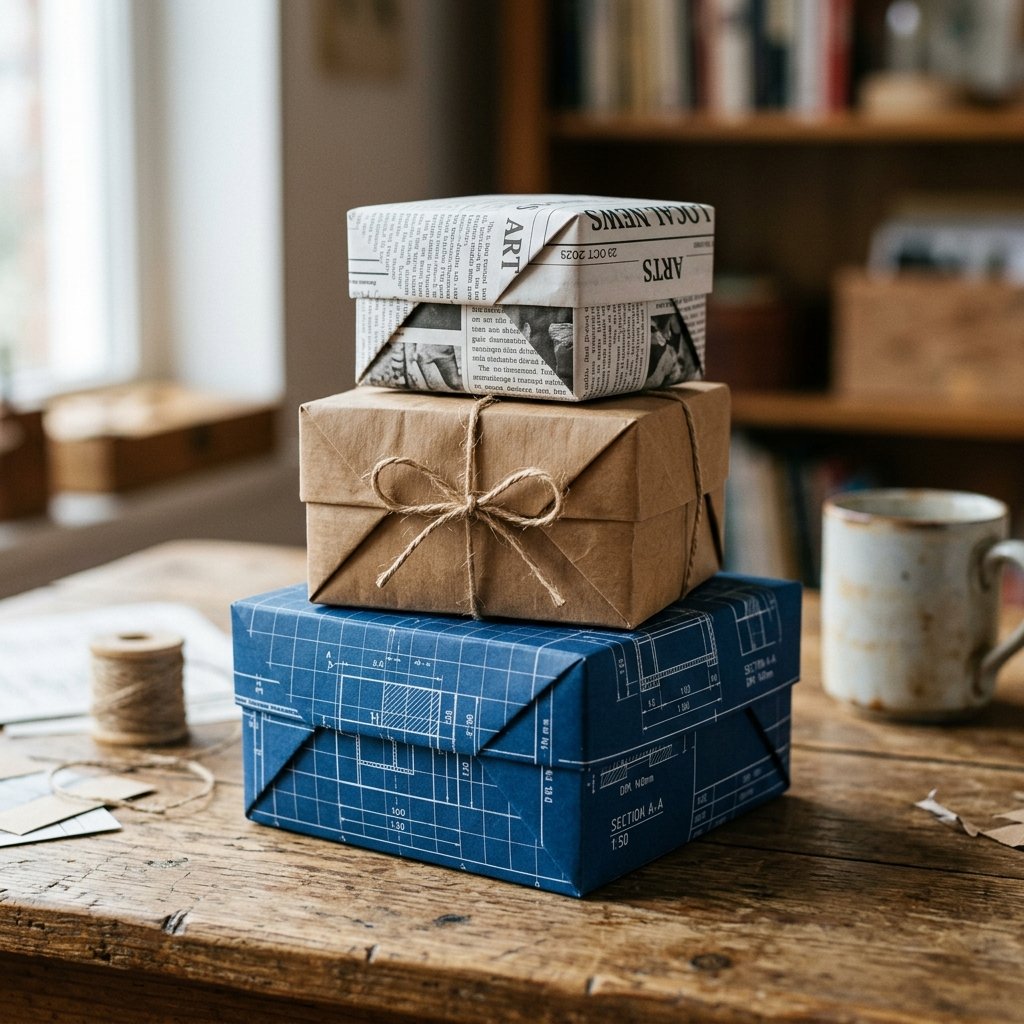
A plain paper box is functional, but a masculine-elegant gift box is an heirloom. Once you have mastered the basic fold, you can experiment with textures and finishes. For a more rugged look, use heavyweight 60lb paper or double up on thin magazine pages for extra durability. If you are gifting something heavy, like a solid cologne or a leather key fob, a double-layered box is essential.
DIY vs. Store-Bought Comparison
| Feature | Store-Bought Box | DIY Origami Box |
|---|---|---|
| Cost | $3.50 – $7.00 | $0.00 |
| Time to Acquire | 30-minute round trip | 2 minutes |
| Durability | Thin cardstock | Customizable (Double-layer) |
| Eco-Impact | High (New materials) | Zero-Waste |
To add that final ‘pro’ touch, consider these crafty expert additions:
- Twine Wrap: Use jute or hemp twine for a rugged, textured closure.
- Wax Seal: Use a bit of leftover candle wax and a metal button to seal the top.
- Natural Elements: Tuck a small sprig of cedar or pine into the folds for a fresh, outdoorsy scent.
Troubleshooting and Material Ratios
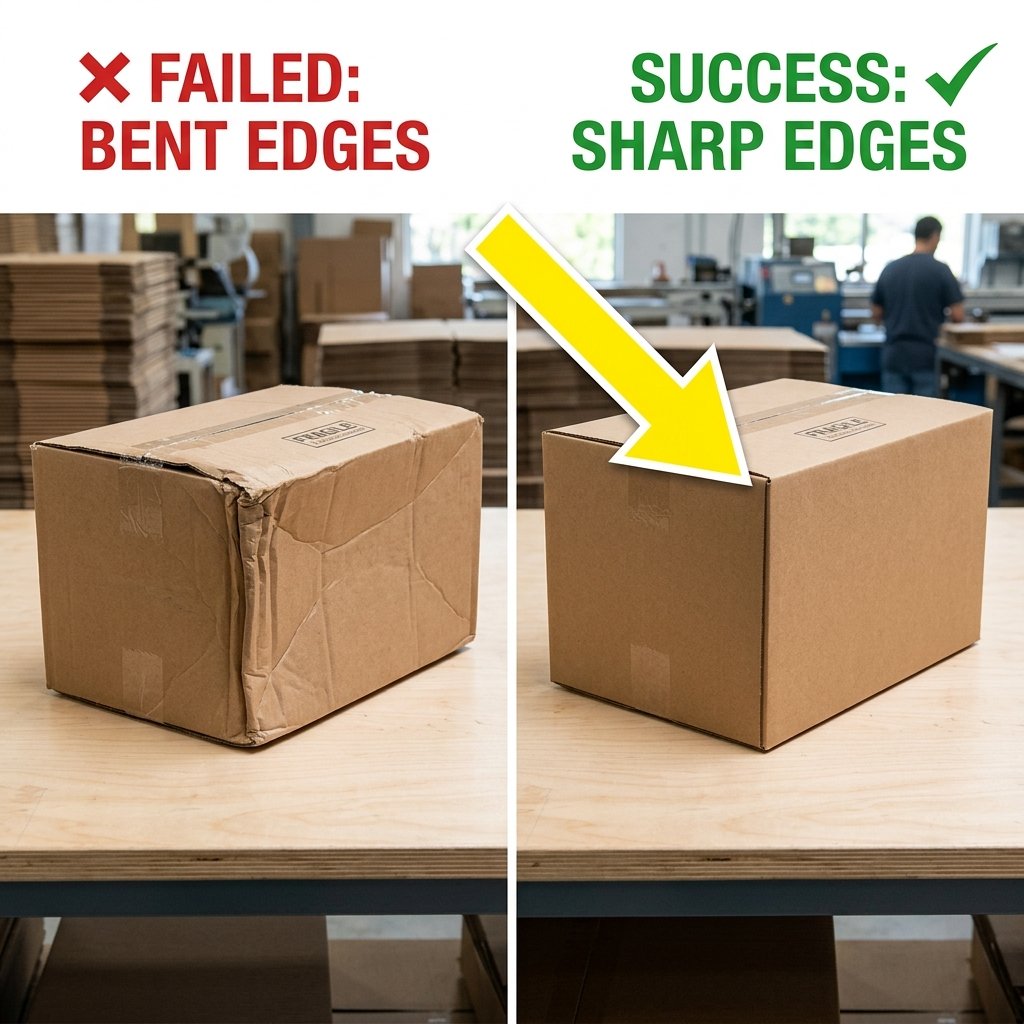
Even the most budget-savvy DIYer hits a snag occasionally. If your box feels ‘mushy’ or won’t stay closed, your paper weight is likely the culprit. For a box that holds its shape, the stiffness-to-size ratio is key. A 6×6 inch square of standard copy paper is perfect for jewelry, while a 12×12 inch square of heavy brown bag paper can hold a heavy set of metal dice or a small tool.
Safety Note: When using heavy cardstock or repurposed shipping boxes, be careful of paper cuts. Use a bone folder or the back of a spoon to press creases rather than your fingernails to avoid strain.
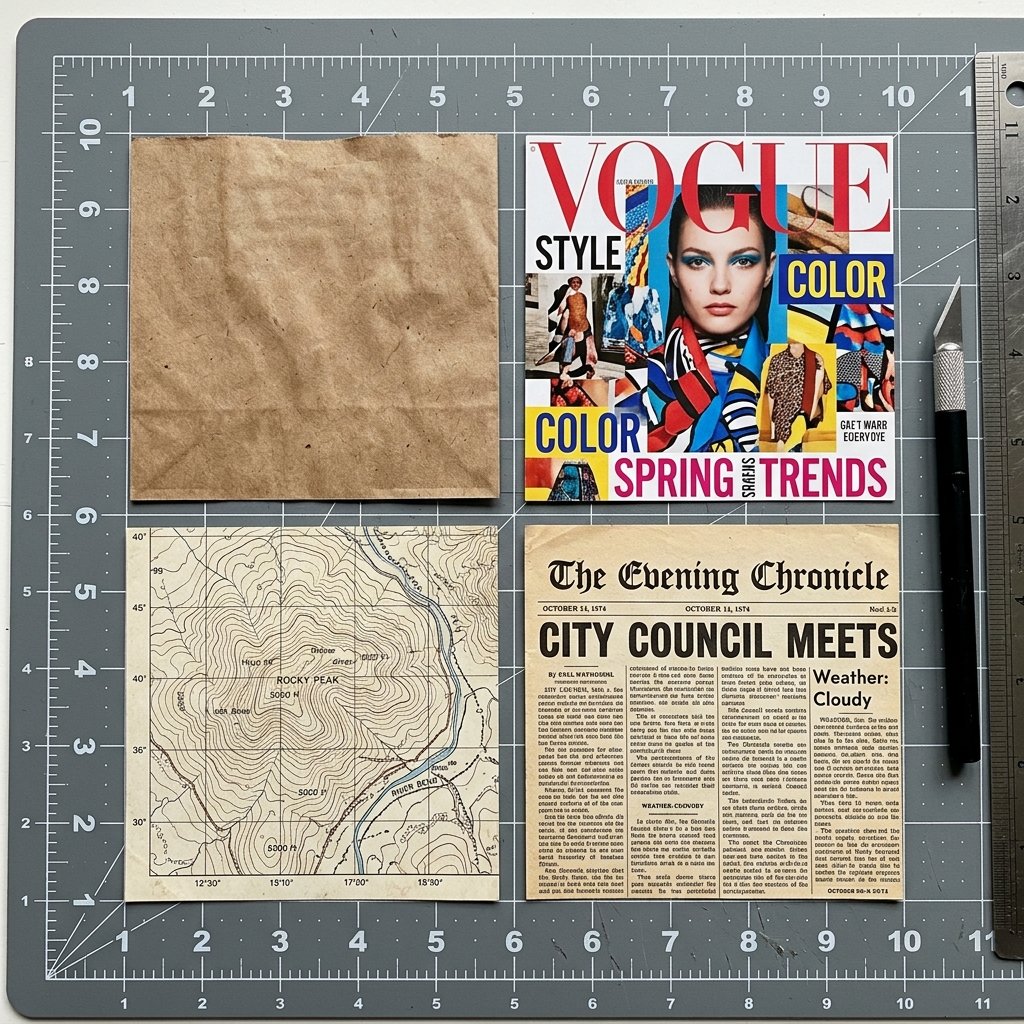
Paper Selection Guide
| Paper Type | Best Use Case | Durability Rating |
|---|---|---|
| Magazine Page | Lightweight jewelry, candy | Low |
| Old Map | Medium-weight gifts, soaps | Medium |
| Brown Grocery Bag | Heavy items, rugged gifts | High |
| Cardstock Scrap | Premium look, long-term storage | Very High |
Conclusion
Mastering the 2-minute origami gift box is more than just a craft; it is a lifestyle shift toward being more resourceful and less dependent on consumerist ‘convenience.’ By upcycling what you already have, you save hundreds of dollars over a lifetime of gift-giving, reduce your environmental footprint, and deliver a gift that feels personal and ruggedly sophisticated. Next time you see a cool piece of scrap paper, don’t toss it—fold it. Your wallet and your gift recipients will thank you.

Makenzie is the founder and lead writer at MoneyHackTips.com — a personal finance blog dedicated to delivering street-smart financial wisdom for real people on real budgets. With 300+ published articles covering everything from debt management to investing fundamentals, Makenzie’s mission is to make every dollar work harder. When not writing about money hacks, Makenzie is testing frugal living strategies, optimizing side hustles, and helping readers build financial freedom from scratch.