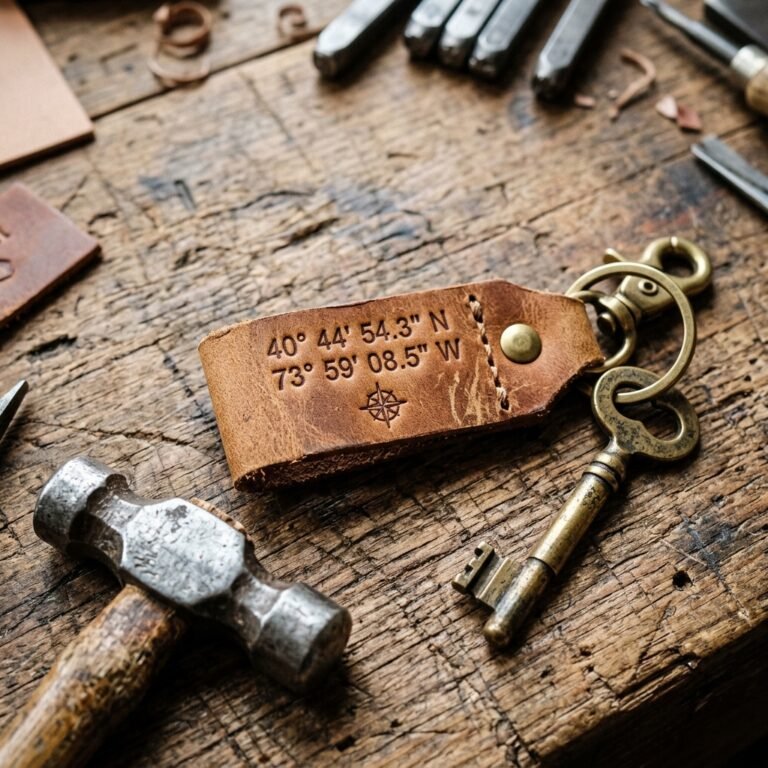
The Power of a Bespoke Workspace
There is something undeniably commanding about a leather-topped desk. It evokes the atmosphere of a classic study, the scent of old books, and the quiet confidence of a professional who knows the value of quality. However, if you have ever browsed high-end office supply stores, you know that a premium leather desk mat can easily command a price tag of $150 to $300. For the frugal DIYer, that is not just a purchase; it is a challenge. We are here to tell you that you can achieve that exact same ‘executive’ look for a fraction of the cost, using basic tools and a bit of resourceful creativity. Whether you are looking to surprise a partner with a thoughtful Father’s Day gift or you want to elevate your own home office, this guide will walk you through the rugged, practical, and elegant process of working with leather. We are moving beyond the basic plastic mats and entering the realm of heirloom-quality craftsmanship. By the end of this tutorial, you will have a piece that looks like it was plucked from a boutique in Florence, but with the satisfaction of knowing you built it with your own two hands on a budget-savvy timeline.
The desk is the cockpit of your productivity; why fly coach when you can craft a first-class experience for the price of a few lattes?
Sourcing Your Hide: The Frugal Way to Find Premium Leather
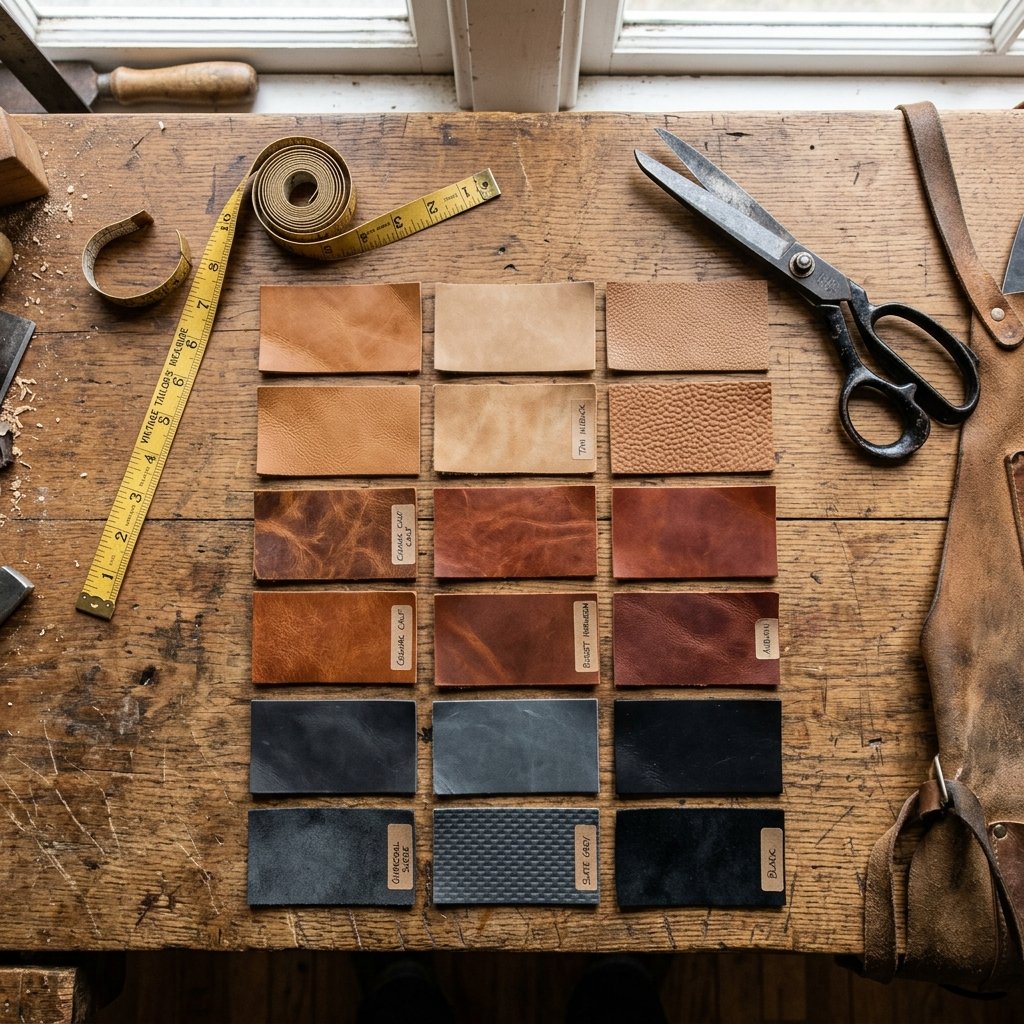
The first step in our journey is the most critical: finding the leather. You do not need to buy a whole cow hide from a luxury tannery to get a great result. For a desk mat, you want a piece that is large enough to accommodate a keyboard and mouse, typically around 24 inches by 12 inches or 30 inches by 16 inches. When shopping, look for Vegetable-Tanned (Veg-Tan) leather if you want that classic, stiff, and develop-a-patina look. If you prefer something softer and more water-resistant, Chrome-Tanned leather is your best bet and often cheaper.
Where to Look for Budget Leather
- Leather Scraps and Remnants: Many leather supply shops sell ‘remnant bags’ or ‘sides’ that have minor imperfections. These are perfect for desk mats because you can cut around the flaws.
- Thrift Store Upcycling: Look for oversized leather coats or skirts. A large leather trench coat can provide enough material for two or three desk mats if you are clever with your pattern placement.
- Online Auctions: Search for ‘leather hide remnants’ or ‘upholstery scraps.’ You can often find high-quality pieces for under $20.
| Leather Type | Pros | Estimated Cost (DIY) | Retail Price Equivalent |
|---|---|---|---|
| Vegetable-Tanned | Durable, ages beautifully, can be stamped | $25 – $40 | $180+ |
| Chrome-Tanned | Soft, many colors, water-resistant | $15 – $30 | $120+ |
| Upcycled (Thrifted Jacket) | Eco-friendly, unique character | $5 – $15 | Priceless/Bespoke |
The Essential Toolkit: Rugged Gear for the Modern Maker
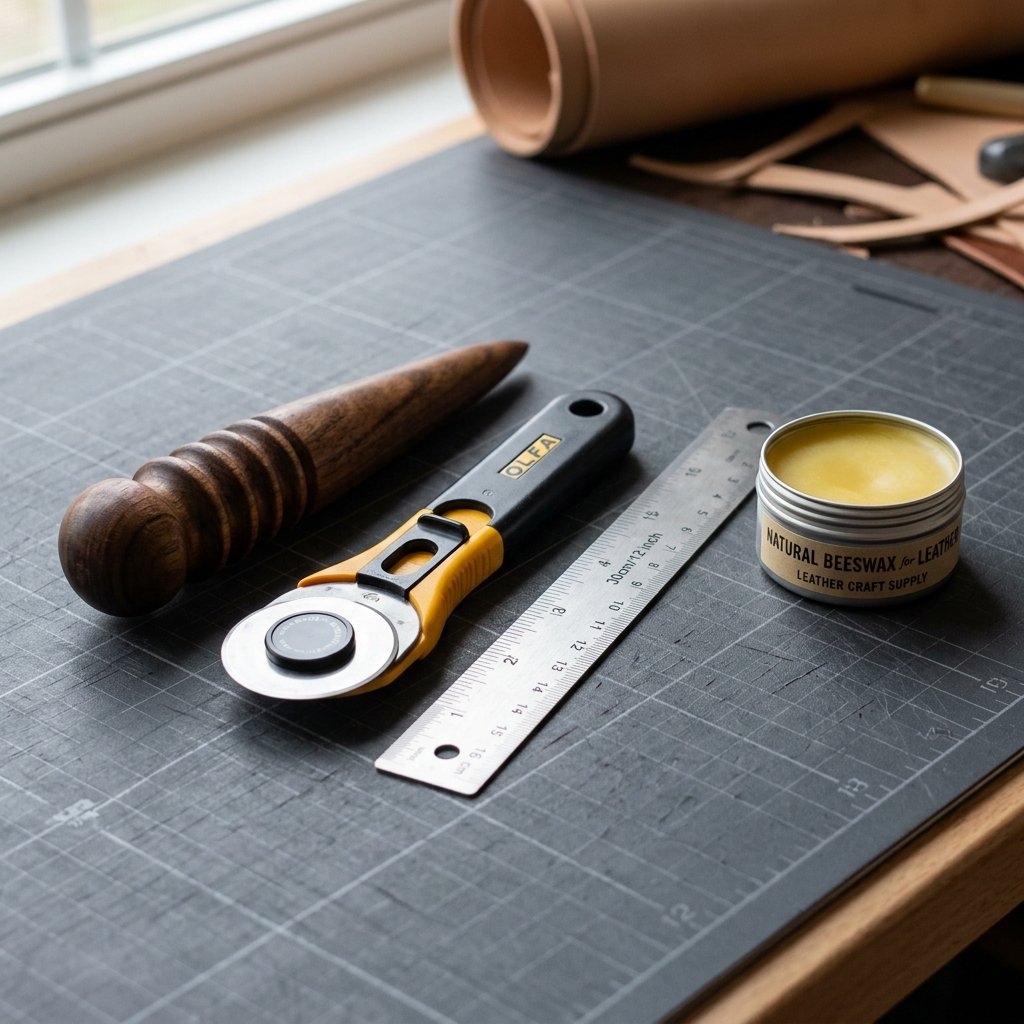
You do not need a workshop full of heavy machinery to create a professional-grade desk mat. In fact, the beauty of leatherworking is its simplicity. Most of these tools are one-time investments that will serve you for years of future projects, from key fobs to wallets.
The ‘Must-Have’ List
- Self-Healing Cutting Mat: To protect your table and keep your blade sharp.
- Steel Ruler: A plastic one will get sliced. You need the weight and edge of steel for straight, confident cuts.
- Rotary Cutter or Heavy-Duty Utility Knife: A rotary cutter provides the smoothest lines on leather.
- Edge Burnisher: A small wooden tool used to smooth the edges of the leather.
- Beeswax or Gum Tragacanth: For finishing the edges to a high-gloss shine.
- Leather Conditioner: To protect the hide and bring out the rich color.
Safety First: Leather is tough, but your fingers are not. Always cut away from your body and keep your non-cutting hand well behind the path of the blade.
Precision Cutting and Shaping: The Foundation of Quality
Now that we have our materials, it is time to define the silhouette. A desk mat needs to be functional first. Measure your desk space and consider what will sit on the mat. Will it just be a keyboard? Or a laptop and a mouse? A standard ‘Large’ mat is 31 inches by 15 inches.
Step-by-Step Cutting Instructions
- Mark the Back: Flip the leather over to the ‘flesh’ side (the fuzzy side). Use a silver pen or a simple pencil to mark your dimensions.
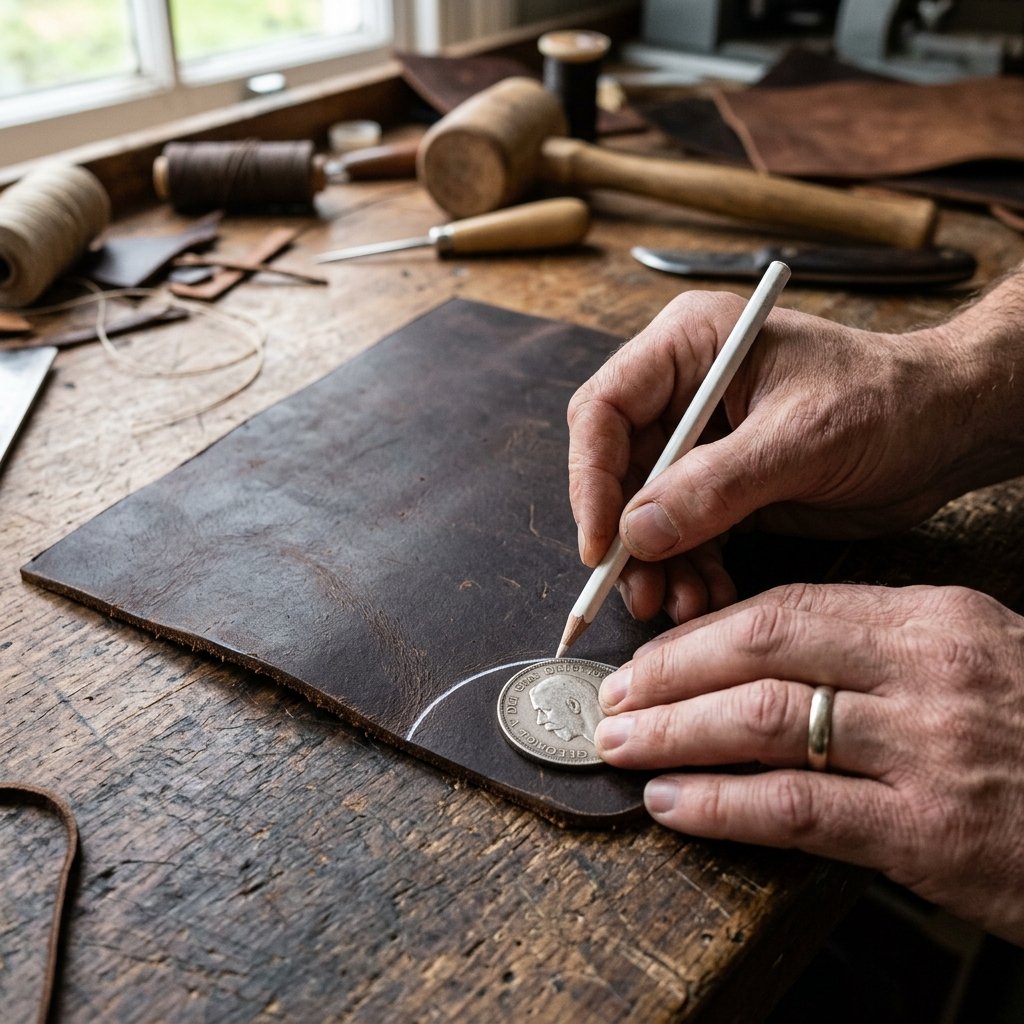
- Square the Corners: Use a square tool or a heavy book to ensure your corners are exactly 90 degrees. For a more modern, elegant look, use a coin (like a quarter) to trace rounded corners.
- The First Cut: Align your steel ruler with your marks. Apply firm pressure to the ruler so it does not slip. Run your rotary cutter along the edge in one smooth motion. Do not saw at the leather; one or two clean passes are better than multiple jagged ones.
- The Corner Radius: If you chose rounded corners, carefully ‘nibble’ away at the corner with your knife or use a dedicated corner punch for a perfect $0 professional finish.
| Size Category | Dimensions (Inches) | Best For |
|---|---|---|
| Small/Compact | 12″ x 18″ | Mousepad + Minimalist Keyboard |
| Standard Executive | 24″ x 14″ | Full Keyboard + Mouse |
| Extended Desk Mat | 32″ x 16″ | Laptop, Keyboard, Mouse, and Coffee |
The Art of the Edge: Burnishing for a High-End Finish
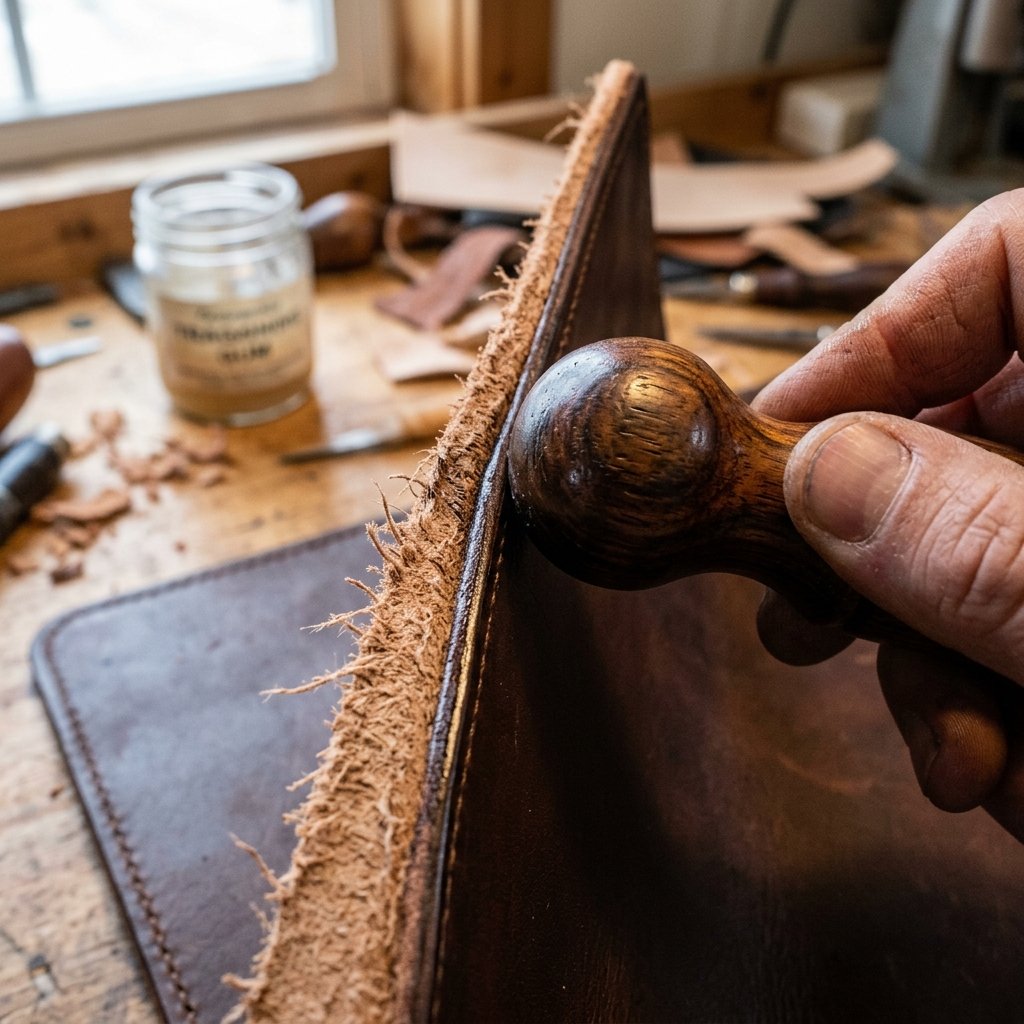
What separates a ‘DIY project’ from a ‘luxury product’ is the edge. Raw, cut leather edges look unfinished and can fray over time. Burnishing is the process of using friction to compress the fibers and create a smooth, shiny, and sealed edge. It is incredibly satisfying and costs almost nothing but a little ‘elbow grease.’
The Burnishing Process
- Sanding: Use a high-grit sandpaper (around 400 grit) to lightly smooth the cut edges. This removes any fuzziness from the cut.
- Wetting: Apply a small amount of water or Gum Tragacanth to the edge with your finger or a cotton swab. You want it damp, not soaking.
- The Friction Phase: Take your wooden burnisher (or even a piece of smooth denim fabric) and rub the edge vigorously back and forth. You will start to hear a ‘tacky’ sound. This is the heat and friction doing their job.
- Waxing: Once the edge is smooth and dark, rub a bit of beeswax along it and burnish one last time. This seals the edge against moisture and gives it a professional sheen that looks like $100 craftsmanship.
Mantra: Friction is your friend. The harder you work the edge, the more it will reward you with a glass-like finish.
Personalization and Protection: The Final Flourish

To truly make this a ‘Classiest Desk Upgrade,’ we need to add those final touches that scream ‘custom-made.’ If you are giving this as a gift, monogramming is a must. You can buy a cheap set of alphabet stamps for $10 that will last a lifetime.
Adding the Personal Touch
- Stamping: Dampen the leather slightly where you want the initials. Place your stamp and strike it firmly with a mallet. This works best on Veg-Tan leather.
- Conditioning: Leather is skin, and it needs hydration. Rub a high-quality leather balm or neatsfoot oil into the surface using a lint-free cloth. Watch as the color deepens and the leather takes on a rich, supple glow. This step also provides a layer of water resistance against coffee spills.
- Non-Slip Backing: If your leather is a bit slidey on your desk, you can glue a thin layer of cork or felt to the bottom using contact cement. This adds thickness and luxury for just $2.
| Finishing Product | Effect | Drying Time |
|---|---|---|
| Neatsfoot Oil | Deepens color, softens leather | 24 Hours |
| Beeswax Balm | Adds shine, water protection | 1 Hour |
| Acrylic Resolene | High-gloss, permanent seal | 3 Hours |
Maintenance: Keeping the Legacy Alive
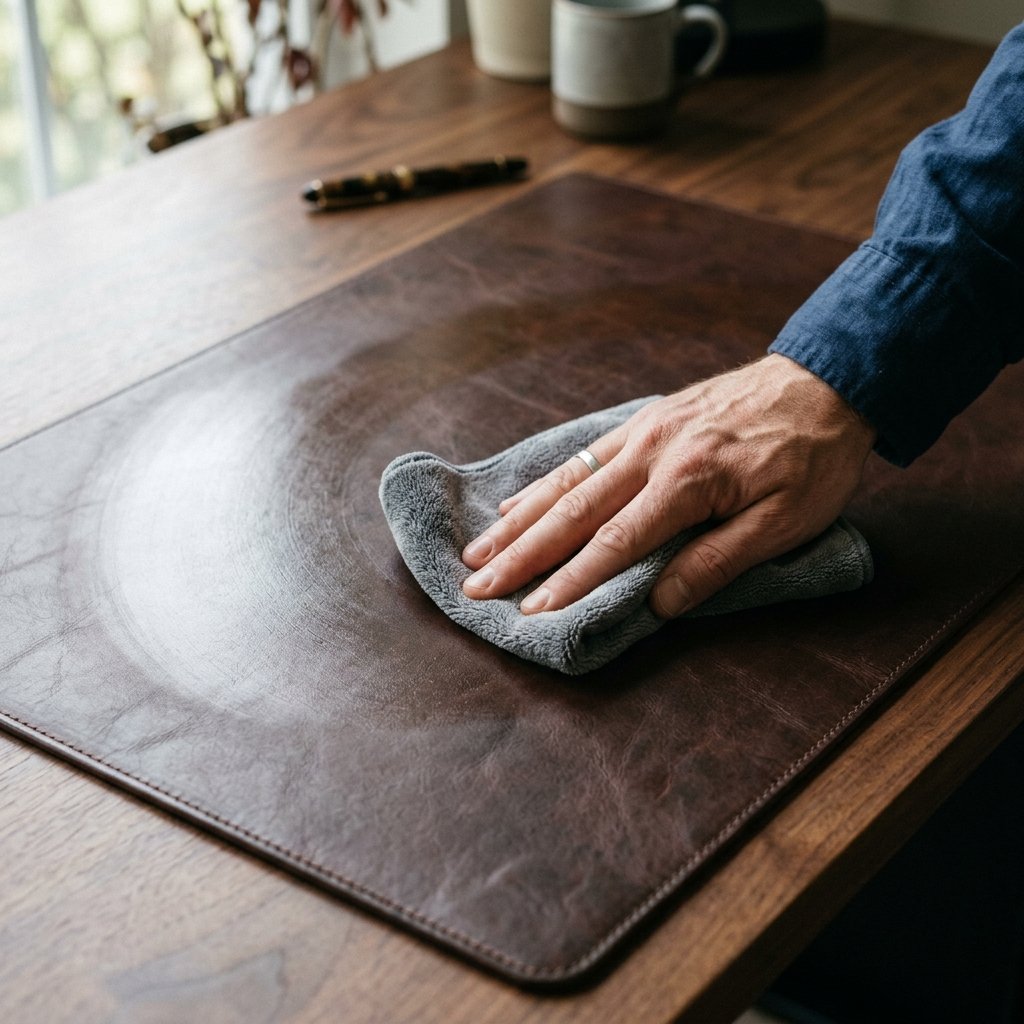
A leather desk mat is not just for today; it is a piece that will age with the person using it. Over time, it will develop a ‘patina’—a unique darkening and softening that tells the story of every late-night project and morning coffee. To keep it looking its best, simply wipe it down with a damp cloth once a month and re-apply conditioner every six months. If a scratch occurs, don’t panic! Most surface scratches can be buffed out with just the natural oils from your thumb and a bit of vigorous rubbing. That is the beauty of real leather; it gets better with age, unlike its plastic counterparts.
Conclusion
A Masterpiece on Your Desktop
Congratulations! You have just taken a raw piece of hide and transformed it into a sophisticated, functional piece of office art. By choosing to DIY, you have saved over $100, learned a new skill, and created a gift (even if it’s for yourself) that carries far more weight than anything bought off a shelf. This premium leather desk mat is a testament to the fact that you don’t need a massive budget to have a massive impact on your environment. Whether it’s the smell of the leather or the smooth glide of the mouse, every time you sit down to work, you’ll be reminded of your own resourcefulness and craft. Now, clear off that desk, lay down your new masterpiece, and get to work in style!

Makenzie is the founder and lead writer at MoneyHackTips.com — a personal finance blog dedicated to delivering street-smart financial wisdom for real people on real budgets. With 300+ published articles covering everything from debt management to investing fundamentals, Makenzie’s mission is to make every dollar work harder. When not writing about money hacks, Makenzie is testing frugal living strategies, optimizing side hustles, and helping readers build financial freedom from scratch.