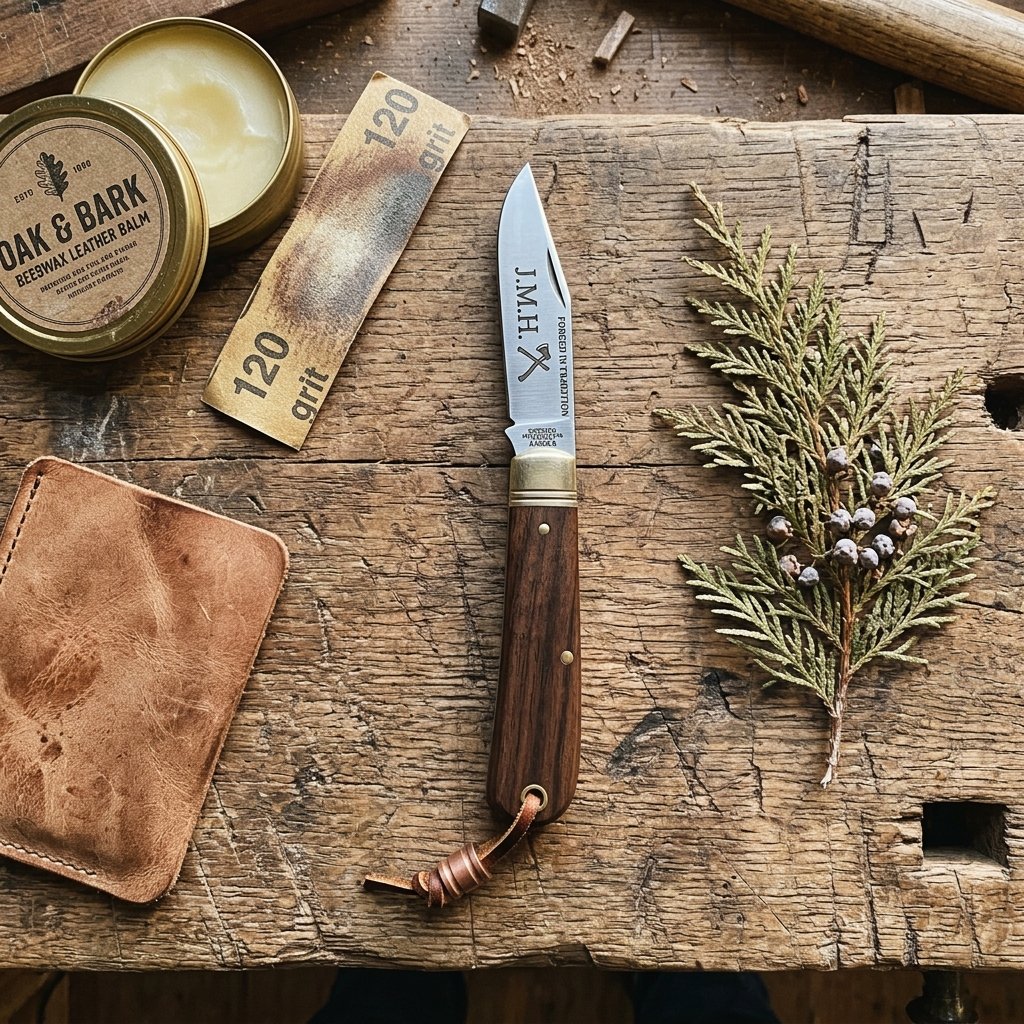

There is something inherently timeless about a well-crafted blade. It is the ultimate tool of the resourceful, the companion of the adventurer, and a symbol of practical elegance. However, walk into any high-end boutique, and you will see bespoke pocket knives retailing for $150 to $300. For the frugal DIYer, those prices are a challenge, not a barrier. What if I told you that with a $5 hardware store find and 30 minutes of your time, you could create a stunning, custom gift that looks like it belongs in a heritage catalog?
This guide is designed for the handy parent, the budget-savvy gift-giver, and the rugged crafter. We are going to strip away the generic, mass-produced feel of a cheap folding knife and replace it with character, soul, and a custom patina. Whether you are prepping for Father’s Day, a groomsman gift, or just want to elevate your own everyday carry (EDC), this transformation is about maximizing impact while minimizing cost. Let’s get our hands dirty and turn some trash into a treasure.
Finding the Diamond in the Rough: Selecting Your Base Blade
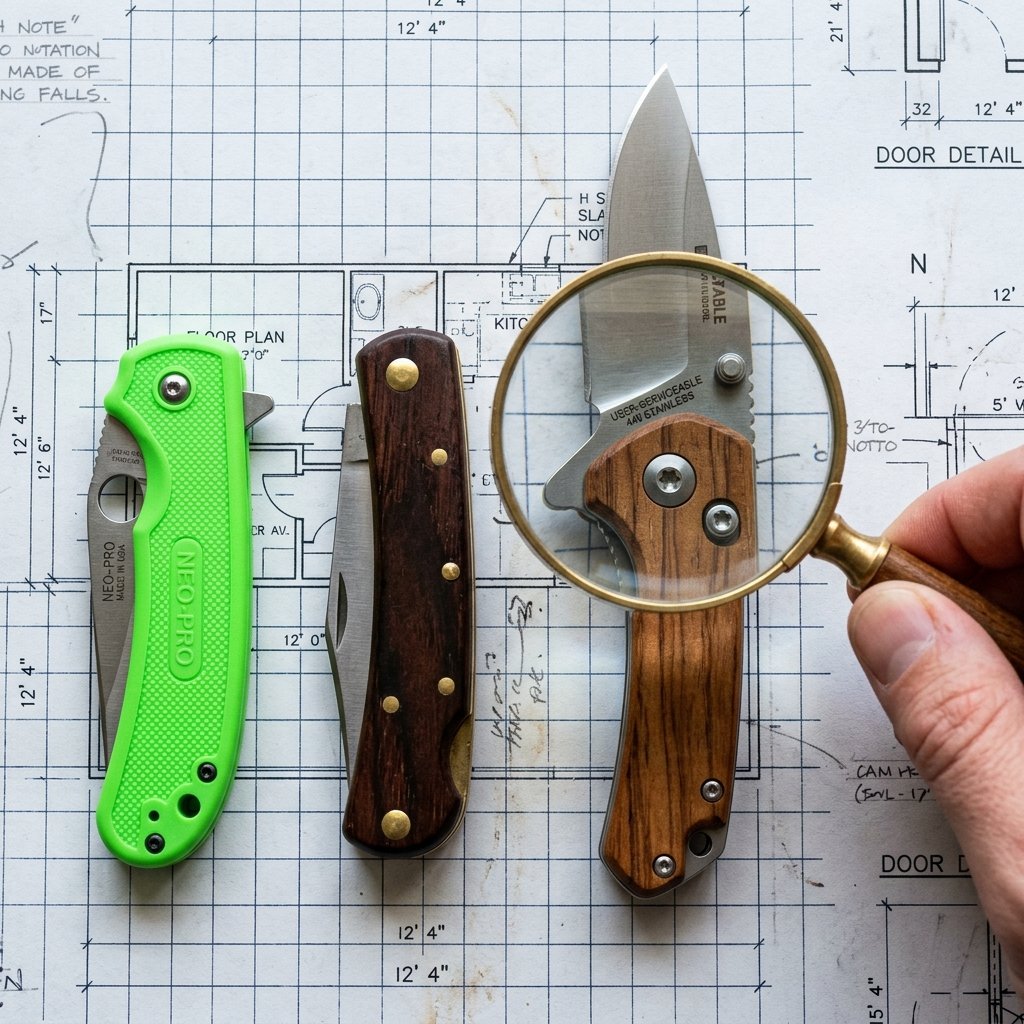
The secret to a successful high-end transformation is starting with a solid foundation. You aren’t looking for a designer name; you are looking for mechanical integrity. Visit your local hardware store, a discount tool shop, or even the camping aisle of a big-box retailer. You want a knife that feels sturdy in the hand but lacks aesthetic ‘soul.’
What to Look For in a Budget Knife
- Stainless Steel Blade: Ensure the blade is 440C or similar stainless steel. It’s durable and takes an etch beautifully.
- Removable Scales: Look for knives with visible screws (usually Torx or Hex). This allows you to remove the handle covers (scales) for sanding or replacement.
- Locking Mechanism: A solid liner lock or frame lock is essential for safety.
- Price Point: Aim for the $5 to $12 range. Anything more, and you’re paying for branding we’re about to change anyway.
| Feature | What to Avoid | What to Seek |
|---|---|---|
| Handle Material | Cheap, neon plastic | Wood, textured G10, or plain aluminum |
| Assembly | Riveted (can’t be opened) | Screwed (user-serviceable) |
| Blade Finish | Thick, black tactical coating | Satin or polished steel |
The budget-savvy crafter knows that a knife is just a piece of steel between two handles. If the steel is straight and the hinge is smooth, the rest is just art.
The 30-Minute Transformation: A Step-by-Step Tactical Guide

Efficiency is key when you’re a busy parent or a time-crunched DIYer. This process is broken down into three 10-minute blocks to ensure you stay under that 30-minute mark while achieving professional results.
Phase 1: Disassembly and Surface Prep (0-10 Minutes)
- Use a small Torx driver to remove the handle scales. Keep the screws in a small magnetic tray or a bottle cap—they are easy to lose!
- If the scales are wood, sand away the cheap factory lacquer with 220-grit sandpaper. If they are metal, scuff them up to prepare for a new finish.
- Clean the blade with rubbing alcohol to remove factory oils.
Phase 2: Custom Patina and Staining (10-20 Minutes)
This is where the magic happens. We are going to give the wood a deep, rich ‘heirloom’ look and the blade a rugged, non-reflective finish.
- For the Handles: Apply a dark walnut or espresso wood stain using a rag. Wipe off the excess after 2 minutes for a weathered look.
- For the Blade: If you want a ‘forced patina,’ dip the blade (carefully) into warm white vinegar for 5-10 minutes. This darkens the steel and provides a protective layer against rust.
| Material | Technique | Time Required |
|---|---|---|
| Wood Scales | Sanding & Dark Walnut Stain | 8 Minutes |
| Metal Scales | Stone-washing (shaking in a jar with pebbles) | 5 Minutes |
| Blade | Vinegar Forced Patina | 10 Minutes |
Elevating the Aesthetic: Metal Etching and Personalization
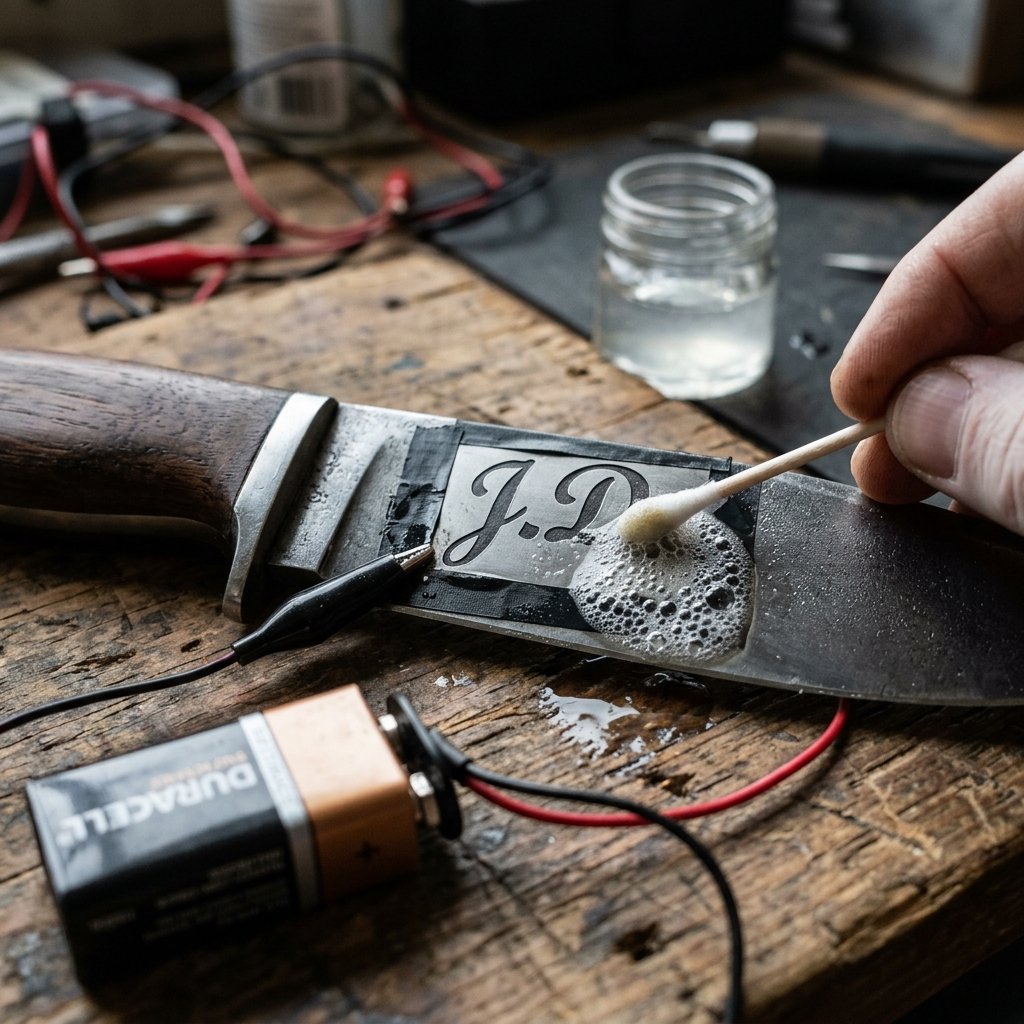
To truly make this a ‘stunning custom gift,’ you need to add a personal touch. You don’t need a laser engraver; you just need a 9V battery and some salt water. This ‘electro-etching’ technique is a rugged, old-school way to put initials or a logo onto the blade.
The DIY Electro-Etching Recipe
- Cover the blade area with electrical tape or a thick layer of permanent marker.
- Scratch your design (initials, a mountain range, a date) into the tape/ink using a needle, exposing the bare steel.
- Mix 1 tablespoon of salt into a small cup of water.
- Connect the positive (+) terminal of a 9V battery to the knife blade using an alligator clip.
- Connect the negative (-) terminal to a cotton swab dipped in the salt water.
- Touch the wet swab to the exposed design for 30-60 seconds. The electricity will ‘eat’ the metal, leaving a permanent engraving.
Safety Note: Always perform etching in a well-ventilated area. Wear eye protection and gloves to avoid contact with the salt solution and the battery terminals.
Once finished, wipe the blade clean with acetone or nail polish remover. You’ll be left with a crisp, professional-looking etch that looks like it was done by a master smith.
The Finishing Touch: A Custom Leather Sheath for Under $2
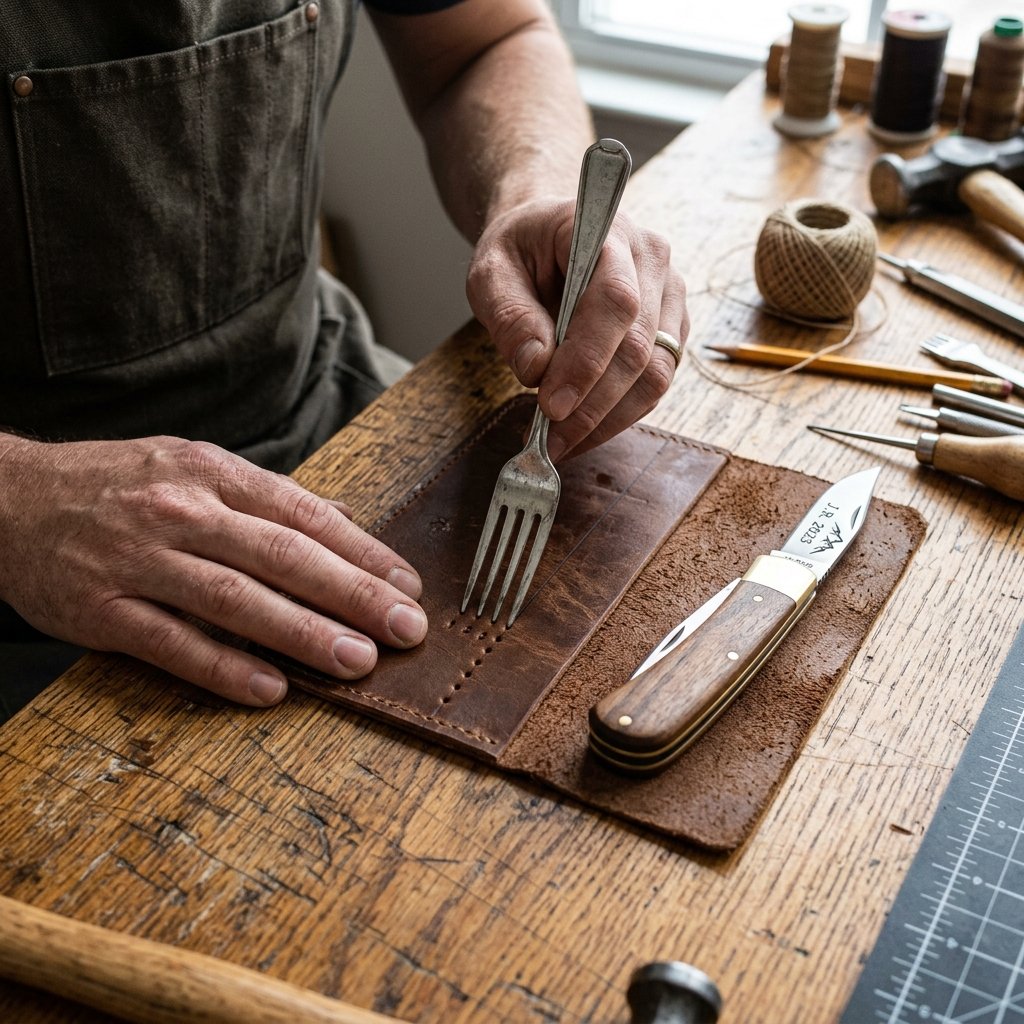
A custom knife deserves a custom home. Instead of buying a plastic holster, we are going to craft a simple leather ‘slip.’ This adds a layer of masculine elegance and protects the knife in the pocket.
Materials Needed:
- A scrap of 4oz veg-tan leather (check the ‘remnant’ bin at craft stores).
- Heavy-duty waxed thread.
- Two needles for a saddle stitch.
The Process: Fold the leather over the knife to measure the width. Cut a rectangle that is 1/2 inch wider than the knife. Punch holes along the edge using a fork (a great budget hack!) or a stitching chisel. Sew the sides together using a saddle stitch for maximum durability.
| DIY Sheath Cost | Store-Bought Leather Sheath | Total Savings |
|---|---|---|
| $1.50 (Scrap leather + thread) | $25.00 – $45.00 | 95% Savings |
Finish the leather by rubbing it with a bit of olive oil or beeswax from your pantry. This will darken the leather and give it that ‘broken-in’ feel immediately.
The Frugal Master’s Ledger: Cost vs. Value Analysis
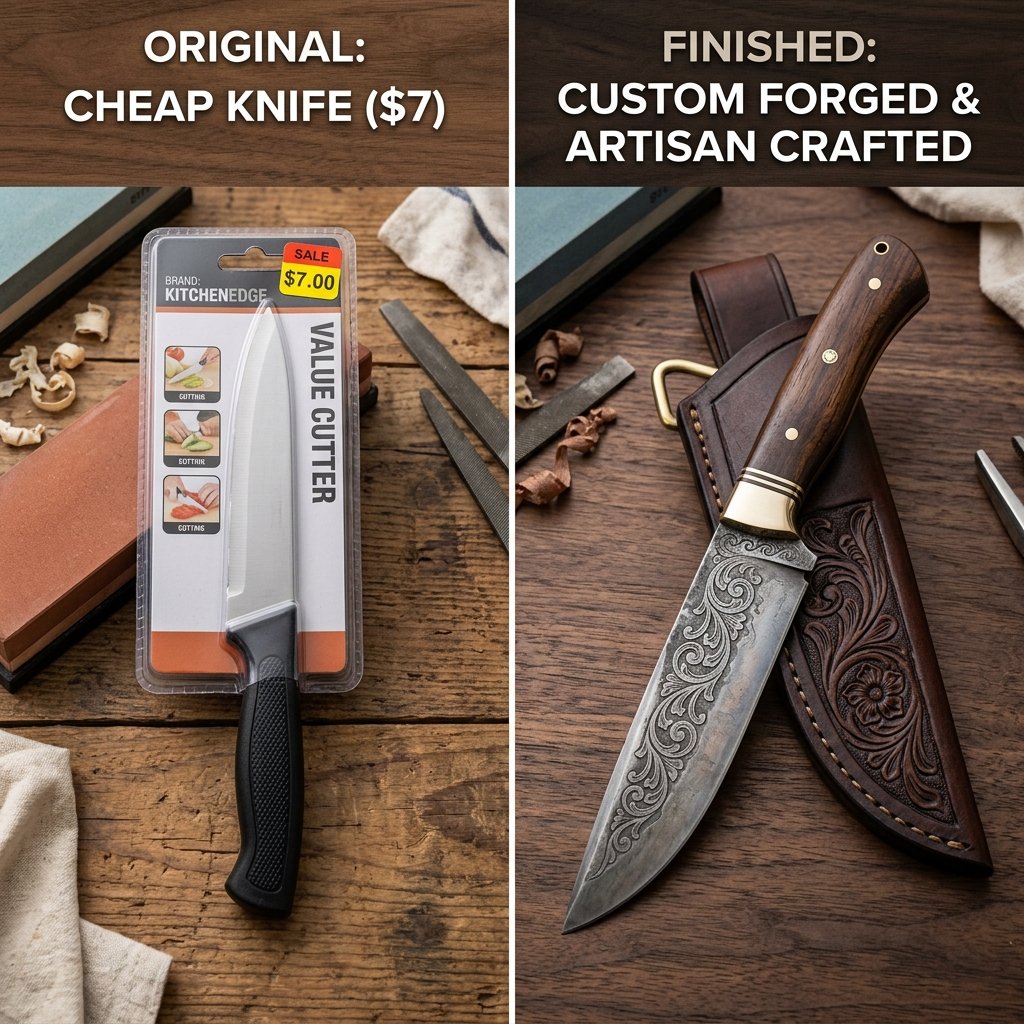
Let’s look at the numbers. As a budget-savvy crafter, your goal is to maximize the ‘perceived value’ of your gift. When the recipient opens this package, they see the time, the effort, and the customization. They don’t see the $5 price tag from the clearance bin.
| Item | Budget Source | Cost |
|---|---|---|
| Base Knife | Hardware Store / Dollar Store | $7.00 |
| Sandpaper/Stain | Workshop Scraps | $0.00 |
| Etching Supplies | Pantry / Junk Drawer | $0.50 |
| Leather Sheath | Remnant Bin | $1.50 |
| Total Investment | 30 Minutes of Labor | $9.00 |
Compare this to a ‘Custom Boutique Knife’ which typically retails for $120+. By using your skills, you have created over $100 in value while providing a gift that is infinitely more meaningful because it was made by your hands.
Budget Mantra: Your hands are the most expensive tool you own; use them to turn pennies into gold.
Conclusion
Transforming a cheap pocket knife into a stunning custom gift isn’t just about saving money—it’s about the pride of craftsmanship. In under 30 minutes, you’ve taken a mass-produced object and turned it into a bespoke heirloom. You’ve mastered the art of the forced patina, the science of electro-etching, and the rugged simplicity of leatherwork.
Next time you need a gift for a birthday, a graduation, or a holiday, don’t reach for your credit card. Reach for your toolbox. The most ‘masculine-elegant’ gifts aren’t bought; they are built. Now go forth, find a blade, and start your next trash-to-treasure masterpiece!

Makenzie is the founder and lead writer at MoneyHackTips.com — a personal finance blog dedicated to delivering street-smart financial wisdom for real people on real budgets. With 300+ published articles covering everything from debt management to investing fundamentals, Makenzie’s mission is to make every dollar work harder. When not writing about money hacks, Makenzie is testing frugal living strategies, optimizing side hustles, and helping readers build financial freedom from scratch.