
The Philosophy of the Cardboard Vault
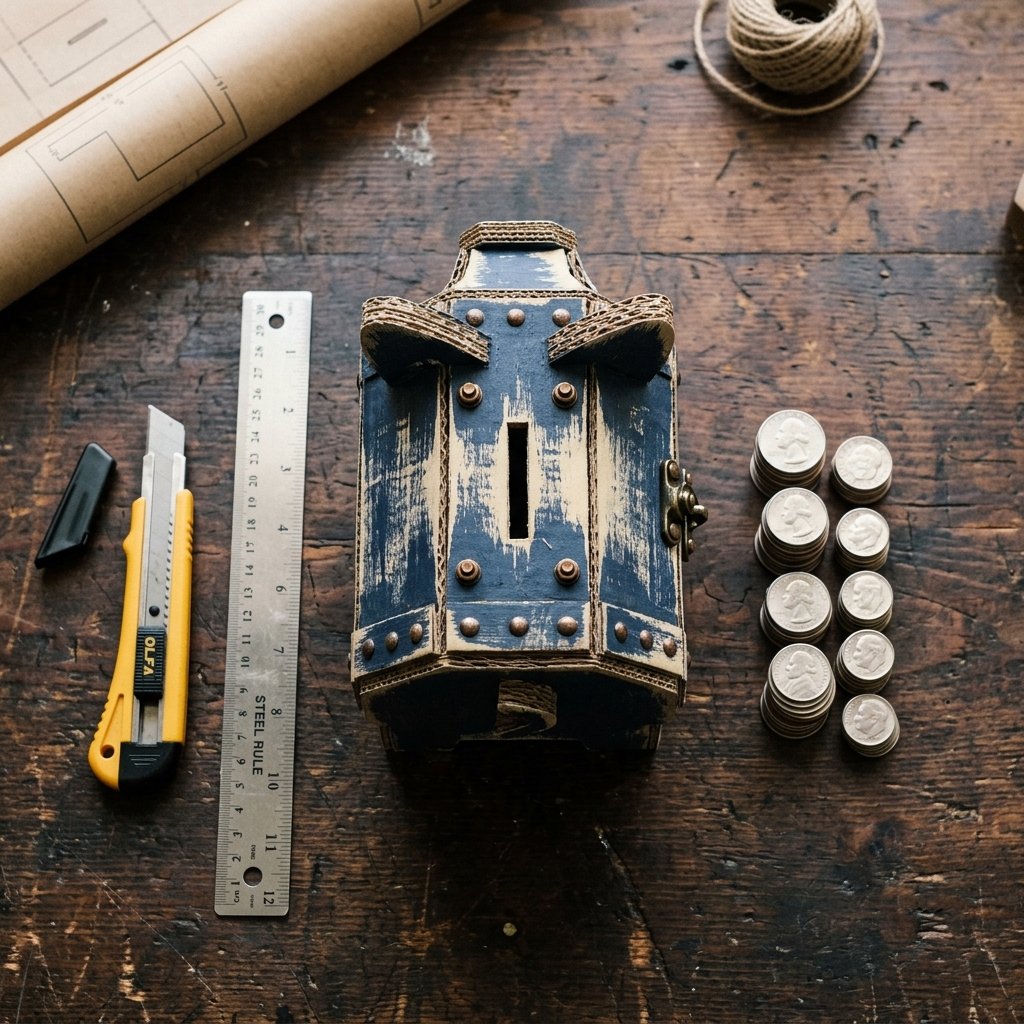
In an age of digital transactions and invisible currency, the tactile experience of dropping a heavy coin into a resonant chamber is a foundational lesson in financial fortitude. As frugal DIYers, we know that the best tools aren’t always bought; they are engineered from the resources already at our disposal. This project isn’t just about making a box; it’s about upcycling a standard shipping container into a rugged, masculine-elegant treasure chest that teaches children the value of every cent. We aren’t just saving money; we are saving materials from the landfill and building a legacy of resourcefulness. By using heavy-duty corrugated cardboard and clever reinforcement techniques, we can create a bank that feels less like a temporary toy and more like a permanent piece of bedroom decor. This tutorial focuses on precision, durability, and aesthetic appeal, ensuring that the final product is something both parent and child can be proud of. Let’s dive into the grit and glory of cardboard engineering.
The Blueprint: Selecting Your Cardboard Chassis
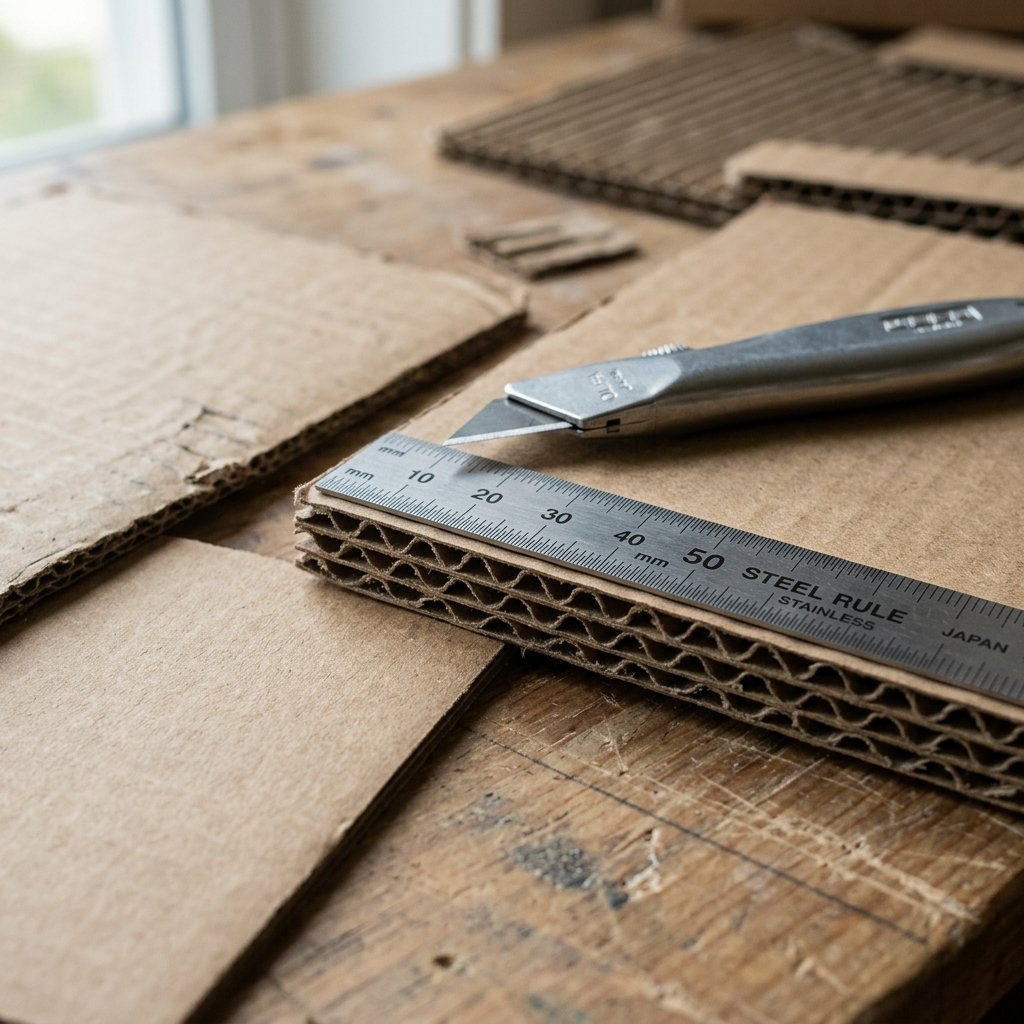
Not all cardboard is created equal. To build a bank that survives the enthusiastic handling of a child, you need to select a high-burst-strength corrugated material. Look for double-wall cardboard often found in heavy appliance shipping or high-quality subscription boxes. The goal is to find a ‘chassis’ that provides structural integrity without excessive bulk. We are looking for a box that is roughly 6x6x6 inches—large enough to hold a significant ‘fortune’ but compact enough to sit firmly on a bookshelf. Before we begin, gather your materials. We are aiming for a zero-budget build by raiding the recycling bin and the tool shed.
| Material | Source | Estimated Cost |
|---|---|---|
| Corrugated Box (Small) | Recycle Bin/Amazon Box | $0.00 |
| Utility Knife/Box Cutter | Toolbox | $0.00 |
| Wood Glue or Hot Glue | Craft Drawer | $0.50 |
| Acrylic Paint (Steel or Black) | Dollar Store | $1.25 |
| Metal Ruler/Straight Edge | Toolbox | $0.00 |
| Total Project Cost | Resourceful Build | $1.75 |
The secret to a professional finish is in the prep work. Remove all shipping tape carefully to avoid tearing the top layer of the cardboard fibers. A clean surface is a canvas for greatness.
Precision Engineering: The Perfect Coin Slot
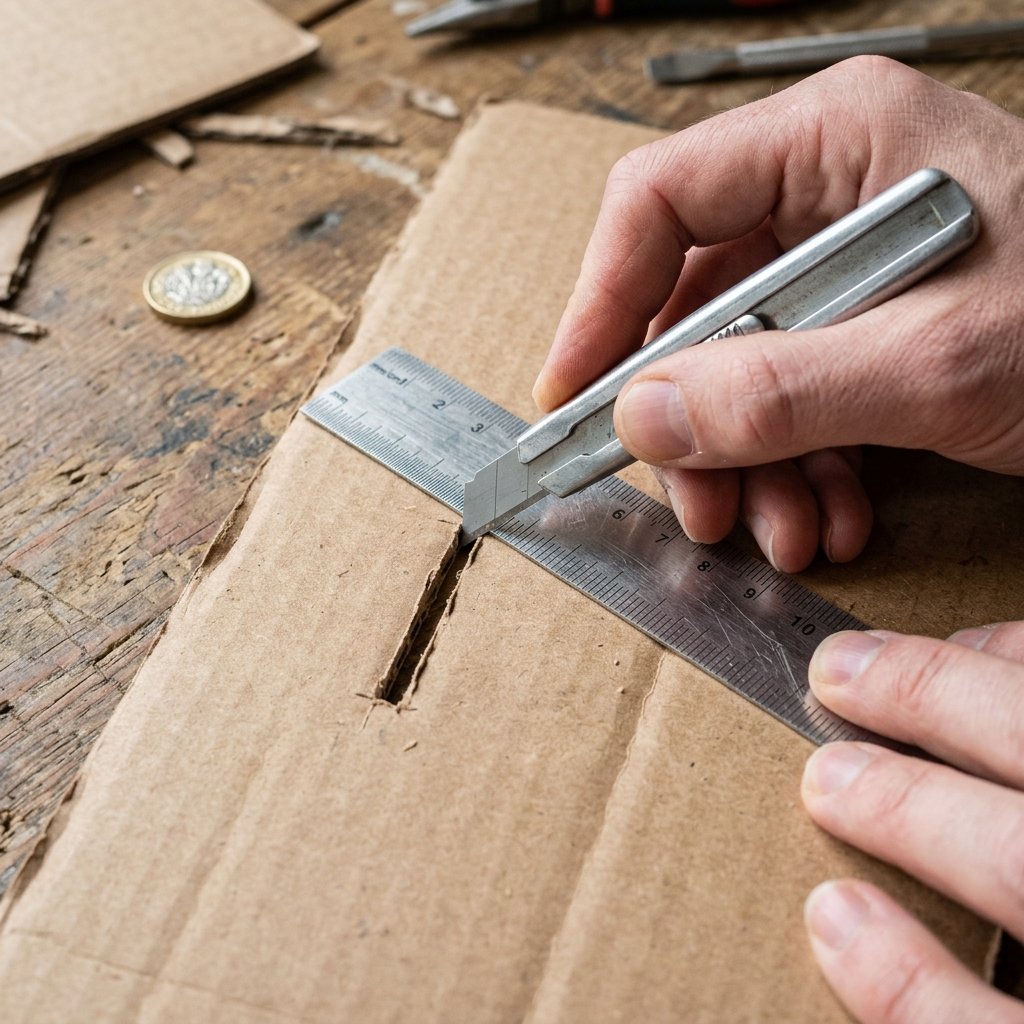
The coin slot is the most critical functional element of your bank. It must be wide enough for a silver dollar but tight enough to prevent ‘unauthorized withdrawals’ via the dreaded ‘butter knife technique.’ Using your metal ruler, mark a rectangle exactly 1.5 inches long and 1/8 inch wide on the top center of your box. This is where precision matters. A jagged slot looks amateurish; a clean, beveled cut looks like a manufactured product.
The Bevel-Cut Technique
- Place your box on a self-healing mat or a piece of scrap wood.
- Use a fresh blade in your utility knife—dull blades tear, sharp blades glide.
- Make your vertical cuts first, then the short horizontal ends.
- For an extra touch of class, slightly sand the edges of the slot with a fine-grit sandpaper (220 grit) to remove any cardboard burrs.
Safety Note: Always cut away from your body. When working with kids, the adult handles the utility knife, while the child acts as the ‘Project Manager’ checking the measurements.
Structural Fortification: The ‘Vault’ Assembly
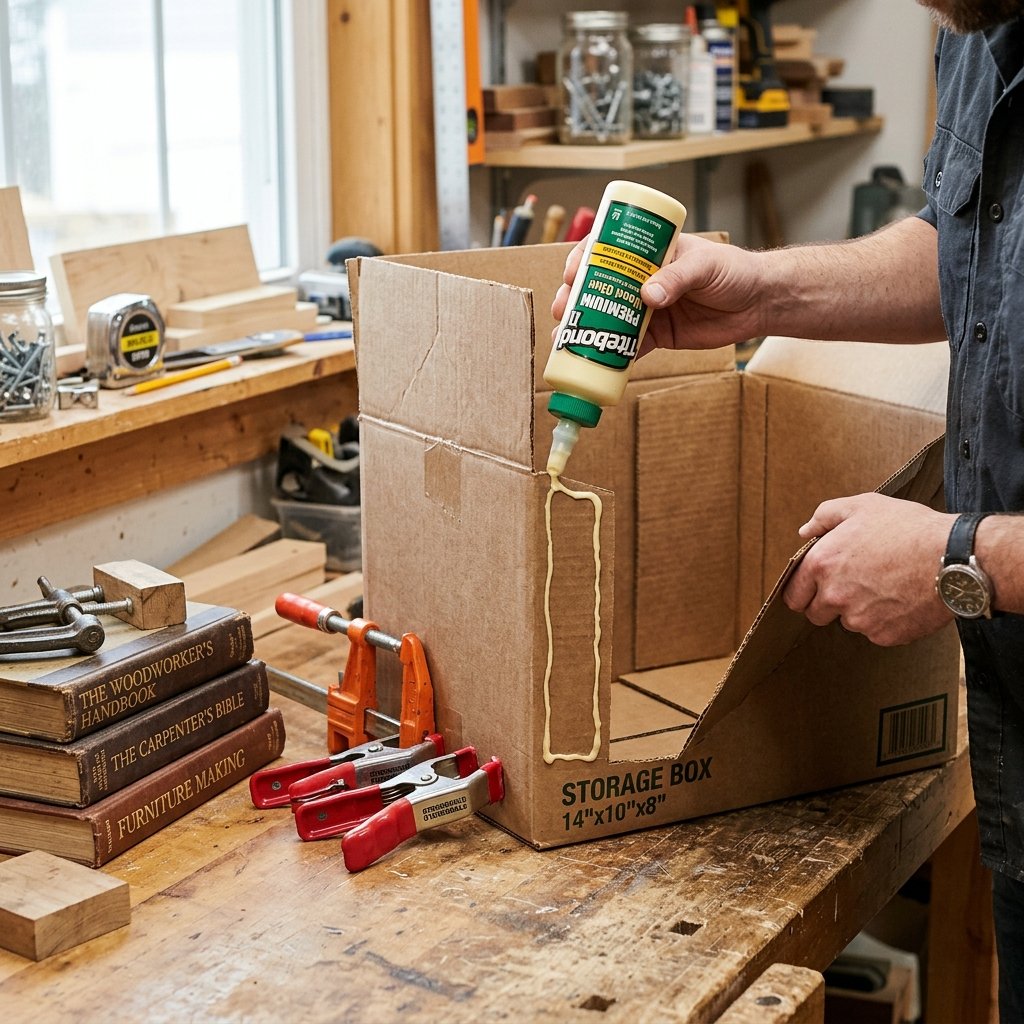
If your box is collapsible, you need to seal it with more than just tape. To achieve a rugged, permanent bond, we use a ‘tab-and-glue’ method. Apply a thin bead of wood glue along the internal flaps. Wood glue actually bonds with the paper fibers of the cardboard, creating a weld that is stronger than the material itself. For those in a hurry, a high-temp hot glue gun works, but wood glue offers a more professional, flush finish. Once glued, weight the box down with a few heavy books for 20 minutes to ensure a flat, square set.
Reinforcing the Corners
To give the bank a ‘tactical’ or ‘industrial’ look, you can create corner guards from scrap cardboard. Cut 2-inch squares, score them down the middle, and fold them over the corners of your bank. This not only adds a masculine-elegant aesthetic but also protects the most vulnerable parts of the bank from drops and bumps. This is the difference between a ‘box’ and a ‘vault.’
Aesthetics on a Dime: The Industrial Finish
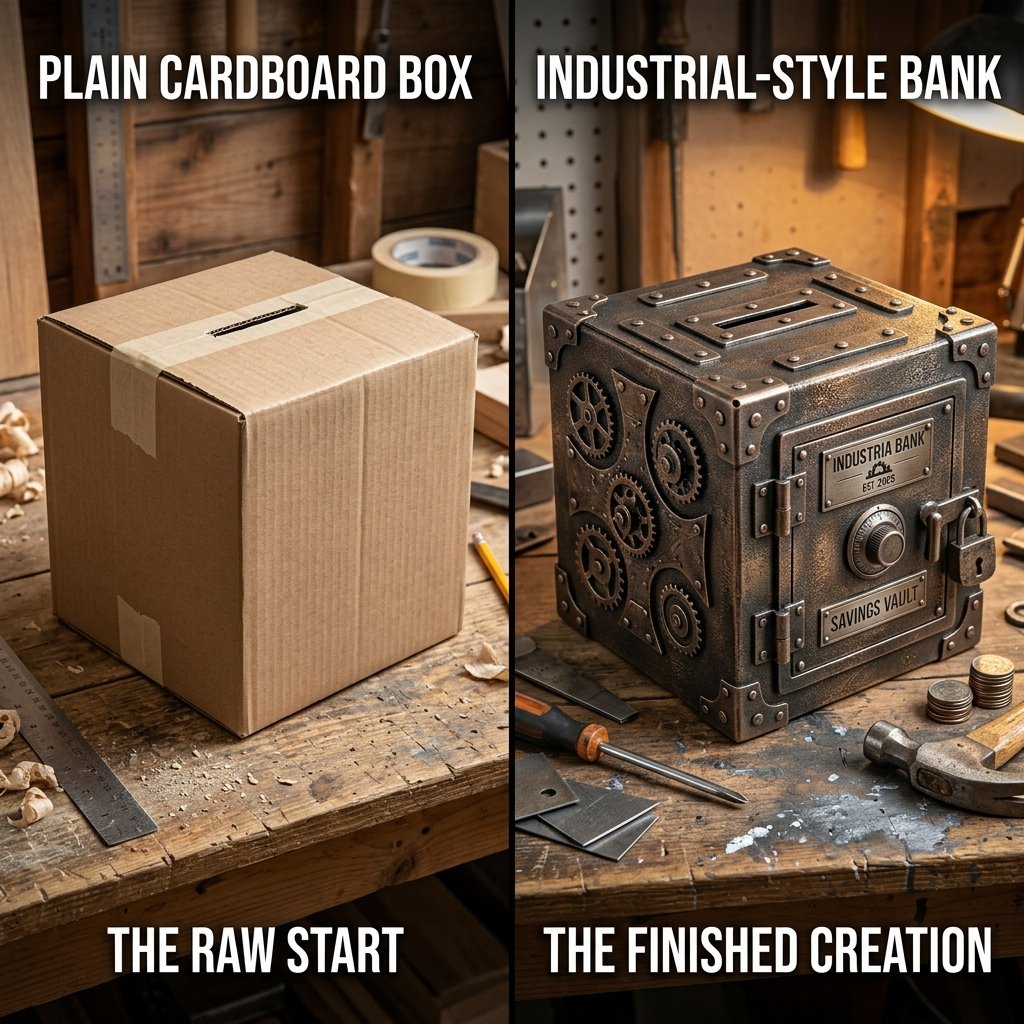
We want this bank to look like it belongs in a sophisticated study or a rugged workshop, not just a playroom. To achieve this, we use the ‘Faux Metal’ paint technique. Start with a base coat of matte black acrylic paint. Once dry, use a ‘dry brush’ technique with silver or metallic grey paint. Dip just the tips of your bristles in the silver, wipe most of it off on a paper towel, and lightly graze the surface of the cardboard, focusing on the edges and corner guards.
Store-Bought vs. DIY Comparison
| Feature | Store-Bought Ceramic Bank | DIY Cardboard Vault |
|---|---|---|
| Durability | Fragile (Shatters) | Rugged (Impact Resistant) |
| Cost | $15.00 – $25.00 | $1.75 |
| Customization | None | Infinite |
| Educational Value | Low | High (Build + Save) |
| Environmental Impact | High (Manufacturing) | Zero (Upcycled) |
This finish gives the cardboard a heavy, cast-iron appearance that kids find fascinating. It transforms a light material into something that visually carries weight, reinforcing the idea that the money inside is valuable and protected.
The Economics of the Penny: Teaching Saving Strategy
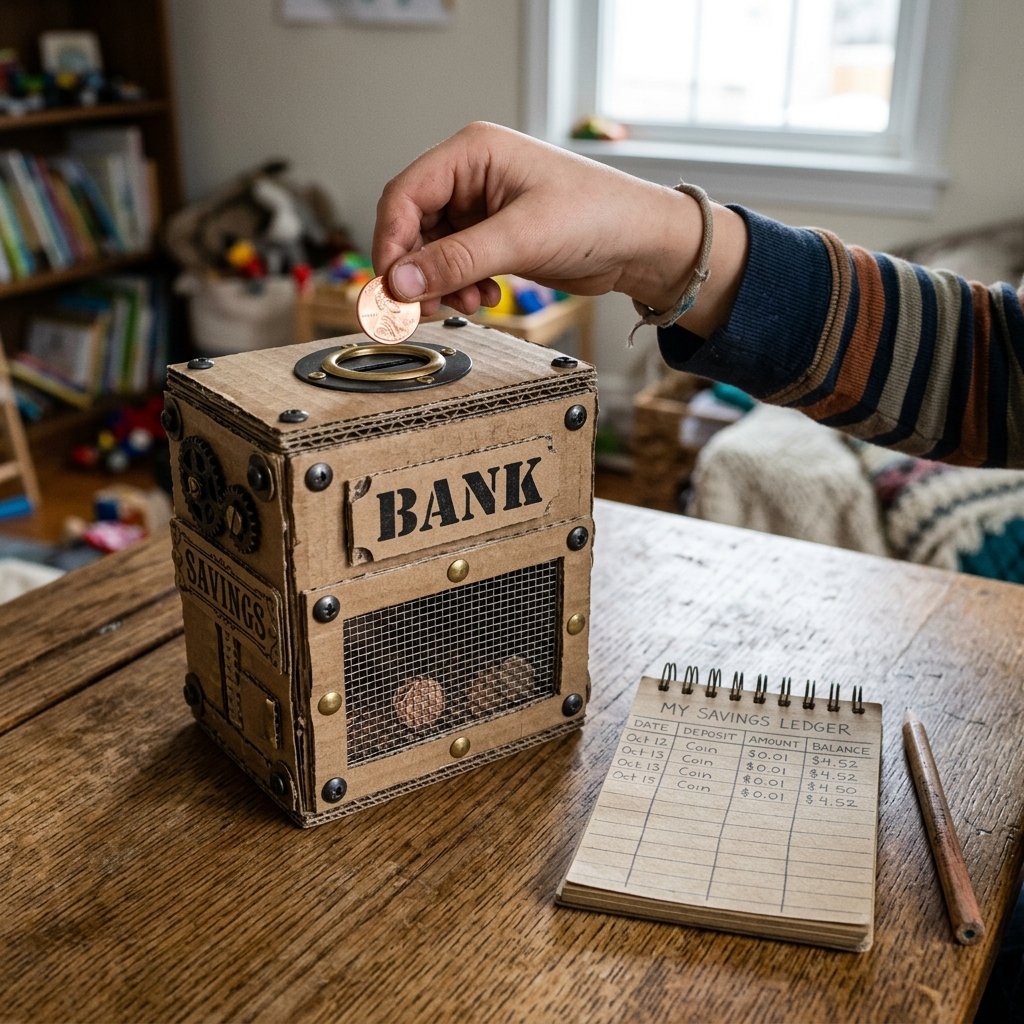
Now that the vault is built, it’s time to implement the ‘Three-Pillar System’ of saving. While this bank is a single unit, you can encourage your child to keep a ‘ledger’ taped to the side. Every time a coin goes in, they mark it. This teaches accountability and tracking—essential skills for any future entrepreneur or savvy homeowner. We recommend the ‘Save, Spend, Give’ philosophy, where the child decides which percentage of their ‘vault’ goes to each category once the bank is full.
The ‘Full Bank’ Ritual
Instead of a ‘break the bank’ approach, we design our bank to be opened carefully. You can cut a ‘trap door’ on the bottom, secured with a simple cardboard latch or a piece of heavy-duty hook-and-loop fastener. This allows the bank to be reused for years, becoming a long-term companion in the child’s financial journey.
Mantra: A penny saved is a lesson learned; a box upcycled is a planet earned.
Conclusion
The Legacy of the Resourceful Maker
Building a piggy bank out of a cardboard box is more than a rainy-day craft; it is an act of intentional parenting and creative engineering. You have taken a piece of waste and turned it into a vessel for future dreams. This project proves that you don’t need a massive budget to provide high-quality, meaningful experiences for your children. You’ve taught them that with a little glue, some paint, and a lot of imagination, they can build their own security. As the weight of the coins grows inside that rugged cardboard vault, so too will your child’s understanding of patience, value, and the power of DIY. Keep crafting, keep saving, and keep looking at the ‘trash’ in your recycling bin with the eyes of a master maker.

Makenzie is the founder and lead writer at MoneyHackTips.com — a personal finance blog dedicated to delivering street-smart financial wisdom for real people on real budgets. With 300+ published articles covering everything from debt management to investing fundamentals, Makenzie’s mission is to make every dollar work harder. When not writing about money hacks, Makenzie is testing frugal living strategies, optimizing side hustles, and helping readers build financial freedom from scratch.