
The Hidden Potential in Your Closet
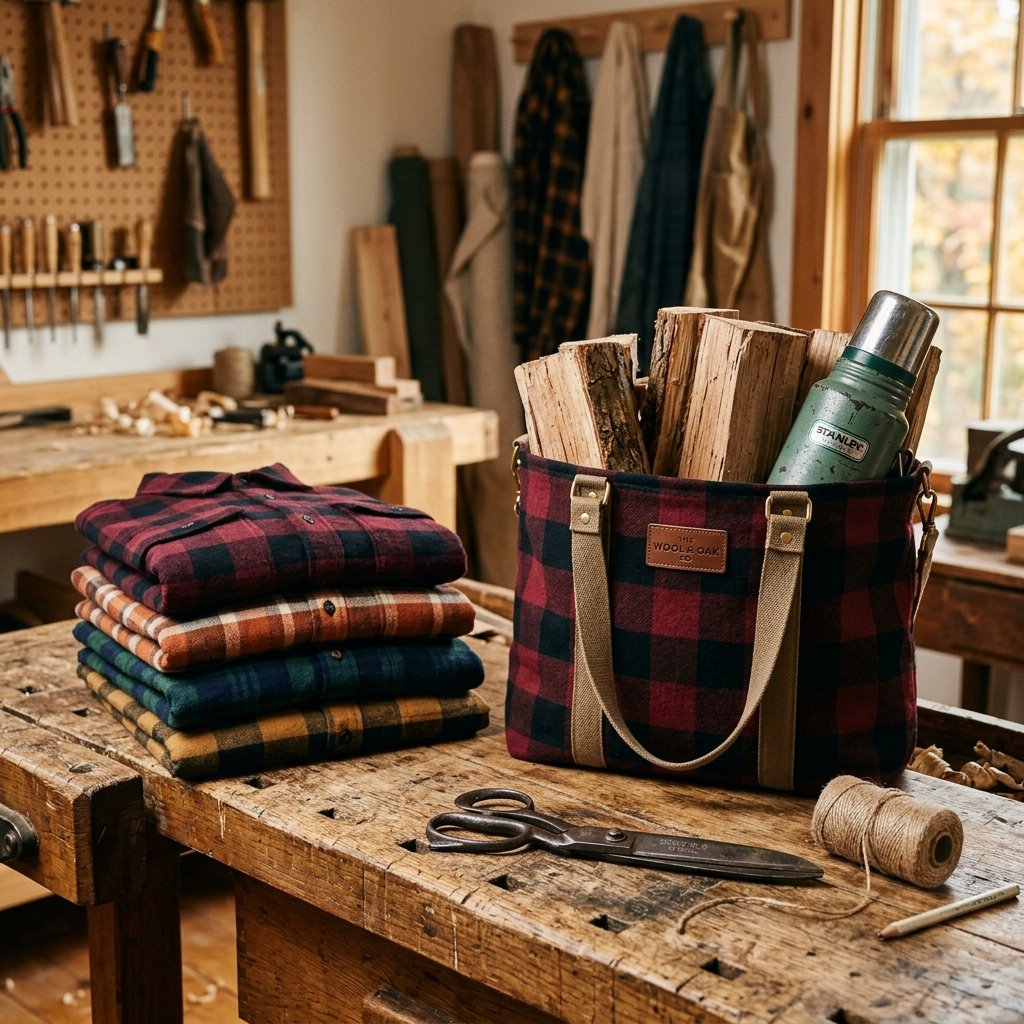
We all have them: those well-loved, slightly frayed flannel shirts that have seen too many winters to be worn in public but are too sentimental to toss in the donation bin. Perhaps it is a shirt that reminds you of a specific camping trip, or maybe it is a high-quality wool-blend flannel that simply has a stubborn tear in the elbow. As a frugal DIYer, you know that waste is just a lack of imagination. Instead of letting that soft, durable fabric go to waste, we are going to reclaim it. Flannel is the ultimate upcycling candidate; it is warm, sturdy, and possesses a rugged aesthetic that never goes out of style. In this masterclass, we will transform those discarded garments into a heavy-duty, cozy tote bag that is perfect for grocery hauls, library runs, or carrying your gear to the workshop. By the end of this guide, you will have a functional piece of gear that costs $0 and keeps textile waste out of the landfill.
The Anatomy of a Rugged Tote: Materials and Cost Analysis
Scavenging Your Supplies
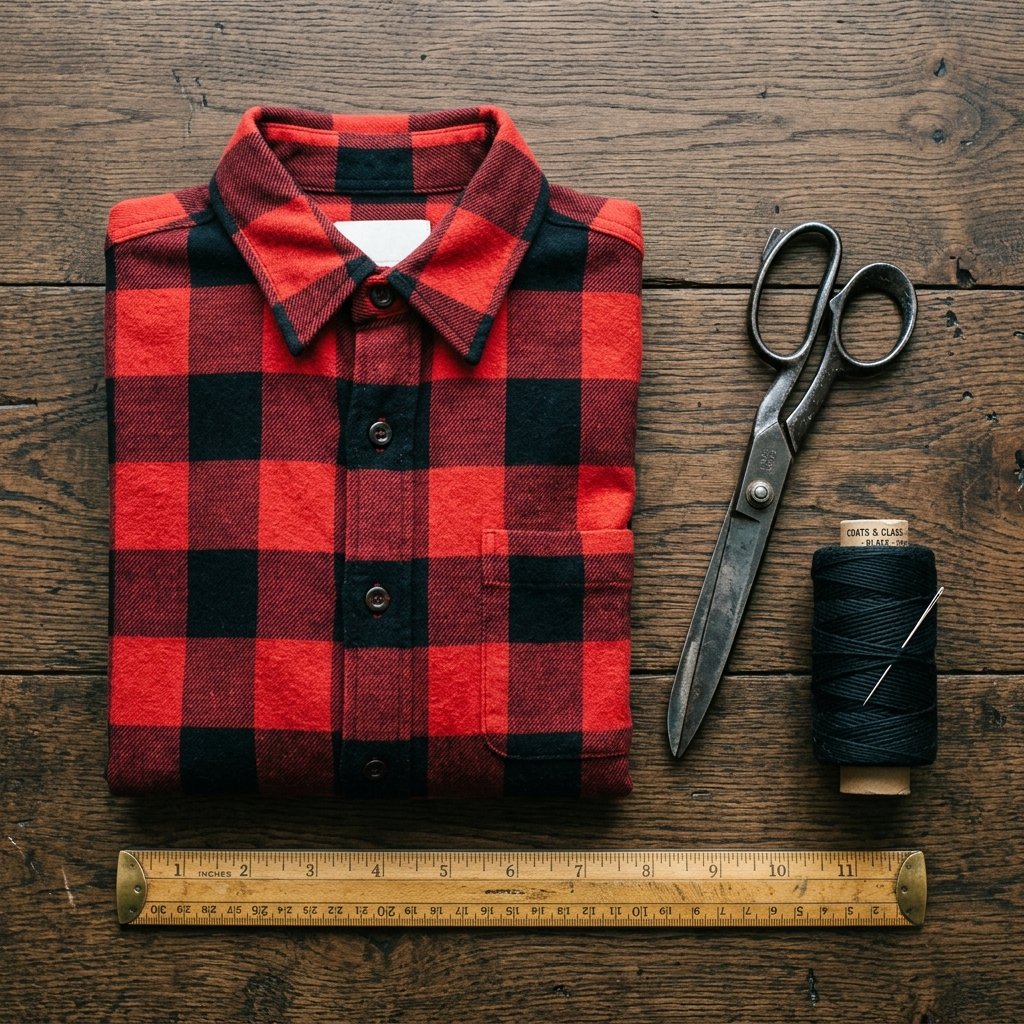
Before we make the first cut, let us look at what you need. The beauty of this project is that it relies almost entirely on what you already own. If you were to buy a high-end flannel and canvas tote from a boutique, you could easily spend $45 to $85. By upcycling, we are keeping that money in your pocket.
| Item | Store-Bought Equivalent | DIY Upcycled Cost |
|---|---|---|
| Heavy-Duty Flannel Fabric | $15.00/yard | $0.00 (Old Shirt) |
| Interfacing/Lining | $8.00/yard | $0.00 (Old Pillowcase) |
| Reinforced Straps | $10.00 | $0.00 (Shirt Placket/Denim Scraps) |
| Labor/Craftsmanship | $30.00+ | Priceless (Your Skill) |
| Total Cost | $63.00 | $0.00 |
Essential Tools
- Sharp Fabric Shears: To slice through thick flannel without fraying.
- Heavy-Duty Thread: Look for polyester or upholstery thread for maximum durability.
- Sewing Machine or Hand-Sewing Needles: A size 90/14 needle is best for heavy flannel.
- Measuring Tape and Chalk: For precision layout.
- Iron and Ironing Board: The secret to a professional-looking finish is crisp seams.
Safety Note: When using sharp shears or a sewing machine, always keep your fingers clear of the cutting path. If you are working with vintage flannels that may have loose fibers, work in a well-ventilated area to avoid inhaling lint.
Precision Deconstruction: Preparing Your Pattern Pieces
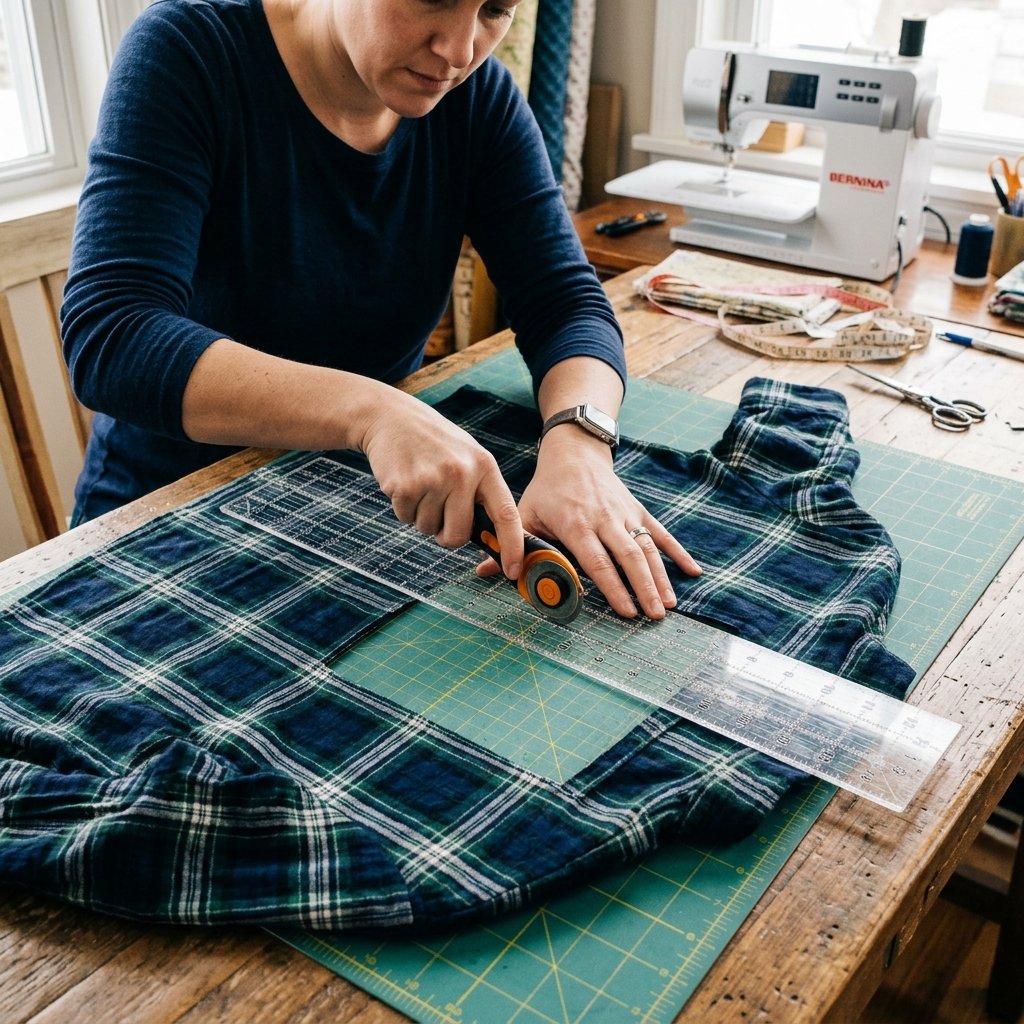
Maximizing Your Fabric Yield
The key to a successful upcycle is strategic cutting. We want to use the largest flat areas of the shirt—the back and the front panels—to create the body of the bag. The sleeves will become our pockets or strap reinforcements.
Step-by-Step Cutting Guide
- The Back Panel: Lay the shirt flat on its front. Cut out a large rectangle from the back, avoiding the yoke if it has heavy pleats. Aim for a piece roughly 18 inches by 16 inches.
- The Front Panels: Button the shirt up. Cut a matching 18×16 inch rectangle from the front. The buttons can serve as a decorative element or a functional closure for the bag.
- The Sleeves: Cut the sleeves off and open them at the seam. These provide long strips of fabric perfect for internal pockets or external utility loops.
Pro Tip: If your shirt is too small to yield a full 18×16 inch panel, use the ‘Quilter’s Strategy.’ Stitch together different flannel scraps from two different shirts to create a rugged, patchwork aesthetic. It adds character and increases the bag’s size.
Structural Integrity: Stitching the Bag Body
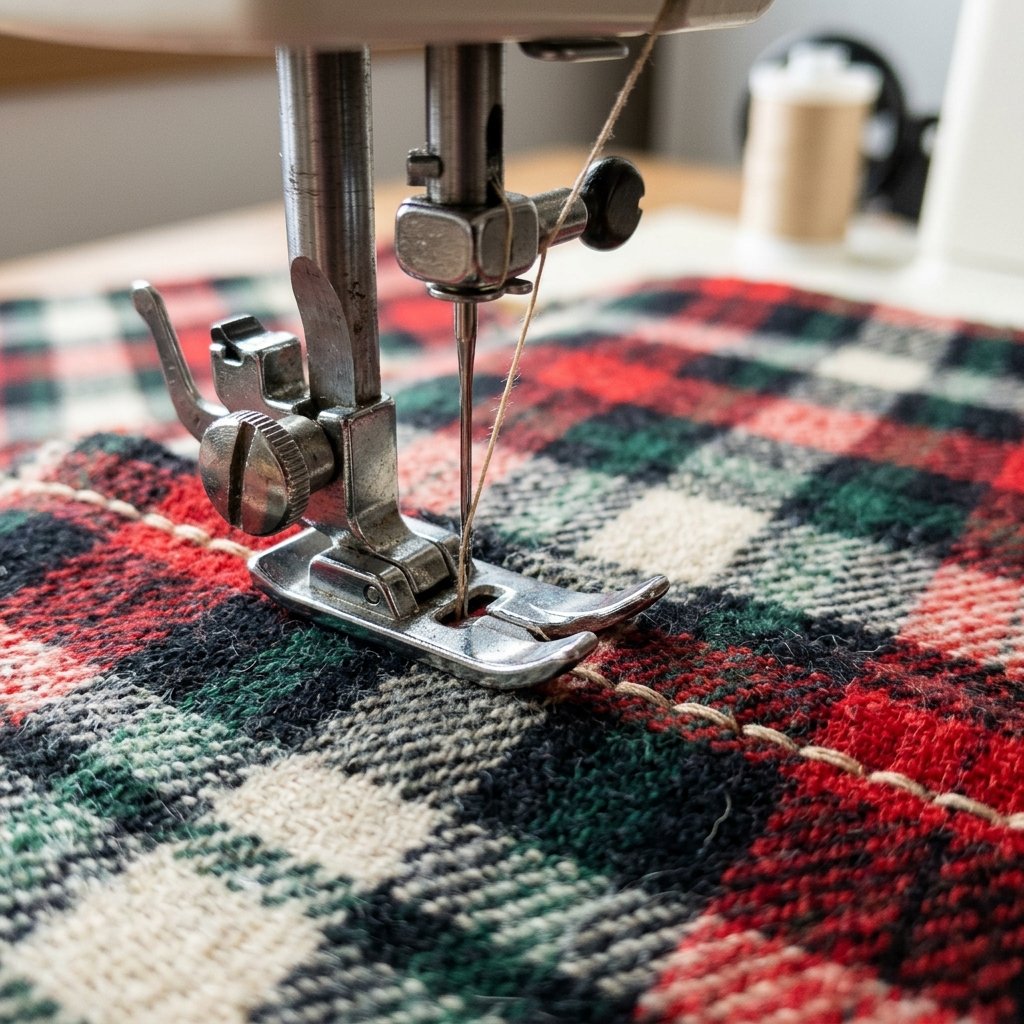
The Foundation of Durability
A tote bag is only as good as its seams. Since flannel can be prone to stretching, we will use a reinforced straight stitch and finished edges to ensure this bag lasts for years of heavy use.
Assembly Instructions
- Right Sides Together: Place your front and back flannel panels with the ‘good’ sides facing each other. Pin the sides and the bottom.
- The Side Seams: Sew down the left and right sides using a 1/2 inch seam allowance. Backstitch at the beginning and end to lock the threads.
- The Bottom Seam: Sew across the bottom. For extra strength, sew this seam twice.
- Boxing the Corners: To give the bag a flat bottom so it can stand upright, pull the side seam and bottom seam apart at the corner to form a triangle. Measure 2 inches from the point and sew across. Repeat on both sides.
Mending Mantra: A bag that carries your life should be built like a tank. Double-stitch the stress points and never rush the corners.
The Rugged Carry: Crafting Heavy-Duty Straps
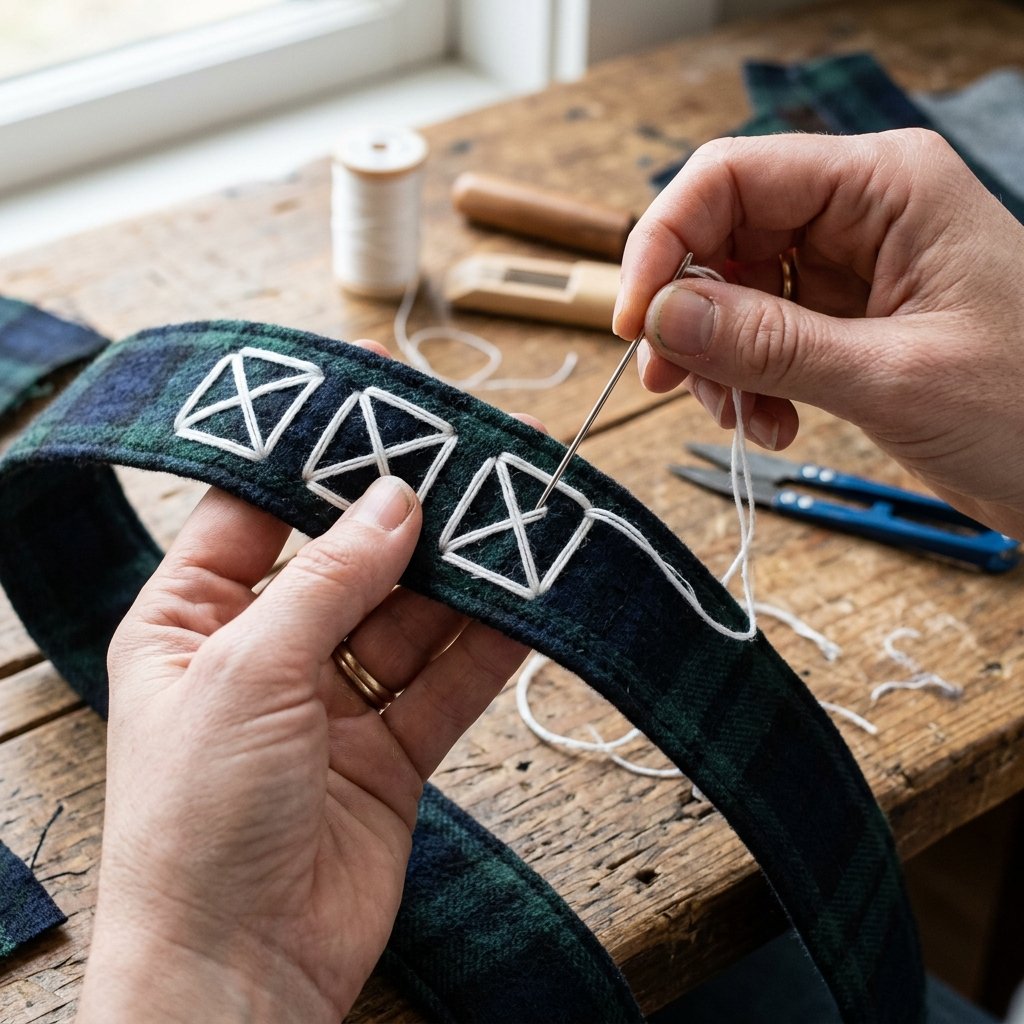
Engineering Comfort and Strength
Nothing ruins a good tote faster than thin, digging straps. We want handles that feel substantial in the hand and can support the weight of tools or groceries. We will use the shirt’s placket (the button-hole strip) or sleeve remnants reinforced with a scrap of canvas or denim.
Strap Construction Steps
- Cut Your Strips: Cut two strips of fabric 4 inches wide by 25 inches long.
- The Fold: Fold the strips in half lengthwise, right sides together, and sew. Turn them right side out and press flat.
- Topstitching: Sew three parallel lines of stitching down the length of the strap. This prevents the fabric from rolling and adds significant tensile strength.
- The Attachment: Position the straps 4 inches from the side seams. Use the ‘Box X’ stitch pattern to attach them to the bag body. This is the same stitch used on tactical gear and high-end luggage.
| Stitch Type | Purpose | Strength Rating |
|---|---|---|
| Straight Stitch | Basic Assembly | Moderate |
| Zig-Zag | Edge Finishing | High (Prevents Fraying) |
| Box X Stitch | Handle Attachment | Extreme |
The Finishing Touches: Lining and Utility Pockets
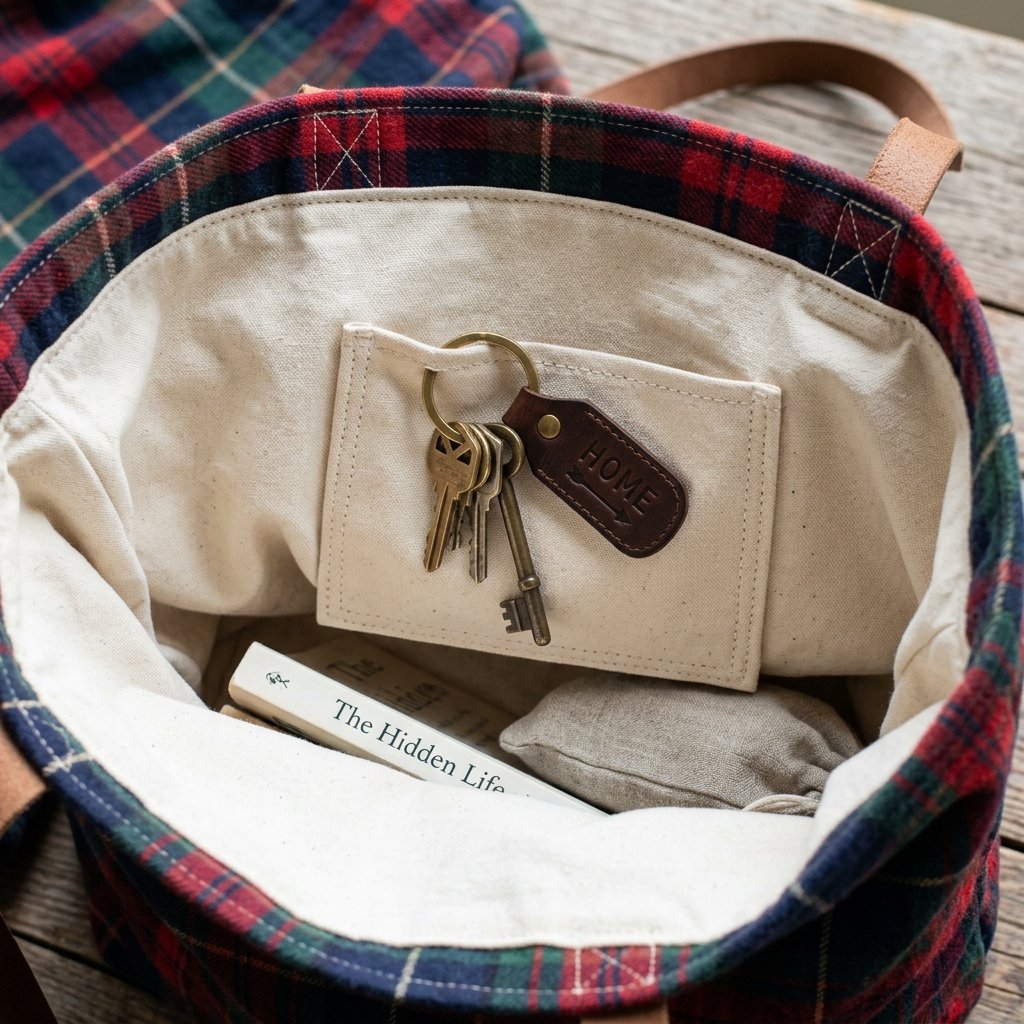
Elevating the Design
To make this truly ‘masculine-elegant’ and practical, we need an interior that is as functional as the exterior. A lining protects the flannel from stretching and provides a clean finish inside.
The Zero-Budget Lining
Use an old cotton bedsheet or a large pillowcase for the lining. Cut it to the exact dimensions of your flannel exterior. Slide the lining inside the flannel shell (wrong sides together), fold the top edges inward, and topstitch the entire circumference of the bag opening.
Adding Utility
- The Chest Pocket Hack: Carefully seam-rip the original chest pocket from the shirt and sew it onto the front of the bag. It is the perfect size for a smartphone or a set of keys.
- Internal D-Ring: If you have an old keychain or hardware from a broken bag, sew a small loop of fabric inside to clip your keys to.
Maintenance and Longevity: Caring for Your Upcycled Gear
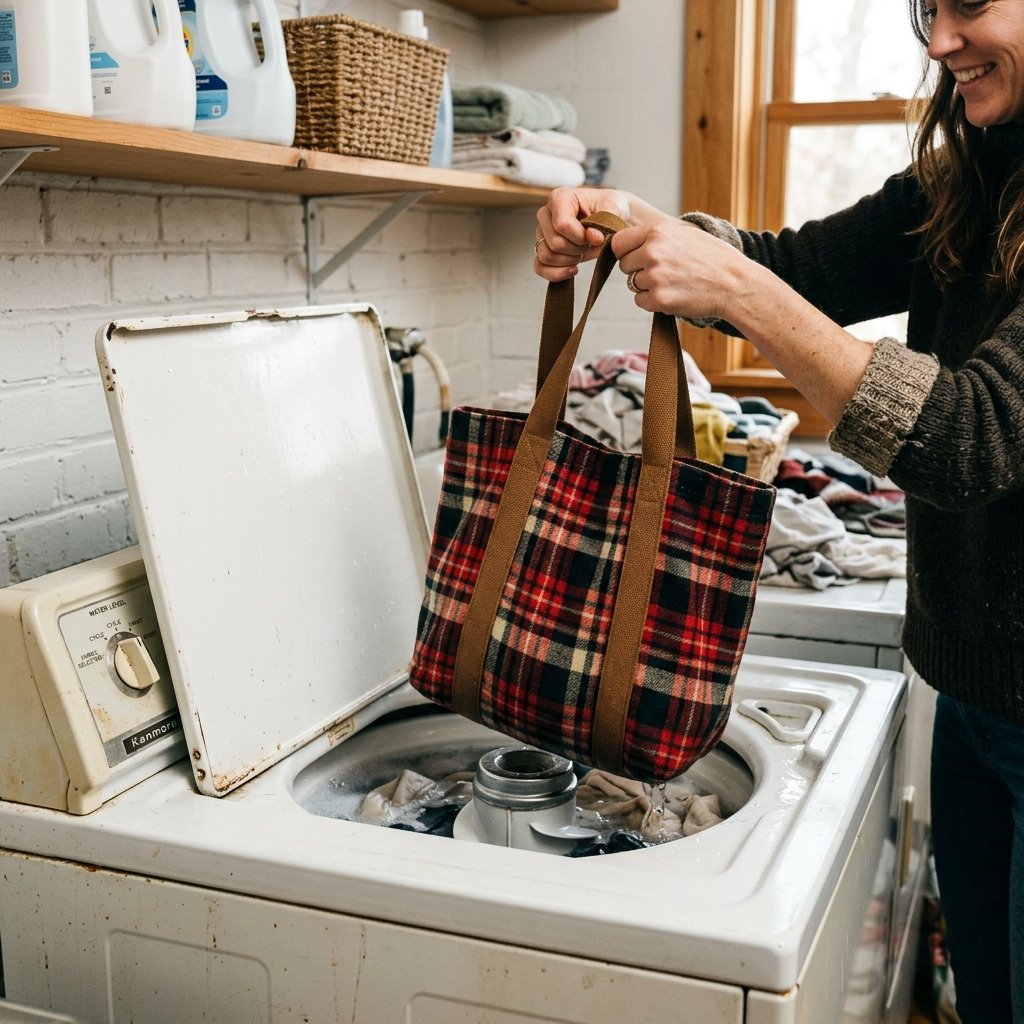
Keeping It in the Rotation
Because your bag is made of flannel, it is incredibly easy to maintain. Unlike leather or high-tech synthetics, you can simply toss this in the wash.
- Washing: Machine wash on cold with like colors to prevent the plaid from bleeding.
- Drying: Air dry to prevent shrinkage, or tumble dry on low for that classic soft flannel feel.
- Mending: If you eventually develop a hole in the bottom, use a sashiko-style patch with a contrasting piece of denim for a rugged, repaired look.
Budget Wisdom: The most sustainable product is the one that already exists. By repairing and upcycling, you are opting out of the throwaway culture.
Conclusion
Your New Favorite Companion
Congratulations! You have successfully turned a piece of ‘trash’ into a high-utility, stylish tote bag. This project is more than just a craft; it is a testament to the resourceful spirit of the DIY community. You have saved a sentimental garment, avoided a $60 expense, and created something that is uniquely yours. Whether you are using it to haul heavy tools or as a cozy gift for a friend, this flannel tote stands as a badge of honor for the budget-savvy maker. Now, go forth and look at every ‘old’ item in your home with new eyes—there is a treasure hidden in every thread. Happy crafting!

Makenzie is the founder and lead writer at MoneyHackTips.com — a personal finance blog dedicated to delivering street-smart financial wisdom for real people on real budgets. With 300+ published articles covering everything from debt management to investing fundamentals, Makenzie’s mission is to make every dollar work harder. When not writing about money hacks, Makenzie is testing frugal living strategies, optimizing side hustles, and helping readers build financial freedom from scratch.