The Art of the Frugal Backyard Oasis
There is a specific kind of satisfaction that comes from sitting on your porch, coffee in hand, watching a flurry of colorful songbirds grace your yard—especially when you know their favorite hangout spot cost you $0 and took exactly 9 minutes and 45 seconds to build. In a world where high-end garden centers charge upwards of $45 for a basic cedar feeder, the shrewd DIYer knows better. We don’t just see a plastic soda bottle or an empty tin can; we see a rugged, functional piece of avian architecture waiting to be unleashed.
This guide isn’t about spending a fortune on specialized kits. It’s about the ‘Trash-to-Treasure’ philosophy. We are going to dive into the mechanics of bird feeding, the physics of a stable perch, and the creative engineering required to turn household debris into a neighborhood envy-piece. Whether you are a handy parent looking for a quick afternoon project with the kids or a budget-savvy crafter aiming to elevate your garden aesthetic, these methods are designed for maximum impact with minimum investment. Let’s get our hands dirty and save some cash.
The Master Material Scout: Finding Your Framework
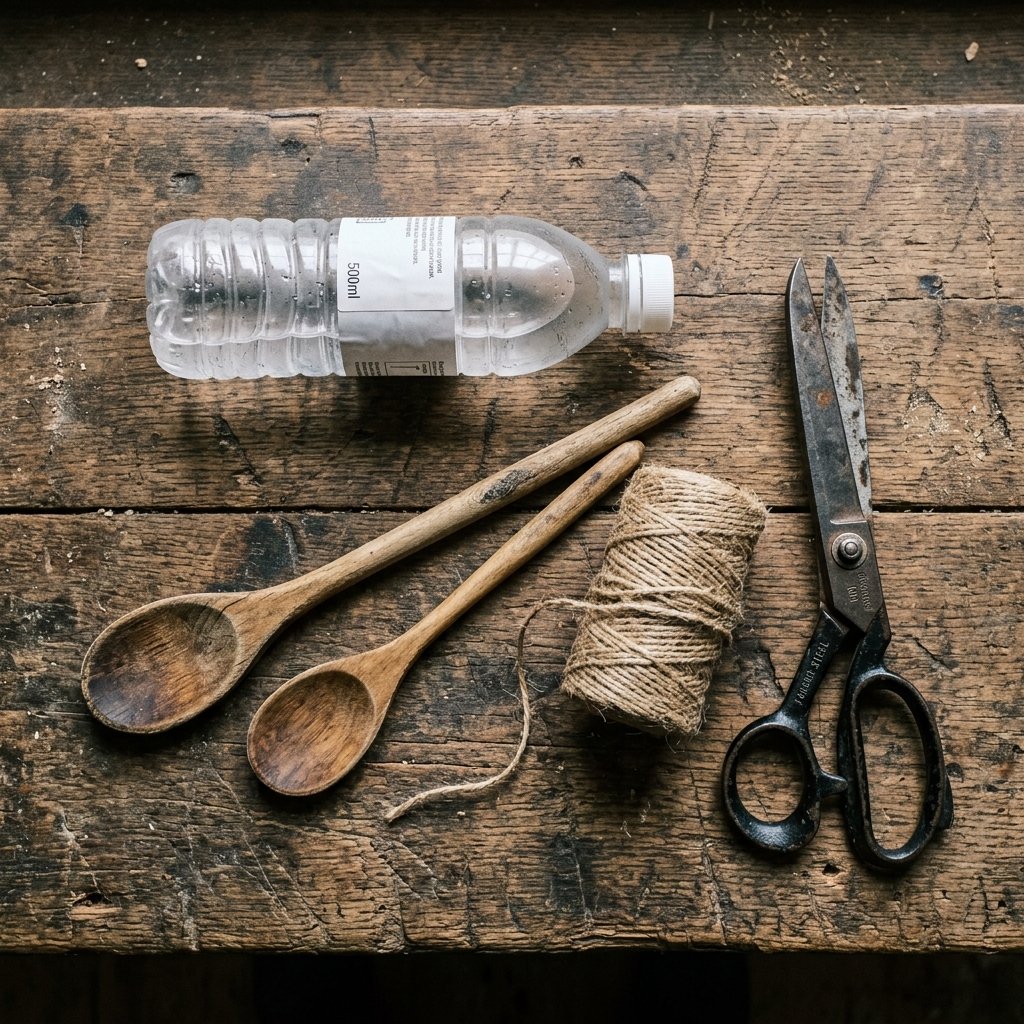
Before we pick up a single tool, we must audit our inventory. The beauty of the 10-minute bird feeder is that the materials are likely already in your recycling bin or your ‘junk drawer’ of destiny. We aren’t looking for perfection; we are looking for durability and utility. A masculine-elegant feeder relies on clean lines and sturdy attachments.
The Core Components
- The Reservoir: A 2-liter soda bottle, a large juice container, or even a sturdy tin bean can.
- The Perches: Wooden spoons, dowel rods, or even thick, straight sticks from the yard for a rugged look.
- The Suspension: Twine, paracord, or a repurposed wire coat hanger.
- The Fasteners: Waterproof glue (optional) or simply the structural integrity of your cuts.
| Material Source | Estimated Cost | Durability Rating |
|---|---|---|
| Recycled Plastic Bottle | $0.00 | High (Weatherproof) |
| Upcycled Tin Can | $0.00 | Extreme (Rust-resistant if coated) |
| Old Wooden Spoons | $0.50 (Thrifted) | Medium |
| Garden Twine | $0.05 (Per foot) | High |
The budget-savvy mantra: If it can hold water and withstand a breeze, it can hold seed and withstand a bird.
The 10-Minute Plastic Power Feeder: Step-by-Step
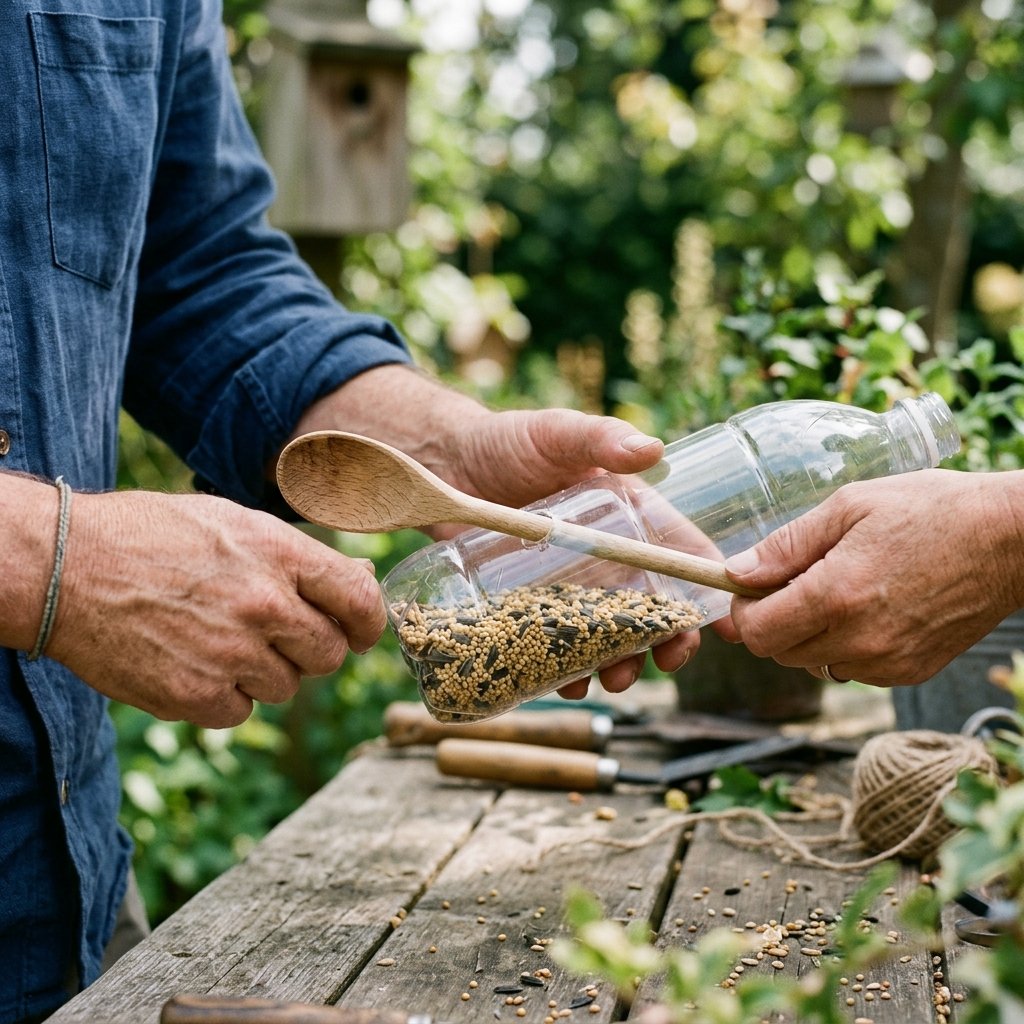
This is the classic, reimagined for the modern backyard. We are going to use the ‘Cross-Perch’ method, which ensures stability even for larger birds like Blue Jays or Cardinals. This design is 100% waterproof and requires no specialized power tools.
Execution Steps
- Clean and Prep: Remove the label from a 2-liter bottle. Use a bit of rubbing alcohol to remove any sticky residue. Ensure the interior is bone-dry to prevent seed rot.
- The Perch Entry: Approximately 3 inches from the bottom, use a utility knife to cut a small ‘X’ on one side. Rotate the bottle 180 degrees and cut another ‘X’.
- Inserting the Perch: Slide a wooden spoon or dowel through both holes. The ‘bowl’ of the spoon acts as a perfect landing platform for birds to rest while they dine.
- The Feeding Port: About 1 inch above the perch, cut a small semicircle (the size of a nickel). This allows the seed to gravity-feed onto the perch without spilling out entirely.
- Drainage is Key: Poke 5-6 tiny pinholes in the very bottom of the bottle. This ensures that if moisture gets in, it has an escape route, keeping your seed fresh for weeks.
- The Hanger: Poke two holes near the cap, thread your twine through, and tie a secure fisherman’s knot.
Safety Note: When using utility knives on plastic, always cut away from your body. If the plastic is too stiff, dip the bottle in warm water for 60 seconds to soften it before cutting.
The Industrial Tin Can Dupe: Rugged Elegance

If you want something that looks like it came from a high-end boutique, the tin can feeder is your best bet. It has a heavy, masculine aesthetic that fits perfectly in a modern or rustic garden. This version is particularly effective for smaller clinging birds like Nuthatches and Chickadees.
The Build Process
Take a large tin can (like a 28oz crushed tomato can). Remove the lid completely and ensure the edges are sanded down or crimped to prevent any sharp spots. We are going to hang this horizontally, creating a ‘tunnel’ feeder that protects the seed from heavy rain and wind.
| Feature | DIY Tin Can | Store-Bought Metal Feeder |
|---|---|---|
| Construction Time | 8 Minutes | N/A |
| Material Cost | $0.00 | $24.99+ |
| Customizability | Infinite (Paint/Wrap) | Limited |
| Longevity | 3-5 Years | 5-10 Years |
Assembly Instructions
- The Perch: Glue a small stick or dowel to the inside bottom lip of the can so it extends outward by 2 inches.
- The Suspension: Wrap a piece of heavy-duty wire or thick twine around the center of the can, creating a balanced loop.
- The Seed Guard: To prevent seed from falling out the front, hot glue a small piece of cardboard or a plastic lid across the bottom 1/3 of the opening.
The Seed Science: What to Fill Your Masterpiece With
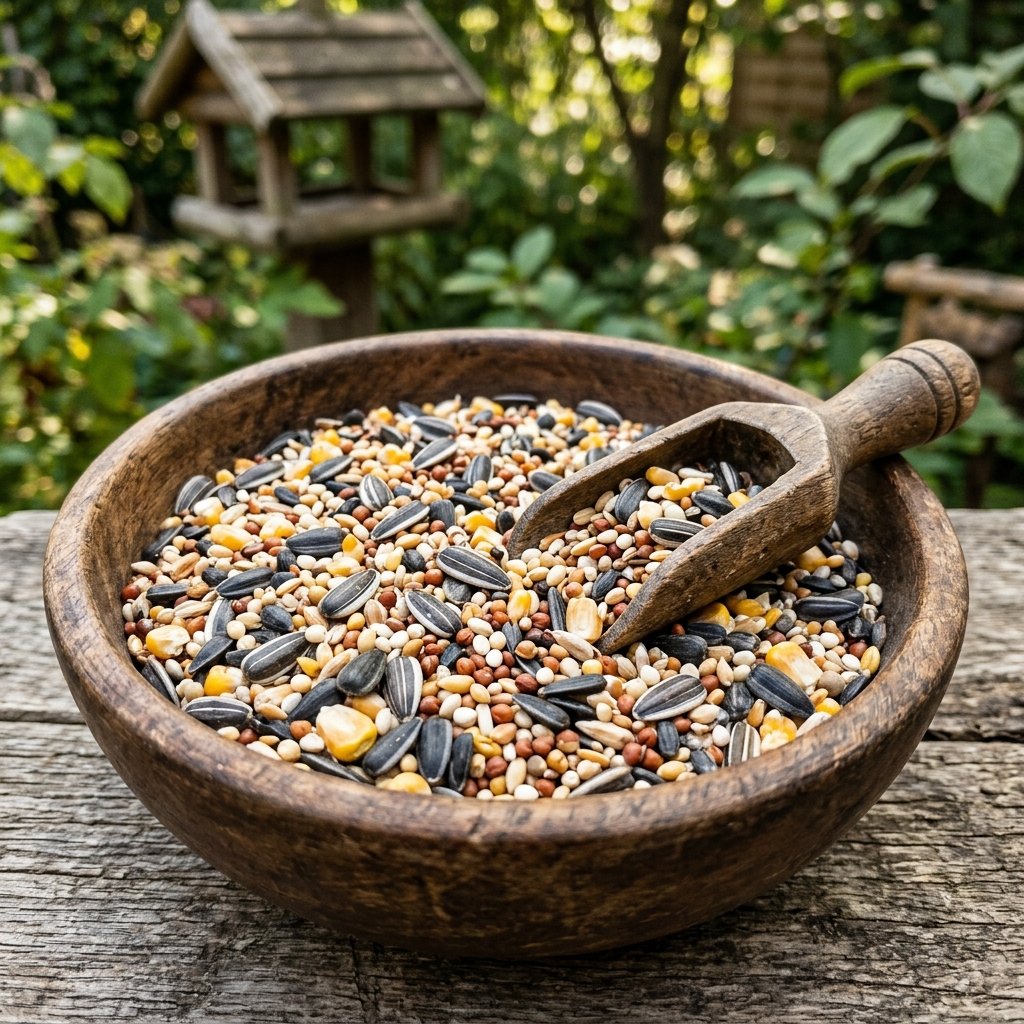
Now that you’ve saved $40 on the feeder, don’t waste that savings on ‘filler’ seed. Many cheap store-bought mixes are 50% ‘milo’ or ‘wheat’ which most songbirds simply toss to the ground. To truly have the neighborhood envy your yard, you need the ‘Good Stuff’.
The Ultimate Budget Seed Matrix
| Seed Type | Target Birds | Cost Efficiency |
|---|---|---|
| Black Oil Sunflower | Cardinals, Chickadees, Finches | High (Best Value) |
| Safflower | Nuthatches, Grosbeaks | Medium (Deters Squirrels) |
| Nyjer (Thistle) | Goldfinches | Low (Requires mesh feeder) |
| Suet Scraps | Woodpeckers | Extreme (Can be free) |
Pro-Tip: If you want to keep squirrels away from your 10-minute masterpiece, mix a teaspoon of Cayenne Pepper into your seed. Birds have no capsaicin receptors and won’t mind the heat, but a squirrel will only try it once before deciding your yard is a ‘no-go’ zone.
Strategic Placement for Maximum Envy
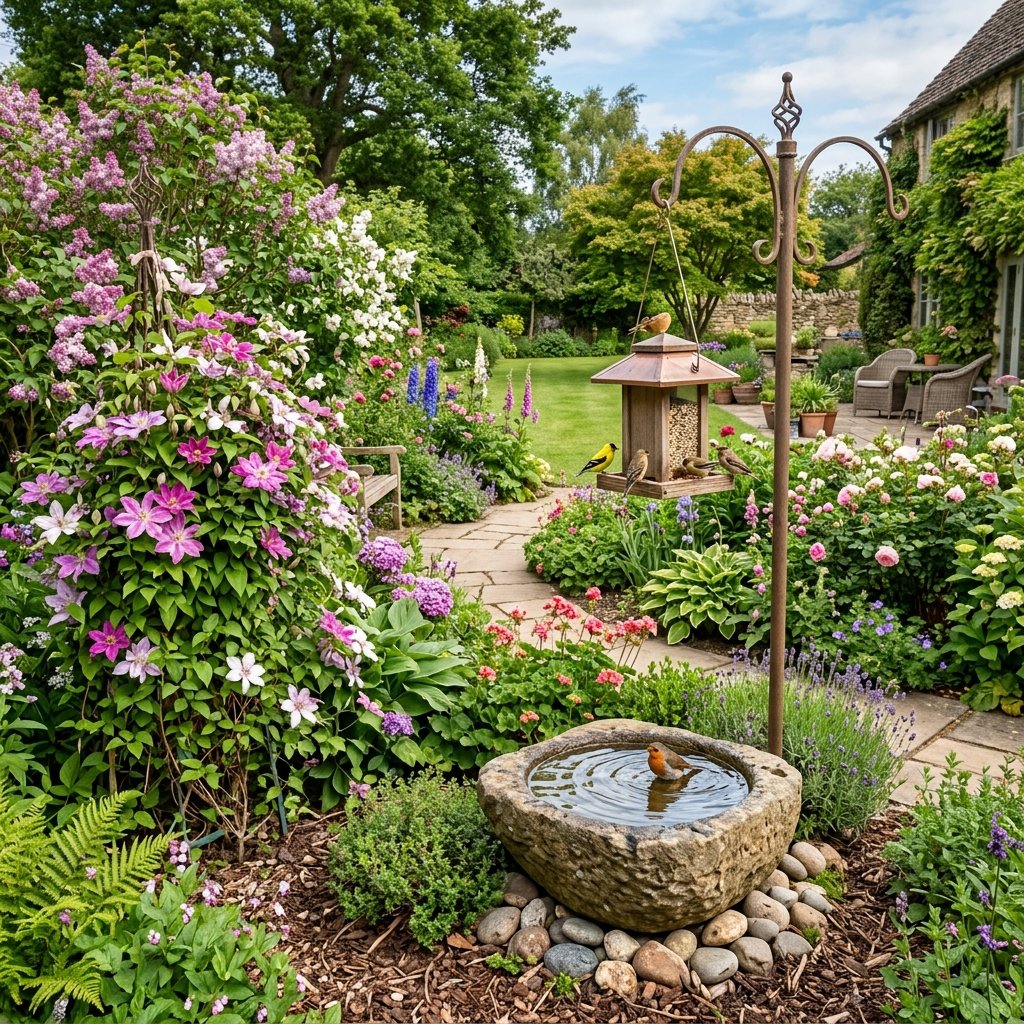
Location is everything. Even the most beautiful feeder won’t attract birds if it’s placed in a ‘danger zone.’ You want to place your feeder 10 to 12 feet away from dense bushes. This gives birds a quick escape route from predators (like the neighbor’s cat) but doesn’t allow the cat a place to hide and pounce.
The ‘Golden Rules’ of Placement
- Height: Aim for 5 to 6 feet off the ground. This is high enough to deter pests but low enough for you to easily refill.
- Visibility: Place it near a window so you can enjoy the view, but ensure there are decals on the glass to prevent bird strikes.
- Stability: Ensure the feeder doesn’t swing wildly in the wind. A heavy rock placed in the bottom of the plastic bottle (below the seed line) can act as a ballast.
The Crafty Expert’s Secret: Hang your feeder near a water source, like a simple shallow dish of water. Birds need to bathe and drink just as much as they need to eat, and you’ll double your ‘traffic’ in under 24 hours.
Conclusion
Join the Ranks of the Resourceful
Building a bird feeder in under 10 minutes isn’t just about the convenience; it’s a statement. It says you value creativity over consumption and that you have the rugged capability to provide for the local ecosystem using nothing but your wits and a few pieces of ‘trash.’ You’ve saved money, reduced waste, and created a focal point for your garden that will provide hours of entertainment.
As the seasons change, keep an eye on your creation. The beauty of the DIY approach is that if a feeder gets worn out after a year of heavy use, you can simply toss it in the recycling bin and craft a ‘Version 2.0’ in the time it takes for a commercial break. You are now the master of your domain, the king of the cul-de-sac, and the best friend of every finch in the county. Happy crafting, and may your perches always be full!

Makenzie is the founder and lead writer at MoneyHackTips.com — a personal finance blog dedicated to delivering street-smart financial wisdom for real people on real budgets. With 300+ published articles covering everything from debt management to investing fundamentals, Makenzie’s mission is to make every dollar work harder. When not writing about money hacks, Makenzie is testing frugal living strategies, optimizing side hustles, and helping readers build financial freedom from scratch.