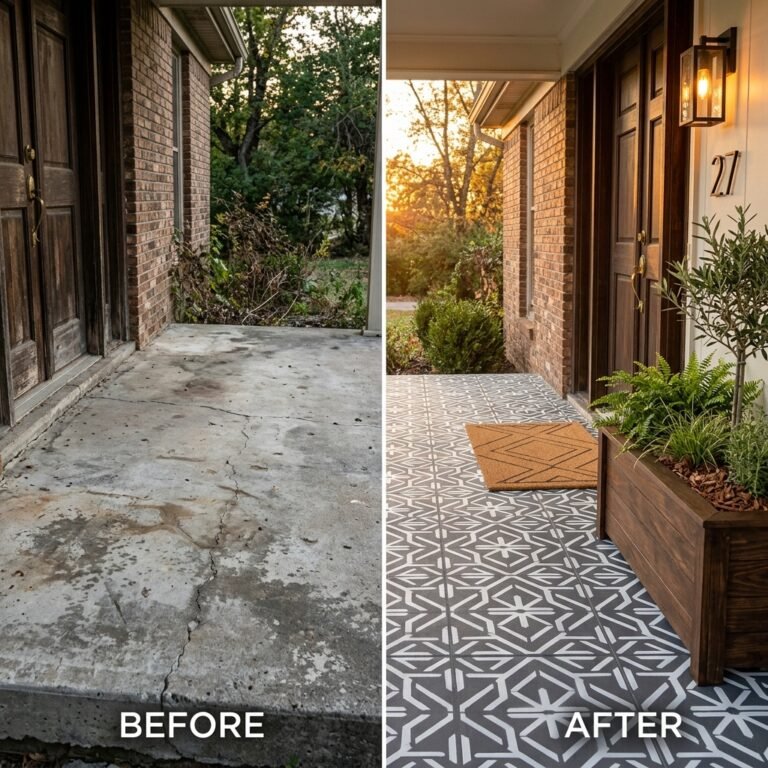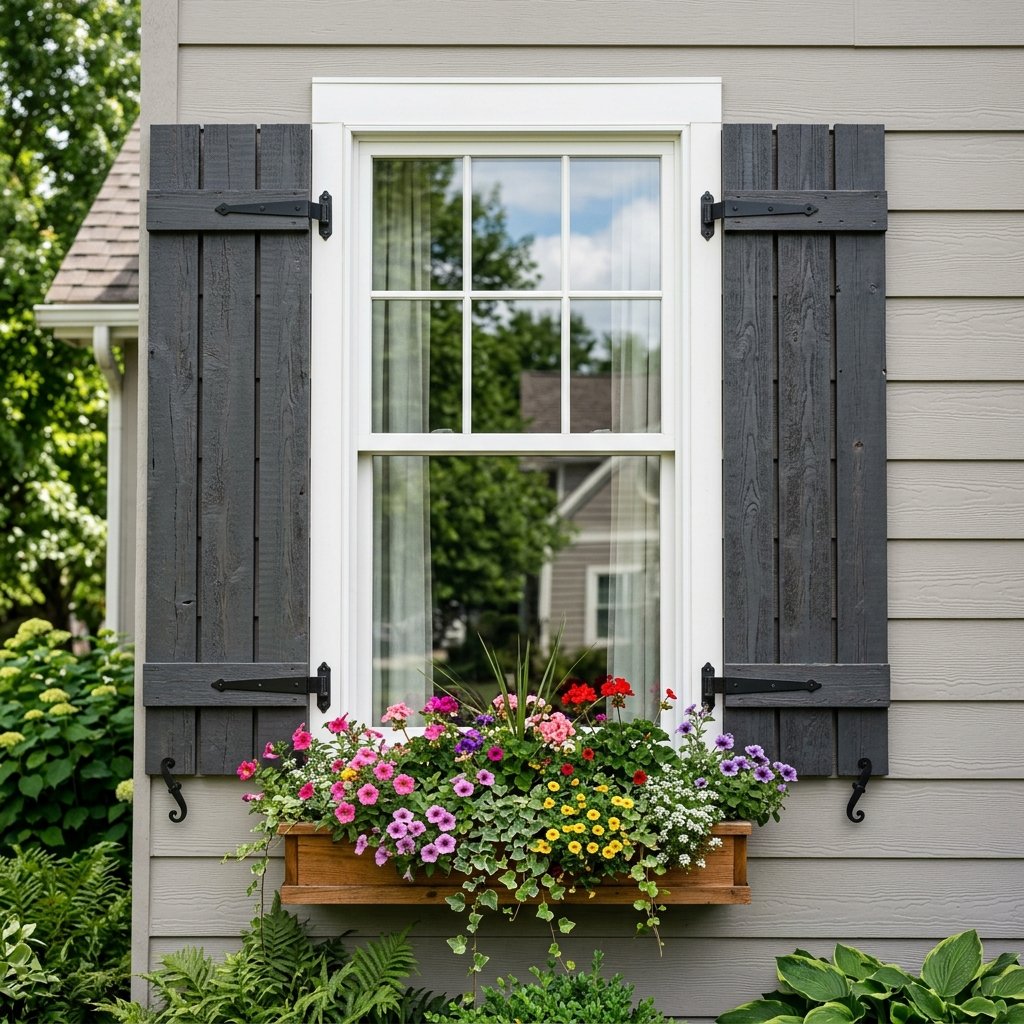

The Art of the Scrappy Exterior Makeover
Let’s be honest: curb appeal is the handshake of your home. It tells the neighborhood that you take pride in your castle, yet far too many homeowners think that a facelift requires a second mortgage. As a frugal DIYer, I’ve spent years scouring the aisles of the Dollar Tree to find the hidden gems that the average shopper overlooks. Today, we are tackling one of the most impactful exterior upgrades possible: shutters. While big-box retailers will happily charge you $150 to $300 for a pair of vinyl shutters, we are going to engineer a rugged, high-end look for exactly $16.25. This project isn’t just about saving money; it’s about the creative satisfaction of turning basic materials into a bespoke design statement that withstands the elements and turns heads. Whether you are a handy parent looking to spruce up the family home or a budget-savvy decorator prepping a house for sale, this guide will walk you through the precision steps needed to achieve a Pottery Barn finish on a Dollar Store budget. We aren’t just gluing things together; we are building structural, weather-resistant accents that embody masculine elegance and practical craftsmanship.
The Blueprint: Selecting the Right Dollar Tree ‘Lumber’
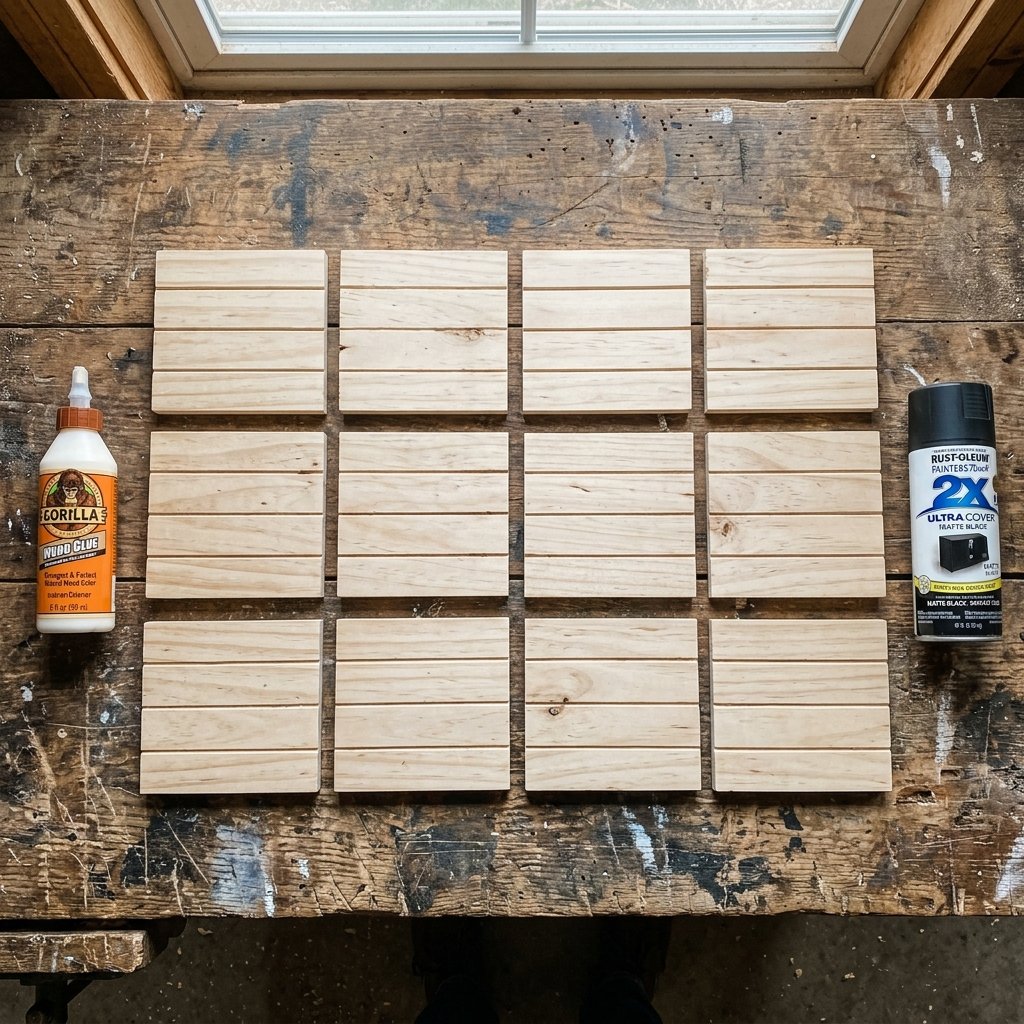
The secret to a successful ‘Trash-to-Treasure’ project lies in the selection of the base material. For this project, we are looking for the elongated wood slat signs found in the seasonal or craft aisles. These signs provide the perfect ‘plank’ look once the twine handles are removed. By flanking your windows with these slats, you create the illusion of traditional board-and-batten shutters. If your local store is out of wood, look for the plastic garden border fences; with the right paint technique, these can be transformed into classic louvered shutters. The goal is to find modular pieces that can be joined together to match the height of your window frame. In this guide, we will focus on the wood slat method for that timeless, rugged aesthetic.
| Blank Item | Finished Dupe Style | Estimated Savings |
|---|---|---|
| DT Wood Slat Signs (Vertical) | Modern Farmhouse Board-and-Batten | $180.00 |
| DT Plastic Garden Border | Traditional Louvered Style | $95.00 |
| DT Bamboo Stakes & Twine | Boho-Chic Rustic Shutters | $120.00 |
Luxury is a mindset, not a price tag. If you can see the potential in a $1.25 plank, you’ve already mastered the craft.
Material Procurement and Cost Breakdown
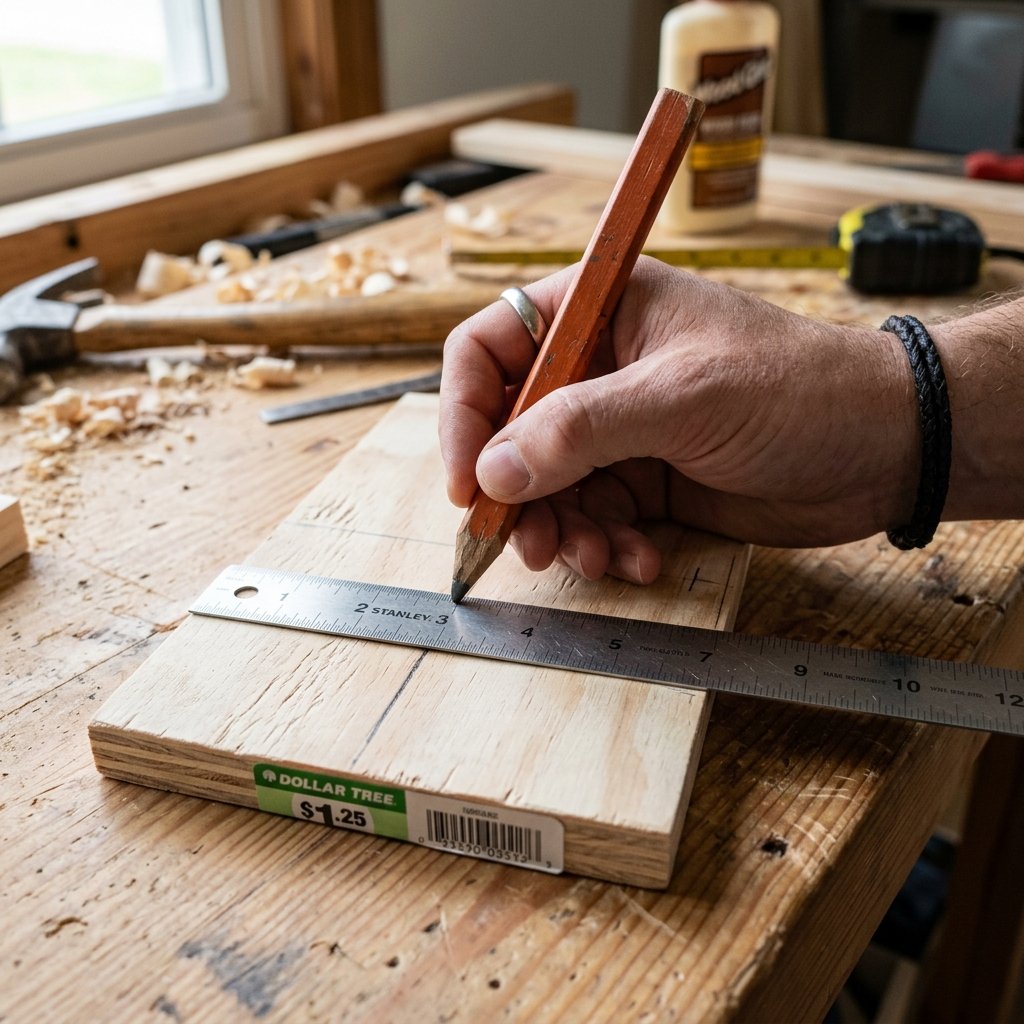
To ensure this project stays under our $20 budget, we need to be strategic with our shopping list. For a standard-sized window, you will typically need 6 wood signs per shutter (12 total for a pair). We will also need a high-quality adhesive that can withstand the heat and humidity of the outdoors. While the Dollar Tree carries basic glue, for this specific project, I recommend investing your remaining budget in a tube of E6000 or a dedicated exterior wood glue from a hardware store if you don’t have some in your workshop already. Here is the exact breakdown for a single pair of shutters:
| Material | Quantity | Cost |
|---|---|---|
| DT Wood Slat Signs | 12 | $15.00 |
| High-Strength Exterior Adhesive | 1 | $1.25 |
| Matte or Satin Spray Paint | 1 | $3.75 |
| Sandpaper (80 Grit) | 1 Pack | $0.00 (On Hand) |
| Total Project Cost | – | $20.00 |
By sticking to this list, you are achieving a 90% discount compared to retail prices. Remember to check the ‘Craft Square’ section of the store first, as they often have larger wood panels that can reduce the number of joints needed.
Structural Assembly: Building the Frame
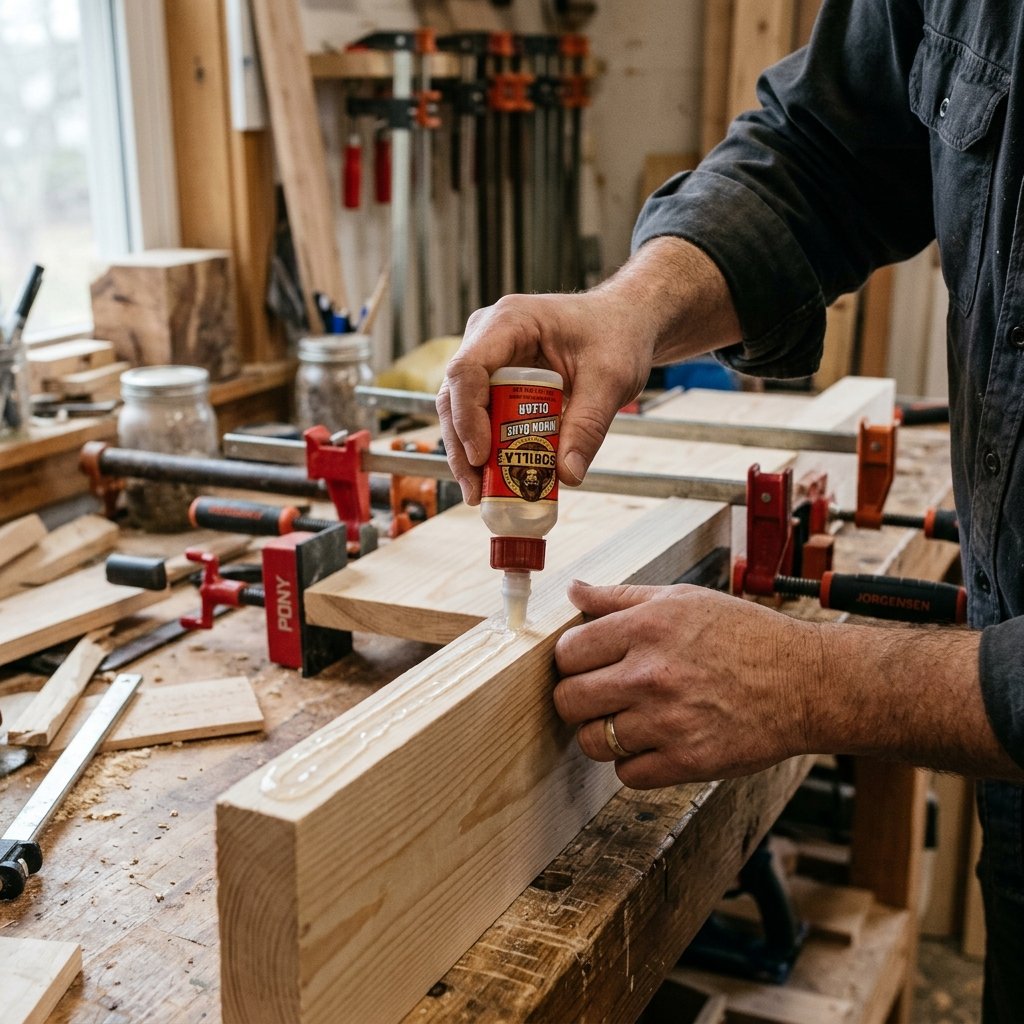
Construction begins with preparation. First, remove all staples, twine, and stickers from your wood signs. Use your 80-grit sandpaper to smooth out any rough edges or factory imperfections. We want these to look like custom-milled lumber, not craft supplies. To build a standard 36-inch shutter, you will likely need to stack three signs vertically for each ‘board’ of the shutter. Apply a generous bead of exterior adhesive to the short ends of the signs and press them together on a flat surface. For maximum structural integrity, I recommend using a ‘cleat’—a thin strip of wood (or even another disassembled sign) glued horizontally across the back of your vertical planks. This prevents the shutters from bowing over time.
Pro-Tip: Use painter’s tape to hold the joints tight while the adhesive cures. Give it at least 24 hours before moving to the painting stage. A sturdy bond is the difference between a one-season decoration and a permanent home improvement.
If you are aiming for a more masculine, ‘Industrial’ look, you can add small $1.25 hardware hinges from the tool aisle to the corners. They don’t need to be functional; they just need to provide that heavy-duty visual weight that characterizes high-end exterior design.
The Finishing Touch: Weatherproofing and the ‘Baking Soda’ Trick

Paint is where the magic happens. To make plastic or cheap plywood look like expensive, heavy-duty wood, we use the Baking Soda Paint Trick. Mix one part baking soda with two parts matte acrylic or spray paint. This creates a thick, textured mixture that mimics the grain and grit of aged timber or forged metal. When applying, use a ‘stippling’ motion with your brush to create depth. For a rugged, masculine-elegant look, I recommend colors like Tricorn Black, Deep Navy, or Forest Green. These darker shades hide imperfections and provide a sophisticated contrast against lighter siding.
Step-by-Step Finishing Process:
- Prime: Apply a base coat of plastic-bonding primer if using non-wood materials.
- Base Coat: Apply your primary color choice evenly across the front and sides.
- Texture: Apply the baking soda mixture to the ‘recessed’ areas of the slats.
- Seal: Use a clear, UV-resistant outdoor sealant to prevent fading from sun exposure. This step is crucial for maintaining the ‘just-painted’ look for years.
Spending an extra 10 minutes on the edges and backs of the shutters ensures that no raw wood or plastic is visible from any angle, maintaining the illusion of professional installation.
Installation Mastery: Securing Your Shutters
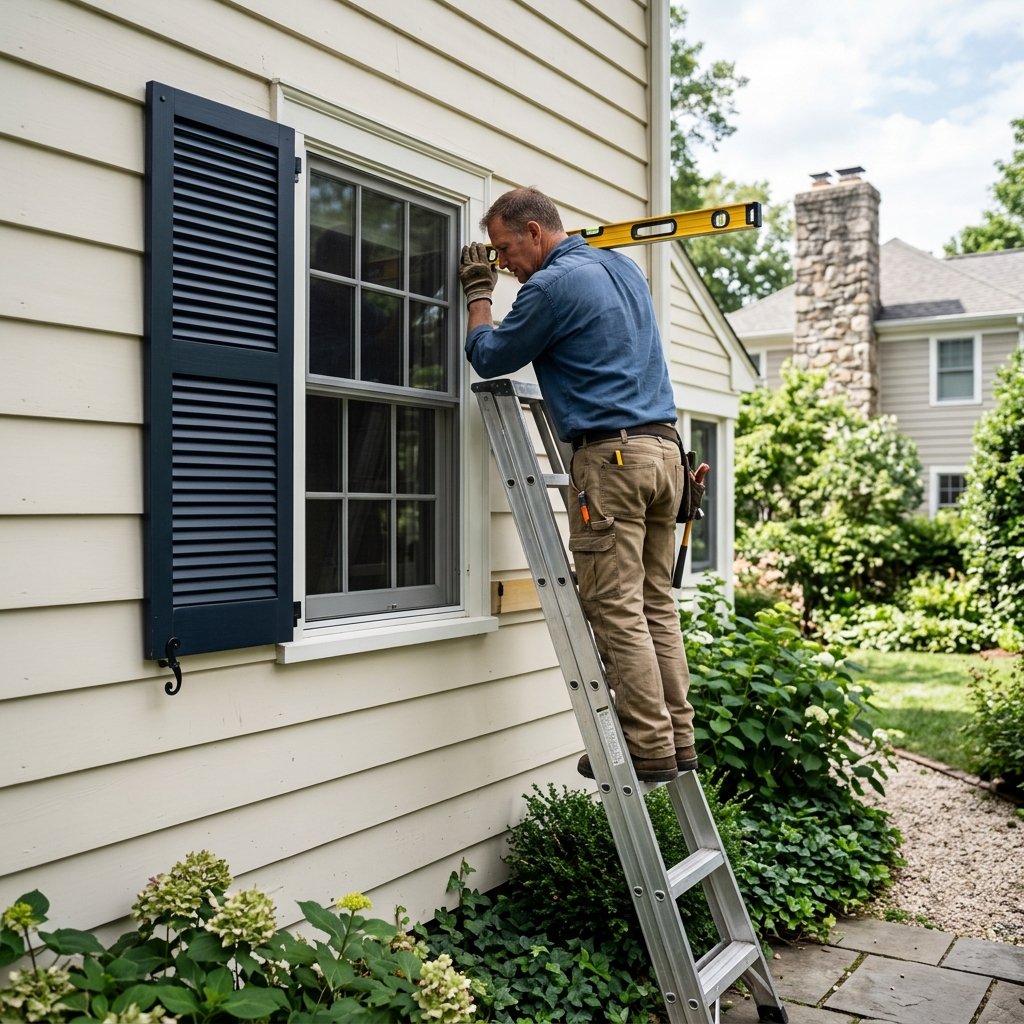
Installing your new shutters requires a balance of security and siding protection. If you have wood siding, you can screw them directly into the studs using exterior-grade wood screws. However, for those with vinyl or brick, we want a non-destructive or specialized approach. For vinyl siding, I highly recommend vinyl siding hooks or ‘shutter clips’ which allow the shutters to hang without drilling holes that could lead to water damage. For a truly frugal approach, you can use heavy-duty outdoor command strips or construction adhesive (though the latter is permanent).
Safety Note: Always use a sturdy ladder and have a spotter when working at heights. Ensure your pilot holes are slightly smaller than your screws to prevent the wood from splitting.
Before final mounting, hold the shutter up to the window and use a level. Even a 1/4 inch tilt can ruin the visual appeal. Once leveled, secure the top and bottom corners. The result is a crisp, clean architectural detail that makes the entire house look more expensive and well-cared-for.
Conclusion
The $20 Transformation Success
You’ve done it. For the price of a single takeout meal, you have successfully boosted your home’s curb appeal and added a layer of sophisticated architectural detail that most people spend hundreds to achieve. This project is a testament to the power of resourceful creativity. By looking past the ‘cheap’ label of Dollar Tree items and applying professional finishing techniques, you’ve created something truly rugged and elegant. Your home now stands out on the block, not because you spent the most, but because you worked the smartest. Remember, the best DIY projects aren’t about the tools you have, but the vision you bring to the workbench. Keep that budget-savvy momentum going—your next treasure is waiting in the next ‘trash’ pile you find. Happy crafting!

Makenzie is the founder and lead writer at MoneyHackTips.com — a personal finance blog dedicated to delivering street-smart financial wisdom for real people on real budgets. With 300+ published articles covering everything from debt management to investing fundamentals, Makenzie’s mission is to make every dollar work harder. When not writing about money hacks, Makenzie is testing frugal living strategies, optimizing side hustles, and helping readers build financial freedom from scratch.