
The Art of the Resourceful Transformation
We’ve all been there: a favorite flannel shirt that’s developed a thin spot at the elbow, or a crisp cotton button-down with a permanent ink stain on the cuff. Before you relegate those fabrics to the rag bin—or worse, the landfill—consider the hidden potential lurking in those seams. As a savvy DIYer, you know that the best materials are often the ones you already own. Today, we are going to master the art of the ‘Shirt-to-Chic’ pipeline, creating a gorgeous, masculine-elegant boho pillow cover that looks like it stepped out of a high-end boutique but costs exactly $0.
The beauty of using an old shirt lies in its built-in features. Why struggle with installing a zipper when the shirt already has a perfectly functional button placket? This project is the epitome of clever engineering and budget-savvy design. We aren’t just making a pillow; we are preserving a memory and adding a layer of rugged texture to our living spaces. Whether you are a handy dad looking to spruce up the den or a frugal crafter styling a budget-friendly apartment, this guide will walk you through the process in under an hour.
Sourcing and Selecting Your Fabric Canvas

Not every shirt is destined for greatness as a pillow cover. To achieve that high-end boho look, you need to be selective about texture and weight. Look for fabrics that offer a tactile experience. A rugged chambray, a heavy-duty flannel, or a breathable linen-blend shirt are your best bets. Avoid thin, shiny synthetics which can look cheap under living room lighting.
The Fabric Compatibility Matrix
Before you grab the shears, consult this guide to ensure your chosen garment has the structural integrity to withstand daily use on a sofa or bed.
| Fabric Type | Boho Vibe Rating | Durability | Best Use Case |
|---|---|---|---|
| Flannel/Plaid | High | Excellent | Cozy, rustic winter decor |
| Denim/Chambray | High | Superior | Rugged, masculine-elegant den |
| Linen Blend | Maximum | Moderate | Light, airy summer aesthetic |
| Oxford Cotton | Medium | High | Structured, preppy-boho mix |
Frugal Guru Tip: Check the ‘pit’ area and the collar for yellowing or wear. Since we are using the body of the shirt, these common ‘death zones’ for clothing won’t matter, making even ‘unwearable’ shirts perfect candidates for this project!
The Zero-Budget Tool Kit and Material Prep
The hallmark of a truly crafty expert is the ability to work with what is on hand. For this project, you don’t need a fancy sewing studio. If you have a basic needle and thread, or a simple sewing machine, you are ready to go. The goal is maximum impact for minimum investment.
Materials Needed & Estimated Cost
| Item | Upcycled Source | Estimated Cost |
|---|---|---|
| Old Button-Down Shirt | Your closet/Thrift bin | $0.00 |
| Pillow Insert (18×18) | Old pillow or scrap stuffing | $0.00 |
| Thread | Standard sewing kit | $0.05 |
| Scissors/Pins | Household staples | $0.00 |
| Total Project Cost | – | $0.05 |
Preparation Steps
- Wash and Dry: Ensure the shirt is pre-shrunk and clean. 100% cotton shirts will shrink, so this step is vital.
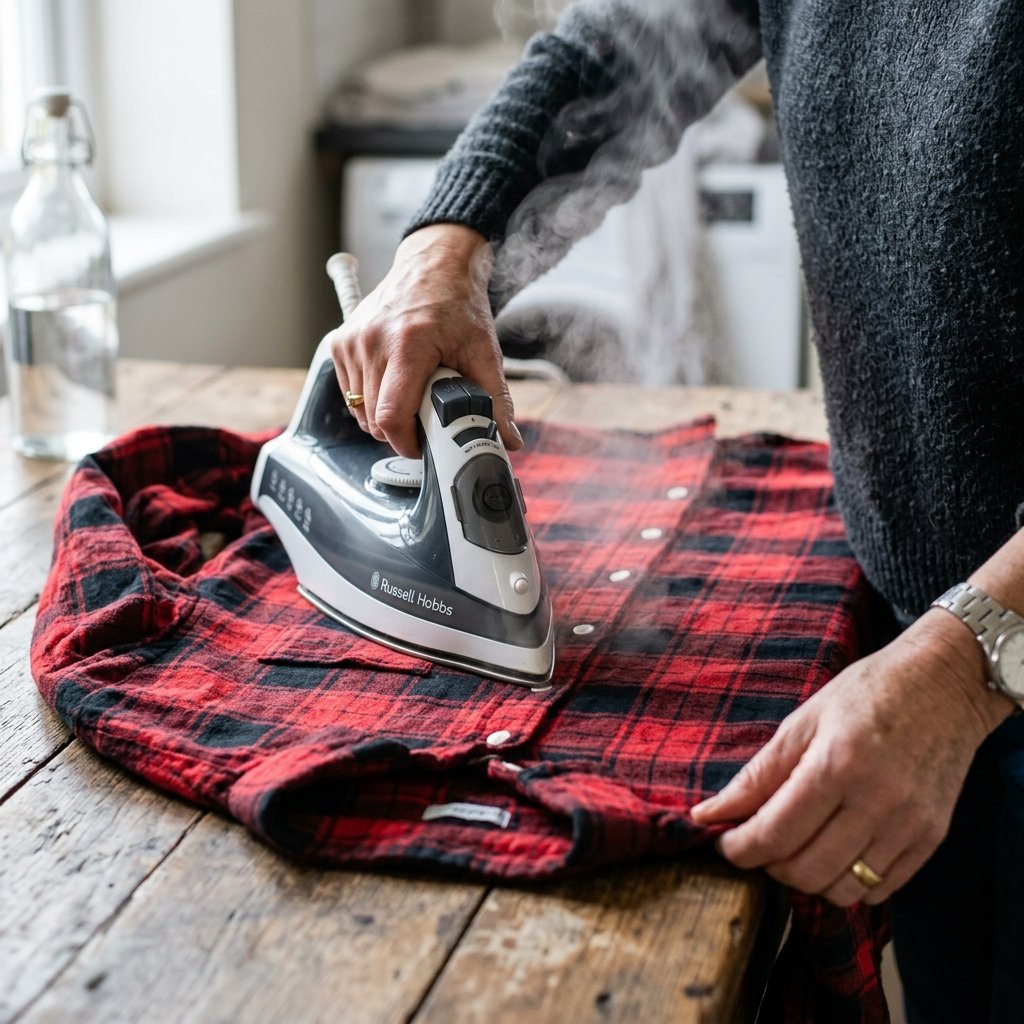
- Ironing: Use a hot iron to flatten the button placket and side seams. A crisp fabric is 10 times easier to cut accurately.
- Button Check: Ensure all buttons are secure. If any are loose, give them a quick two-minute reinforcement stitch.
Step-by-Step: The ‘Button-Placket’ Shortcut Method

This is where the magic happens. By using the front of the shirt as the center of our pillow, we eliminate the need for complicated closures. The buttons become a design feature rather than just a functional necessity.
The Construction Process
- Button the Shirt: Keep the shirt fully buttoned and lay it flat on your work surface, front side up.
- Measure the Form: Place your pillow insert (e.g., 18″x18″) on top of the shirt, centering the button placket horizontally or vertically, depending on your style preference.
- Mark the Cut: Leave a 1-inch seam allowance on all sides of the pillow form. Mark your lines with chalk or a pencil.
- The Big Cut: Cut through both layers (front and back of the shirt) simultaneously. You now have two squares.
- Pinning: Unbutton the shirt pieces (this is why we use the shirt buttons!). Place the ‘right’ sides (the pretty sides) facing each other and pin the edges.
- Sewing: Sew a straight line around all four sides. If hand-sewing, use a sturdy backstitch for durability.
- The Reveal: Reach through the open button placket, turn the cover right-side out, and poke the corners sharp with a chopstick or pencil.
Safety Note: When cutting through thick seams (like denim), keep your fingers well away from the shear path. If using a sewing machine, use a size 90/14 needle for heavier fabrics like flannel or chambray to avoid needle breakage.
Infusing the ‘Boho’ Soul: Texture and Trim
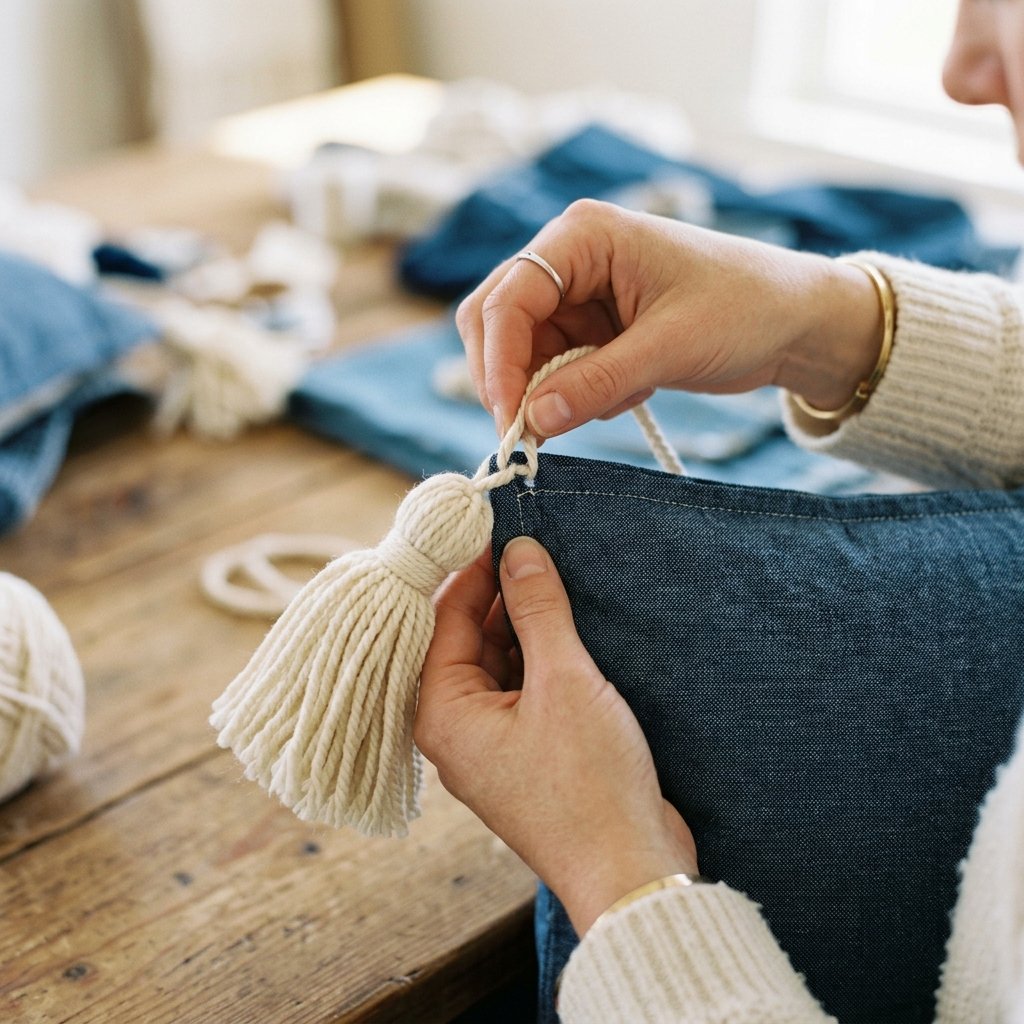
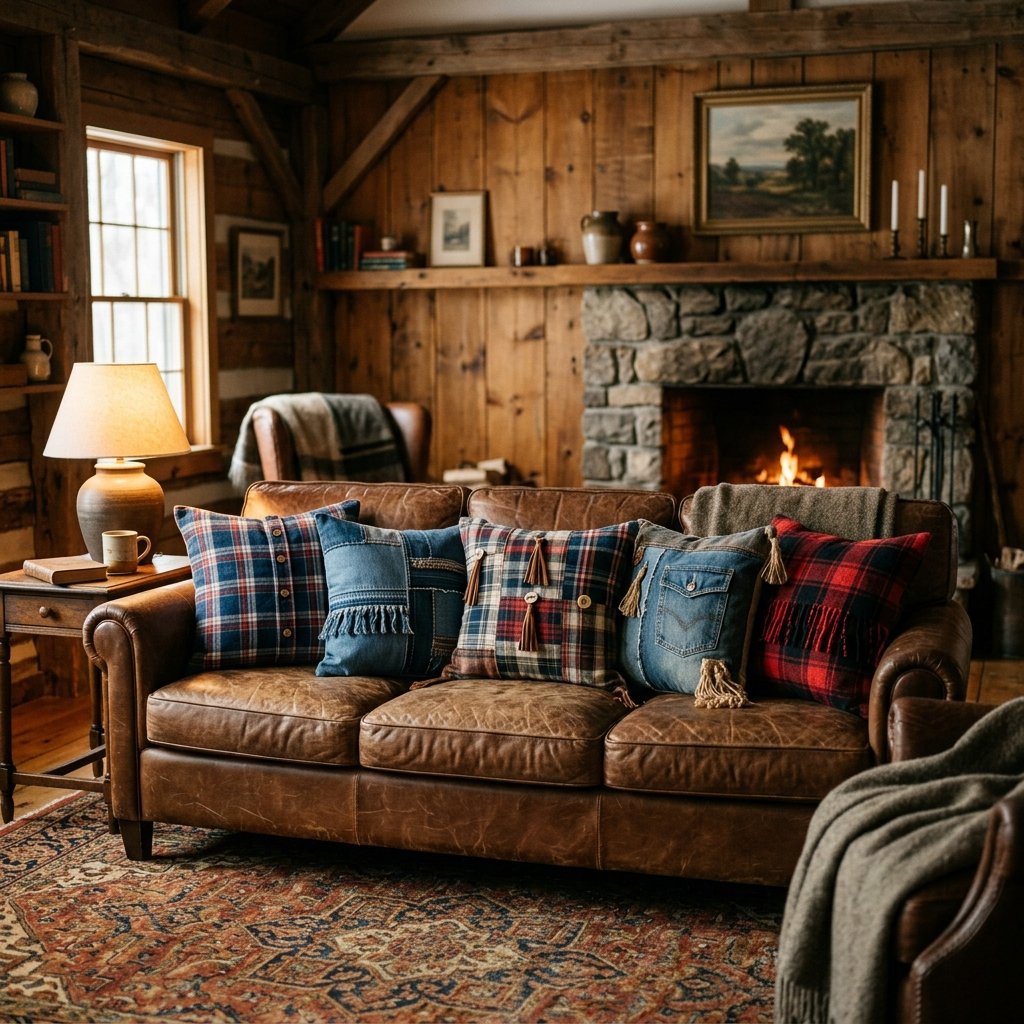
A plain shirt square is a pillow; a square with fringe, tassels, and mismatched buttons is a Boho masterpiece. To achieve that ‘Anthropologie’ look on a Dollar Tree budget, we need to add tactile elements.
Creative Embellishment Ideas
- Yarn Tassels: Use leftover yarn or even strips of the shirt’s sleeves to create chunky tassels for the four corners.
- The ‘Frayed Edge’ Look: If you used denim, don’t hem the very edges. Instead, sew a line 1/2 inch from the edge and pull the cross-threads to create a rugged fringe.
- Stitch Detailing: Use a contrasting thick embroidery thread to do a simple ‘running stitch’ along the seams. This adds a hand-crafted, artisanal feel.
| Embellishment | Material Needed | Time Added |
|---|---|---|
| Corner Tassels | Scrap Yarn/Fabric | 15 Minutes |
| Frayed Edges | Seam Ripper/Fingers | 10 Minutes |
| Contrast Stitching | Embroidery Floss | 20 Minutes |
Styling Like a Pro: The Masculine-Elegant Palette
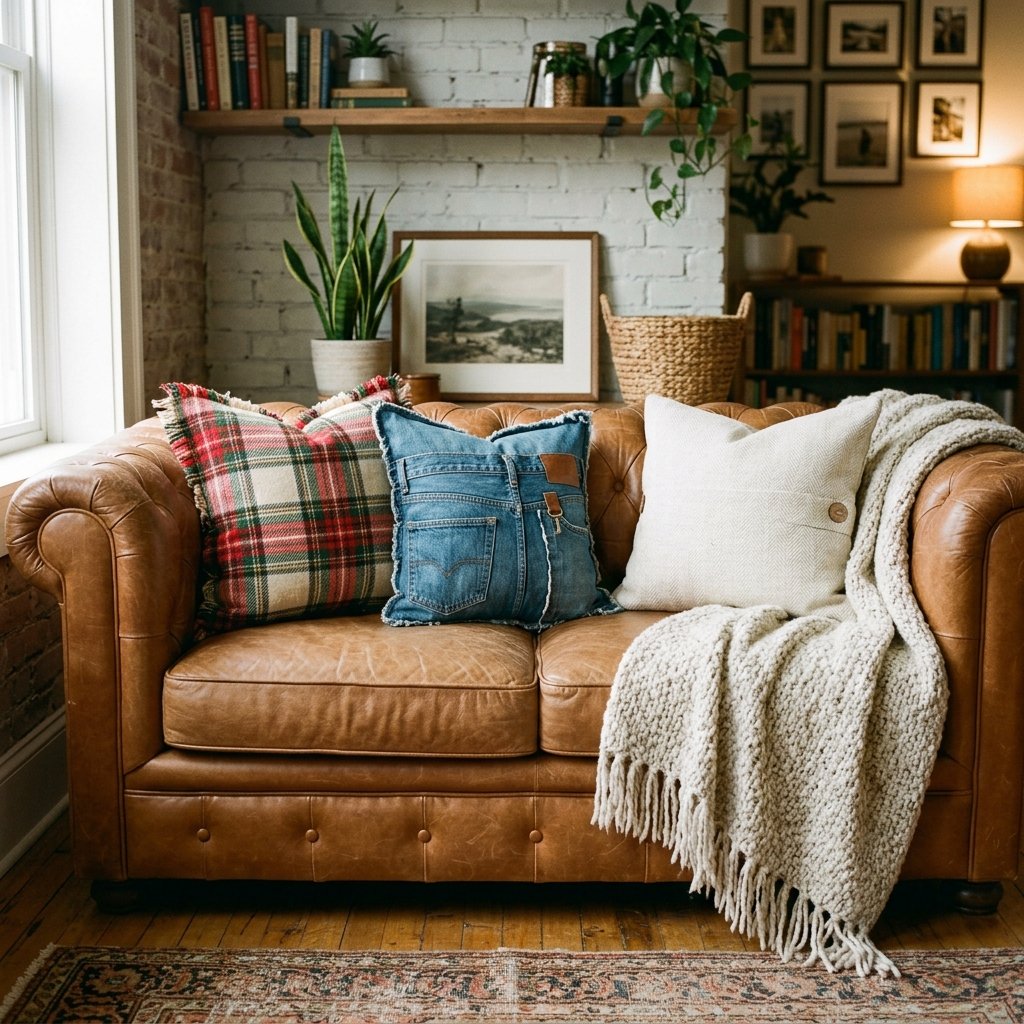
The secret to a sophisticated home isn’t expensive furniture; it’s intentional layering. When styling your new upcycled pillows, think about the ‘Rule of Three.’ Mix a large-scale pattern (like a plaid shirt pillow) with a solid texture (like a denim shirt pillow) and a neutral (like a linen shirt pillow).
The Store-Bought vs. DIY Comparison
| Feature | High-End Retailer | Our DIY Upcycled Version |
|---|---|---|
| Price | $48.00 – $75.00 | $0.00 |
| Material | Polyester Blend | 100% Natural Cotton/Linen |
| Uniqueness | Mass Produced | One-of-a-Kind Heirloom |
| Eco-Impact | High Carbon Footprint | Carbon Negative (Waste Diverted) |
Place your rugged flannel pillows on leather armchairs for a ‘cabin-chic’ vibe, or toss the linen versions onto a light-colored sofa for a breezy, coastal boho feel. The visible buttons should face forward—they are the ‘jewelry’ of your pillow!
Conclusion
Your Trash is Now Your Treasure
In less than an hour, you’ve successfully diverted textile waste from the landfill and created a high-end piece of home decor that tells a story. This project proves that being budget-savvy doesn’t mean sacrificing style. In fact, the most resourceful homes are often the most beautiful because they are filled with items that have soul and history. So, the next time you see a shirt with a frayed cuff, don’t toss it. Grab your scissors, channel your inner crafty expert, and make something rugged, practical, and utterly elegant. Your wallet—and your sofa—will thank you.

Makenzie is the founder and lead writer at MoneyHackTips.com — a personal finance blog dedicated to delivering street-smart financial wisdom for real people on real budgets. With 300+ published articles covering everything from debt management to investing fundamentals, Makenzie’s mission is to make every dollar work harder. When not writing about money hacks, Makenzie is testing frugal living strategies, optimizing side hustles, and helping readers build financial freedom from scratch.