
The Tragedy of the ‘Bacon Neck’
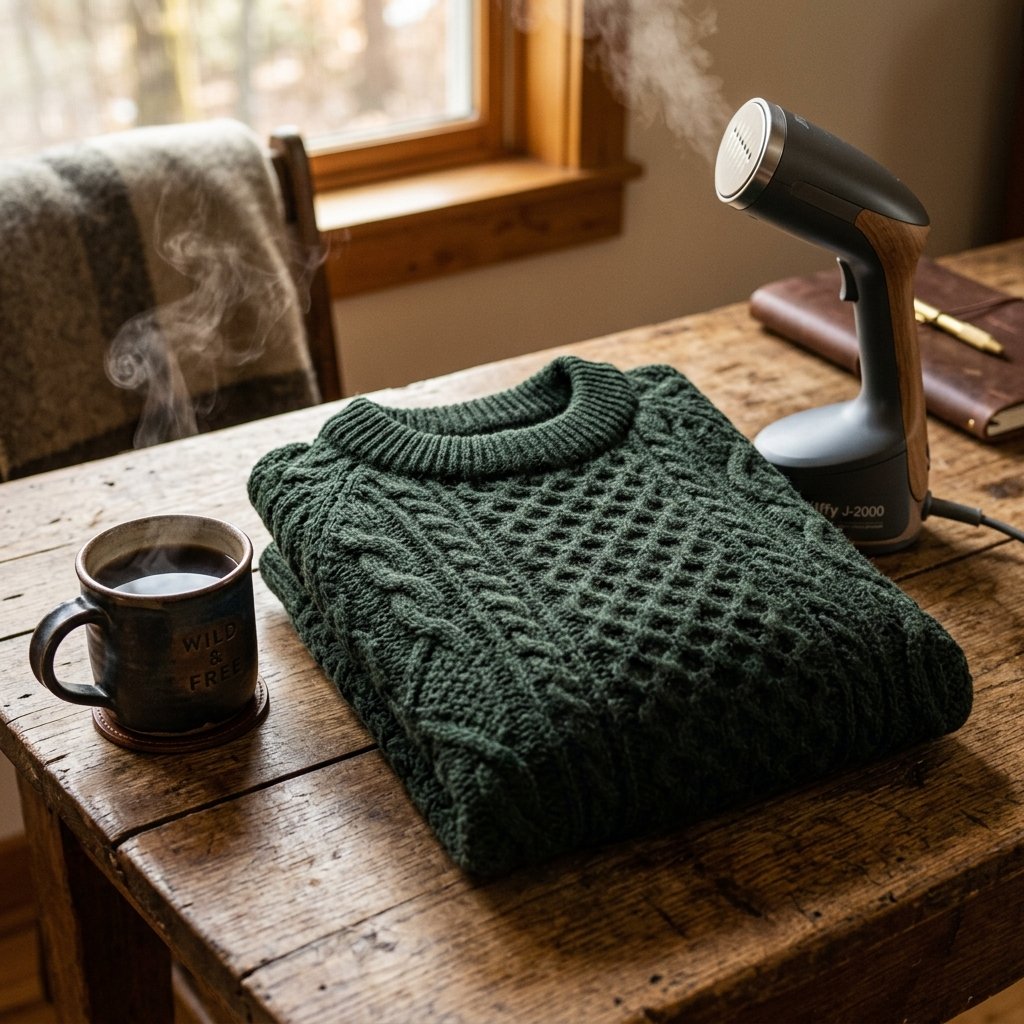
We have all been there. You reach for that perfectly broken-in, high-quality wool or cotton sweater—the one that fits your shoulders just right and makes you look like a rugged academic or a savvy urban explorer—only to realize the neckline has gone completely limp. It is the dreaded ‘bacon neck’: a wavy, stretched-out, unsightly mess that makes even the most expensive garment look like a hand-me-down from a giant. But before you relegate your favorite piece of knitwear to the ‘yard work only’ pile or, heaven forbid, the trash, let me share a secret from the world of professional garment care. You do not need a sewing machine, a needle, or even a basic understanding of a running stitch to fix this. As a frugal DIYer, you already have the tools in your kitchen or laundry room to perform a 100% no-sew restoration. This guide is about reclaiming your wardrobe with practical, clever, and budget-savvy techniques that respect the craftsmanship of your clothes while saving you the $50 to $100 it would cost to replace a premium knit.
The Science of the Sag: Why Knits Lose Their Shape

To fix a problem, you must first understand the structural mechanics at play. Sweaters are not woven like a dress shirt; they are knitted. This means they are composed of a series of interlocking loops. The neckline is usually finished with a ribbed stitch (a pattern of raised and recessed vertical lines) specifically designed to be elastic. However, over time, the physical weight of the sweater, the heat of a dryer, or the simple act of pulling it over your head can cause these loops to over-extend. When the fibers—especially natural ones like wool, cashmere, or cotton—lose their ‘memory,’ they stay in that elongated state.
Our goal is to use moisture and heat to encourage those fibers to shrink back to their original, tight configuration. Think of it as a reset button for the textile’s DNA. This is particularly effective for natural fibers, which have a high degree of plasticity when damp.
| Fabric Type | Elasticity Level | Success Rate of No-Sew Fix |
|---|---|---|
| 100% Wool | High | 95% (Excellent) |
| 100% Cotton | Medium | 80% (Very Good) |
| Cashmere | High | 90% (Excellent) |
| Acrylic/Polyester | Low | 40% (Difficult) |
The Boiling Water Method: The Ultimate Heat Reset
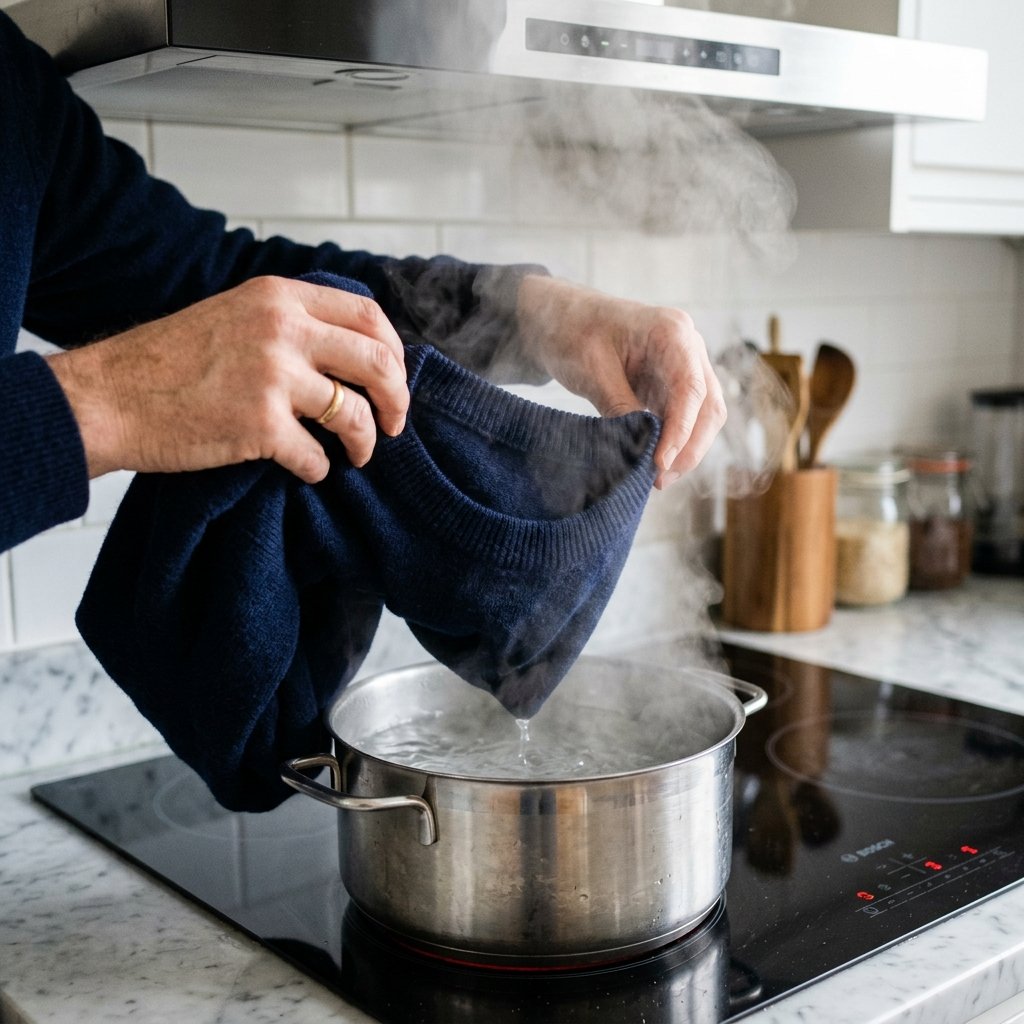
This is the most ‘rugged’ and effective method for 100% wool or high-percentage cotton sweaters. It uses the power of localized shrinking to pull the neckline back into place without affecting the rest of the garment.
- Boil Water: Bring a pot of water to a rolling boil. You only need enough to submerge the collar area.
- Dip Only the Neckline: Carefully hold the sweater and dip only the stretched-out ribbing into the boiling water. Do not submerge the shoulders or the body. Hold it there for 30 to 60 seconds.
- Blot, Don’t Wring: Lay the sweater flat on a dry, light-colored towel. Gently press another towel on top to soak up the excess moisture. Never wring or twist the fabric, as this will distort the fibers even further.
- The Finger-Molding Technique: While the neckline is damp and hot, use your fingers to physically ‘scrunch’ the ribbing back together. Push the fibers toward the center of the collar.
- Dry with Heat: Use a hairdryer on a high-heat setting to dry the neckline completely while it is laid flat. The combination of the boiling water and the targeted hot air acts as a ‘shrink-wrap’ for the collar.
“The secret is in the contrast. The intense heat breaks the hydrogen bonds in the fibers, and the rapid drying re-sets them in a tighter, more compact structure.”
The Steam & Block Technique: The Professional’s Choice
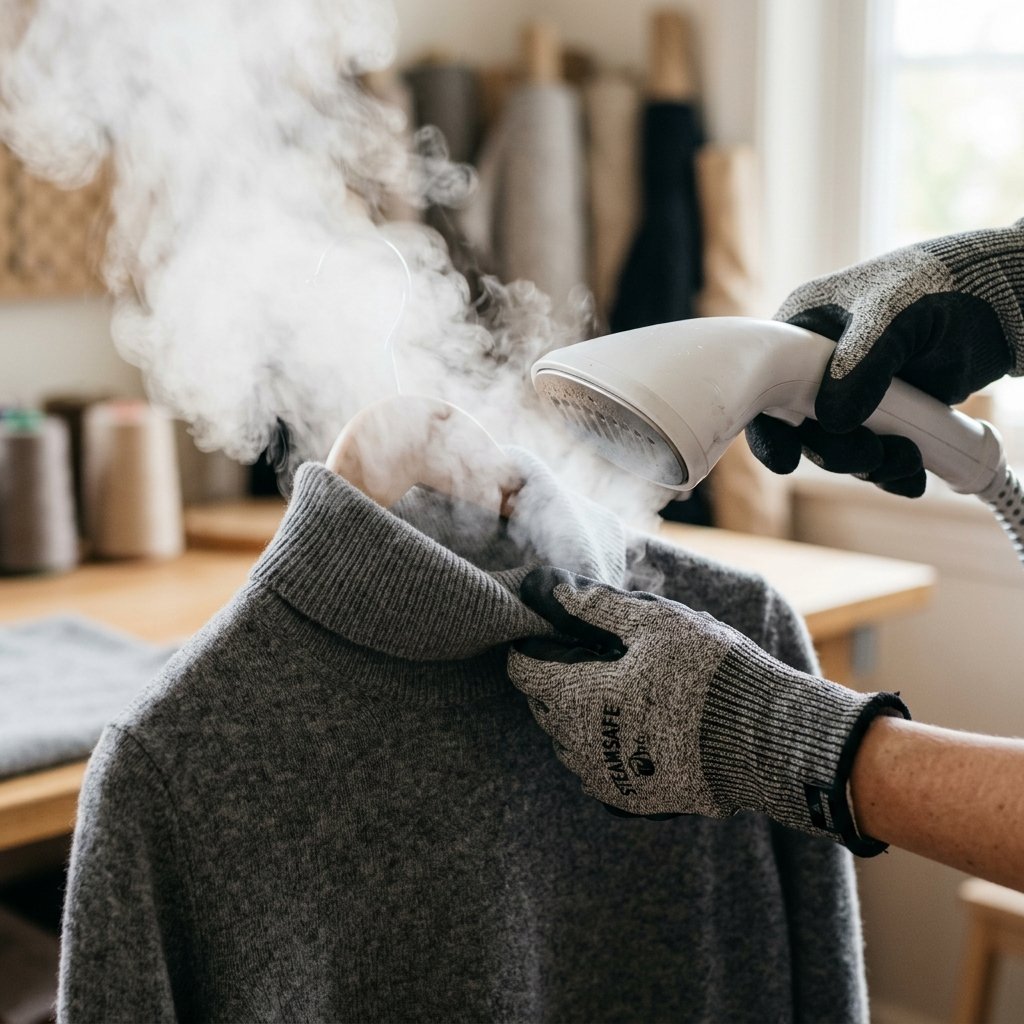
If you own a garment steamer or a steam iron, this method is slightly more controlled and works wonders for delicate knits like cashmere or fine-gauge merino wool. This is essentially a DIY version of ‘blocking,’ a technique used by professional knitters to set the final shape of a garment.
Tools Required:
- A garment steamer or iron with a ‘burst of steam’ function.
- A flat, heat-resistant surface.
- Heavy books or ‘blocking pins’ (optional).
Lay the sweater perfectly flat. Using your hands, manipulate the neckline into the exact shape you want it to be. If the collar is a crew neck, make sure it forms a perfect circle. Once shaped, hold the steamer about 1 inch away from the fabric. Blast it with heavy steam for 20 seconds until the fabric feels damp and hot. Immediately after steaming, use your palms to press the fabric down onto the flat surface, ‘locking’ the fibers into their new, tighter position. Let it sit undisturbed for at least 2 hours until completely cool and dry.
| Method | Time Required | Best For |
|---|---|---|
| Boiling Water | 5 Minutes | Heavy cotton, Chunky wool |
| Steam Blocking | 15 Minutes | Cashmere, Fine merino, Cardigans |
The Invisible Elastic Hack: No-Sew Support

If your sweater is made of synthetic materials (like acrylic) or if the heat methods aren’t giving you enough ‘snap-back,’ this clever hack is your best friend. It uses clear elastic thread or ‘smocking thread’ which is virtually invisible.
How to ‘Weave’ Without a Needle:
While this usually involves a needle, you can actually weave the thread through the existing loops of the ribbing if the knit is loose enough. If you have a small safety pin, you can use it as a ‘bodkin’ to lead the thread through the ‘tunnel’ created by the folded-over edge of the collar.
- Find the ‘channel’ at the very top of the neckline.
- Attach a piece of clear elastic thread to a small safety pin.
- Thread the pin through the entire circumference of the collar.
- Pull the elastic until the collar cinches to your desired width.
- Tie a secure square knot and tuck the ends back into the fabric.
This provides a structural ‘skeleton’ for the neckline that will prevent it from ever stretching out again, regardless of how many times you wash it. Total cost: approximately $2.00 for a spool of elastic that will fix 20 sweaters.
Maintenance: How to Prevent the Sag Forever
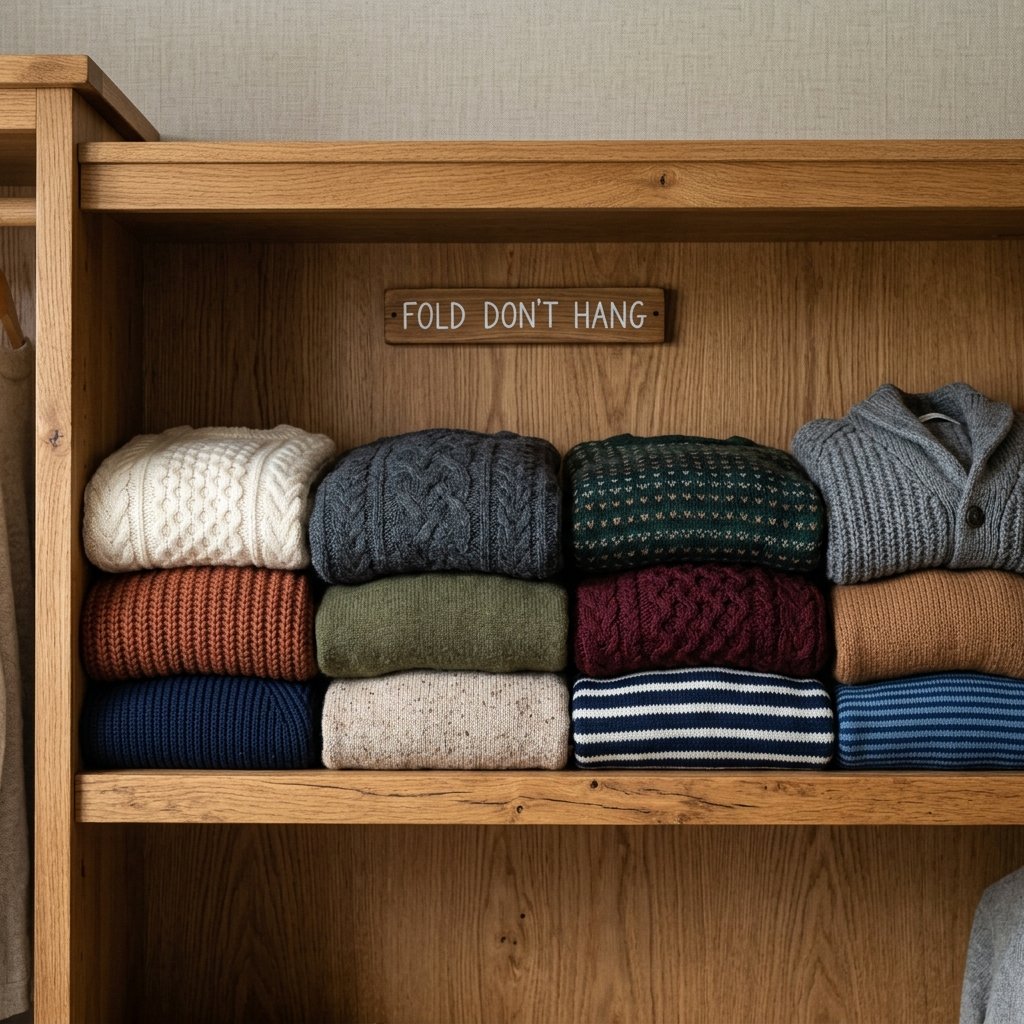
Now that you’ve saved your favorite garment, you need to ensure you don’t end up back at square one. Most neckline damage happens during the laundry cycle and storage.
The Golden Rules of Sweater Longevity:
- Never Hang Your Sweaters: Gravity is the enemy of the neckline. Hanging a sweater puts the entire weight of the garment on the shoulder seams and the collar. Always fold your sweaters and store them on a shelf or in a drawer.
- Wash in a Mesh Bag: If you must use a washing machine, place the sweater in a mesh laundry bag. This prevents the sleeves and neck from getting tangled and stretched by the agitator or other clothes.
- The ‘Dry Flat’ Mandate: Never, ever hang a wet sweater to dry. A wet sweater can weigh three times its dry weight, leading to permanent stretching. Lay it on a drying rack or a dry towel.
“A well-maintained sweater is a badge of a man who respects his tools and his appearance. Treat your knits like an investment, not a disposable commodity.”
Conclusion
Back in the Game
Restoring a stretched-out neckline is more than just a laundry hack; it is a philosophy of resourcefulness. In a world of fast fashion where clothes are often treated as disposable, taking 10 minutes to revive a beloved sweater is a quiet act of rebellion. Whether you use the intensity of the boiling water method, the precision of steam blocking, or the structural support of an invisible elastic thread, you have successfully extended the life of your wardrobe for $0. You’ve saved your favorite piece of clothing, kept waste out of the landfill, and sharpened your DIY skills. Now, put on that perfectly fitted collar, head out the door, and wear your ‘saved’ sweater with the pride of a craftsman who knows how to fix what’s broken.

Makenzie is the founder and lead writer at MoneyHackTips.com — a personal finance blog dedicated to delivering street-smart financial wisdom for real people on real budgets. With 300+ published articles covering everything from debt management to investing fundamentals, Makenzie’s mission is to make every dollar work harder. When not writing about money hacks, Makenzie is testing frugal living strategies, optimizing side hustles, and helping readers build financial freedom from scratch.