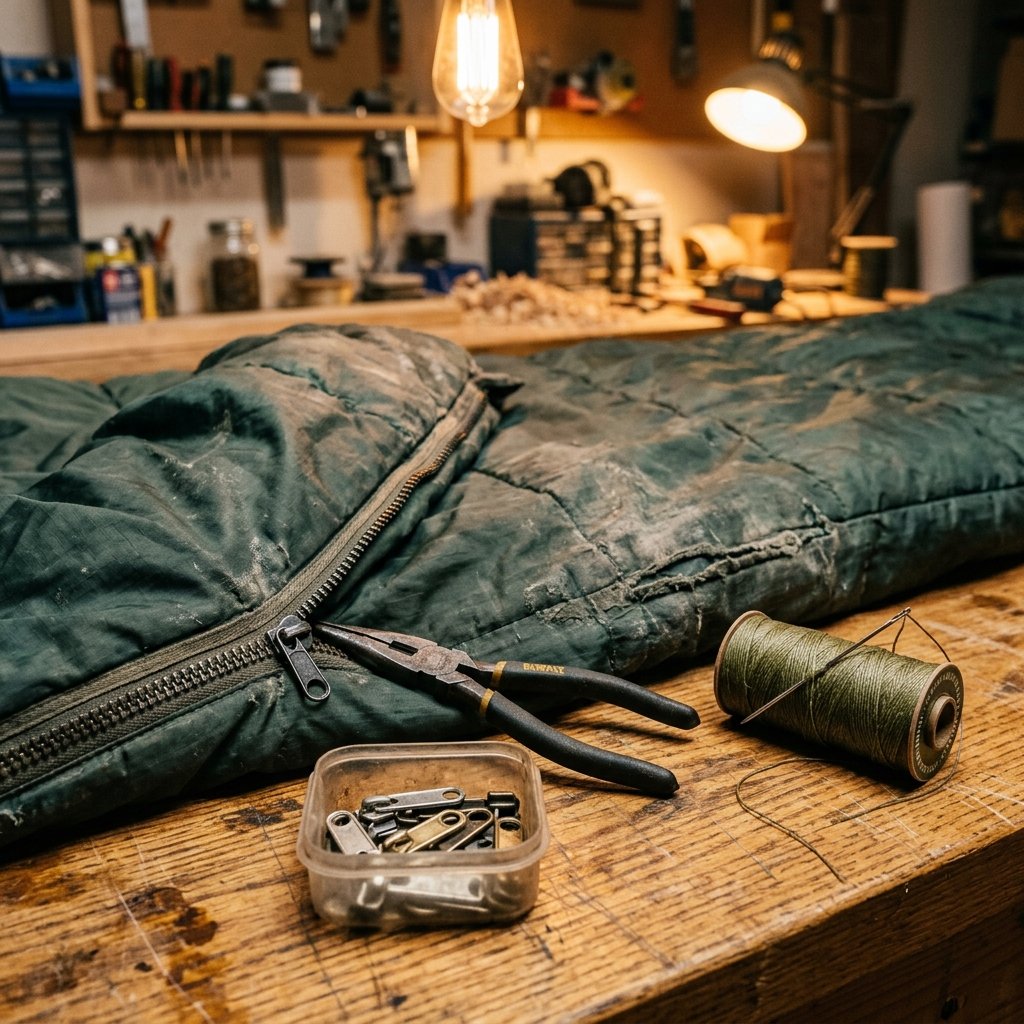

The Mender’s Manifesto: Reclaiming Your Gear
There is a specific, sinking feeling that occurs when you’re deep in the woods, the temperature is dropping, and your sleeping bag zipper decides to surrender. Most people see a separated zipper or a detached slider as a death sentence for their expensive outdoor gear. They imagine a $50 to $80 trip to a professional tailor or, worse, the $200+ cost of a brand-new mummy bag. But here’s the secret the outdoor industry doesn’t want you to know: your sleeping bag isn’t broken; it just needs a tactical hardware swap. By mastering the art of the zipper slider replacement, you aren’t just saving money—you’re practicing a rugged self-reliance that keeps quality gear out of the landfill and more cash in your pocket for your next adventure.
“Frugality isn’t about being cheap; it’s about respecting the craftsmanship of your tools enough to keep them in the fight.”
In this guide, we are going to strip away the mystery of the zipper. We will look at the anatomy of these metal-and-nylon tracks and walk through a 5-step process that requires nothing more than a pair of pliers and 10 minutes of your time. Whether you are a budget-savvy parent fixing a child’s sleepover bag or a hardcore trekker maintaining a sub-zero down bag, this skill is a mandatory addition to your DIY arsenal.
Anatomy of a Failure: Understanding the Zipper
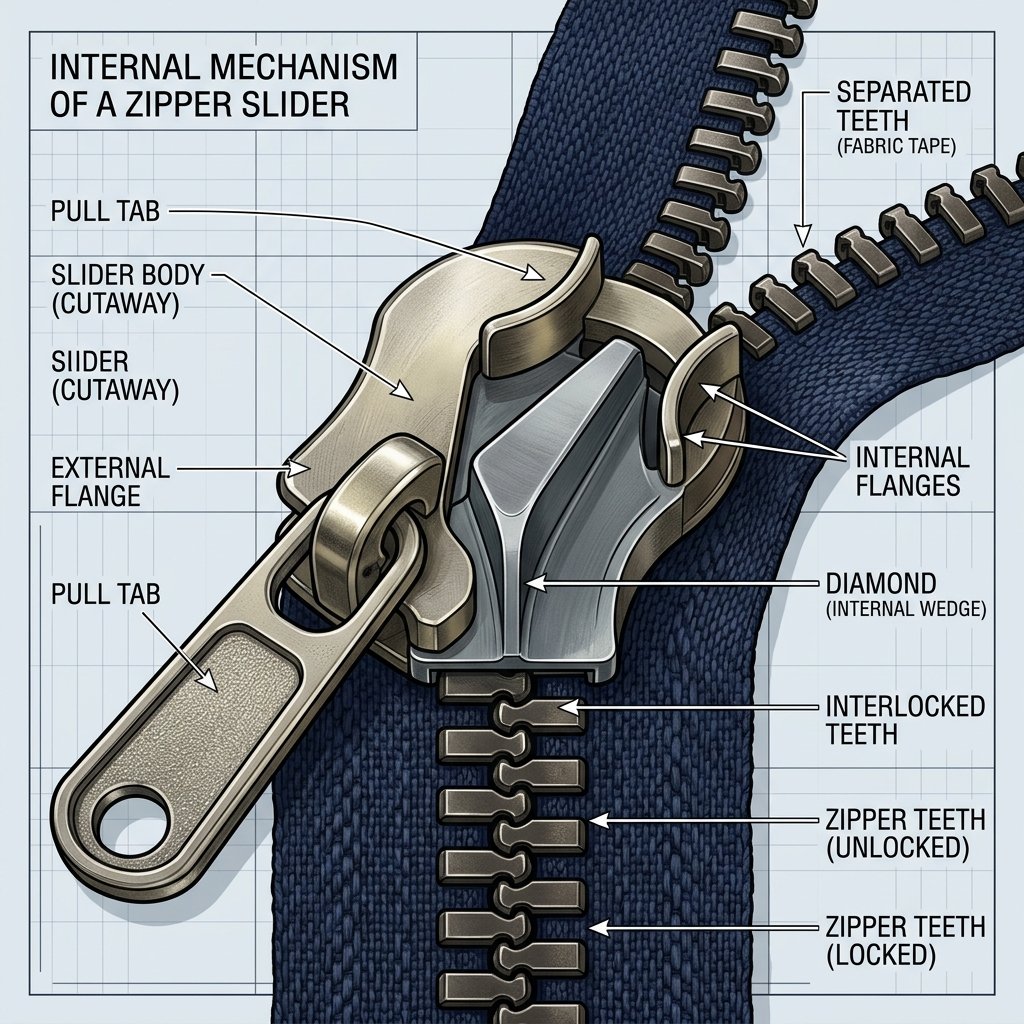
Before we dive into the repair, we must understand the adversary. A zipper is a marvel of mechanical engineering, consisting of two rows of teeth (the elements) and a slider that forces them together. Most ‘broken’ zippers are actually just victims of a worn-out slider. Over hundreds of uses, the internal channels of the slider stretch out by fractions of a millimeter. This tiny gap prevents the slider from applying enough pressure to interlock the teeth, leading to the dreaded ‘split’ behind the pull.
Common Zipper Types in Outdoor Gear
- Coil Zippers: Made of coiled polyester, these are flexible and common on lightweight bags.
- Vislon (Plastic Tooth) Zippers: These look like individual plastic blocks and are found on heavy-duty cold-weather bags.
- Metal Zippers: Rare on modern bags but common on vintage canvas gear; these are the most durable but heaviest.
| Zipper Issue | The DIY Solution | Estimated Savings |
|---|---|---|
| Slider won’t close teeth | Replace Slider Body | $65.00 |
| Missing Bottom Pin | New Zipper Assembly (Advanced) | $120.00 |
| Bent Slider Flange | Pliers Compression (Quick Fix) | $0.00 |
| Stuck Fabric in Teeth | Lubrication & Extraction | $0.00 |
The Toolkit: Minimalist Gear for a Professional Result
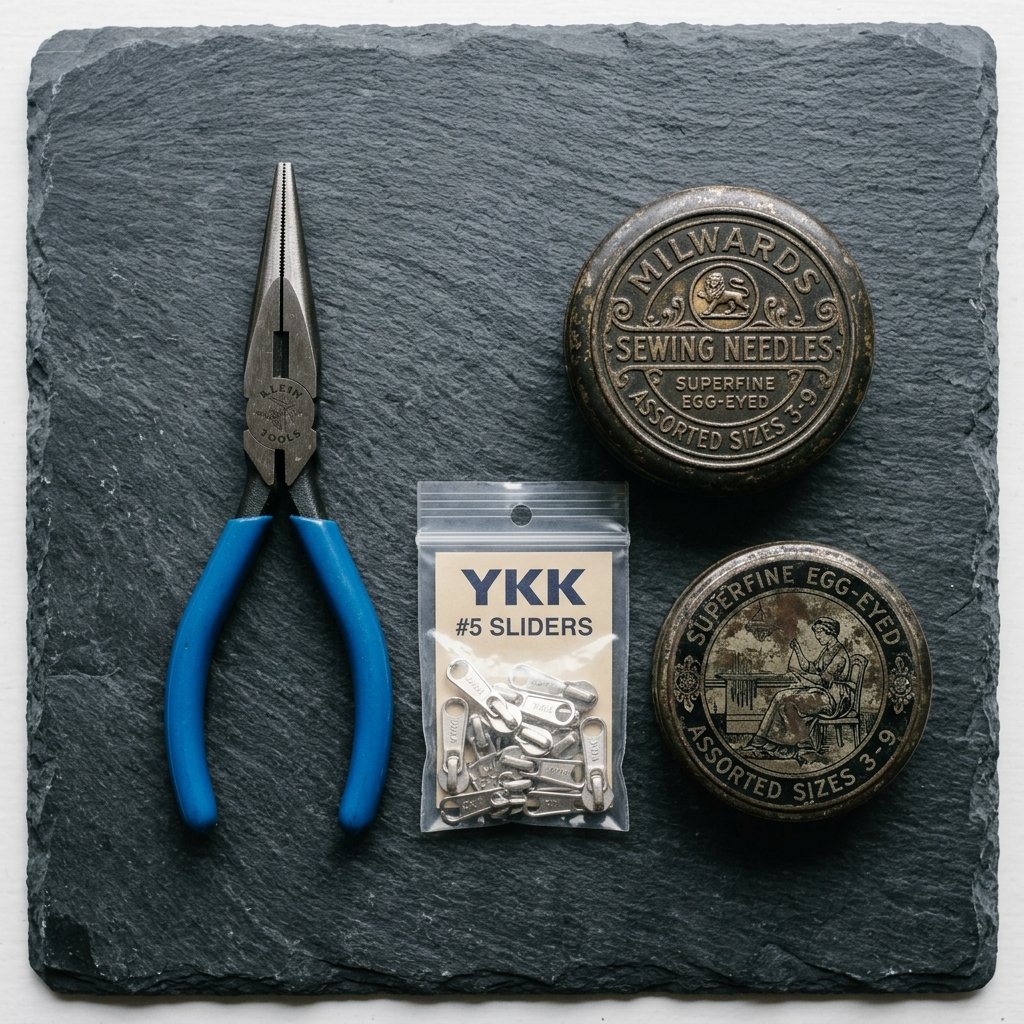
You don’t need a sewing machine or a specialized workshop to pull this off. In fact, most of these items are likely rolling around in your junk drawer or tool chest right now. The key is precision. When we talk about replacing a slider, the most critical part is identifying the size. If you look at the back of your broken slider, you will usually see a number stamped into the metal (e.g., #5, #8, #10). This is your roadmap to a $2 fix.
Essential Materials
- Replacement Slider: Match the number and type (Coil vs. Vislon).
- Needle-Nose Pliers: For removing and crimping stops.
- Side Cutters: To snip off the old metal stops.
- Replacement Top Stops: Small metal ‘U’ clips that prevent the slider from flying off the top.
- Heavy-Duty Thread & Needle: For a ‘soft stop’ if you don’t have metal clips.
“The right tool for the job is usually the one you already own, used with a bit of patience and a steady hand.”
The 5-Step Slider Resurrection
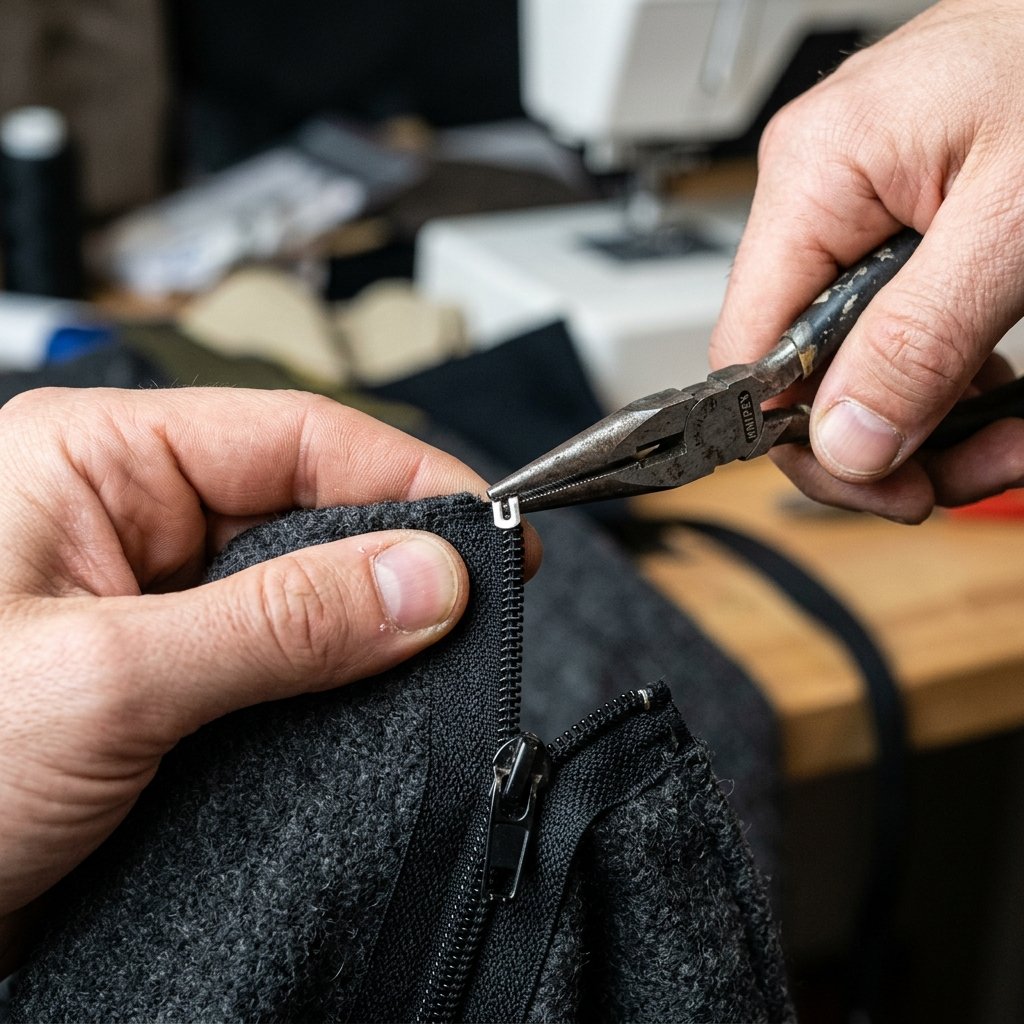
Follow these steps with care, and you will have a functional sleeping bag in less time than it takes to boil a pot of coffee. We are going to perform what’s known as a ‘Top-Down’ replacement.
- Remove the Old Stops: Use your side cutters or pliers to gently pry away the metal stops at the very top of the zipper track (where the zipper ends when closed). Be careful not to cut the fabric tape.
- Ditch the Defective Slider: Pull the old, loose slider all the way up and off the tracks. Inspect the teeth for any obvious burrs or melted spots.
- Align and Feed: Take your new slider (nose first) and feed the two rows of zipper teeth into the side channels. This is the ‘finesse’ step. Ensure the teeth are level so the zipper doesn’t ‘bunch’ later.
- The Test Pull: While holding the bottom of the zipper taut, gently pull the slider down. If the teeth interlock perfectly, you’ve succeeded. If it splits, remove and re-align.
- Install New Stops: Place your new metal stops over the top teeth and crimp them firmly with pliers. If you are in the field, simply sew a thick ‘bump’ of thread over the top teeth to act as a temporary barrier.
Troubleshooting: When the Teeth Won’t Bite
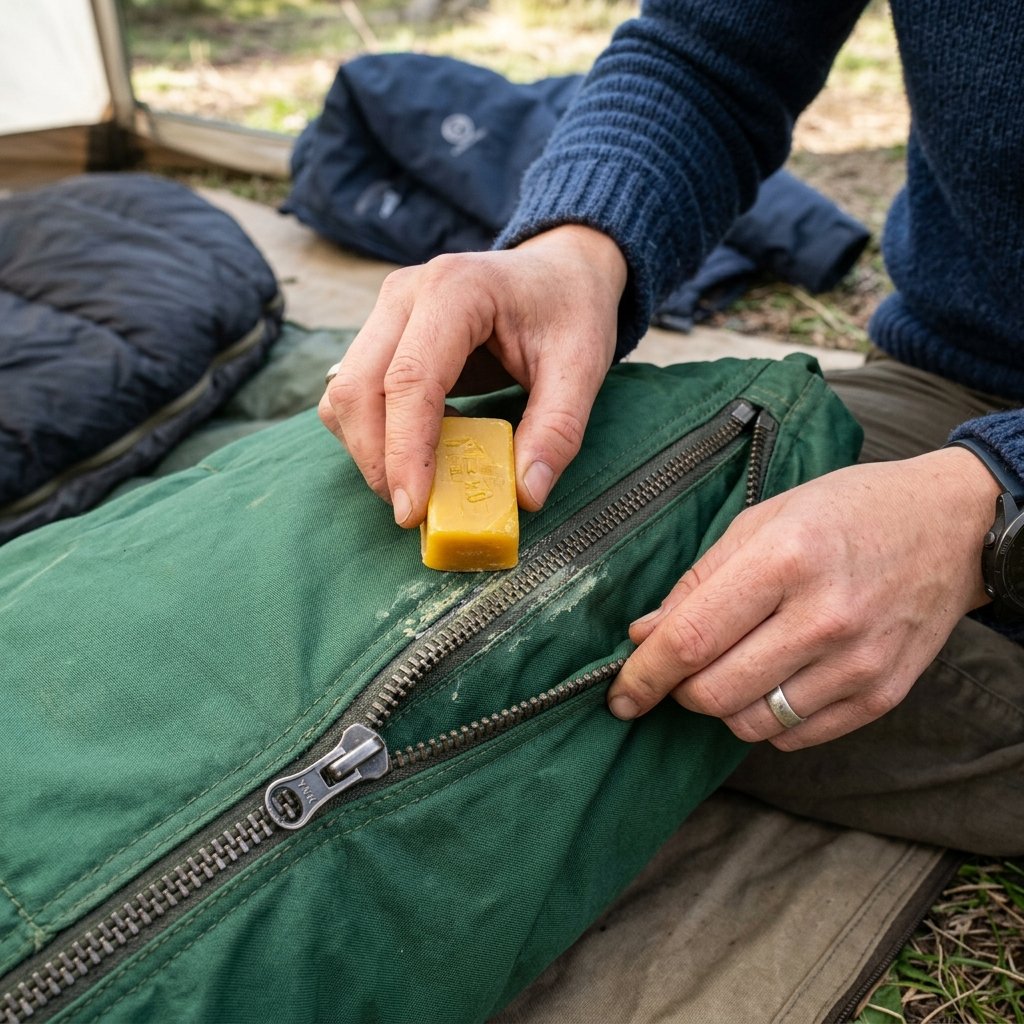
Sometimes, even a new slider struggles. This is usually due to ‘memory’ in the nylon teeth or invisible debris. Before you give up, try these rugged mending tricks. Often, the difference between a failed repair and a lifetime of use is a simple application of friction-reduction or a minor structural adjustment.
The Pro-Mender’s Checklist
- Lubrication: Rub a bit of beeswax or a graphite pencil along the teeth. This reduces the force required for the slider to move, preventing future stretching.
- The Pliers Pinch: If a new slider is slightly too loose, use your pliers to give the back ‘wings’ of the slider a microscopic squeeze. Warning: Too much pressure will snap the cast aluminum.
- Cleaning the Tape: If the bag is old, the fabric ‘tape’ the teeth are attached to might be frayed. Use a lighter to very carefully singe away loose threads that might jam the mechanism.
| Lubricant Type | Pros | Cons |
|---|---|---|
| Beeswax | Natural, long-lasting, water-resistant | Can attract dust in desert climates |
| Graphite (Pencil) | Instant, free, non-greasy | Can smudge on light-colored fabrics |
| Silicone Spray | Professional grade, invisible | Requires careful application to avoid staining |
Maintenance: Extending the Life of Your Repair
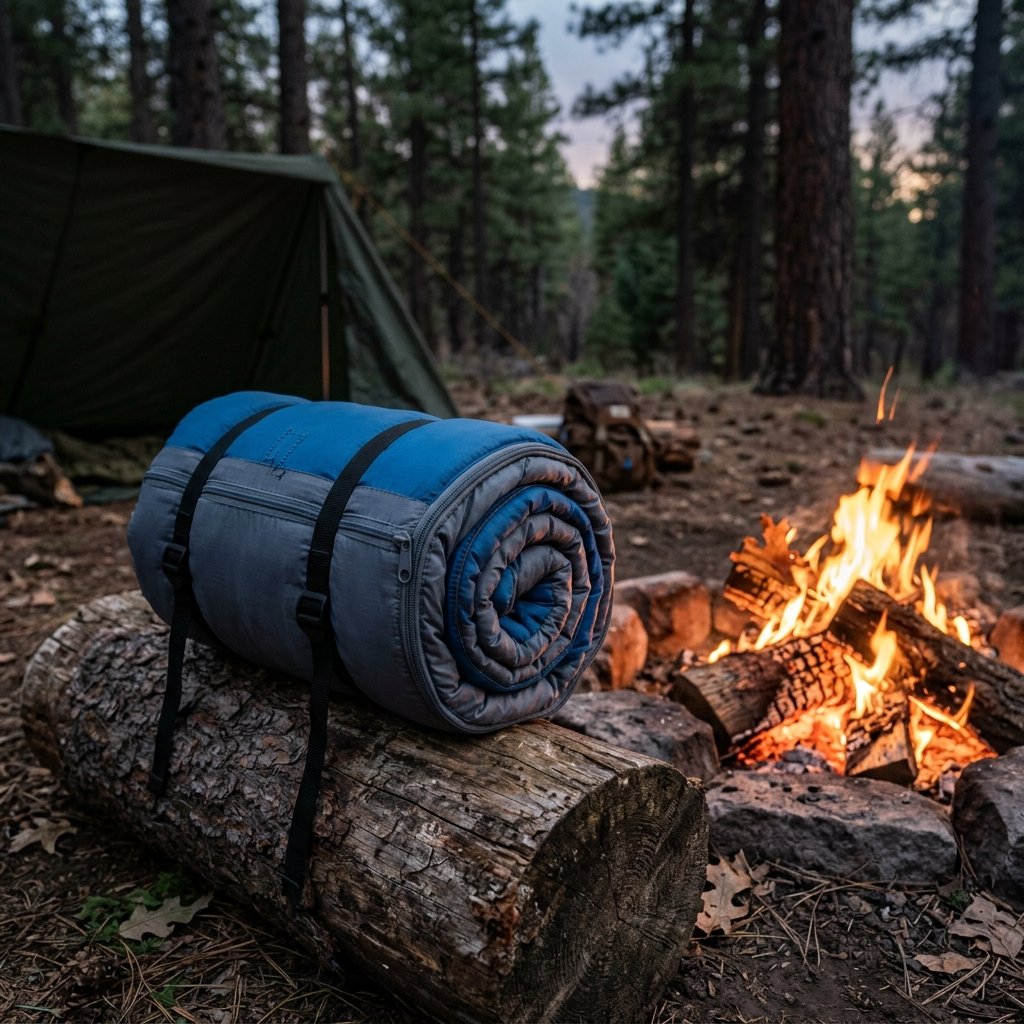
Now that you’ve saved your bag, let’s ensure you never have to do it again. Zipper failure is rarely a manufacturing defect; it’s usually environmental. Sand, salt, and ‘over-stuffing’ are the primary enemies of the slider. By following a few simple maintenance protocols, you can make a $2 repair last for another decade of camping.
The Golden Rules of Zipper Longevity
- Close Before Storing: Always store your sleeping bag with the zipper closed. This prevents the teeth from being bent or snagged while in the compression sack.
- The Two-Hand Technique: Never ‘rip’ a zipper open. Use one hand to hold the fabric taut and the other to guide the slider.
- Wash with Care: When washing your bag, turn it inside out and zip it up. This protects the slider from banging against the washing machine drum.
“A well-maintained tool is a testament to the person who uses it. Treat your gear with respect, and it will return the favor when the weather turns sour.”
Conclusion
The Victory of the Frugal Handyman
By replacing your own zipper slider, you have successfully bypassed the ‘disposable’ economy. You’ve turned a potential $200 expense into a $2 project and gained a skill that applies to jackets, tents, and luggage. This isn’t just about the money—though the savings are substantial—it’s about the confidence that comes from knowing how your gear works and how to fix it when it fails. The next time a zipper fails, don’t reach for your credit card. Reach for your pliers. You are now the master of your own maintenance, and your gear is ready for another thousand miles of trail.

Makenzie is the founder and lead writer at MoneyHackTips.com — a personal finance blog dedicated to delivering street-smart financial wisdom for real people on real budgets. With 300+ published articles covering everything from debt management to investing fundamentals, Makenzie’s mission is to make every dollar work harder. When not writing about money hacks, Makenzie is testing frugal living strategies, optimizing side hustles, and helping readers build financial freedom from scratch.