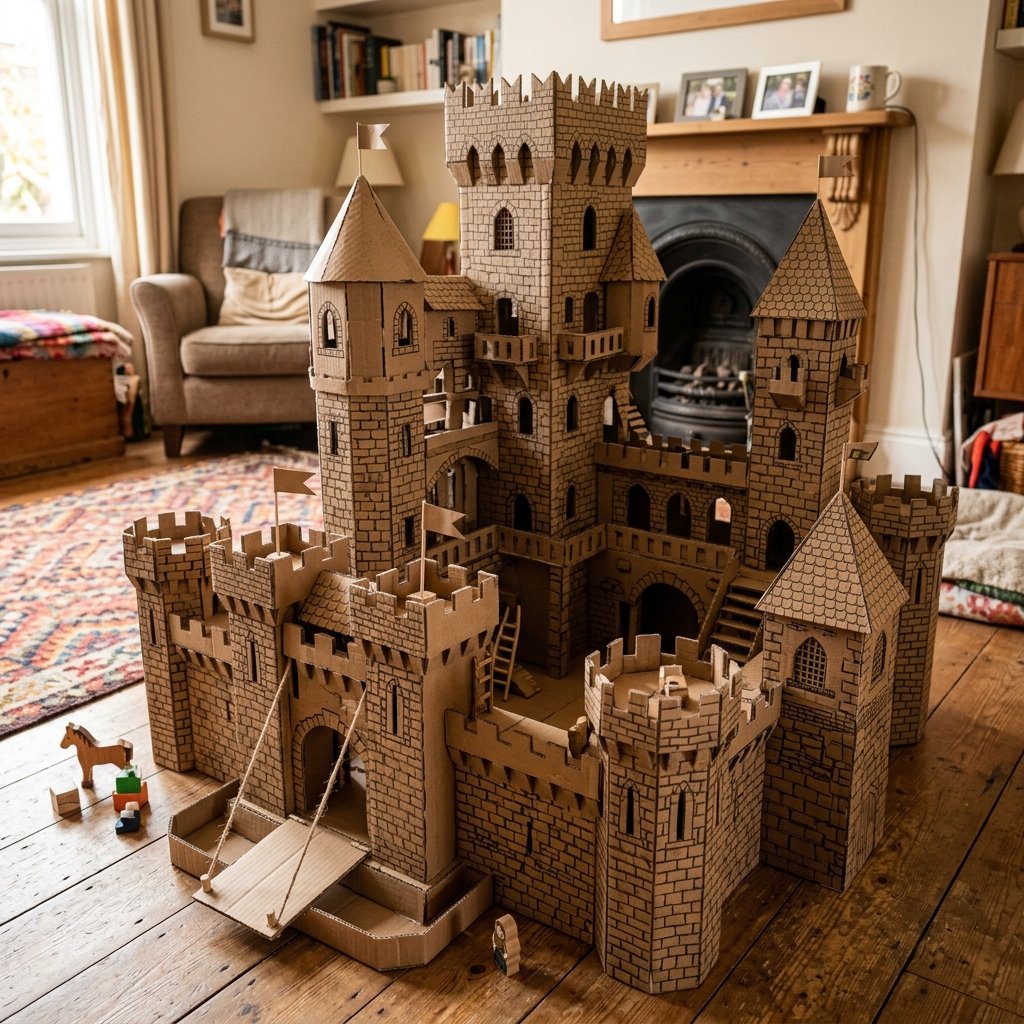

Listen, we have all been there: the clouds roll in, the rain starts pouring, and suddenly you are trapped indoors with a pack of restless kids and a mountain of empty Amazon boxes. Instead of reaching for the tablet or a pricey plastic toy that will be forgotten by next Tuesday, it is time to tap into your inner architect. We are talking about the ultimate trash-to-treasure transformation. We are going to build a rugged, multi-level medieval fortress that would make any master mason proud. This project is not just about keeping the kids busy; it is about teaching them the value of resourcefulness and the raw power of creative engineering. By the time we are done, you will have turned a pile of ‘garbage’ into a centerpiece of imaginative play that costs exactly $0. This is not a flimsy craft; it is a tactical play-set designed for heavy-duty siege warfare and royal court dramas. Let us grab the utility knife and get to work.
The Master Mason’s Inventory: Materials and Logistics
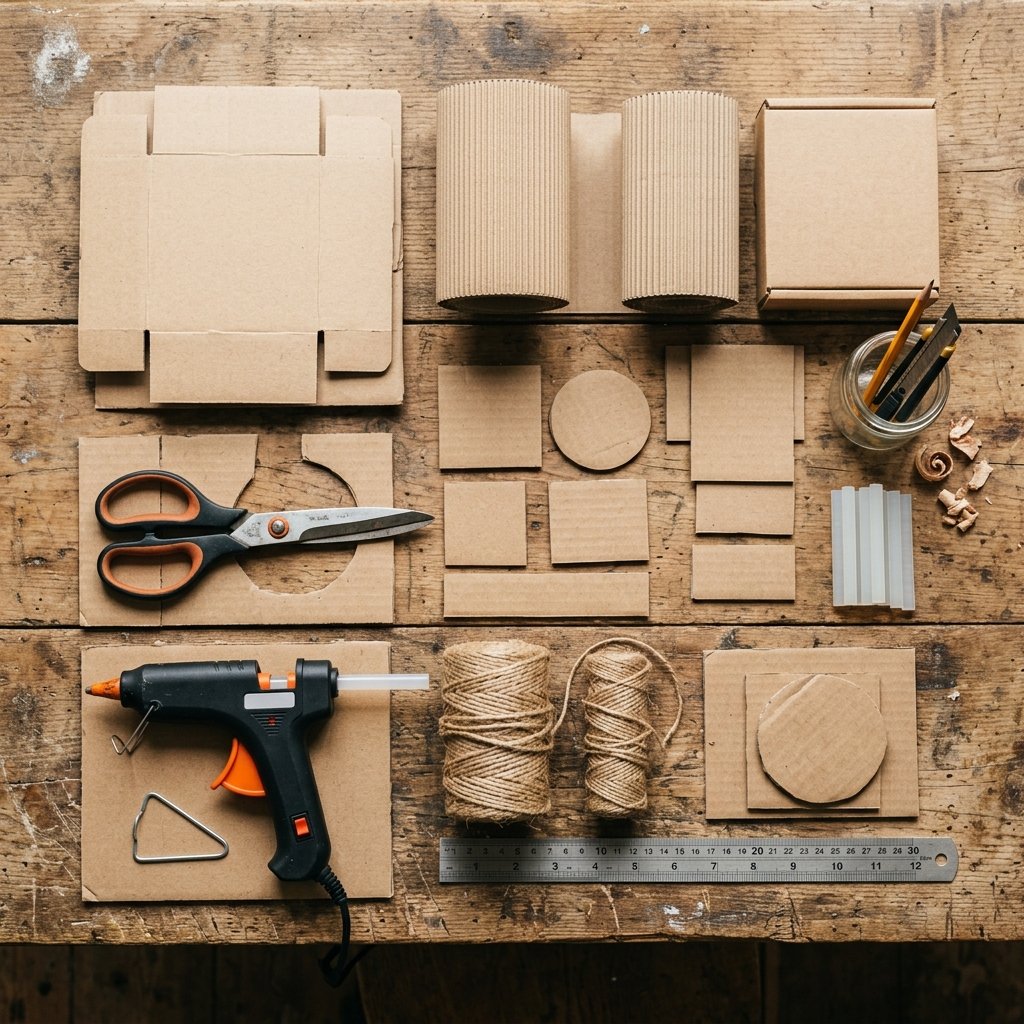
Before we start cutting, we need to gather our supplies. The beauty of this project is that you likely already have everything you need in your recycling bin or junk drawer. We are looking for high-quality, double-walled cardboard for the base and thinner, single-walled sheets for the details. Think of this as your tactical supply run. You want variety in box sizes—large appliance boxes make great foundations, while shoe boxes or cereal boxes are perfect for towers and interior rooms.
Budget Mantra: The best materials in life are the ones you rescued from the curb.
| Material | Purpose | Estimated Cost |
|---|---|---|
| Shipping Boxes (Various) | Main Structure & Towers | $0.00 |
| Toilet Paper/Paper Towel Rolls | Small Turrets & Pillars | $0.00 |
| Hot Glue / Packing Tape | Structural Assembly | $1.25 (Dollar Tree) |
| Twine or Old Shoelace | Drawbridge Mechanism | $0.00 |
| Acrylic Paint or Markers | Stone Textures & Details | $2.00 |
| Total Investment | Professional Grade Fun | $3.25 |
Compare this to a store-bought plastic castle which can easily run you $80 to $150. Not only are you saving a massive amount of cash, but you are also creating a customizable masterpiece that can be recycled once the kids eventually outgrow it. Safety first: always handle the cutting yourself if you are working with younger children. A sharp utility knife is your best friend here, but it requires a steady, adult hand.
Laying the Foundation: Engineering the Keep
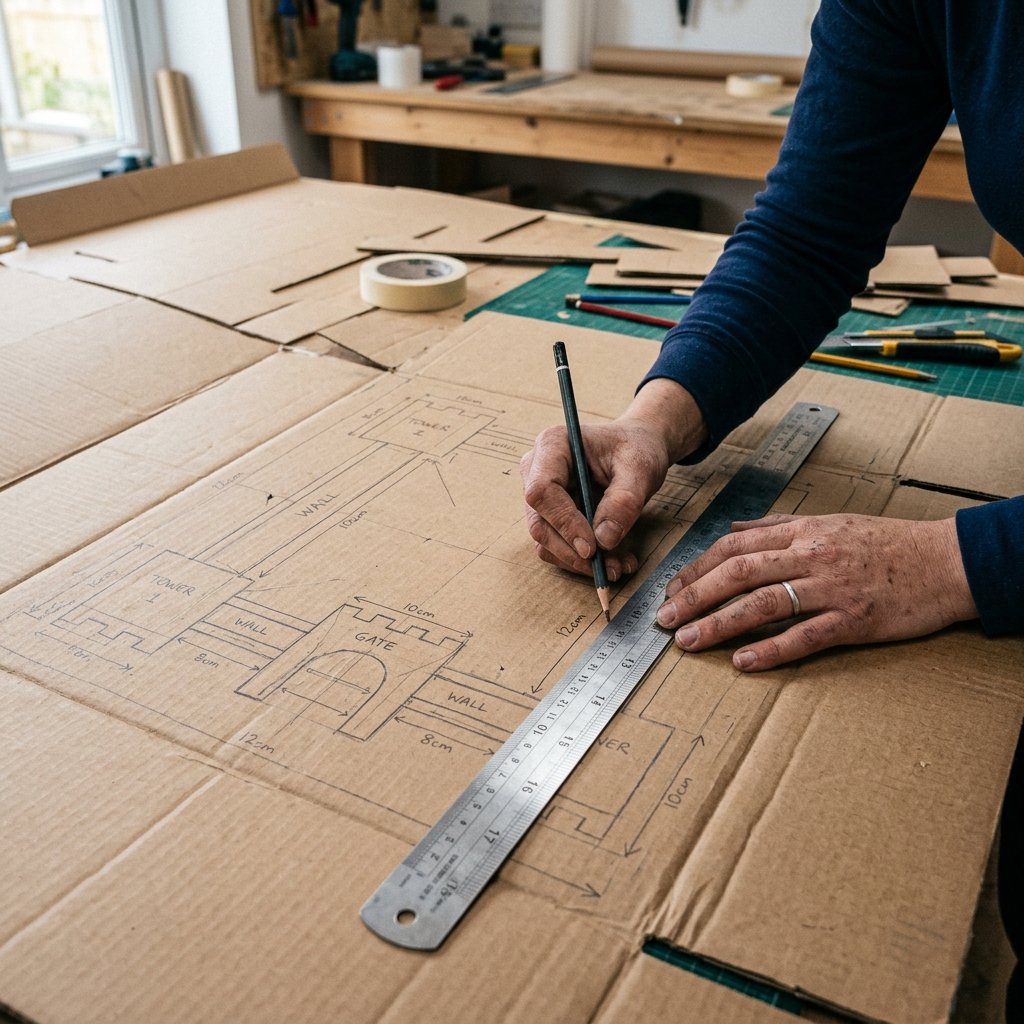
Every great fortress starts with a solid foundation. For our multi-level castle, we want a ‘Keep’—the central, strongest part of the castle. Start by selecting your largest, sturdiest box. We are going to reinforce the bottom with an extra layer of cardboard to ensure it can handle the weight of action figures and heavy play. To create the multi-level effect, we will be ‘nesting’ boxes or creating internal floors.
- The Base: Cut the flaps off your largest box. Flip it over so the open side is down. This is your ground floor.
- The Second Level: Take a slightly smaller box and center it on top. Trace its outline, then cut a hole slightly smaller than that outline in the base box. This creates a secret hatch or a way for ‘knights’ to climb up.
- Structural Integrity: Use triangular cardboard brackets inside the corners. Cardboard is incredibly strong when folded into triangles. This is a pro-builder secret that prevents the castle from sagging under pressure.
By using different sized boxes, you create a tiered, 3D look that is far more engaging than a flat wall. Aim for at least three distinct levels to maximize the play area. This encourages vertical play, which is great for spatial awareness in kids.
Fortifying the Walls: Towers and Battlements
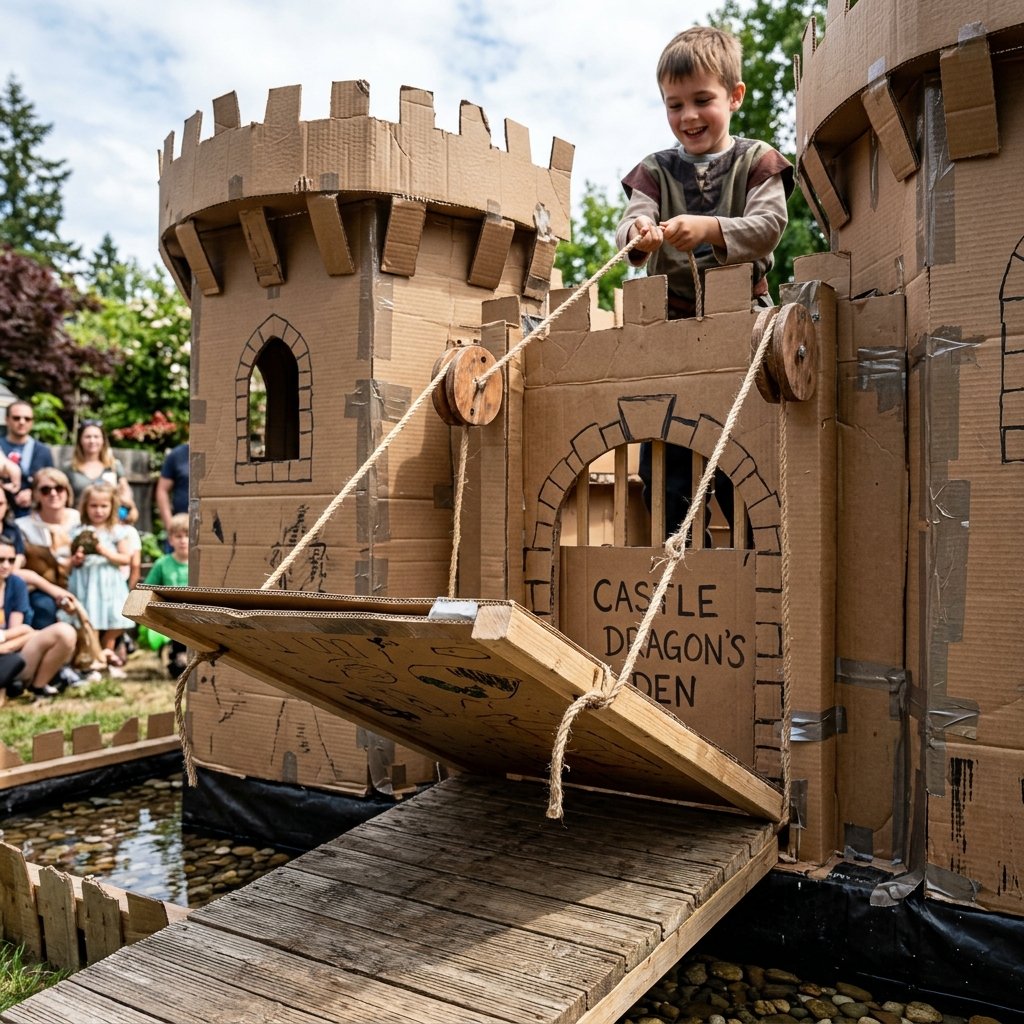
A castle is not a castle without its iconic silhouette. We need towers and crenelations (those tooth-like shapes at the top of walls). This is where the craft becomes art. For the towers, paper towel rolls are fine for small turrets, but for the main corner towers, you want to roll up sheets of thin cardboard or use square boxes for a more ‘rugged’ look.
- Crenelations: Measure 2-inch intervals along the top of your walls. Cut out every other 2-inch square. This instantly transforms a box into a fortification.
- The Corner Towers: If using square boxes, ensure they are taller than the main walls. Glue them firmly to the exterior corners. For added stability, cut a vertical slit in the tower and slide it onto the corner of the wall.
- The Drawbridge: This is the ‘wow’ factor. Cut a rectangular door in the front wall, but leave the bottom edge attached (this acts as a hinge). Poke two holes in the top corners of the door and two holes in the wall above it. Thread your twine through and tie it off. Now, the kids can actually raise and lower the bridge.
Pro-Tip: Use a ‘scoring’ technique for the drawbridge hinge. Lightly cut the top layer of cardboard without going all the way through; it will fold perfectly every time.
The Interior Architect: Rooms, Stairs, and Dungeons
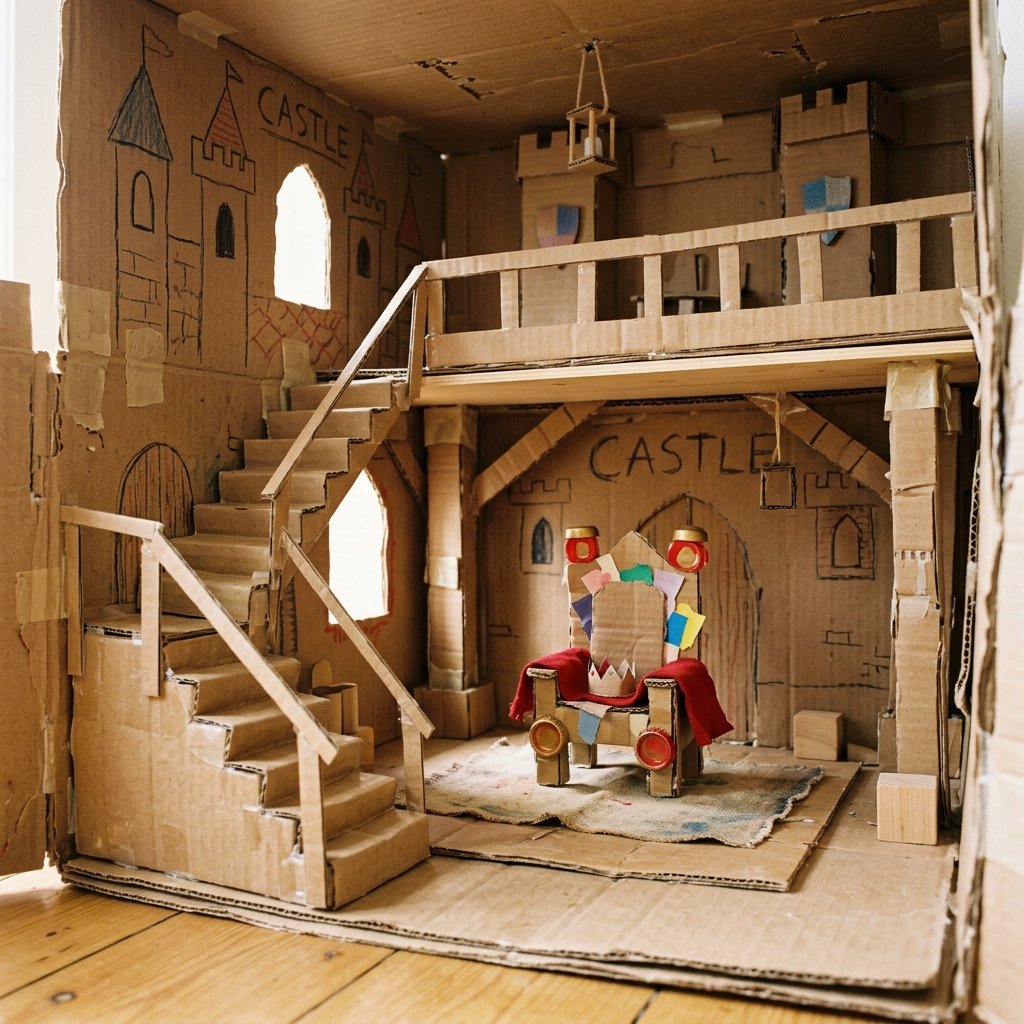
While the outside looks impressive, the magic happens inside. We want to create ‘play zones’ within the castle. A great medieval castle needs a throne room, a sleeping quarter, and, of course, a dungeon for the ‘villains’.
Creating Stairs and Ladders
Don’t just leave the levels disconnected. You can make simple ladders by cutting thin strips of cardboard and gluing them like rungs onto two longer strips. For a more sophisticated look, create ‘accordion stairs’ by folding a long strip of cardboard back and forth into a zig-zag pattern. Secure the top and bottom with hot glue, and you have a staircase fit for a king.
Dividing the Space
Use the scraps from your earlier cuts to create interior walls. This creates ‘rooms’ that the kids can decorate. You can even cut small ‘windows’ in the interior walls to allow light to pass through, making the inner chambers easier to see during play. If you have extra boxes, create a ‘hidden chamber’ behind a false wall—kids absolutely love secret passages!
The Master Mason’s Finish: Texturing for Realism
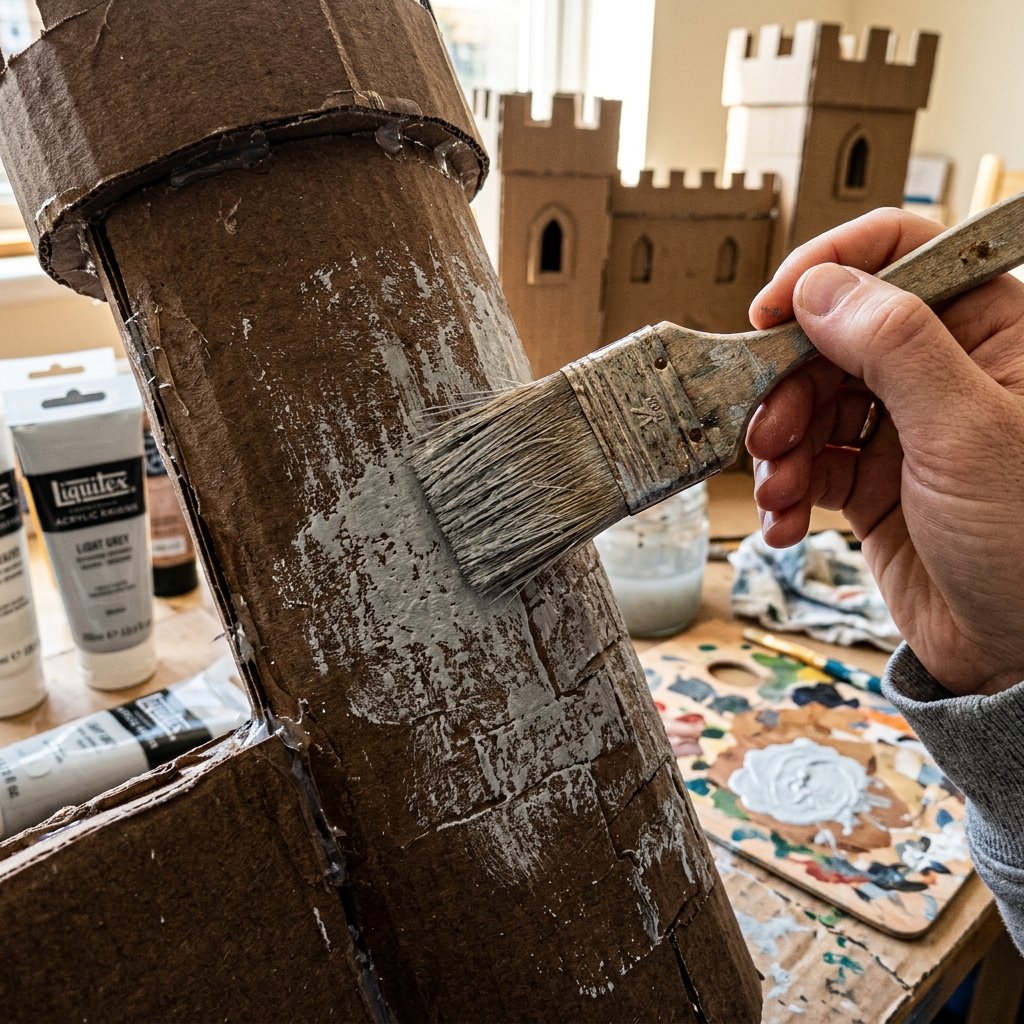
Now that the structure is solid, it is time for the ‘masculine-elegant’ finish. We want this to look like weathered stone, not just a grocery delivery. You don’t need expensive hobby paints for this. A simple ‘Dry Brush’ technique is the secret to high-end results on a budget.
- The Base Coat: If you have grey paint, coat the whole thing. If not, even a dark brown or black marker can work for the cracks.
- The Stone Effect: Take a slightly lighter shade of grey (or mix white with your base color). Dip a dry brush in the paint, wipe most of it off on a paper towel, and lightly flick it across the cardboard surface. It will catch the texture and create a realistic stone look.
- The Detail Work: Use a black permanent marker to draw individual stones around the windows and the drawbridge. You don’t need to draw every stone—just a few ‘clusters’ here and there to suggest the texture to the eye.
For a rugged, mossy look, you can even glue bits of green dryer lint or old sponge scraps to the base of the towers. It adds a tactile dimension that makes the toy feel like a handcrafted heirloom rather than a temporary distraction.
Siege Defense: DIY Accessories and Playability
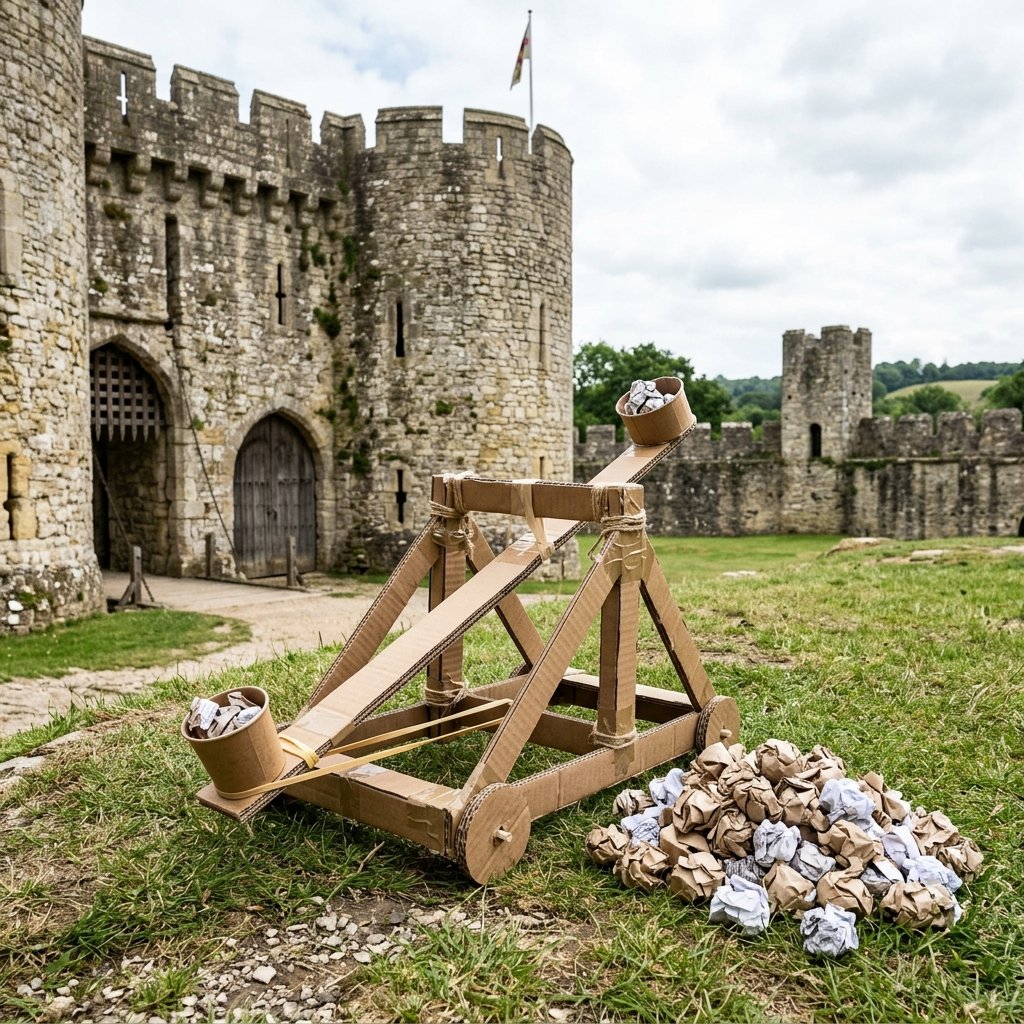
The castle is built, but the battle is just beginning. To truly make this the ultimate rainy-day project, we need accessories. A medieval fortress needs defense mechanisms. You can create a functional cardboard catapult using a plastic spoon, a rubber band, and a few more scraps of cardboard.
| Accessory | Complexity | Play Value |
|---|---|---|
| Cardboard Shield & Sword | Low | High (Active Play) |
| Working Catapult | Medium | Extreme (Target Practice) |
| Scrap-Fabric Banners | Low | Aesthetic (Customization) |
| Tissue Box Dragon | Medium | Storytelling (The Villain) |
Encourage the kids to make their own banners using old fabric scraps or even colored paper. This gives them ‘ownership’ of the project. If you have any old wooden blocks or plastic knights, they now have a multi-level stage to inhabit. This project doesn’t just provide a toy; it provides a world. The rugged construction ensures it can handle ‘sieges’ (aka being bumped or moved) without falling apart instantly.
Conclusion
Building a multi-level medieval castle from cardboard is the pinnacle of frugal DIY parenting. It proves that you don’t need a massive budget or a trip to the toy store to create lasting memories and high-quality play experiences. You have taken everyday items—boxes, glue, and twine—and engineered a fortress that encourages creativity, spatial reasoning, and hours of screen-free fun. This rugged, crafty project is a testament to the idea that with a little bit of cleverness and some upcycling magic, even a rainy day can become an epic adventure. So, the next time a package arrives at your door, don’t just see a box—see a tower, a drawbridge, and a kingdom waiting to be built. Happy crafting!

Makenzie is the founder and lead writer at MoneyHackTips.com — a personal finance blog dedicated to delivering street-smart financial wisdom for real people on real budgets. With 300+ published articles covering everything from debt management to investing fundamentals, Makenzie’s mission is to make every dollar work harder. When not writing about money hacks, Makenzie is testing frugal living strategies, optimizing side hustles, and helping readers build financial freedom from scratch.