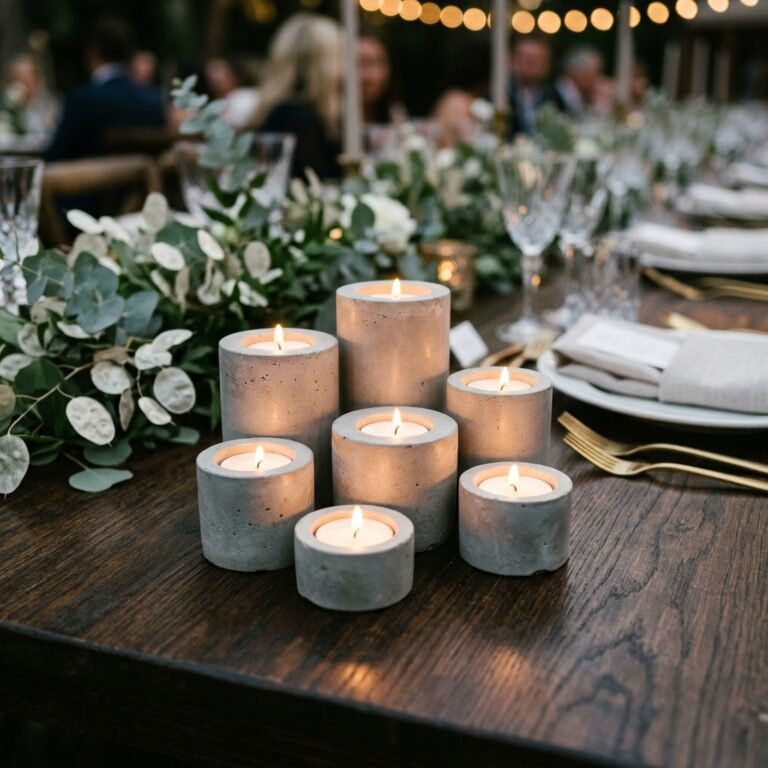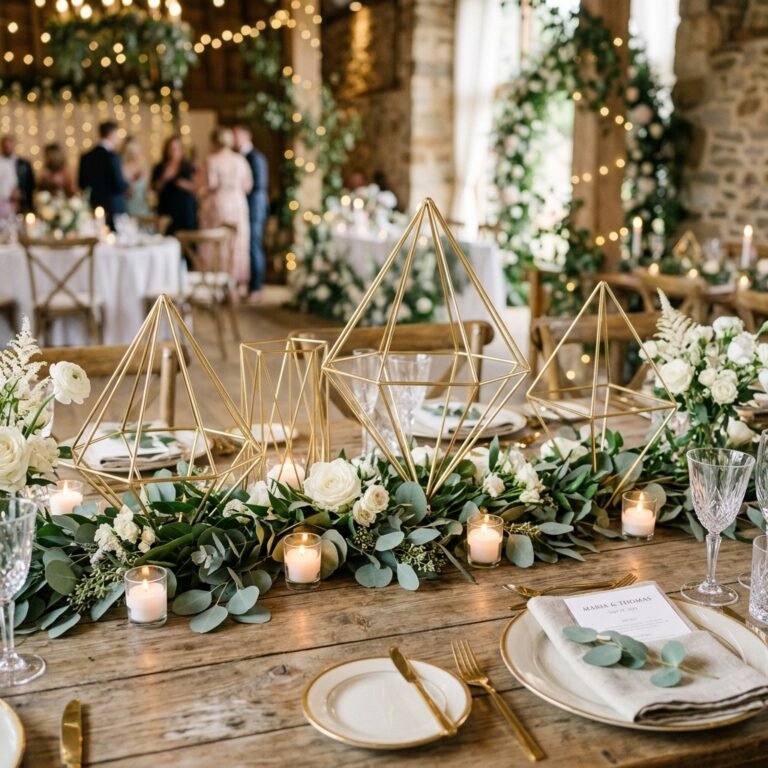

The Art of the Grand Illusion: High-End Decor on a Shoestring
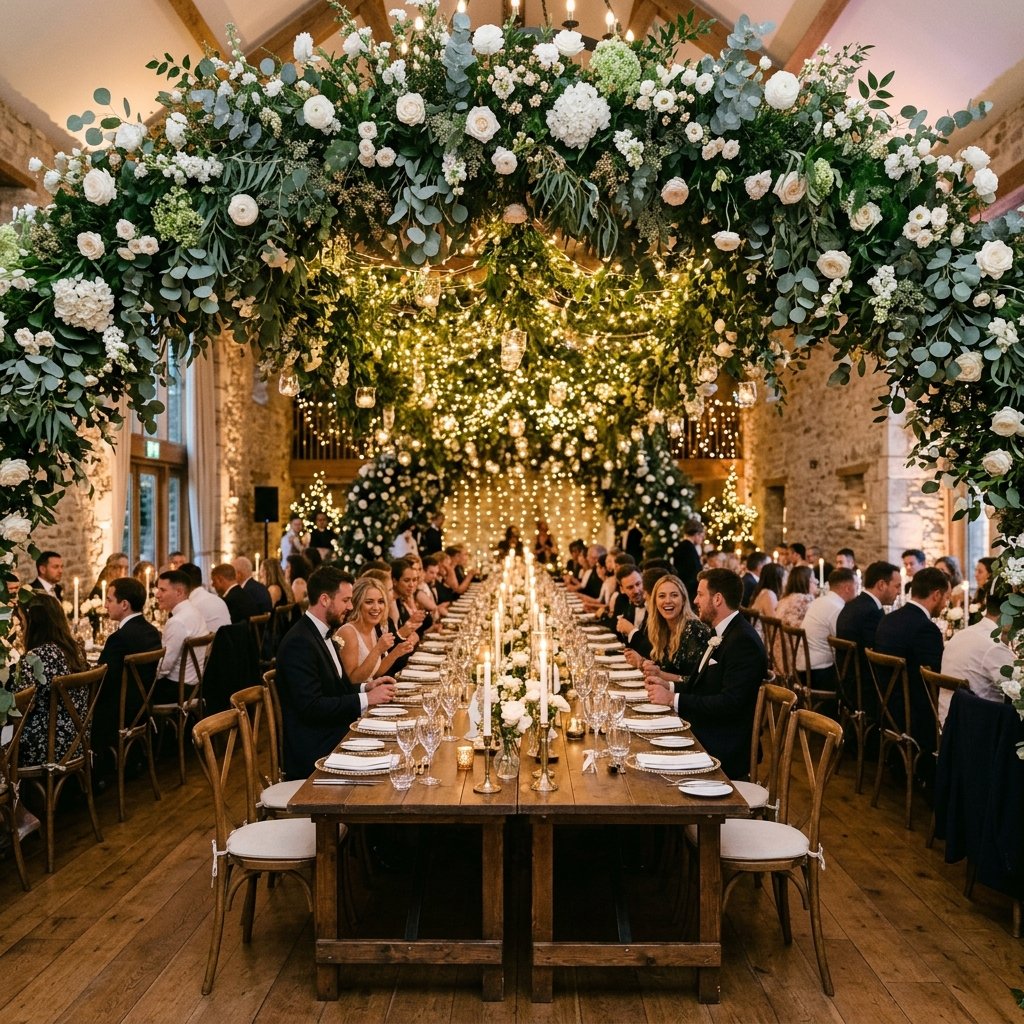
There is a specific kind of magic that happens when resourcefulness meets refined taste. We have all seen those breathtaking Pinterest boards where a lush, floral canopy hangs suspended over a rustic farm table, dripping with greenery and glowing with candlelight. Usually, these ‘floral bridges’ come with a price tag that would make a seasoned event planner wince—often costing upwards of $300 to $800 for a single rental and professional installation. But here is the secret: you do not need a florist’s budget to achieve a jaw-dropping aesthetic. You need a shrewd eye, a few basic tools, and a trip to your local dollar store.
In this guide, we are going to engineer a structural masterpiece from the ground up. We are talking about taking humble $1.25 items—broom handles, zip ties, and faux vines—and transforming them into a sophisticated architectural element that will be the focal point of any wedding, dinner party, or holiday gathering. This isn’t just about sticking flowers on a stick; it’s about structural integrity, visual layering, and tactical styling. Whether you are a frugal bride, a handy dad looking to impress at the next family brunch, or a creative gift-giver who wants to host in style, this project is your ticket to a five-star look on a one-star budget.
The Blueprint: Engineering Your Overhead Infrastructure
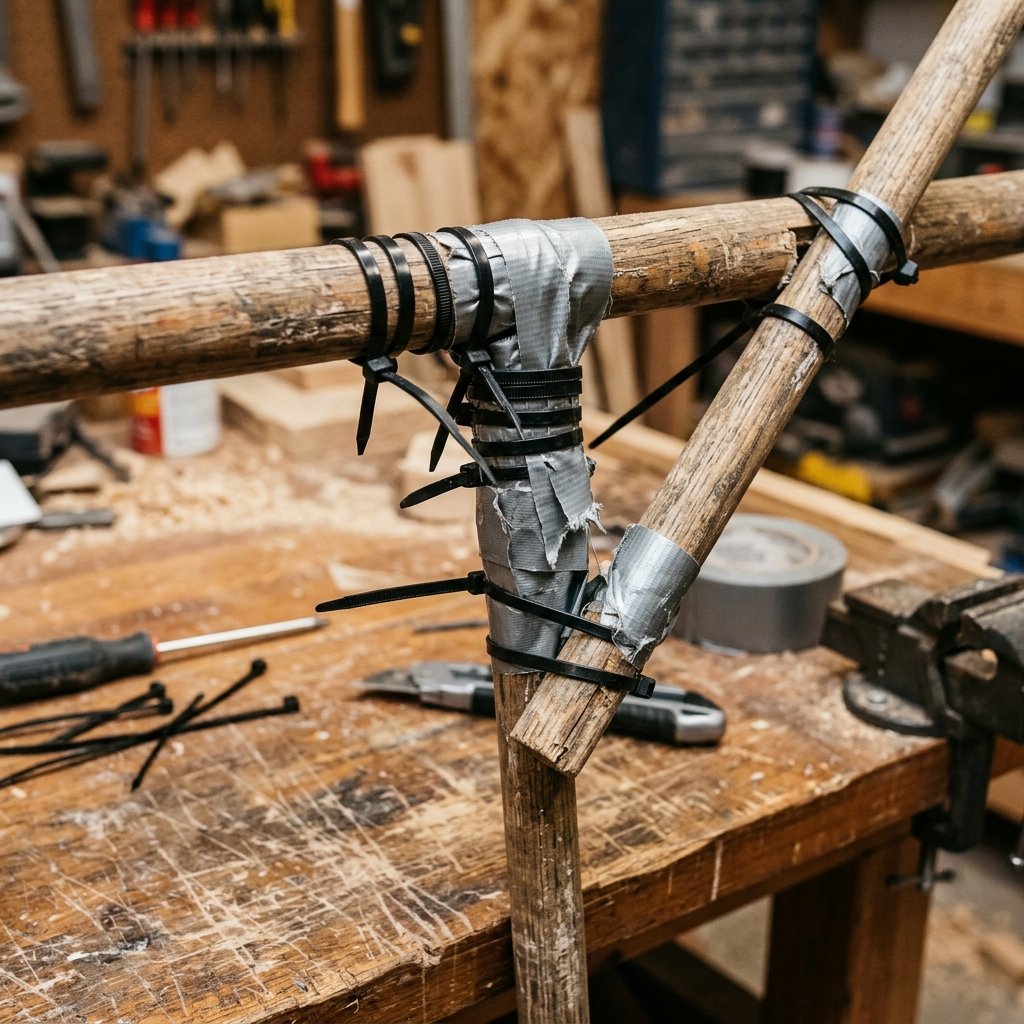
Before we touch a single petal, we must address the most critical part of the project: the frame. A floral bridge is essentially a piece of temporary architecture. It needs to be lightweight enough to be safe, yet sturdy enough to support the weight of several pounds of faux foliage and decor. Instead of buying expensive metal kits, we are going to use the ‘Broom Handle Method’. This is a rugged, practical solution that uses the inherent strength of hollow plastic or light metal poles found in the cleaning aisle.
| Material Item | Dollar Store Source | Estimated Cost |
|---|---|---|
| Main Support Poles | Broom or Mop Handles (3-4) | $5.00 |
| Structural Joints | PVC Couplers or Heavy Duty Tape | $1.25 |
| Fasteners | Large Zip Ties (50pk) | $1.25 |
| Table Anchors | C-Clamps or Spring Clamps | $2.50 |
| Total Frame Cost | N/A | $10.00 |
Step-by-Step Frame Assembly
- Measure Your Span: Most standard dining tables are 6 to 8 feet long. To ensure stability, your horizontal bridge should extend the full length of the table.
- Join the Poles: Connect two broom handles using a PVC coupler or by overlapping them by 6 inches and wrapping them tightly with duct tape. This creates your horizontal ‘bridge’.
- Create the Uprights: You will need two vertical poles. These should be roughly 3 to 4 feet tall to allow guests to see across the table comfortably.
- The Connection: Use zip ties to form a ‘T’ joint at the top of each upright. Criss-cross the zip ties for maximum rigidity.
“Budget Mantra: Stability is the foundation of elegance. If your frame is shaky, your flowers will never look expensive. Tighten every tie until it bites.”
The Foliage Foundation: Creating Maximum Volume
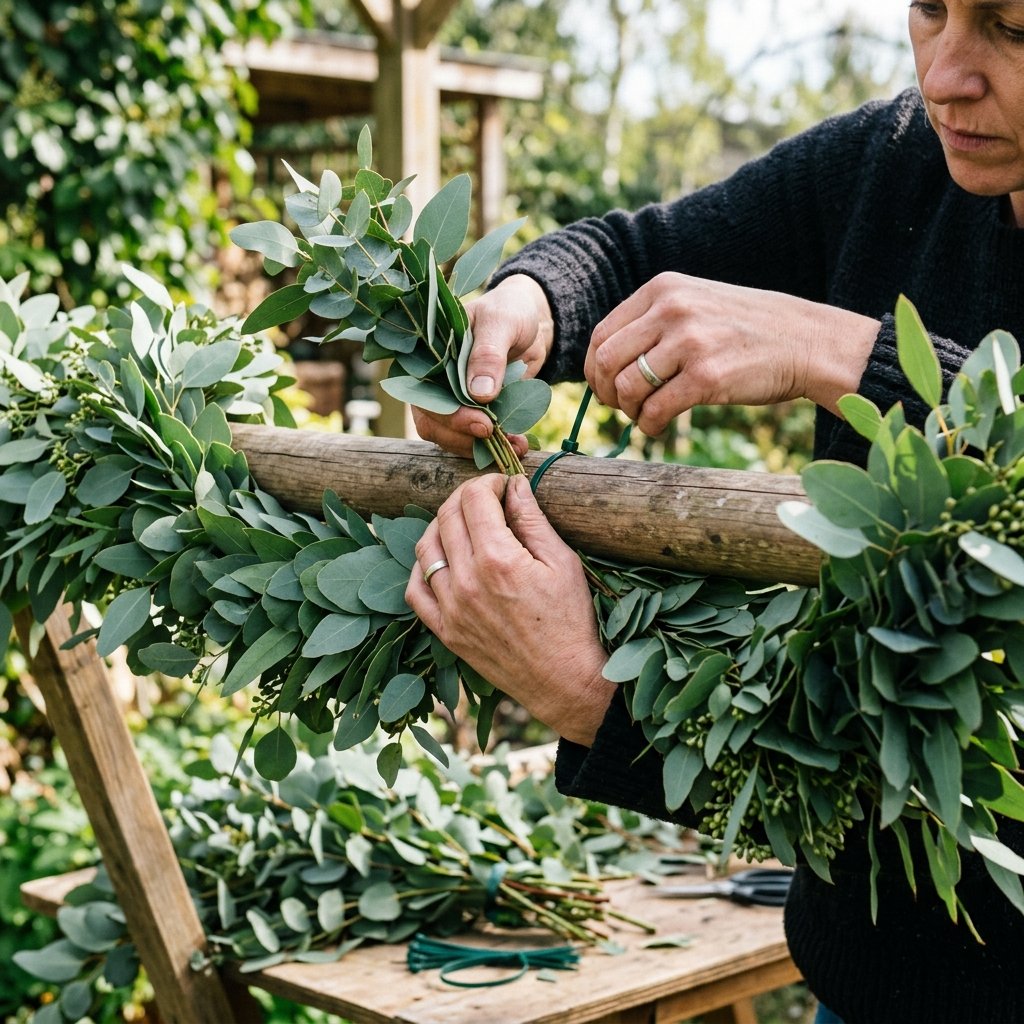
The biggest mistake DIYers make is starting with the flowers. To achieve that ‘jaw-dropping’ look, you need a dense, green base that hides your structural poles completely. At the dollar store, look for eucalyptus garlands, ivy vines, and willow branches. The key is density over variety at this stage. You want to create a ‘nest’ of greenery that looks like it grew naturally over the bridge.
The Layering Technique
- Base Layer: Wrap the entire pole in a basic green floral tape or dark green streamers to eliminate any light reflections from the plastic.
- Primary Greenery: Take your thickest garlands and zip-tie them to the top of the pole. Do not pull them tight; let them drape slightly to create a natural ‘dip’ in the center.
- Secondary Texture: Use smaller sprigs of ‘filler’ greenery like fern fronds or baby’s breath to fill in any gaps where the pole is still visible.
By using 8 to 10 garlands at $1.25 each, you spend only $12.50 but create a base that looks like it cost $100 at a craft boutique. Remember to let some vines hang down vertically at the ends of the bridge to draw the eye downward toward the table setting.
The Floral Flourish: Adding Color and Texture
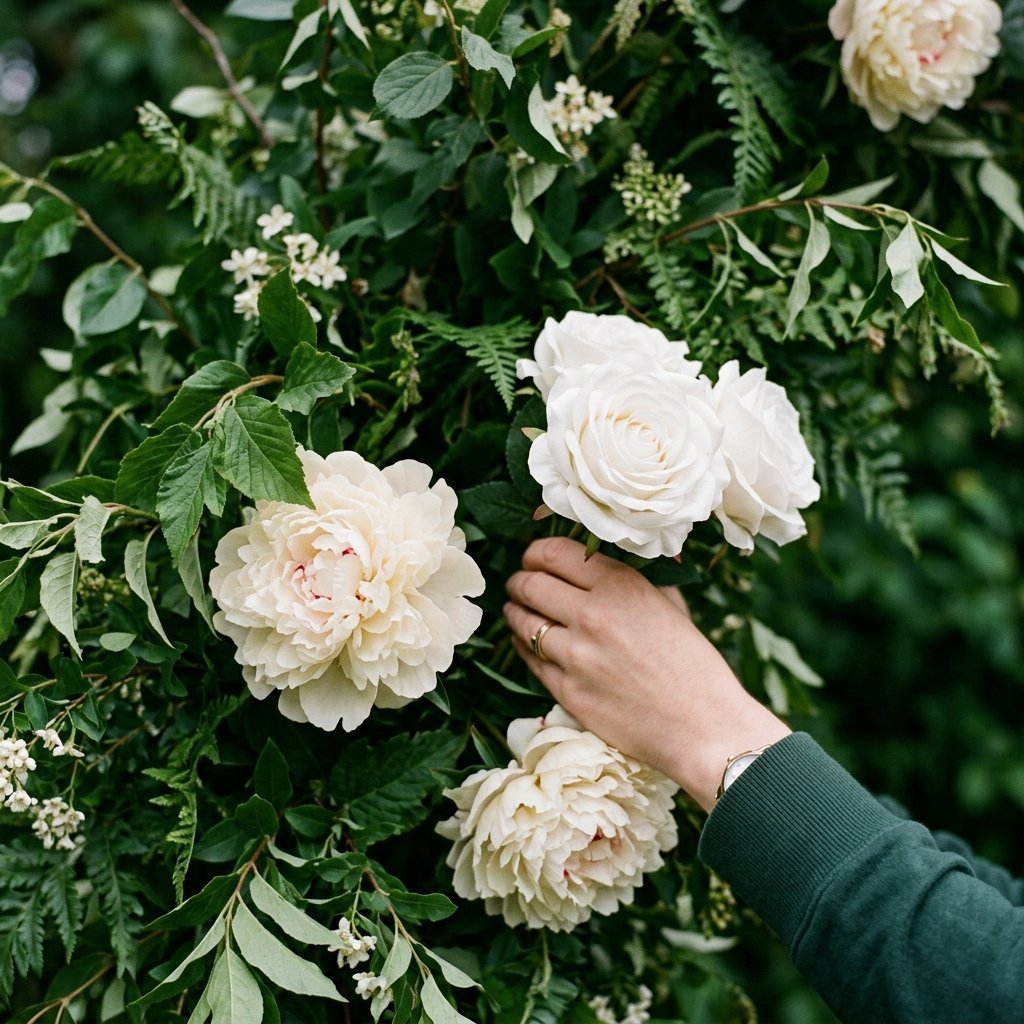
Now comes the ‘High-End Dupe’ magic. Dollar store flowers can sometimes look ‘plastic’ if used incorrectly. The secret is to choose neutral tones (whites, creams, or deep burgundies) and to deconstruct the bushes. Never use a whole bush of flowers as-is. Snip the individual stems off so you can place them with intention.
Floral Selection Guide
| Flower Type | Visual Purpose | Placement Strategy |
|---|---|---|
| Large Peonies/Roses | Focal Points | Place at ‘thirds’ along the bridge (not symmetrical). |
| Ranunculus/Tulips | Movement | Angle these outward to create a sense of growth. |
| Wisteria/Hanging Blooms | Verticality | Drape these from the bottom of the bridge over the guests. |
To make $1.25 flowers look like $10.00 silk blooms, give them a quick steam over a boiling pot of water. This relaxes the fabric and removes the ‘flat’ look from shipping. When inserting them into your greenery base, push the stems deep into the zip-tie clusters you created earlier. Pro Tip: Use a hot glue gun to secure them if you plan on moving the bridge, but for a one-time event, friction and zip ties are your best friends.
Illumination and Accents: The Final Glow
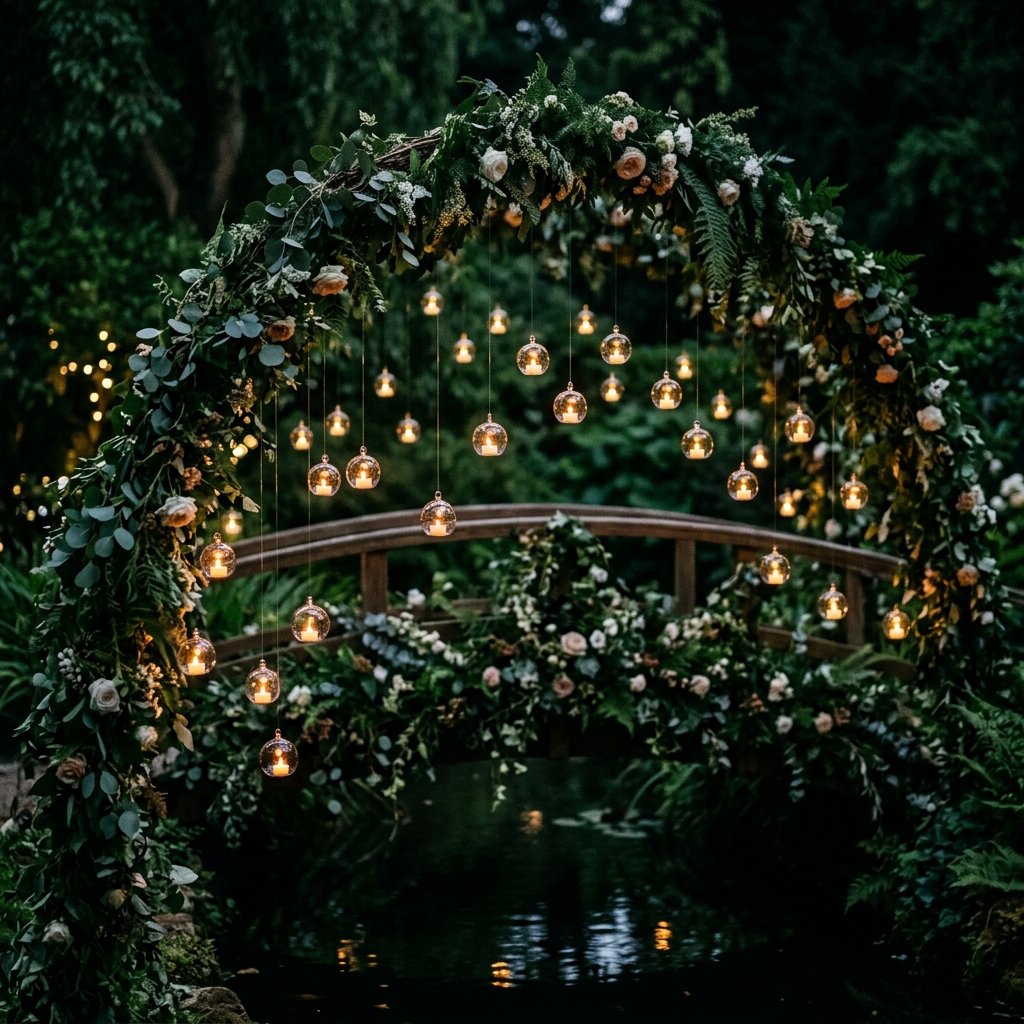
What separates a ‘craft project’ from a ‘designer installation’ is the lighting. An overhead bridge is the perfect vehicle for LED fairy lights and hanging candles. Because the structure is made of plastic and faux materials, you must never use real candles. Fortunately, modern battery-operated tea lights have a realistic flicker that is indistinguishable from the real thing when tucked inside glass globes.
The Lighting Plan
- The Weave: Take 2-3 strands of warm-white fairy lights (copper wire is best) and weave them through the greenery before you add the final flowers. This creates an internal glow.
- Hanging Elements: Use clear fishing line to hang small glass or plastic ‘orbs’ from the horizontal pole. Place a battery-operated tea light in each.
- The Height Variation: Hang the orbs at varying heights—some 6 inches down, some 12 inches down—to create a ‘stardust’ effect over the table.
“Safety Note: Always use LED cool-touch lights. Even though faux flowers aren’t as flammable as dried ones, heat buildup in a dense canopy can be a hazard. Stick to battery power for a worry-free evening.”
Comparison: DIY vs. Store-Bought Professional Setup
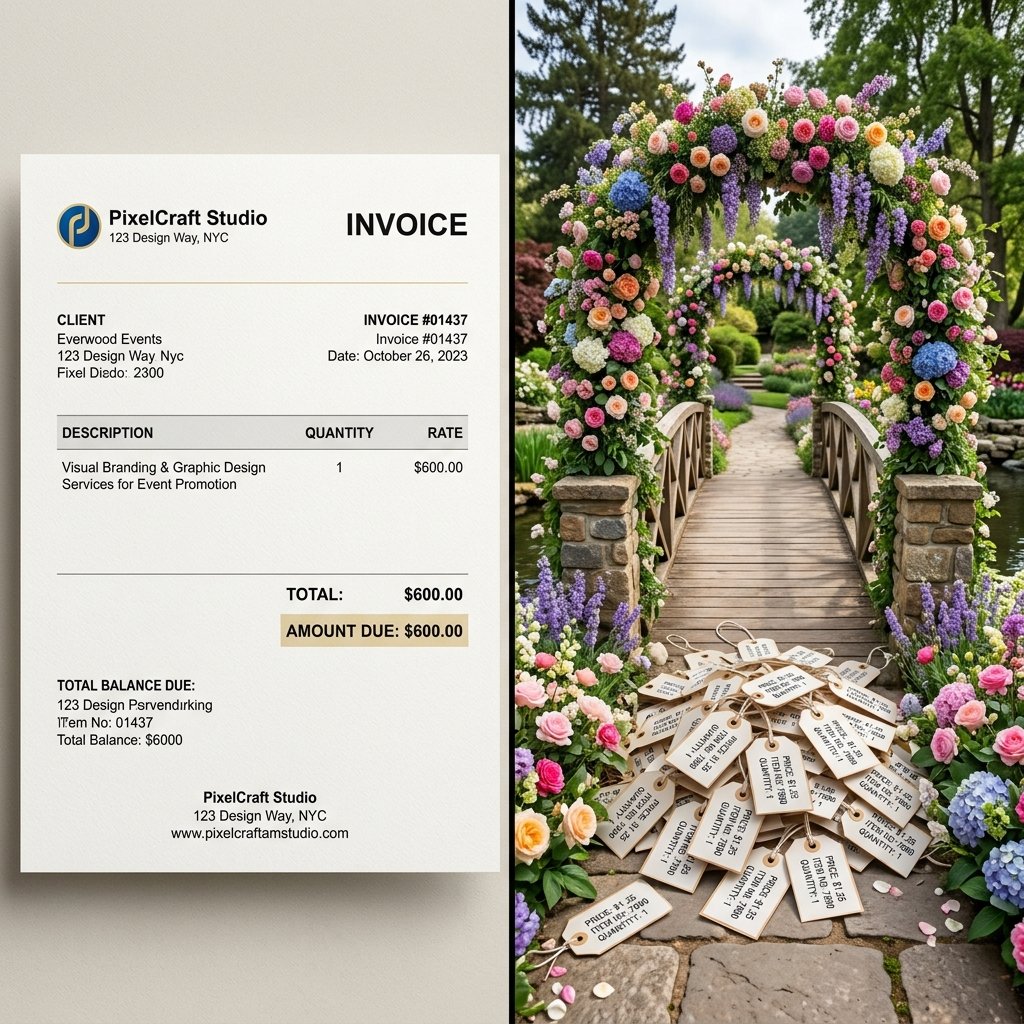
To truly appreciate the value of your labor, let’s look at the numbers. When you build this yourself, you aren’t just saving money; you are gaining a reusable skill and a custom piece of decor that fits your specific table dimensions perfectly.
| Feature | Professional Rental/Florist | Dollar Store DIY |
|---|---|---|
| Structural Frame | $150.00 (Metal) | $10.00 (Broom Handles) |
| Greenery (High Volume) | $200.00+ | $15.00 (12 Garlands) |
| Floral Accents | $150.00+ | $10.00 (8 Bushes) |
| Labor/Setup Fee | $100.00 | $0.00 (Your Creativity) |
| Total Cost | $600.00 | $35.00 |
The savings are staggering—over 94% off the professional price. With the $565 you saved, you could fund the entire catering budget or buy a high-quality set of linens that you can keep forever.
Conclusion
The Triumph of the Savvy Host
Building a jaw-dropping overhead table floral bridge is more than just a decorating task; it is an exercise in creative engineering. By looking past the ‘cleaning’ label on a broom handle and seeing the ‘structural’ potential, you have unlocked a level of event styling that most people assume is out of reach. You have created a luxurious atmosphere for the price of a modest lunch. As your guests sit beneath that canopy of glowing lights and lush greenery, they won’t see the zip ties or the duct tape; they will see a host who cares enough to create something truly spectacular. Now, take a bow, pour a drink, and enjoy the view from under your handmade masterpiece. Stay crafty, stay frugal, and keep building.

Makenzie is the founder and lead writer at MoneyHackTips.com — a personal finance blog dedicated to delivering street-smart financial wisdom for real people on real budgets. With 300+ published articles covering everything from debt management to investing fundamentals, Makenzie’s mission is to make every dollar work harder. When not writing about money hacks, Makenzie is testing frugal living strategies, optimizing side hustles, and helping readers build financial freedom from scratch.