
The Coastal Vision on a Shoestring Budget
Planning a wedding often feels like a marathon of mounting expenses, but a clever and resourceful couple knows that nature provides the most elegant materials for $0. If you are dreaming of a coastal, nautical, or beach-themed celebration, the humble seashell is your greatest asset. Forget the overpriced acrylic holders or mass-produced resin stands that cost $5.00 to $8.00 per unit. We are going to dive into the rugged, practical world of upcycling to create stunning seashell table card holders that look like they were plucked from a high-end boutique in the Hamptons, all while keeping your budget firmly in the green.
This isn’t just about glueing a shell to a piece of plastic; this is a masterclass in masculine-elegant craftsmanship. We will be using real tools, smart cleaning techniques, and a bit of creative grit to turn ‘trash’ into treasure. Whether you are a frugal DIYer, a handy parent helping with the big day, or a budget-savvy bride, this guide will show you how to achieve a high-end aesthetic for pennies on the dollar.
Sourcing and Selecting the Perfect Shells
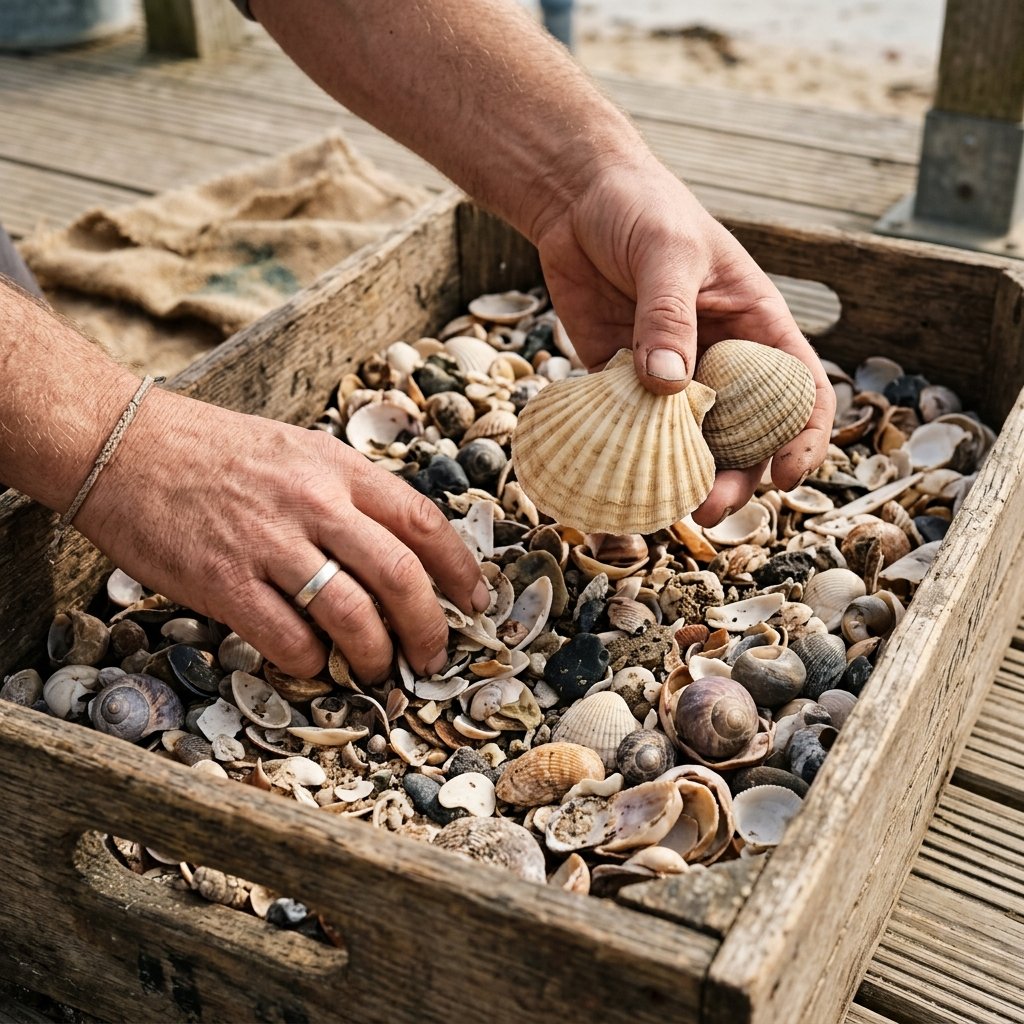
The first step in this resourceful journey is the hunt. You don’t need to buy ‘craft shells’ from a big-box store. Instead, look to the source. If you live near a coast, a morning beachcombing session can yield 100% free materials. If you are landlocked, check local thrift stores or online marketplaces where people often offload old shell collections for next to nothing.
What to Look For
- Stability: Look for shells with a flat or ‘heavy’ bottom, such as large scallop shells, thick clamshells, or sturdy murex shells.
- Size: Aim for shells between 2 and 4 inches in width. Anything smaller may tip over once the card is inserted; anything larger may overwhelm the table setting.
- Texture: Rugged, weathered shells provide a beautiful contrast to delicate cardstock.
For a truly clever hack, reach out to local seafood restaurants that serve oysters or scallops on the half-shell. They often discard these beautiful natural vessels by the hundreds. A quick request can net you a bucket of high-quality shells for free.
The Rugged Toolkit: Materials & Cost Breakdown
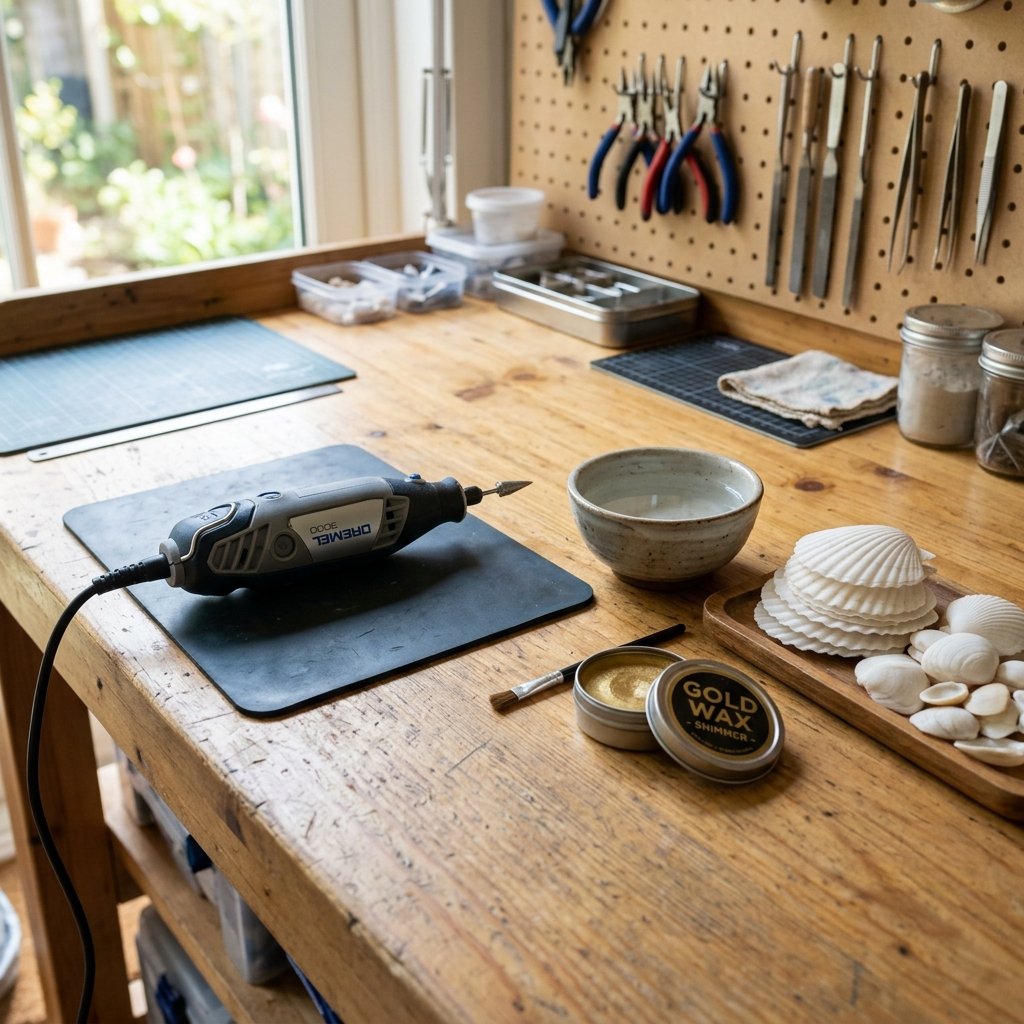
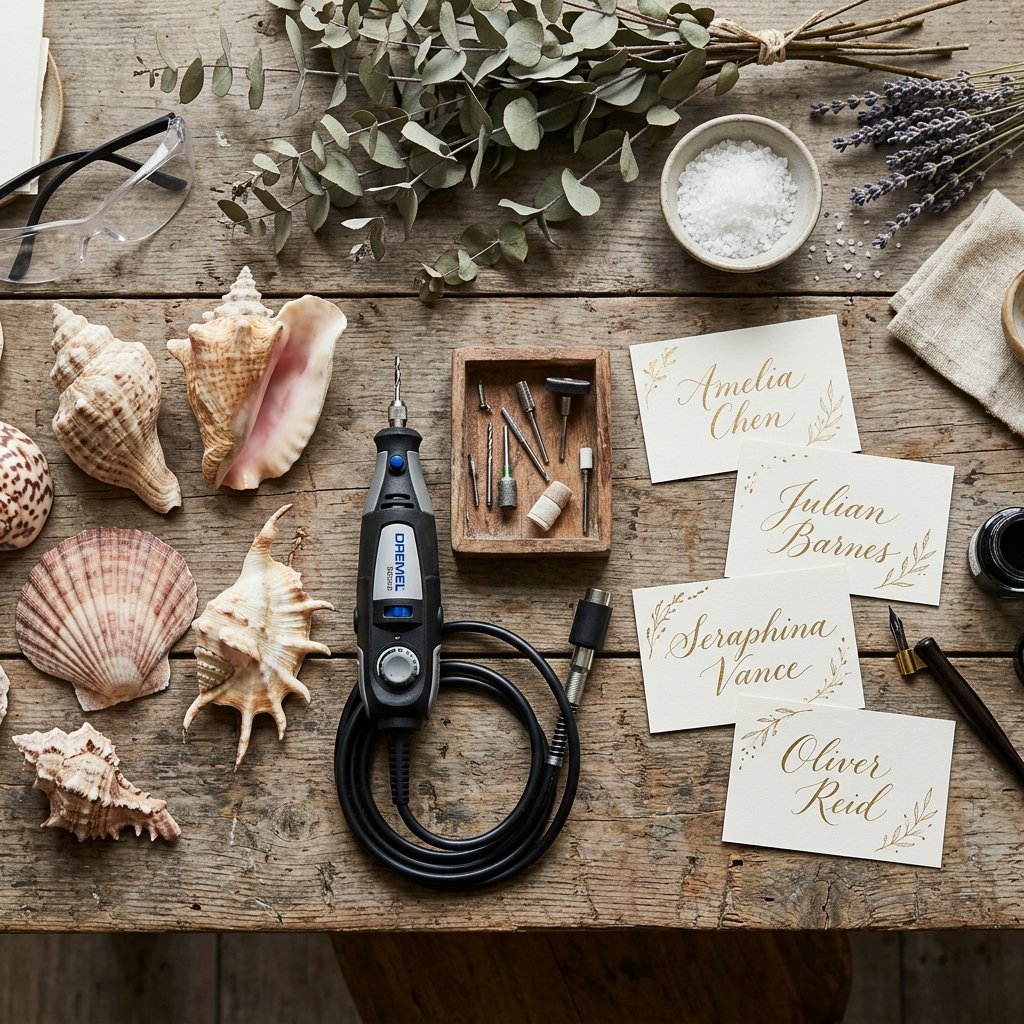
To achieve a professional finish, we need to move beyond basic school glue. We are looking for durability and precision. Below is a breakdown of what you’ll need to transform your raw finds into wedding-ready decor.
| Item | Purpose | Estimated Cost |
|---|---|---|
| Natural Seashells | The base of the holder | $0.00 (Foraged) |
| Rotary Tool (Dremel) | Cutting the card slot | $25.00 (One-time investment) |
| Diamond Cutting Wheel | Precise slicing of hard shell | $5.00 |
| Bleach & Water Solution | Deep cleaning and sanitizing | $1.00 |
| Gold Leaf or Metallic Wax | Optional high-end edging | $4.00 |
| Total per 50 Holders | Professional Result | ~$0.12 per unit |
Budget Mantra: A tool purchased today is an investment in a lifetime of resourceful repairs and creations. Don’t fear the power tool; master it.
The Prep Phase: Cleaning and Sanitizing
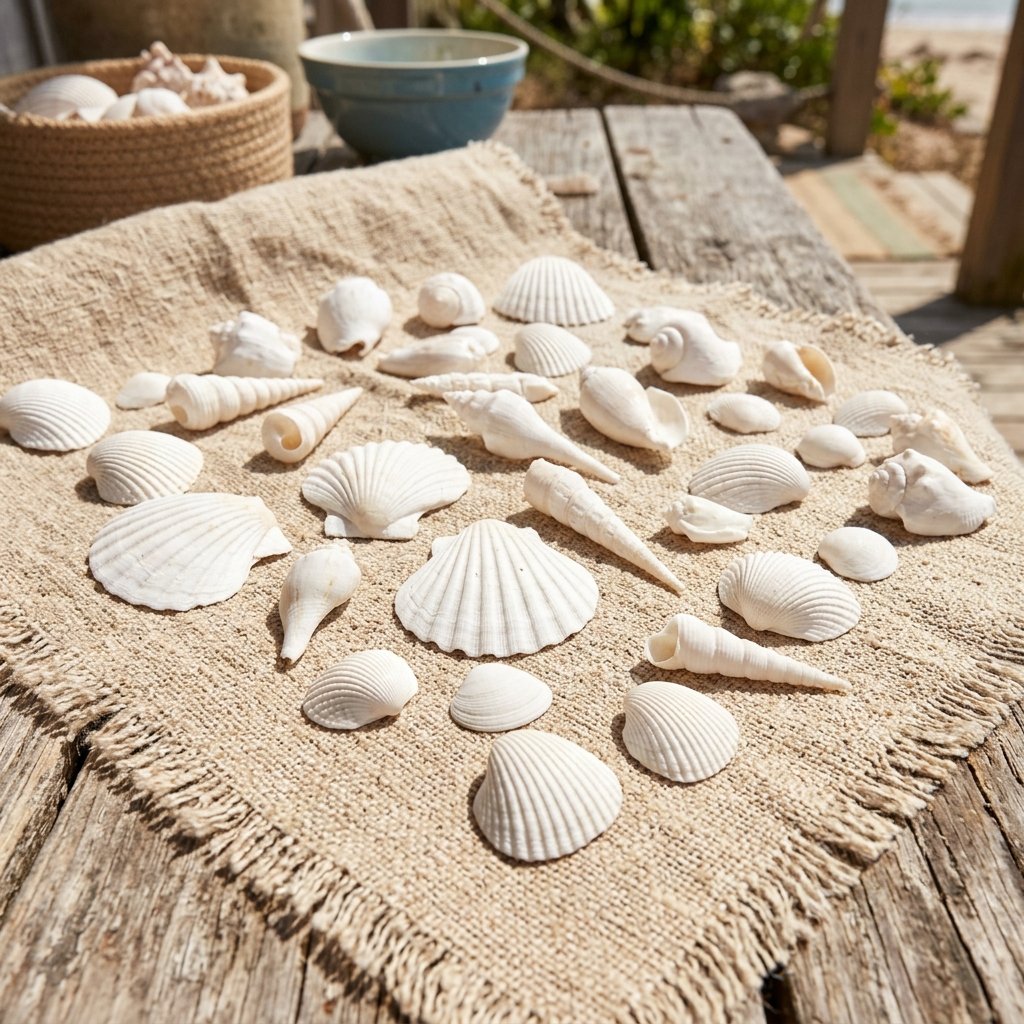
The Grandma’s Secret Deep Clean
Raw shells from the beach often carry a ‘sea’ scent and organic residue. To make them wedding-worthy, you must sanitize them thoroughly. This isn’t just about hygiene; it’s about ensuring your paints and adhesives stick properly.
- The Soak: Mix a solution of 50% bleach and 50% water in a large bucket. Submerge your shells and let them sit for 24 hours. This will dissolve any remaining organic matter and brighten the shells.
- The Scrub: Use an old toothbrush or a stiff nylon brush to remove any stubborn barnacles or grit. This adds to the rugged, clean look we are aiming for.
- The Dry: Let the shells sun-dry for at least 5 hours. The UV rays help further bleach the shells to a crisp, elegant white.
Safety Note: When working with bleach solutions, always wear gloves and work in a well-ventilated area to protect your hands and lungs.
The Construction: Cutting the Card Slot
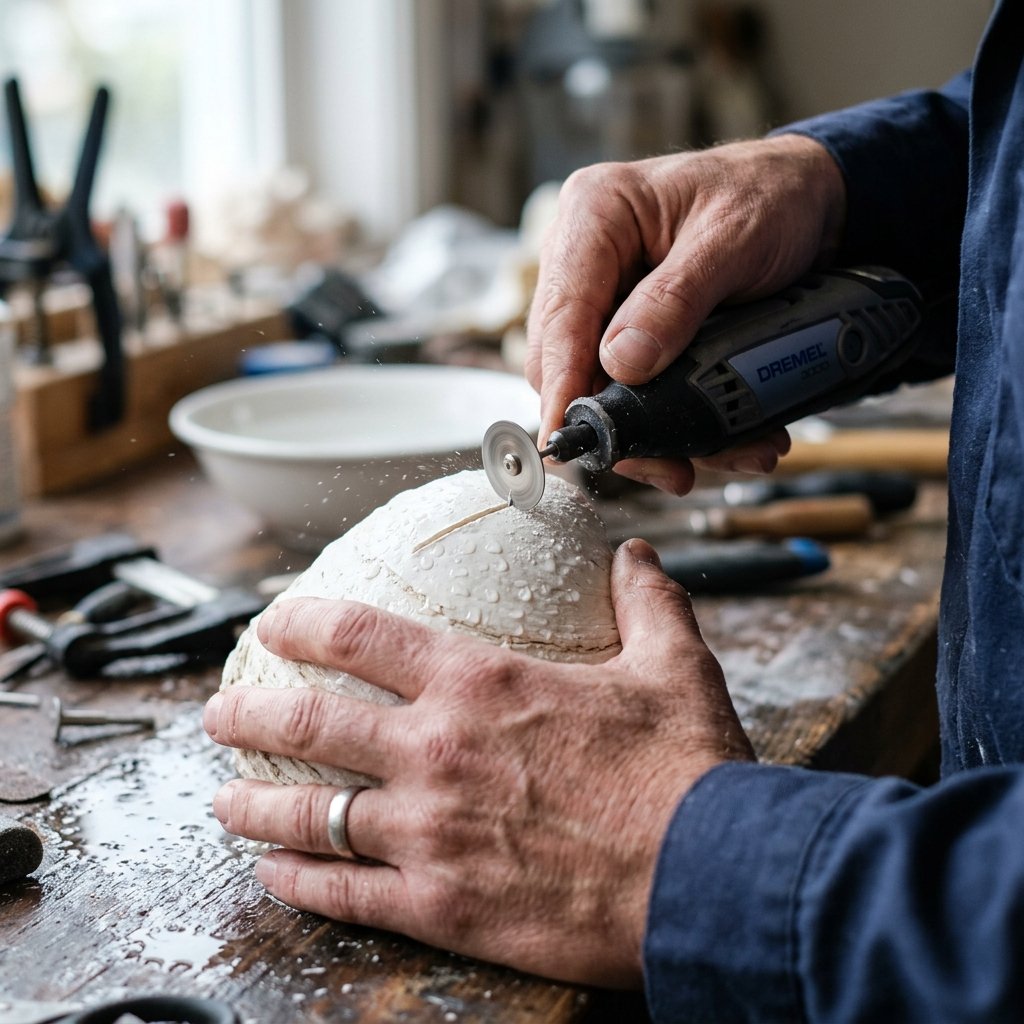
This is where the crafty expert separates themselves from the amateur. Most DIY guides suggest glueing a wire to the back of the shell, but for a truly masculine-elegant and seamless look, we are going to cut a slot directly into the shell.
Step-by-Step Precision Cutting
- Mark Your Line: Using a pencil, mark a straight line across the highest point of the shell where you want the card to sit.
- The Water Trick: Shells are hard and can produce dust. Keep a small bowl of water nearby. Dip the shell frequently to keep the surface cool and the dust down.
- The Cut: Using your rotary tool with a diamond cutting wheel, gently press into the pencil line. You only need a depth of about 1/8th of an inch. Let the tool do the work; do not force it.
- The Test: Slide a piece of scrap cardstock into the slot to ensure it sits upright and doesn’t wobble.
By cutting into the shell, you create a holder that is wind-proof (perfect for outdoor beach weddings) and looks like a custom-carved piece of art.
The Aesthetic Finish: Elevating the Look
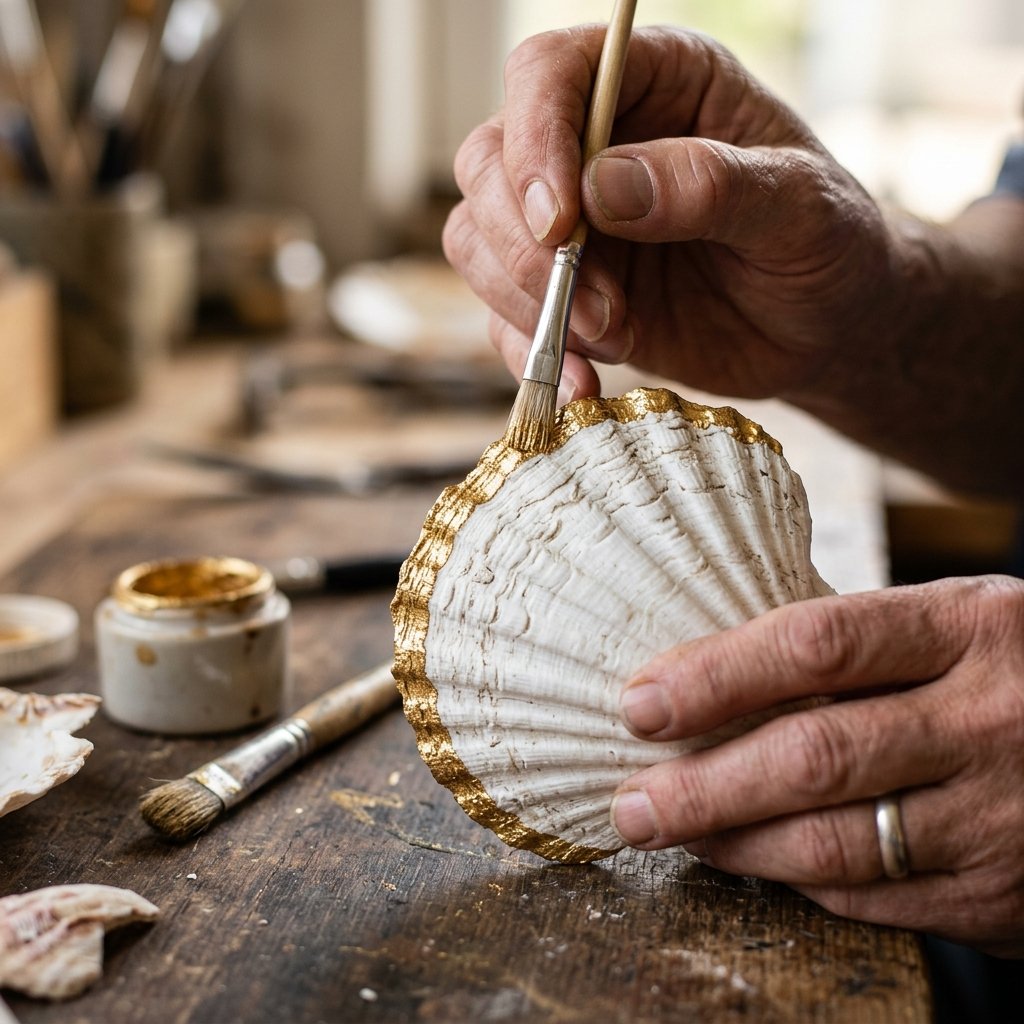
Now that your shells are functional, it’s time to make them ’boutique.’ A raw shell is beautiful, but a budget-savvy designer knows that a touch of metallic can increase the perceived value by 1000%.
Gilded Edges
Take a small amount of gold or silver metallic wax (like Rub ‘n Buff) on your fingertip. Lightly graze the natural ridges and the outer rim of the shell. This highlights the organic texture and gives the holder a sophisticated, high-end glow that mimics expensive gold-dipped decor found in luxury catalogs.
Stability Hack
If you find a particularly beautiful shell that is slightly top-heavy, don’t discard it. Use a small dab of clear hot glue on the bottom to create a ‘leveling foot.’ Once dry, the glue is invisible but provides a sturdy, practical base that prevents the card from tipping over during the reception.
The Math: DIY vs. Store-Bought Comparison
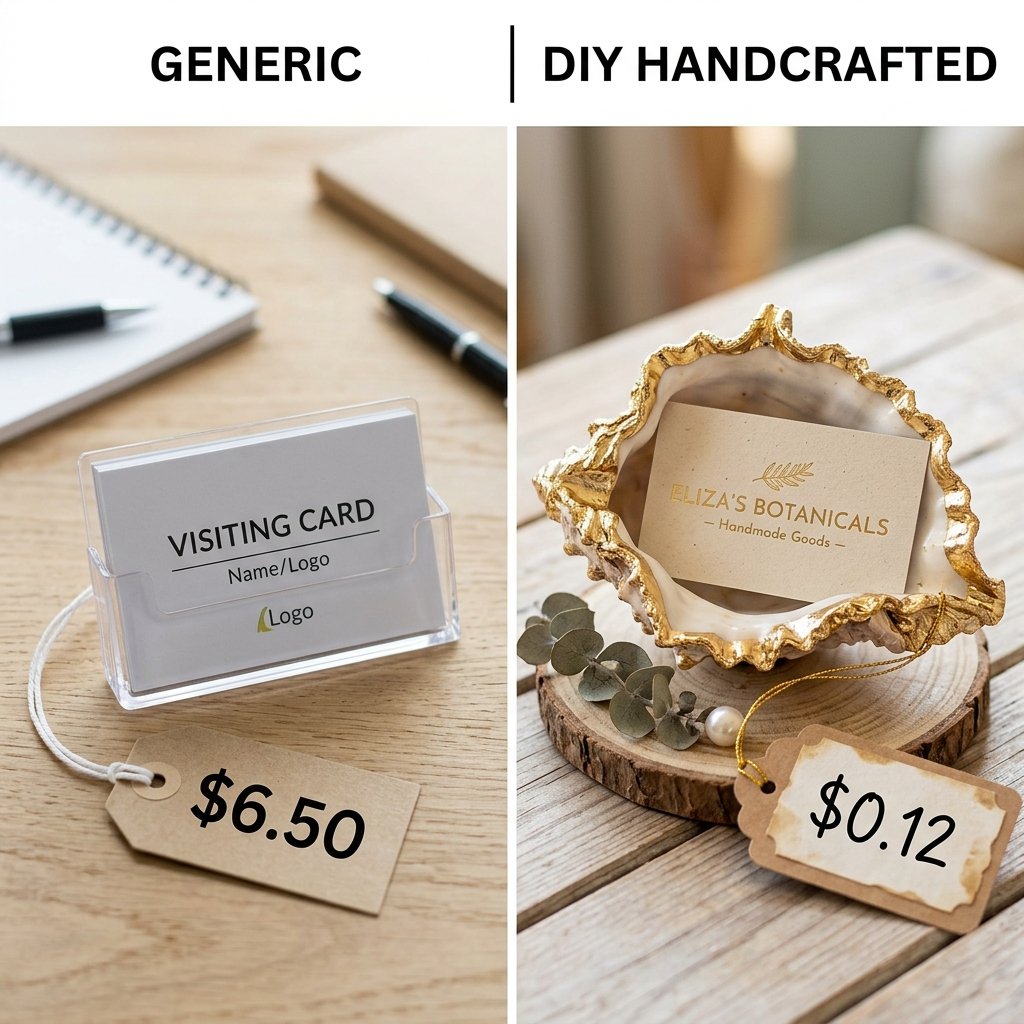
To truly appreciate the value of your resourceful labor, let’s look at the numbers. Wedding rentals and retail purchases add up quickly, especially for guest counts of 100 or more.
| Source | Price Per Unit | Total for 100 Guests | Savings |
|---|---|---|---|
| Boutique Wedding Site | $6.50 | $650.00 | – |
| Craft Store Resin Shells | $3.25 | $325.00 | – |
| Our Resourceful DIY Hack | $0.12 | $12.00 | $638.00 |
With the $638.00 you saved, you could upgrade your honeymoon suite, hire a better photographer, or put it toward a down payment on your first home. That is the power of being clever and budget-savvy.
Conclusion
The Reward of Resourceful Crafting
Creating your own wedding decor isn’t just about saving money; it’s about infusing your special day with intention and personality. These seashell card holders are more than just functional items; they are a testament to your ability to see the beauty in the overlooked and the value in the free. You’ve taken a raw element of nature and, with rugged practicality and a bit of crafty expertise, transformed it into a piece of elegant art.
As your guests take their seats and admire the intricate gold-edged shells holding their names, they won’t see a ‘budget hack.’ They will see a sophisticated, coastal aesthetic that perfectly sets the tone for your celebration. So, grab your Dremel, head to the shore, and start building your dream wedding—one shell at a time. You’ve got this!

Makenzie is the founder and lead writer at MoneyHackTips.com — a personal finance blog dedicated to delivering street-smart financial wisdom for real people on real budgets. With 300+ published articles covering everything from debt management to investing fundamentals, Makenzie’s mission is to make every dollar work harder. When not writing about money hacks, Makenzie is testing frugal living strategies, optimizing side hustles, and helping readers build financial freedom from scratch.