
The Alchemy of Upcycling: From Trash to Tabletop
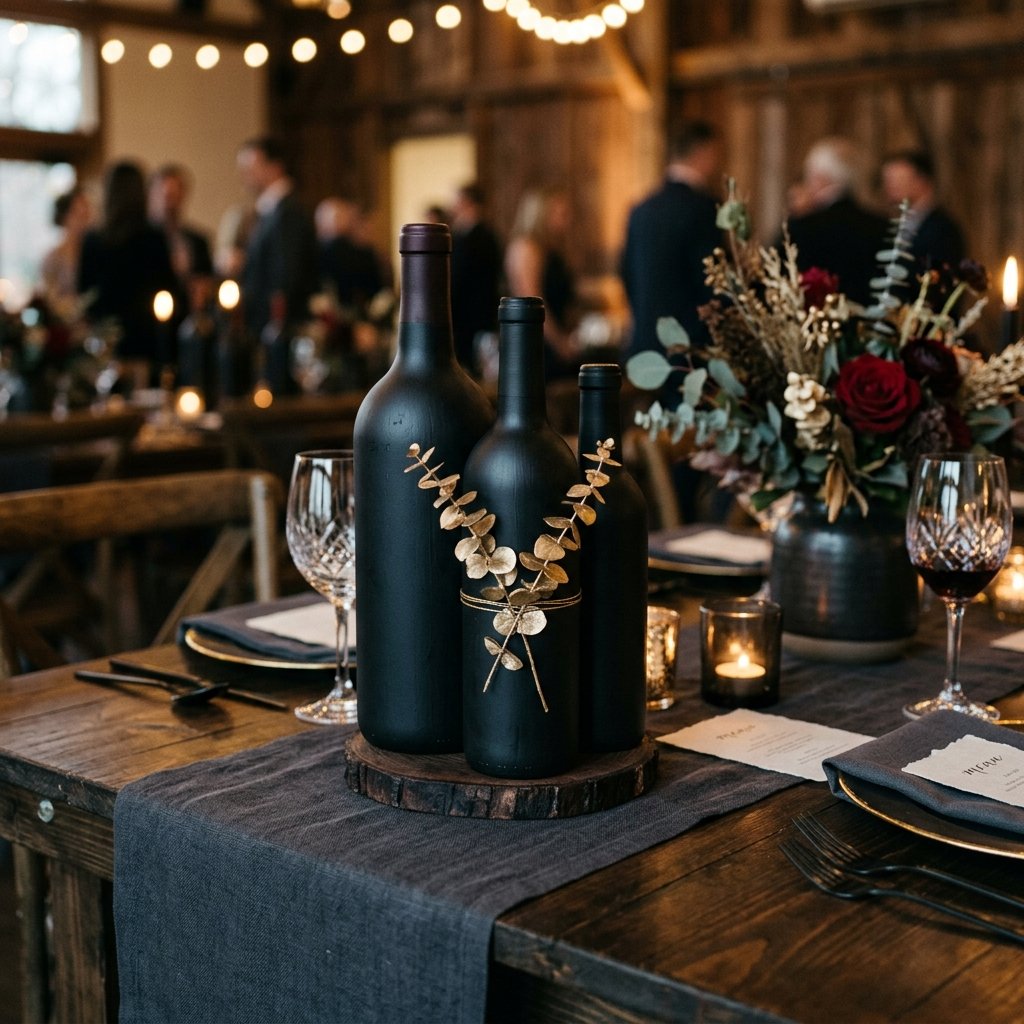
In the world of high-end events, ‘luxury’ often carries a price tag that can make even the most stoic budgeter flinch. But here is a secret known only to the most resourceful makers: sophistication isn’t bought; it is engineered. If you have access to a recycling bin and a can of hardware-store spray paint, you possess the raw materials for a wedding tablescape that rivals the work of expensive boutique florists. We are talking about the ‘Matte Black’ aesthetic—a look that is simultaneously rugged, modern, and undeniably elegant.
By transforming common wine bottles into uniform, velvet-textured vessels, you create a visual anchor for your wedding that screams ‘custom-designed.’ This guide will walk you through the gritty details of sourcing, stripping, and spraying your way to a $0.50 per unit centerpiece that looks like it cost $45.00 at a trendy home decor boutique. Let’s get our hands dirty to make something clean and classic.
The Strategic Scavenge: Sourcing Your Glass for Free
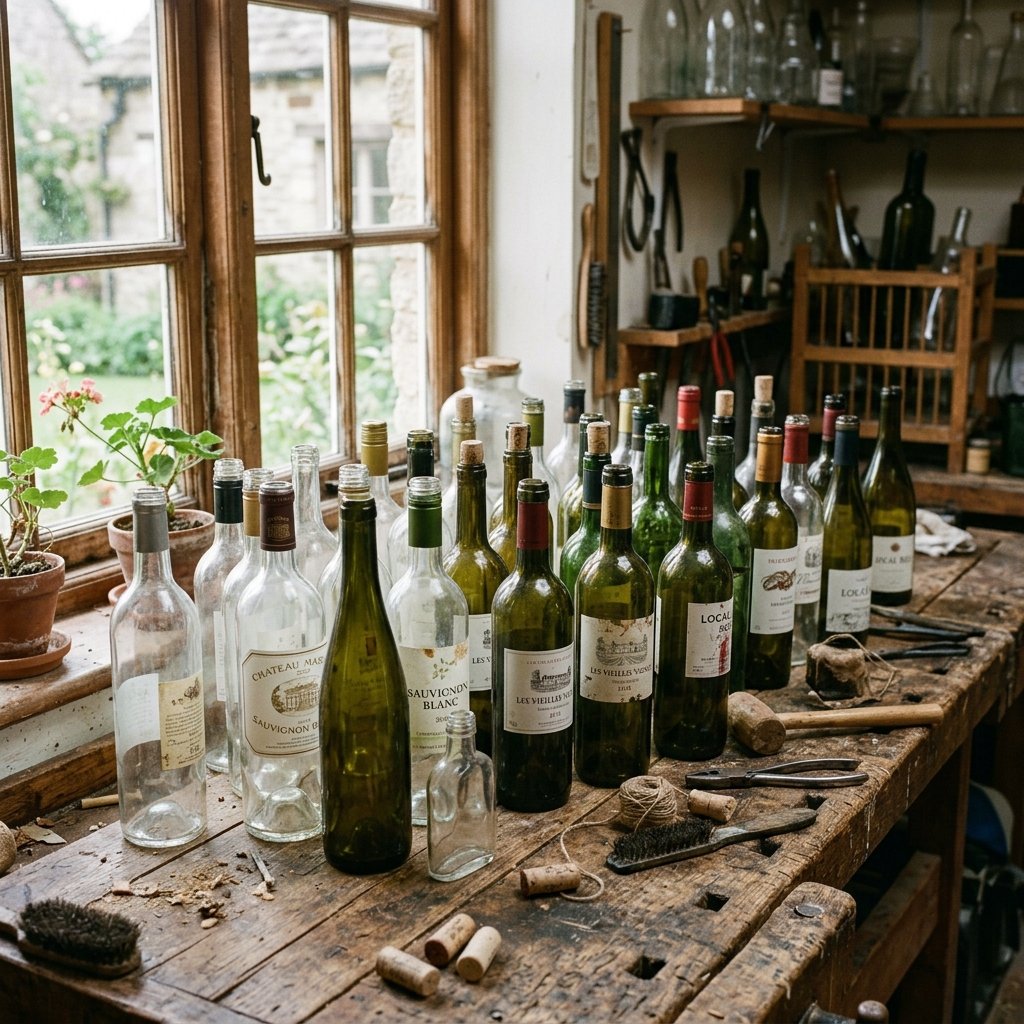
The first rule of the frugal DIYer is never to pay for what people are throwing away. To create a dynamic centerpiece, you want variety in height and girth—think Bordeaux bottles, slender Riesling flutes, and stout Champagne magnums. This variation creates a ‘skyline’ effect on your tables.
Where to Find Your Raw Materials
- Local Wine Bars and Bistros: Visit on a Monday morning. Most establishments have a weekend’s worth of empty bottles ready for the bin.
- Wedding Venues: Call local venues and ask if you can pick up the empties after a Saturday night event.
- Neighbors and Social Media: A quick post on ‘Buy Nothing’ groups or Nextdoor will usually result in dozens of bottles within 24 hours.
“The best centerpieces aren’t identical; they are siblings, not twins. Mix your bottle shapes to give the eye a journey across the table.”
| Bottle Type | Visual Characteristic | Best Table Position |
|---|---|---|
| Bordeaux | High shoulders, classic look | Center Anchor |
| Burgundy | Sloping shoulders, wider base | Mid-ground |
| Alsace/Hock | Tall, slender, elegant | Vertical Accent |
| Champagne | Heavy, thick glass, wide base | Stability Piece |
The Prep Protocol: Stripping Labels and Degreasing
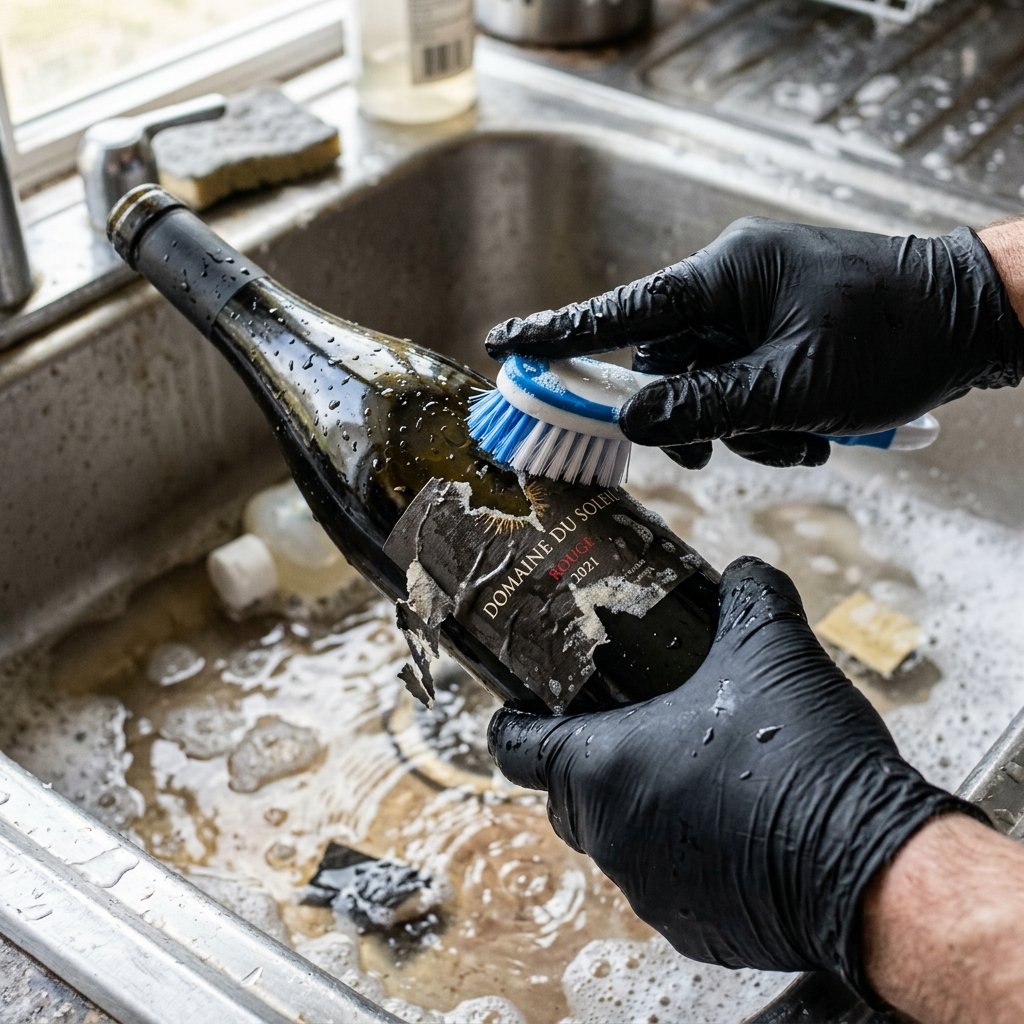
The difference between a ‘craft project’ and ‘luxury decor’ lies entirely in the finish. If you leave even a hint of adhesive residue or a scrap of paper, the matte paint will highlight it like a neon sign. We need a clean, surgical surface.
The Fail-Proof Label Removal Method
- The Soak: Fill a sink with piping hot water and a generous scoop of OxiClean or heavy-duty dish soap. Let the bottles submerge for at least 30 minutes.
- The Scrape: Most labels will slide off. For stubborn ones, use a plastic putty knife or an old credit card to avoid scratching the glass.
- The Solvent: For the ‘death-grip’ adhesives, apply a small amount of rubbing alcohol or a DIY mixture of baking soda and olive oil. Rub in circles until the glass is ‘squeaky’ clean.
- The Final Degrease: This is the most important step. Wipe every bottle down with white vinegar or denatured alcohol. Any oils from your fingerprints will prevent the paint from bonding.
“If the glass isn’t clean enough to drink out of, it isn’t clean enough to paint. Your fingerprints are the enemy of a perfect matte finish.”
The Stealth Finish: Mastering the Matte Black Spray
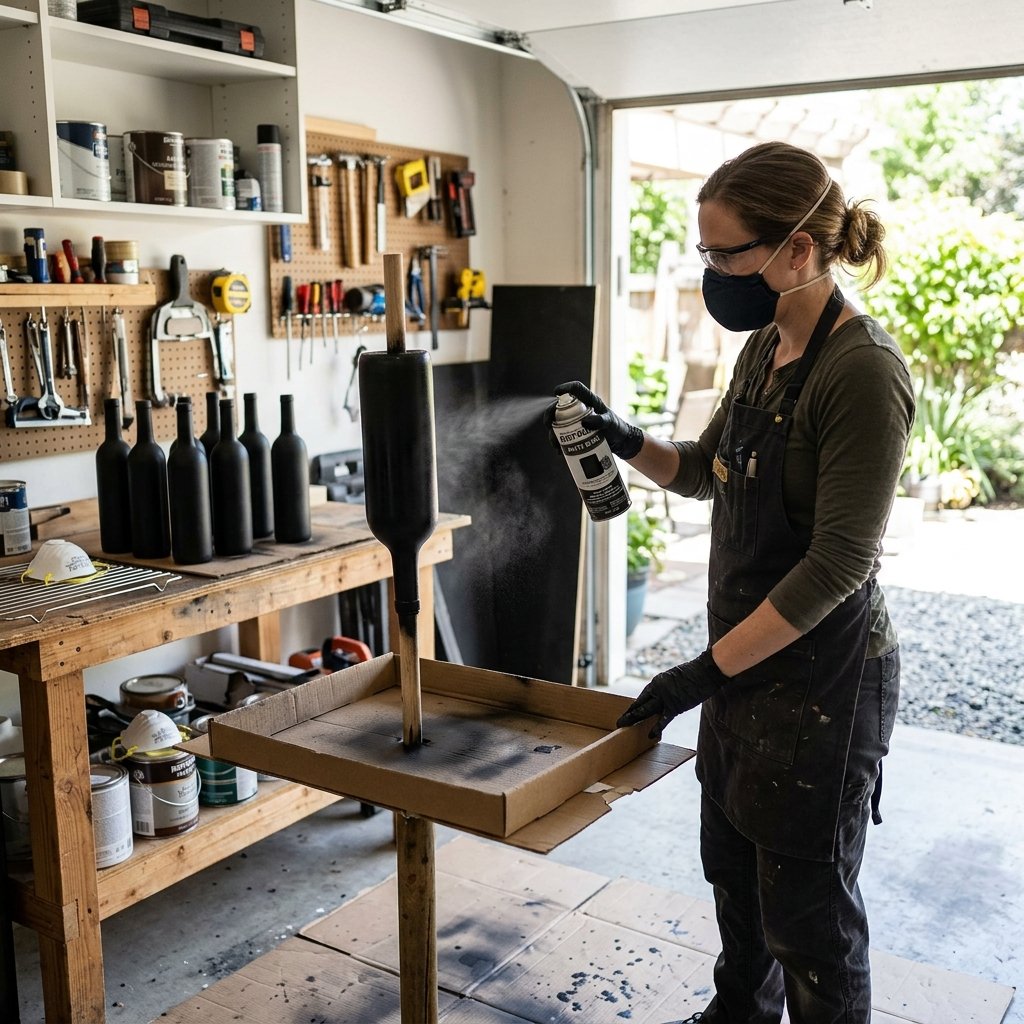
Now we enter the ‘Man-Cave’ phase of the project. We aren’t just painting; we are applying a stealth coating. Matte black is notoriously unforgiving with drips, but incredibly rewarding when done with a light touch.
Material Budget and Selection
| Item | Recommended Brand | Estimated Cost |
|---|---|---|
| Matte Black Spray Paint | Rust-Oleum Painter’s Touch 2X | $6.00 |
| Surface Primer (Optional) | Krylon Gray Primer | $5.50 |
| Drop Cloth | Old Cardboard or Plastic Sheet | $0.00 |
| Total Per 10 Bottles | — | $11.50 |
The Pro Technique
- The Setup: Work in a well-ventilated area, ideally outdoors. Use a painting stick (a dowel or rolled-up newspaper) inserted into the neck of the bottle so you can rotate it 360 degrees without touching the wet surface.
- The Distance: Hold the can 10 to 12 inches away. If you get too close, the paint will pool and run.
- The ‘Mist’ Method: Do not try to cover the bottle in one coat. Apply three light, misty coats. The first coat should look semi-transparent. The second will build the color. The third will perfect the matte texture.
- The Drying Phase: Let them cure for 24 hours. Matte paint feels dry to the touch quickly, but it remains soft and prone to scratching for several hours.
The Luxury Accents: Elevating the Aesthetic
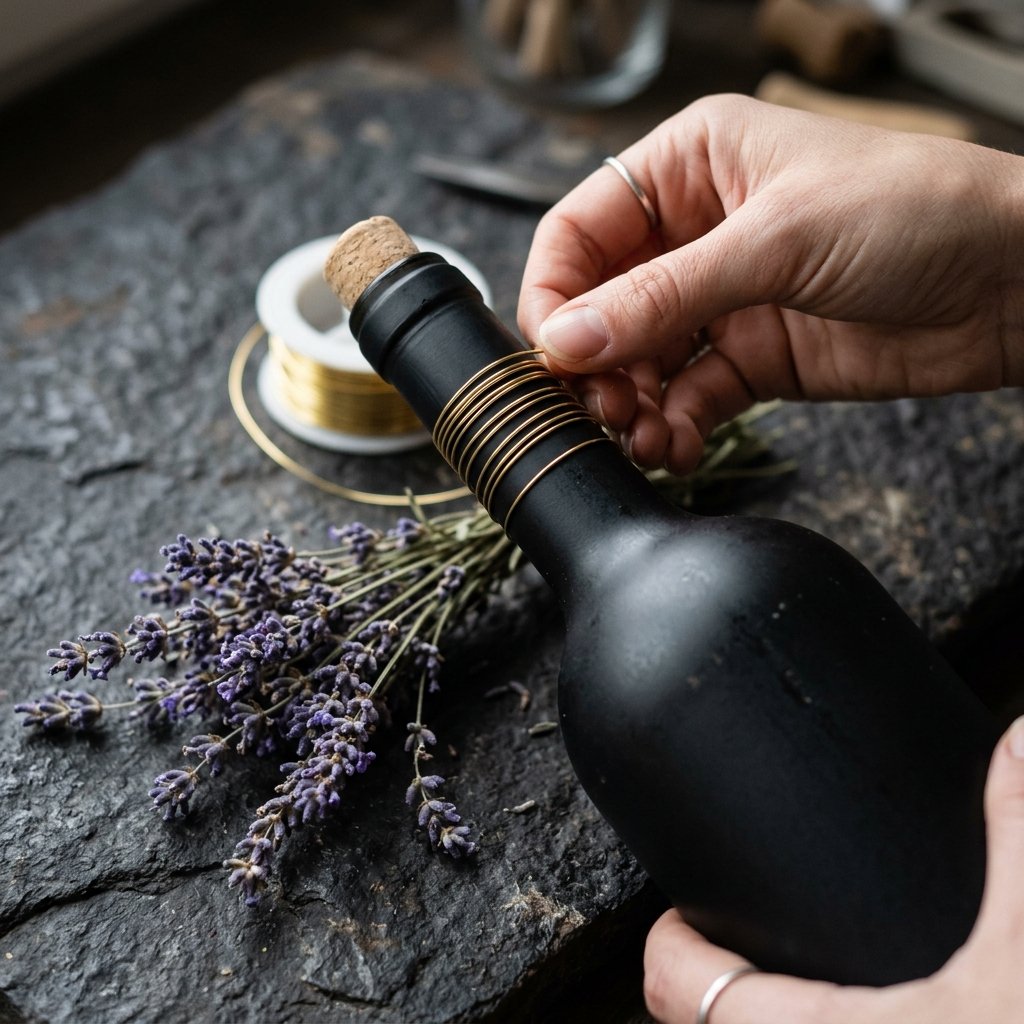
A plain black bottle is modern, but a ‘luxury’ centerpiece needs a focal point. This is where we add the ‘masculine-elegant’ details that make the decor look curated rather than just ‘painted.’
Three Ways to Add Dimension
- The Metallic Band: Use gold or copper leaf or a simple metallic paint pen to draw a single, thin horizontal line around the base or the neck. This ‘breaks’ the black and adds a touch of opulence.
- Textural Contrast: Wrap the neck of the bottle in black leather cord or natural jute twine. The organic texture of the cord against the smooth matte finish creates a sophisticated, rugged vibe.
- The Wax Seal: For a truly ‘Old World’ look, drip gold sealing wax down the side of the bottle and press a custom monogram stamp into it. It looks like a vintage bottle from a private cellar.
“Luxury is found in the details. One thin line of gold can turn a painted bottle into a piece of art.”
The Tablescape Strategy: Grouping and Florals
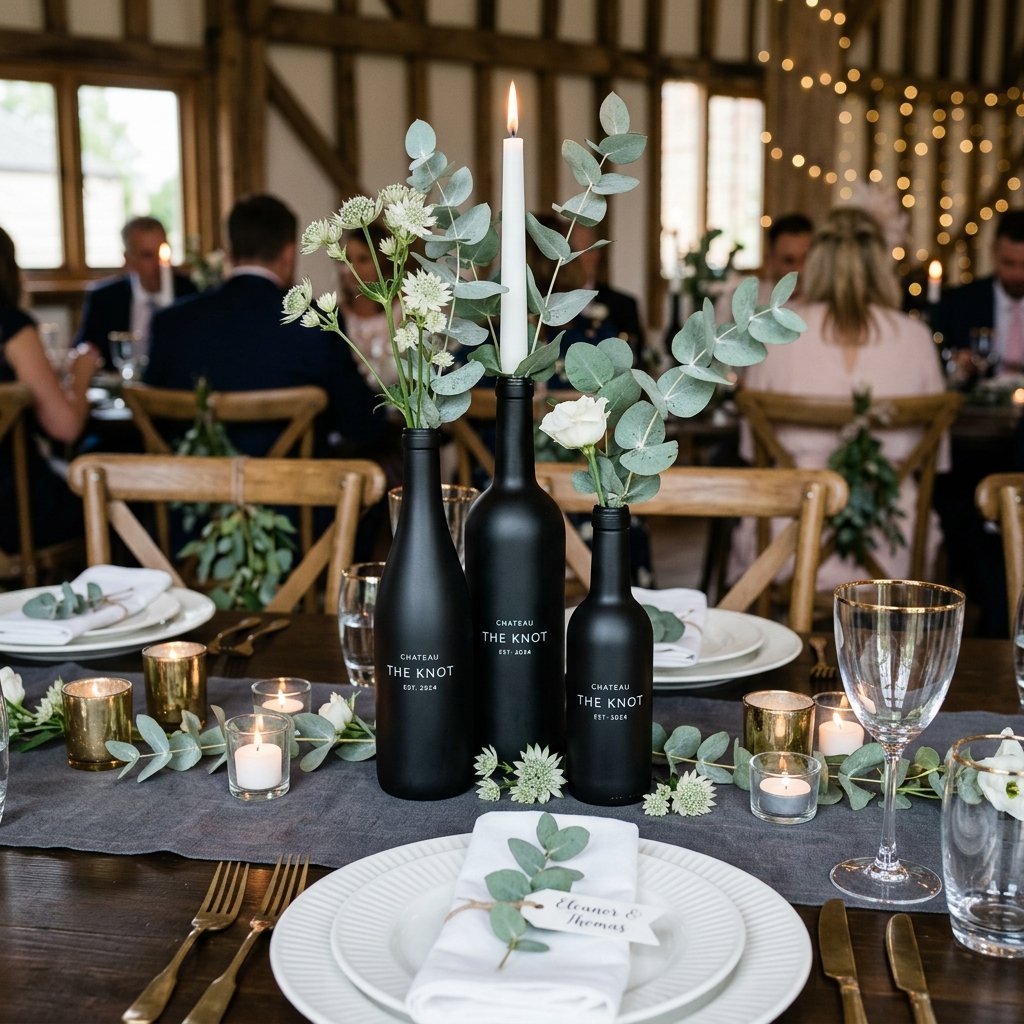
How you arrange your bottles is just as important as how you paint them. A single bottle looks lonely; a cluster looks like a statement.
The Power of Three
In design, odd numbers are more visually appealing. Group your bottles in sets of three or five. Vary the heights within each group to create a pyramid shape. This guides the guest’s eye upward.
Floral Pairings for Matte Black
Because the bottles are dark and ‘heavy’ visually, you want greenery or florals that provide contrast. Silver Dollar Eucalyptus, White Anemones, or Dried Pampas Grass work exceptionally well. The muted greens and stark whites pop against the deep black void of the glass.
| Floral Choice | Vibe | Cost Level |
|---|---|---|
| Eucalyptus | Modern & Fresh | Low |
| Baby’s Breath | Classic & Airy | Low |
| White King Protea | Bold & Architectural | High |
| Single Taper Candle | Moody & Romantic | Medium |
Conclusion
The Final Tally: A Masterpiece for Pennies
By the time you have finished your collection, you will have achieved what many couples spend thousands of dollars on: a cohesive, high-end visual identity for your event. You’ve taken something destined for a landfill and, through a bit of grit and a few clever techniques, turned it into the talk of the reception. Total savings? For a 20-table wedding, you likely just saved over $800 in rental and floral fees.
Remember, the beauty of this project isn’t just in the final product—it’s in the resourcefulness you’ve shown. You are now a master of the ‘Trash-to-Treasure’ craft. Now, pour yourself a glass of wine (you’ll need the bottle for the next batch anyway) and toast to a beautiful, budget-savvy wedding.

Makenzie is the founder and lead writer at MoneyHackTips.com — a personal finance blog dedicated to delivering street-smart financial wisdom for real people on real budgets. With 300+ published articles covering everything from debt management to investing fundamentals, Makenzie’s mission is to make every dollar work harder. When not writing about money hacks, Makenzie is testing frugal living strategies, optimizing side hustles, and helping readers build financial freedom from scratch.