
The Art of the High-Impact Cash Gift
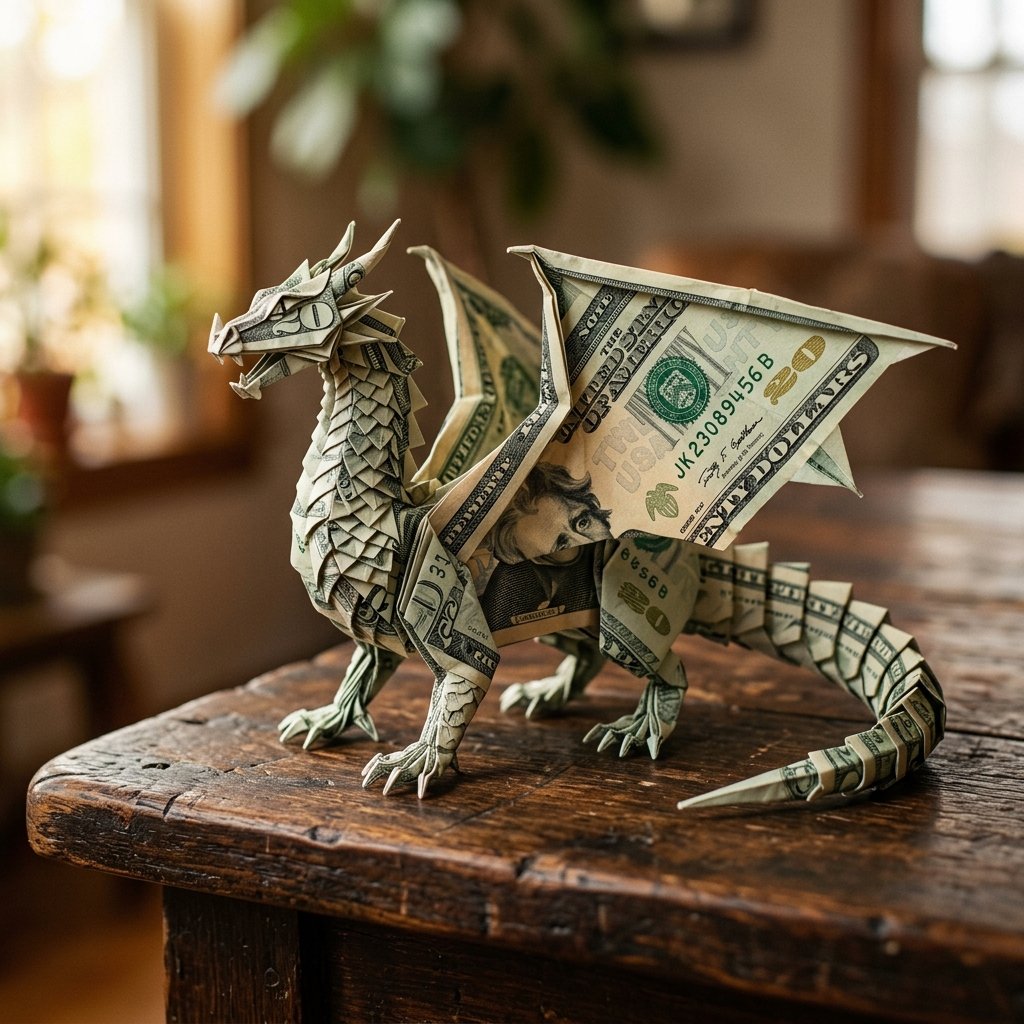
Let’s be honest: giving cash is often seen as the ‘easy out’ for birthdays. It’s practical, sure, but it lacks that punch of personality that tells the recipient you actually put thought into their day. But what if you could take a standard $20 or $100 bill and transform it into a mythical creature that commands respect? Enter the Money Origami Dragon. This isn’t just a gift; it’s a rugged, masculine-elegant display of craftsmanship that proves you are both resourcefully creative and budget-savvy.
As a frugal guru, I’ve spent years mastering the ‘trash-to-treasure’ mentality. While a dollar bill isn’t trash, its value is usually static. By applying the ancient art of origami, you add perceived value that far outweighs the denomination of the currency. You are giving the gift of time, skill, and a legendary surprise. In this guide, we’re going to walk through the high-precision folds required to turn a flat piece of legal tender into a three-dimensional beast worthy of any mantlepiece.
Strategic Selection: Choosing Your Currency and Tools
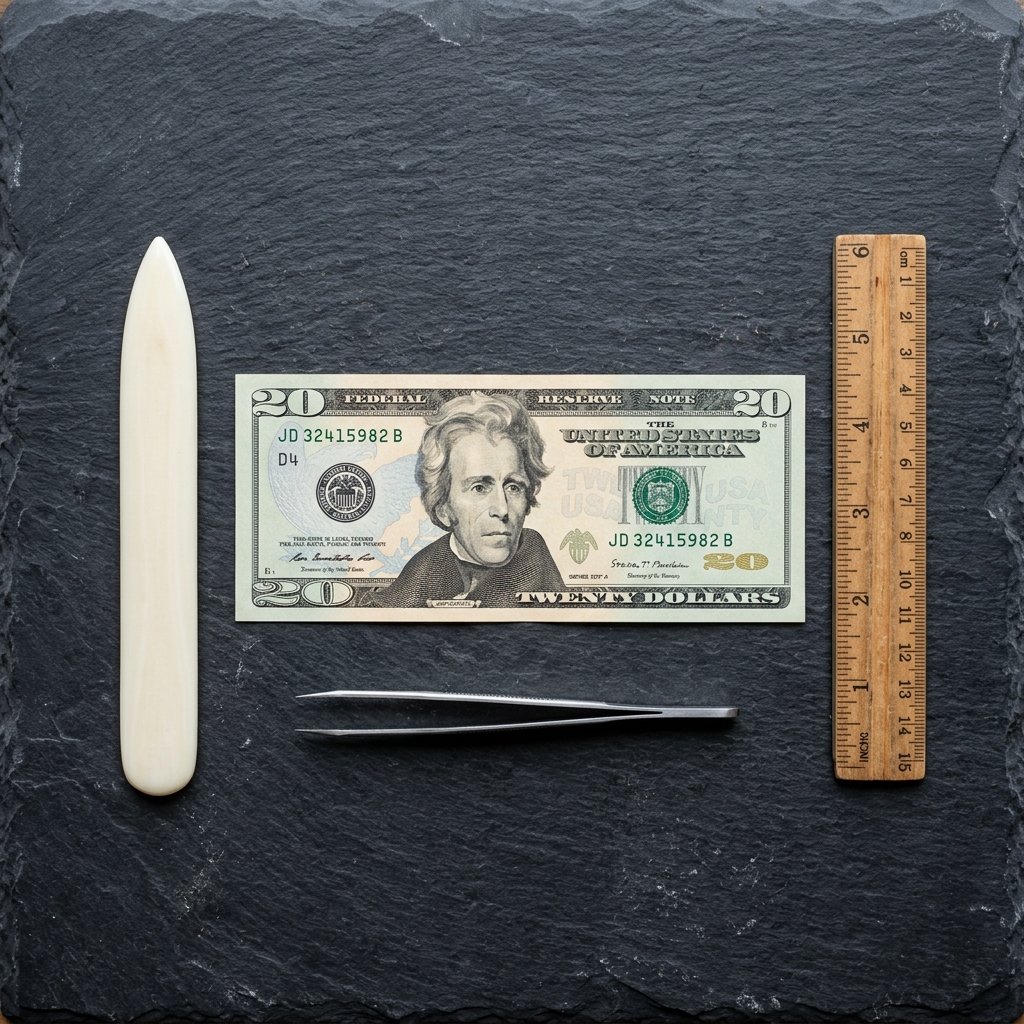
Before you make your first crease, you need to select your ‘canvas.’ Not all bills are created equal when it comes to the complex geometry of a dragon. If you use an old, limp bill that has been through the wash three times, your dragon will look more like a sad lizard. For a mind-blowing result, you need crispness.
The Bill Quality Matrix
Ideally, you want a ‘uncirculated’ bill. You can get these by walking into your local bank and specifically asking the teller for the crispest bills they have. They are usually happy to oblige a crafty regular.
| Bill Denomination | Visual Impact | Best Occasion |
|---|---|---|
| $1 Bill | Low – Great for practice | Casual ‘Thank You’ |
| $5 Bill | Moderate – Nice color contrast | Kids’ Birthdays |
| $20 Bill | High – The ‘Gold Standard’ | Milestone Birthdays |
| $100 Bill | Legendary – Maximum ‘Wow’ Factor | Weddings or 21st Birthdays |
Essential Gear for the Crafty Expert
While origami technically requires only your hands, a truly rugged and precise folder knows that a few household tools can make the difference between a ‘DIY fail’ and a ‘professional masterpiece.’
- A Bone Folder (or a dull butter knife): For making those sharp, crisp creases that stay in place.
- Tweezers: Essential for the tiny folds in the dragon’s head and tail.
- A Flat Surface: A heavy wooden desk or a cutting mat is perfect.
- Patience: This project takes roughly 20 to 30 minutes for a beginner.
“The secret to a dragon that stands on its own is the sharpness of the initial base folds. Treat every crease like a structural beam in a house.”
Phase 1: Establishing the Foundation (The Preliminary Base)
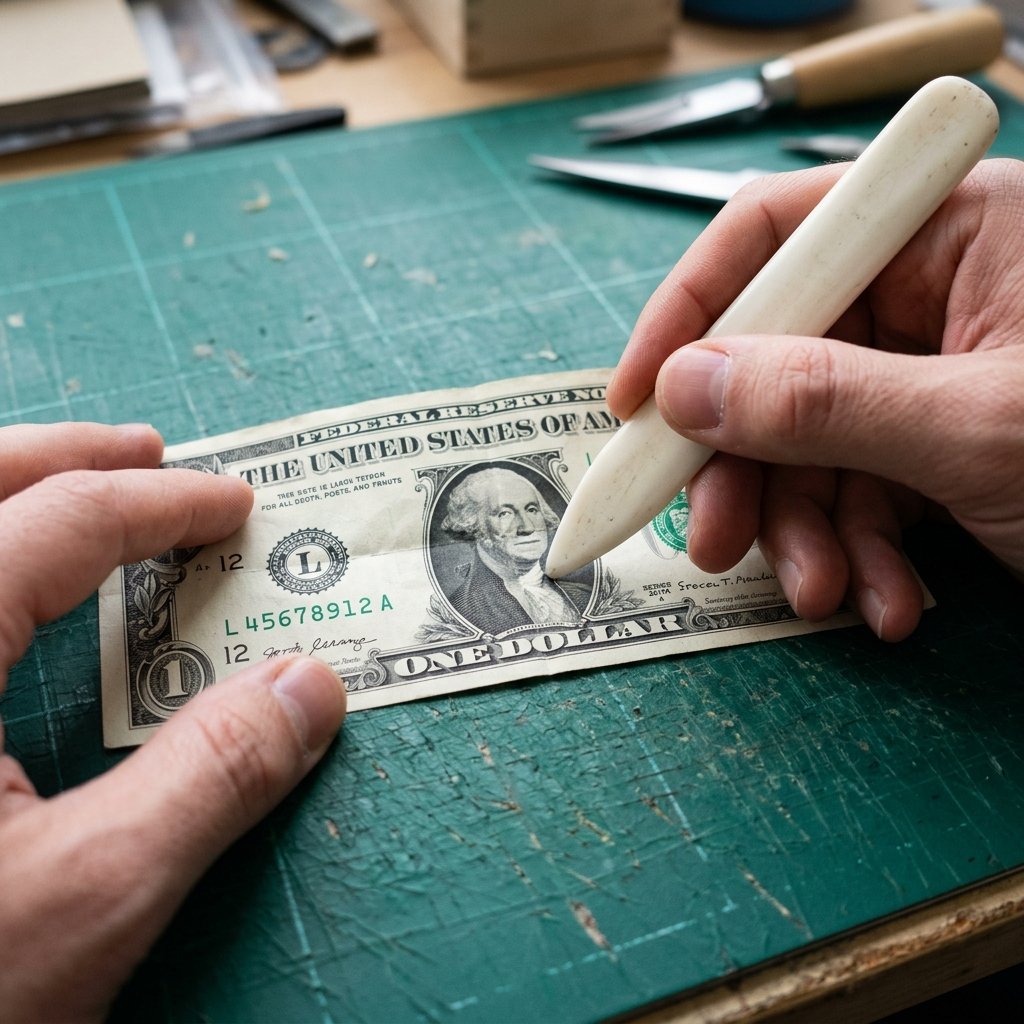
Every great structure begins with a solid foundation. In origami, we start by creating a series of guide-creases. Because a US bill is a rectangle (not a square), we have to adjust our geometry accordingly. Follow these steps with high precision.
- The Horizontal Midline: Fold the bill in half lengthwise. Crease it hard with your thumbnail or bone folder, then unfold.
- The Vertical Quarters: Fold the bill in half widthwise. Unfold. Then fold each outer edge into that center crease. You should now have four equal vertical segments.
- The X-Crease: On the left-most square segment, fold the top corner down to the bottom edge, then the bottom corner up to the top edge. This creates an ‘X’ shape. Repeat this on the right-most segment.
- The Waterbomb Base: Using the ‘X’ creases as guides, collapse the ends inward to create two triangular flaps on either side of the central rectangular body.
Pro-Tip for Precision
If you are struggling to get the corners to meet perfectly, use your tweezers to pinch the paper into place before applying pressure. A 1mm error at the start can lead to a 10mm misalignment by the time you reach the wings.
Phase 2: Sculpting the Dragon’s Body and Wings
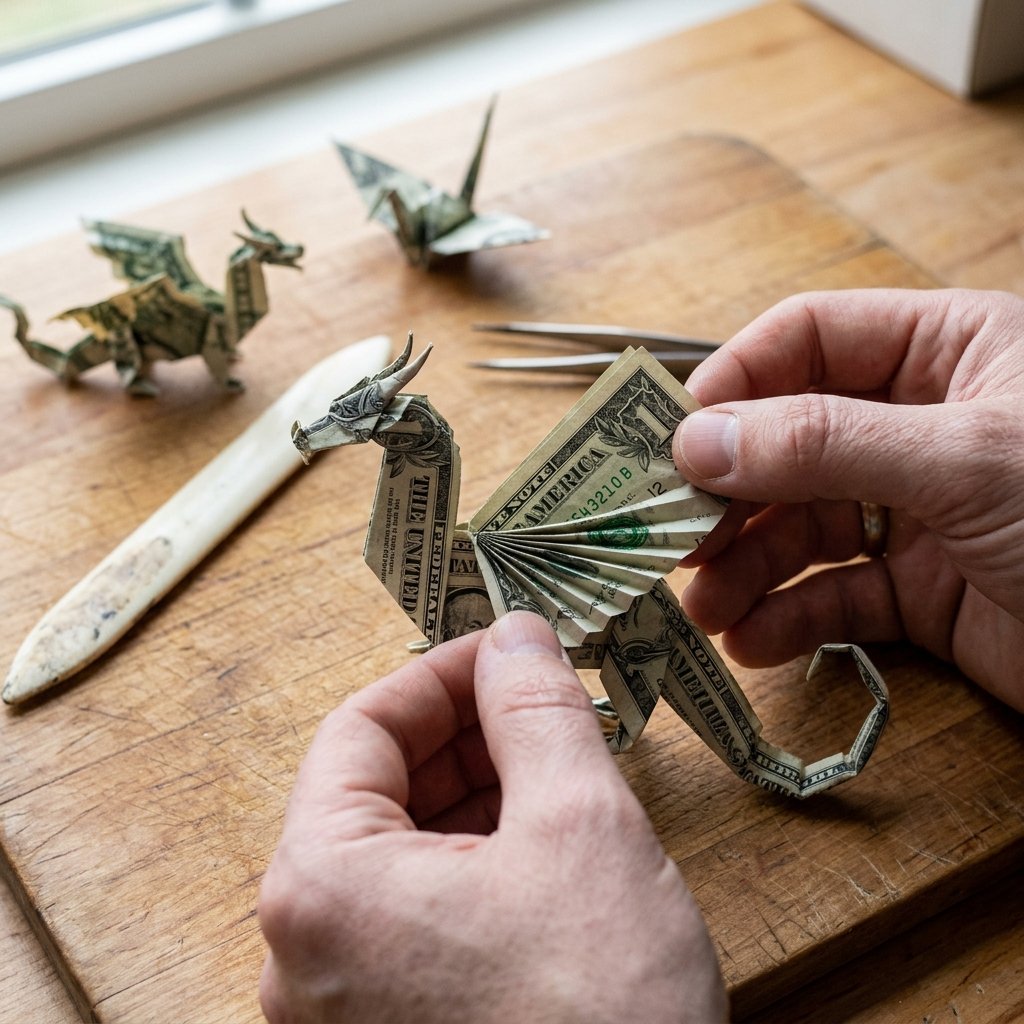
Now that we have our base, it’s time to start defining the anatomy of the beast. This is where the resourceful creator shines, as we turn flat flaps into powerful wings.
The Wing Assembly
- The Petal Fold: Take the top triangular flap of your waterbomb base and perform a ‘petal fold’ by pulling the point upward while tucking the sides inward. This creates a long, thin diamond shape.
- The Wing Extension: Fold the diamond shape outward. These will become the wings. To give them a ‘leathery’ look, create small accordion folds along the top edge.
- Thinning the Body: Fold the long edges of the central rectangle toward the middle line. This narrows the dragon’s torso and makes the wings pop out more prominently.
Cost Comparison: DIY vs. Store-Bought
| Feature | Store-Bought ‘Money Cake’ | DIY Origami Dragon |
|---|---|---|
| Material Cost | $15 + Cash | $0 + Cash |
| Time Investment | 10 minutes | 25 minutes |
| Uniqueness | Common | One-of-a-kind |
| Keepsake Value | Low (Disposable) | High (Often framed) |
“A dragon’s strength is in its wings. Don’t be afraid to press firmly; the linen-cotton blend of US currency is surprisingly rugged and can handle the stress.”
Phase 3: The Head and Tail (The Devil in the Details)
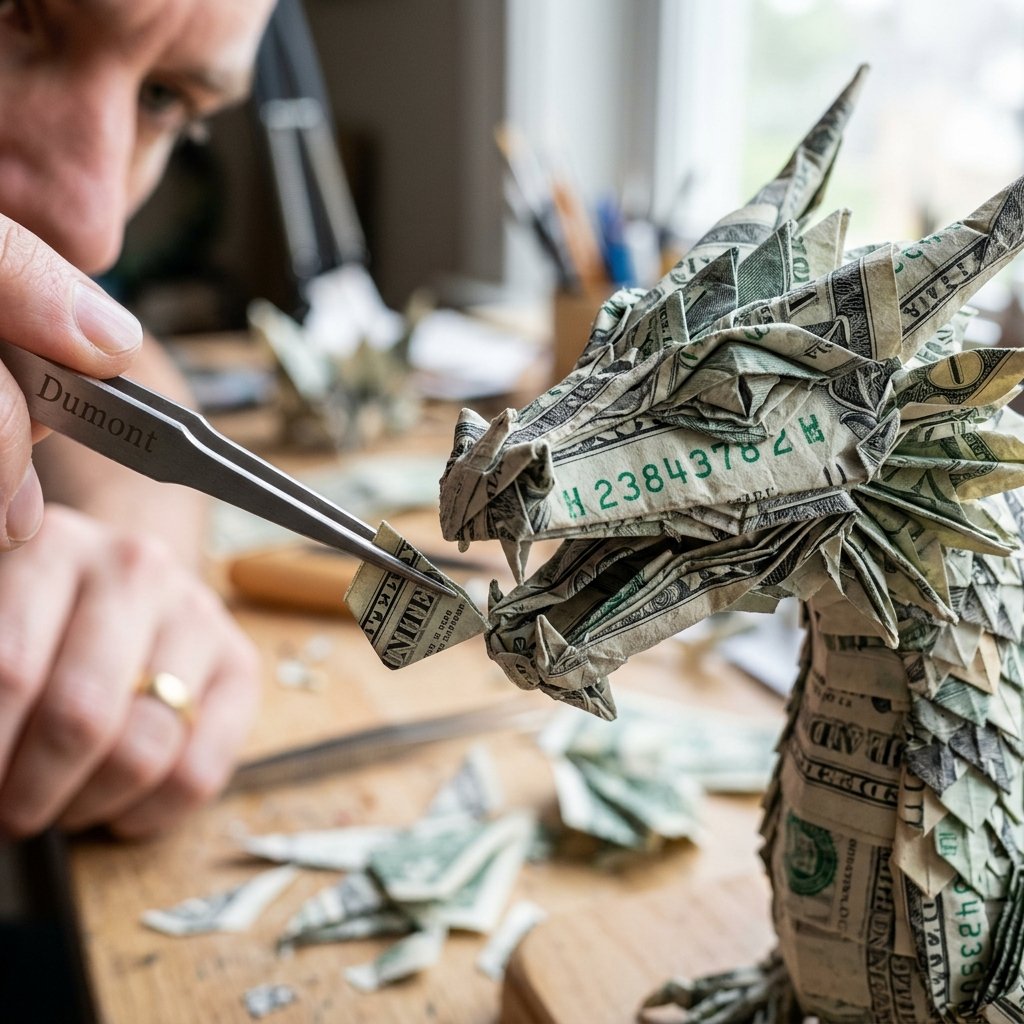
This is the most challenging part of the process. We are working with very small amounts of paper, so take your time. This is where your gift goes from ‘cool’ to ‘mind-blowing.’
The Dragon’s Head
- The Neck Fold: Take the left-hand point of your model and perform an ‘inside reverse fold’ upward at a 45-degree angle.
- The Crimp: About half an inch from the tip, crimp the paper back down. This creates the ‘snout.’
- The Horns: Use your tweezers to gently pull out the small corners at the top of the head to create tiny ears or horns.
The Tail of the Beast
- The Taper: Fold the right-hand point of the model into a very thin spike using multiple inside reverse folds.
- The Curve: Wrap the tail around a pencil for 5 seconds to give it a natural, serpentine curve. This adds a dynamic sense of movement to the finished piece.
“Focus on the eyes. Even though there are no drawn eyes, the way the shadows fall into the folds of the head will give your dragon its personality.”
The Master Presentation: From Paper to Masterpiece
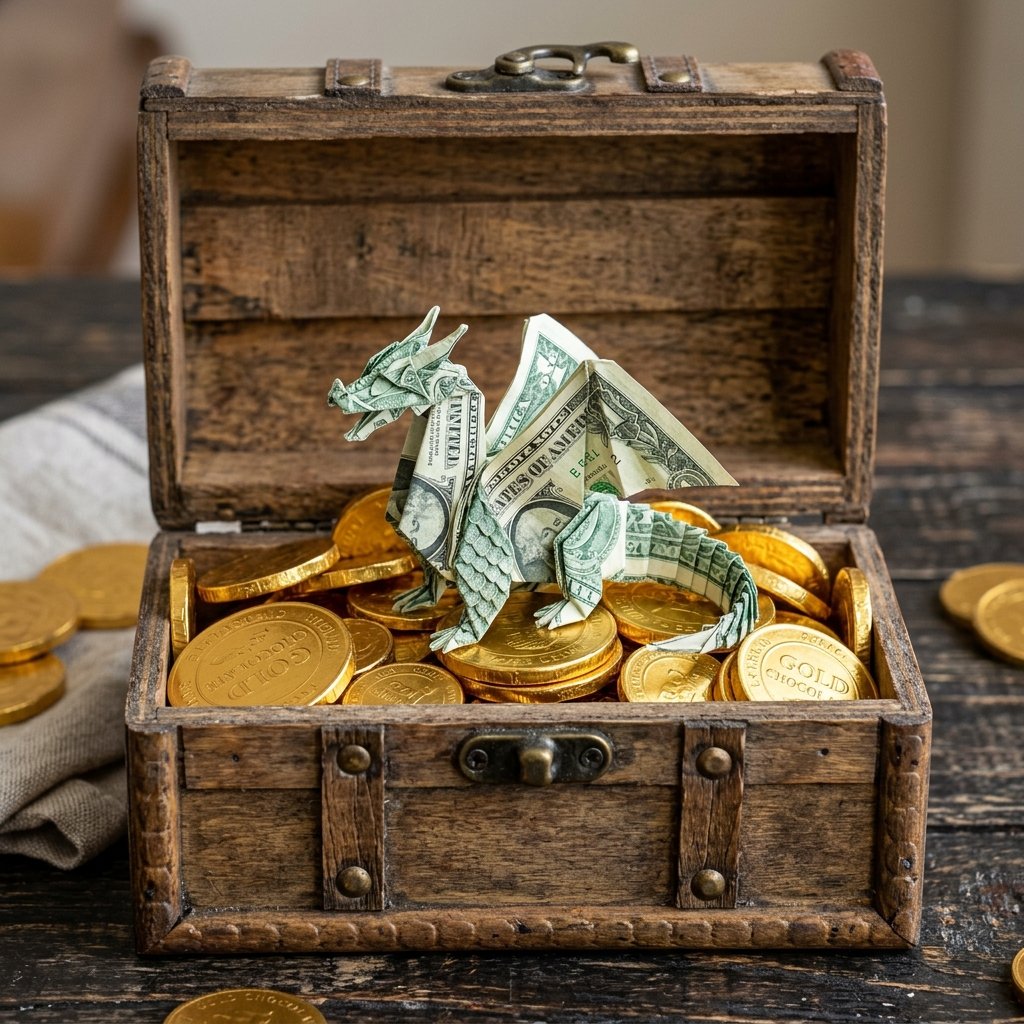
You’ve spent the time folding; don’t ruin the surprise by just tossing the dragon into a card. A budget-savvy designer knows that presentation is 50% of the gift’s value. Here are three ways to present your dragon like a pro:
1. The Shadow Box (The ‘Museum’ Approach)
Pick up a small shadow box frame from a craft store (or use a deep-set frame from a thrift store). Mount the dragon on a piece of black cardstock using a tiny piece of acid-free double-sided tape. This turns the cash into a piece of art that they might never want to spend!
2. The Dragon’s Hoard (The ‘Playful’ Approach)
Fill a small wooden chest (look in the $1.25 section of your favorite discount store) with chocolate gold coins. Perch the money dragon on top of the ‘gold’ as if it is guarding its treasure. This is a massive hit for kids and fantasy lovers alike.
3. The Floating Display (The ‘Modern’ Approach)
Use a clear acrylic display block. Suspend the dragon inside using a thin piece of fishing line. It creates a stunning, masculine-elegant look for an office desk.
Safety & Longevity Note
“Always remind the recipient that while the dragon is a work of art, it is still legal tender. If they choose to unfold it, they should do so carefully to avoid tearing the bill. Avoid using glue; only use removable adhesives.”
Conclusion
The Legend Lives On
Folding a Money Origami Dragon is more than just a clever way to give a birthday gift; it’s an exercise in resourcefulness and a testament to your craft. You’ve taken a common item and, through the power of your own hands, turned it into something extraordinary. Whether you used a $1 for practice or a $100 for a major milestone, the result is the same: a mind-blowing surprise that will be remembered long after the money is spent.
Remember, the first one is the hardest. By the third dragon, you’ll be folding them with the speed of a pro. Keep this guide handy, stay budget-savvy, and keep creating those high-impact moments that don’t break the bank. Happy folding!

Makenzie is the founder and lead writer at MoneyHackTips.com — a personal finance blog dedicated to delivering street-smart financial wisdom for real people on real budgets. With 300+ published articles covering everything from debt management to investing fundamentals, Makenzie’s mission is to make every dollar work harder. When not writing about money hacks, Makenzie is testing frugal living strategies, optimizing side hustles, and helping readers build financial freedom from scratch.