
The Hidden Value in Your Closet
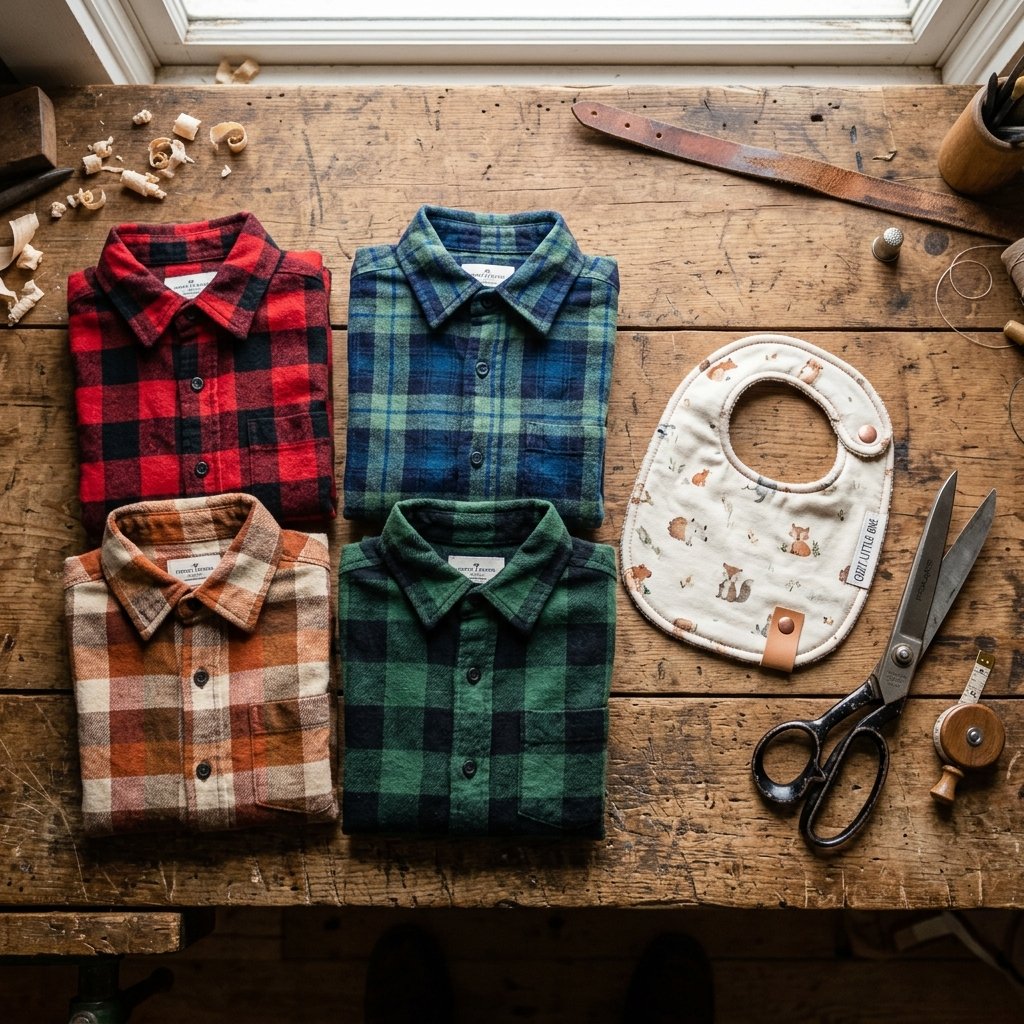
Before you toss that threadbare work shirt or that faded plaid flannel into the rag bin, stop and consider the incredible textile you are holding. Flannel is the unsung hero of the upcycling world. It is 100% cotton, breathable, incredibly soft after years of washing, and possesses a natural absorbency that modern synthetic fabrics simply cannot match. For the frugal DIYer and the handy parent, an old flannel shirt isn’t trash; it is the raw material for high-end, rugged, and practical baby gear.
In this guide, we are going to dive deep into the art of the ‘Trash-to-Treasure’ transformation. We will take those shirts with the frayed cuffs or the missing buttons and turn them into boutique-quality baby bibs. Not only does this save you approximately $15 to $25 per bib compared to high-end organic brands, but it also allows you to pass down a piece of your own history to your little ones. Whether you are a master tailor or a complete novice with a needle and thread, this project is designed for success, durability, and maximum style.
Why Flannel is the Ultimate ‘Workhorse’ Fabric for Babies

When it comes to baby accessories, softness is non-negotiable, but durability is what keeps parents sane. Flannel shirts, particularly those that have been laundered dozens of times, have already undergone a ‘break-in’ period. The fibers have relaxed, the nap has softened, and any potential shrinkage has already occurred. This makes them the perfect candidate for items that will face constant moisture and frequent high-heat washing.
The Benefits of Upcycled Flannel
- Superior Absorbency: Cotton flannel is designed to trap moisture, making it ideal for ‘droolers’ and messy eaters.
- Cost-Efficiency: By using what you already own, the cost per bib drops to nearly $0.
- Eco-Friendly Impact: You are diverting textiles from landfills and reducing the demand for new cotton production.
- Masculine-Elegant Aesthetic: Plaid and check patterns offer a timeless, rugged look that stands out in a sea of cartoon-print baby gear.
| Feature | Upcycled Flannel | Store-Bought Synthetic |
|---|---|---|
| Material Cost | $0.00 | $8.00 – $15.00 |
| Softness Factor | Pre-washed & High | Varies (can be scratchy) |
| Environmental Impact | Positive (Upcycled) | Negative (New Production) |
| Customization | Unlimited | Mass-produced |
The best gear isn’t bought; it’s built from the stories we’ve already lived.
The Blueprint: Materials and Pattern Preparation

To begin your project, you need to gather your materials. The beauty of this DIY is that you likely have 90% of these items in your home right now. If you don’t have a sewing machine, don’t worry—this project is small enough to be completed with a simple hand-sewing kit and a bit of patience.
Materials Needed & Estimated Cost
| Item | Source | Cost |
|---|---|---|
| Old Flannel Shirt | Your Closet | $0 |
| Absorbent Core (Old Towel or Fleece) | Linen Closet | $0 |
| Thread | Sewing Kit | $0.50 |
| Snaps or Velcro | Craft Store/Upcycled | $0.25 |
| Total Project Cost | – | $0.75 |
Creating Your Template
You don’t need to buy a professional pattern. You can create a custom template in 5 minutes using a piece of cardboard or a heavy paper bag. Trace an existing bib that fits your baby well, adding a 1/2 inch ‘seam allowance’ around the entire perimeter. If you don’t have a bib to trace, aim for a ‘U’ shape that is roughly 9 inches wide and 12 inches long, with a neck opening that is 4 inches in diameter.
Pro Tip: Use the back panel of the shirt for your largest pattern pieces to avoid seams, and use the sleeves for smaller ‘drool bib’ variants.
The Step-by-Step Transformation: Cutting and Stitching

Now that your pattern is ready, it is time to cut into the fabric. This is where the ‘crafty expert’ mindset takes over. We want to maximize the fabric usage and ensure the bib is built to last through hundreds of spills.
The Cutting Process
- Deconstruct the Shirt: Cut along the side seams of the flannel shirt to lay the fabric flat. Remove the pockets—these can be saved for future projects!
- Layering for Absorbency: For a heavy-duty bib, you want three layers: The Front (Flannel), the Core (an old terry cloth towel or flannel scrap), and the Back (another layer of flannel or a soft jersey knit).
- Pinning: Place your front and back fabrics ‘right sides’ together (the pretty sides facing each other). Place the core layer on top. Pin the template and cut through all three layers simultaneously.
The Rugged Stitching Guide
If you are using a sewing machine, use a straight stitch for the perimeter. If hand-sewing, use a backstitch for maximum strength. Leave a 2-inch gap at the bottom of the bib to turn it right-side out.
Safety Note: Ensure all thread ends are tied off securely and trimmed. Loose threads can be a snagging hazard for small fingers.
Once sewn, turn the bib right-side out through the gap. Use a blunt tool (like a chopstick) to push out the curves of the neck. Top-stitch around the entire edge, 1/8 inch from the border. This closes the gap and gives the bib a professional, ‘store-bought’ finish.
Closure Options: Snaps, Velcro, or Ties?
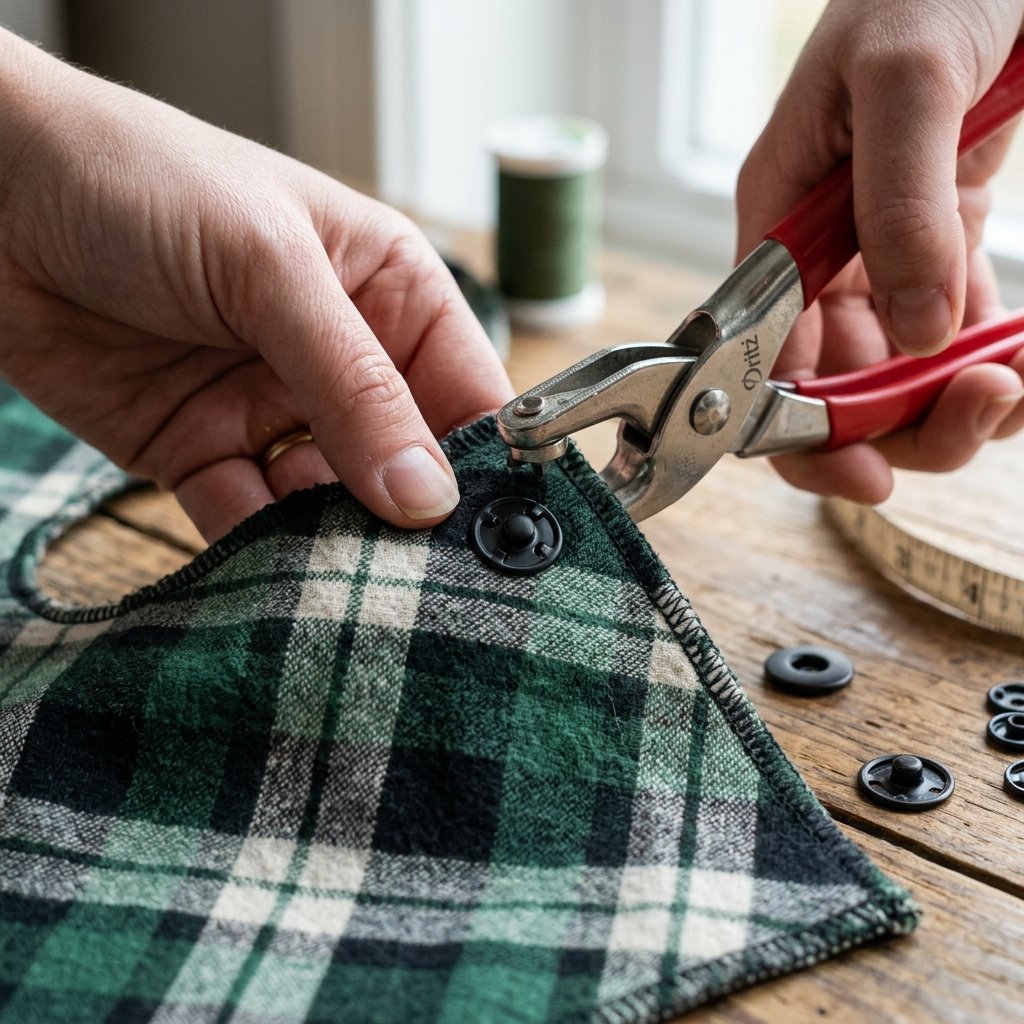
The closure is the final touch that defines the functionality of your bib. While many commercial bibs use cheap Velcro that scratches the baby’s neck, the resourceful crafter has better options.
Comparison of Closure Methods
| Method | Pros | Cons |
|---|---|---|
| Plastic Snaps | Durable, professional look, no scratching. | Requires a snap press tool. |
| Heavy-Duty Velcro | Easy for quick removal. | Can catch in the laundry and scratch skin. |
| Fabric Ties | 100% Free (use shirt scraps). | Can be a choking hazard if not supervised. |
| Metal Snaps | Rugged, masculine-elegant aesthetic. | Can get hot in a high-heat dryer. |
For the ‘Masculine-Elegant’ look, I highly recommend brass or matte black metal snaps. They complement the plaid flannel perfectly and give the bib a high-end ‘heritage’ feel. If you are on a strict zero-budget, use the buttons from the original shirt! Simply sew a button on one side and create a small buttonhole or fabric loop on the other.
Style & Customization: The Designer Touch
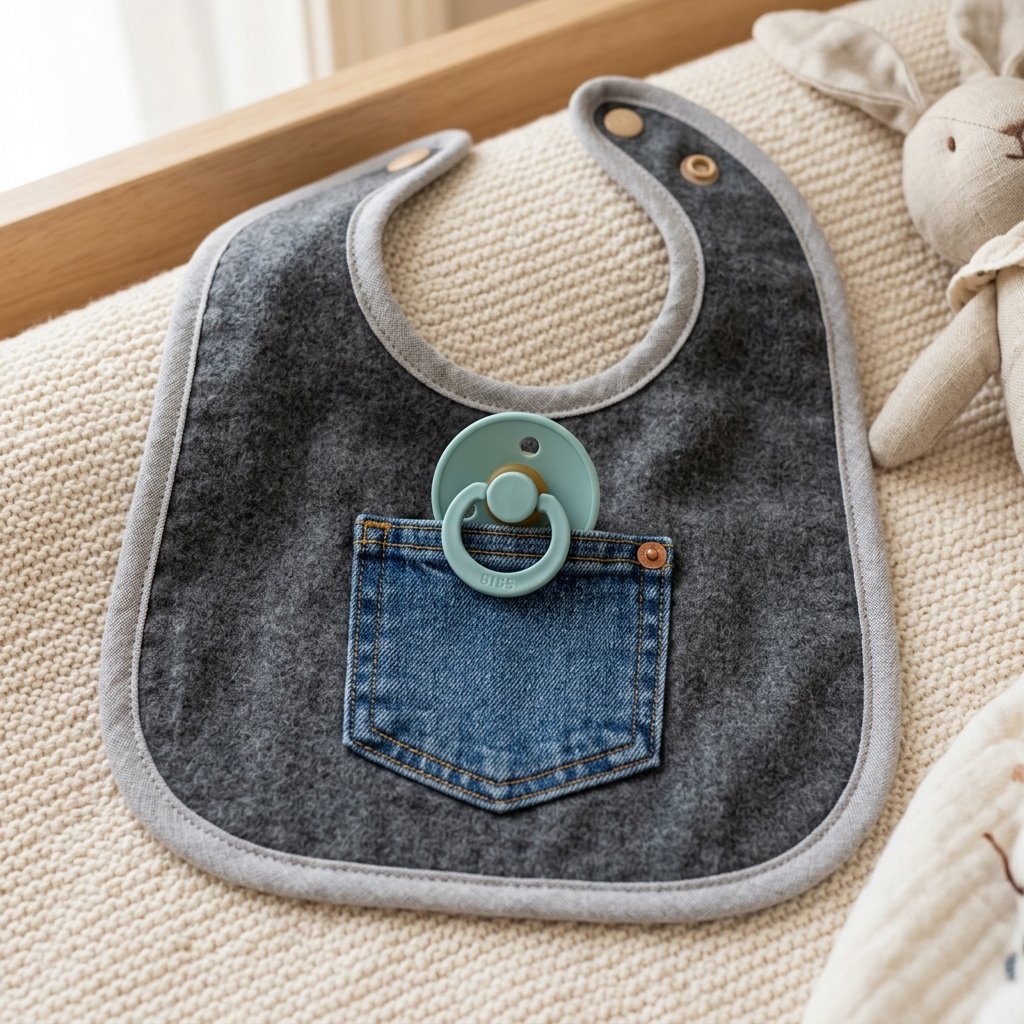
Just because it’s upcycled doesn’t mean it shouldn’t look like it came from a high-end boutique. Here is how to add that extra 10% of effort that yields 100% more style.
Creative Upgrades
- The Pocket Detail: Take the small chest pocket you removed earlier and sew it onto the front of the bib. It’s perfect for holding a pacifier!
- Contrast Top-Stitching: Use a thick, high-contrast thread (like gold thread on navy flannel) to make the stitching pop.
- Leather Accents: If you have an old leather purse or glove, cut a small square and sew it onto the bottom corner as a ‘brand label.’
- Patchwork: If the shirt has holes, don’t fret. Use scraps from a different colored flannel to create a ‘quilted’ look. This adds character and reinforces the fabric.
By focusing on these small details, you transform a simple utility item into a thoughtful DIY gift that any parent would be proud to use.
Conclusion
The Power of the Upcycle
Turning an old flannel shirt into a baby bib is more than just a craft project; it is a lesson in resourcefulness and stewardship. You have taken an item destined for the bin and turned it into a high-functioning, stylish, and incredibly soft tool for parenthood. You’ve saved over $20, reduced your environmental footprint, and created something with a story.
The next time you see a worn-out garment, don’t see a failure—see a foundation. Whether you are building a rugged nursery or looking for the perfect handmade gift, the humble flannel shirt is your best ally. Now, grab those scissors, fire up the sewing machine, and start creating. Your baby (and your wallet) will thank you.

Makenzie is the founder and lead writer at MoneyHackTips.com — a personal finance blog dedicated to delivering street-smart financial wisdom for real people on real budgets. With 300+ published articles covering everything from debt management to investing fundamentals, Makenzie’s mission is to make every dollar work harder. When not writing about money hacks, Makenzie is testing frugal living strategies, optimizing side hustles, and helping readers build financial freedom from scratch.