Let’s be honest: we all have that drawer full of oversized promotional t-shirts or old favorites that have seen better days. They are too comfortable to throw away, yet too boxy to wear out in public. Instead of letting them gather dust, it is time to embrace the trash-to-treasure philosophy. As a frugal DIYer, you know that style does not have to come with a $40 price tag from a boutique fitness brand. With a bit of rugged ingenuity and a pair of sharp shears, you can craft a custom muscle tank that fits your physique perfectly and looks like it was designed in a high-end studio. This guide is not just about hacking off sleeves; it is about precision, geometry, and the masculine-elegant aesthetic that comes from a well-executed hand-mended project. We are going to dive deep into the mechanics of fabric grain, the art of the ‘drop,’ and the secret to preventing those annoying frayed edges. Whether you are hitting the gym, the trail, or just a backyard BBQ, your upcycled tank will be a testament to your resourcefulness and craft.
“True style is not about what you buy; it is about what you create with what you already have.”
The Essential Toolkit for the Rugged DIYer
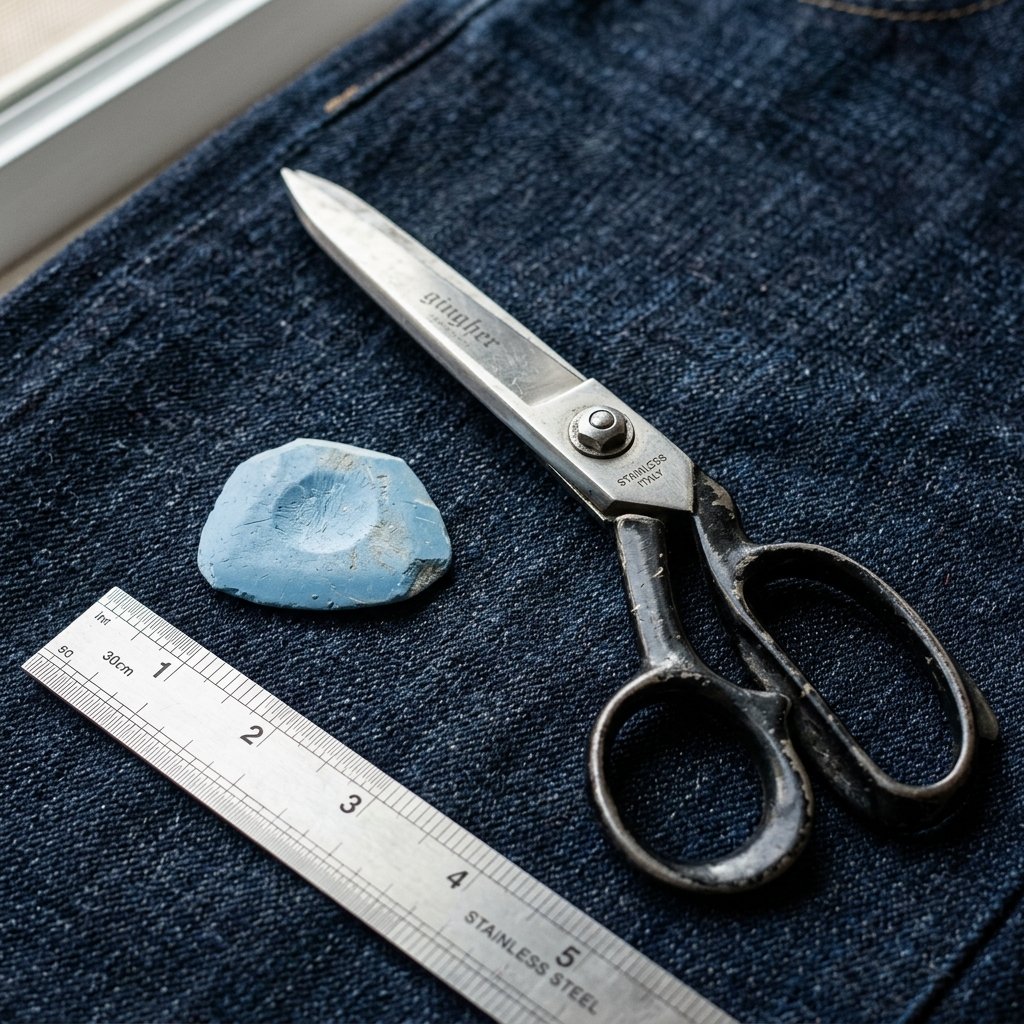
Before we make the first cut, we must assemble our gear. You wouldn’t rebuild an engine with a butter knife, and you shouldn’t cut a quality garment with kitchen scissors. To achieve that professional finish, you need tools that offer precision and clean lines. Using dull blades will lead to jagged edges that scream ‘amateur.’ For a project that costs $0 in new materials, investing in one good pair of fabric shears is a clever move for any handy parent or crafter. Below is the breakdown of what you need to move from a ‘ragged cut’ to a ‘rugged masterpiece.’
| Tool | Purpose | Budget Tip |
|---|---|---|
| Fabric Shears | Clean, snag-free cuts | Use a 40% off coupon at a craft store. |
| Tailor’s Chalk | Marking the blueprint | Use a sharpened sliver of dried soap for free. |
| Acrylic Ruler | Ensuring symmetry | A standard 12-inch construction ruler works perfectly. |
| Old T-Shirt | The canvas | Check the back of your closet or $1 bins at thrift stores. |
Choosing the Right Fabric Canvas
Not all shirts are created equal. For a muscle tank that actually looks good, look for 100% cotton or a 60/40 cotton-polyester blend. These fabrics have the right weight to hang properly after the sleeves are removed. Avoid thin, 100% polyester ‘tech’ shirts for your first project, as they tend to slippery and difficult to cut straight. A slightly heavier weight (around 5.3 oz to 6 oz) provides that classic, rugged silhouette that hides imperfections and holds its shape through multiple washes.
The Blueprint: Mapping the Perfect Muscle Cut
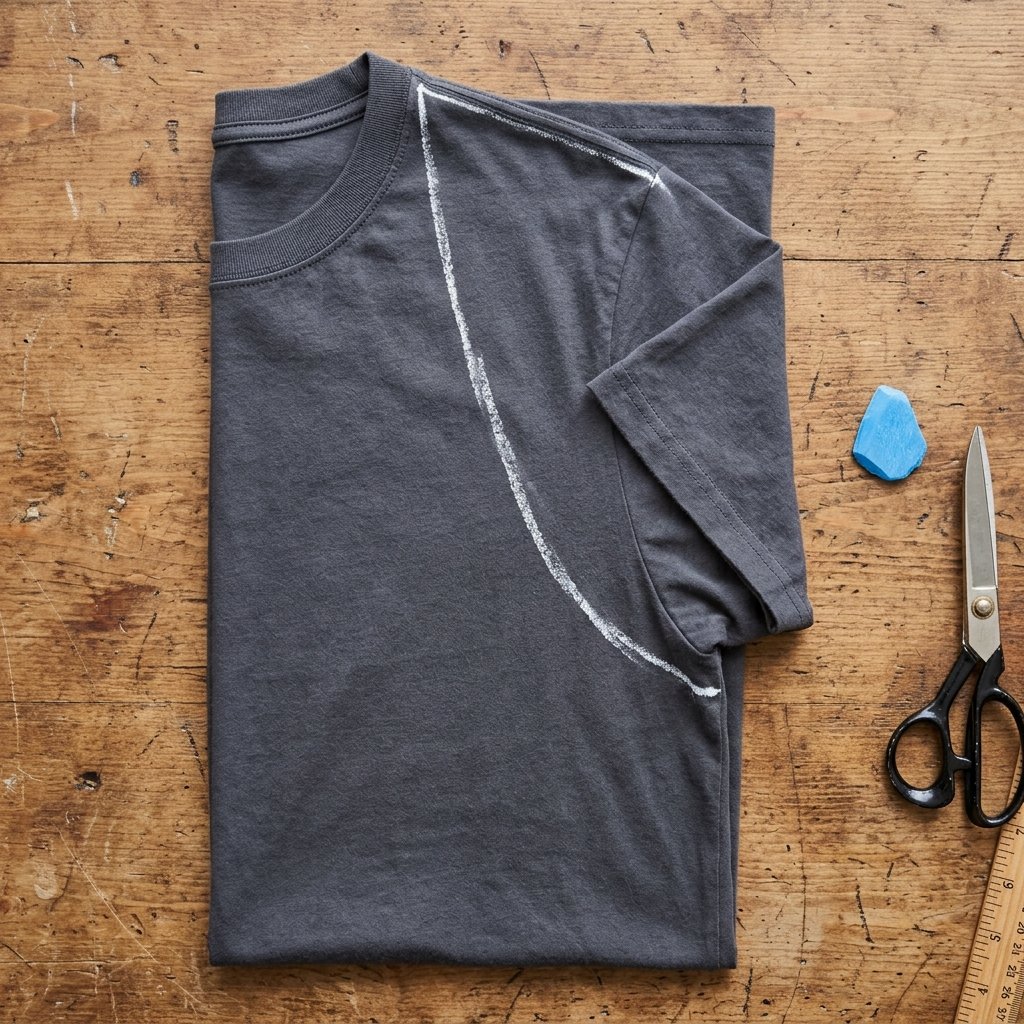
The secret to a tank that looks high-end lies in the geometry of the armhole. Most beginners simply cut along the seam, resulting in a look that is either too restrictive or dangerously loose. We want to find the ‘Golden Ratio’ for your body type. This involves measuring the ‘drop’—the distance from the shoulder seam to the bottom of the new armhole. A standard athletic cut usually drops 2 to 3 inches below the original armpit seam, while a more aggressive ‘stringer’ style might drop 5 to 7 inches.
The Symmetry Secret
Never cut the left side and then the right side independently. This is the fastest way to end up with a lopsided shirt. Instead, use the Fold-and-Match technique. Fold your shirt perfectly in half vertically, aligning the shoulder seams and the side seams. By marking and cutting through both layers at once, you guarantee 100% symmetry. It is a clever, time-saving hack that ensures your DIY project doesn’t look like a middle-school art project.
| Cut Style | Drop Depth | Vibe |
|---|---|---|
| The Classic Athletic | 2 inches | Rugged, practical, modest. |
| The Deep Drop | 5 inches | Modern, airy, bold. |
| The Raw-Edge Racerback | N/A | Maximum mobility for lifting. |
The Execution: A Step-by-Step Masterclass
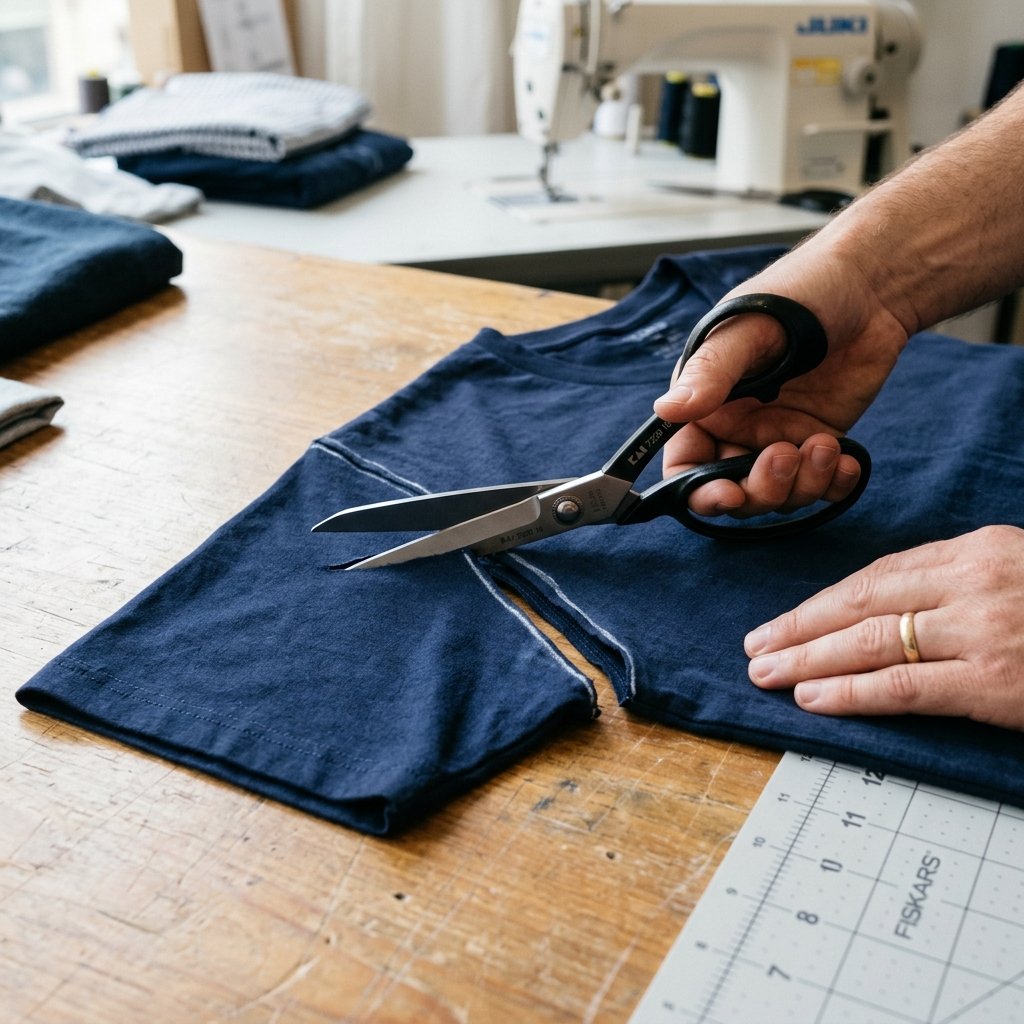
Now that your blueprint is marked, it is time for the execution. Precision is key here. Follow these steps to ensure a clean, masculine-elegant finish that rivals any store-bought athletic wear. Remember: measure twice, cut once.
- Lay it Flat: Smooth out all wrinkles on a hard surface. Do not cut on carpet, as the fabric will shift.
- The Shoulder Mark: Start your cut at least 1 inch away from the neckline. If you cut too close to the neck, the straps will slide off your shoulders.
- The Curve: Using your chalk, draw a smooth, slightly curved line from your shoulder mark down to your desired drop point. Avoid sharp angles; a gentle ‘C’ curve looks most professional.
- The First Cut: Holding the fabric layers firmly with your non-dominant hand, make long, steady snips with your shears. Do not ‘nibble’ at the fabric with the tips of the scissors; use the full length of the blade for a smooth edge.
- The Neckline (Optional): If the original crew neck feels too tight, you can trim the ribbing off the collar. Use the same ‘Fold-and-Match’ method to ensure the front scoop is even.
“The beauty of a raw-edge cut is that the fabric will naturally roll inward after the first wash, hiding any minor imperfections in your cutting line.”
Finishing Touches and Style Comparison

Why spend $35 on a brand-name tank when you can create a custom version for the cost of a thrifted tee? Beyond the cost savings, the DIY approach allows for custom tailoring. If you find the bottom of the shirt is too long, you can implement a ‘straight-hem’ or a ‘scalloped-hem’ cut to elongate your silhouette. This is where your inner event stylist and tailor come out to play.
DIY vs. Store-Bought: The Value Proposition
| Feature | Store-Bought Brand | DIY Muscle Tank |
|---|---|---|
| Price | $30 – $55 | $0 – $5 |
| Fit | Standard/Generic | Custom-Tailored |
| Uniqueness | Mass-produced | One-of-a-kind |
| Sustainability | Fast Fashion | 100% Upcycled |
Maintenance and Longevity
To keep your new tank looking good, always wash it in cold water and hang it to dry for the first few cycles. This allows the raw edges to ‘set’ and roll naturally. If you notice any long threads after a wash, do not pull them; simply snip them with your shears. This rugged, low-maintenance approach is perfect for the busy, handy parent or athlete who wants to look great without the fuss.
Conclusion
You have successfully navigated the transition from a bulky, forgotten t-shirt to a sleek, custom-fitted muscle tank. By applying these crafty techniques—from the fold-and-match symmetry to the precision of the ‘C’ curve—you have proven that a budget-savvy mindset doesn’t mean sacrificing style. You’ve saved over $30 and kept a garment out of the landfill, all while honing a skill that serves the rugged, practical DIYer. Wear your creation with pride, knowing it was built by hand, with precision, and with a clever eye for design. Now, go out there and put that new gear to work!

Makenzie is the founder and lead writer at MoneyHackTips.com — a personal finance blog dedicated to delivering street-smart financial wisdom for real people on real budgets. With 300+ published articles covering everything from debt management to investing fundamentals, Makenzie’s mission is to make every dollar work harder. When not writing about money hacks, Makenzie is testing frugal living strategies, optimizing side hustles, and helping readers build financial freedom from scratch.