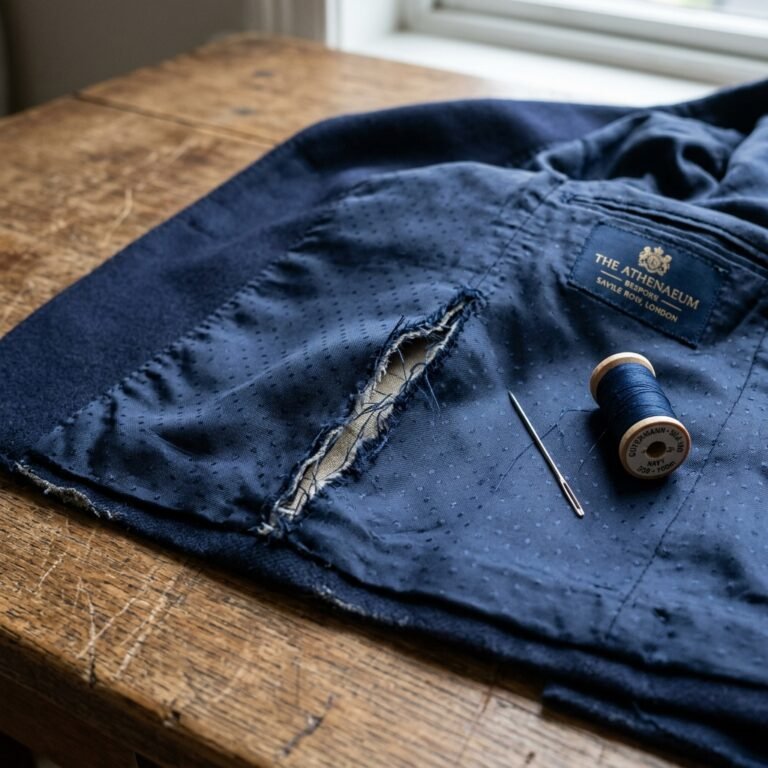
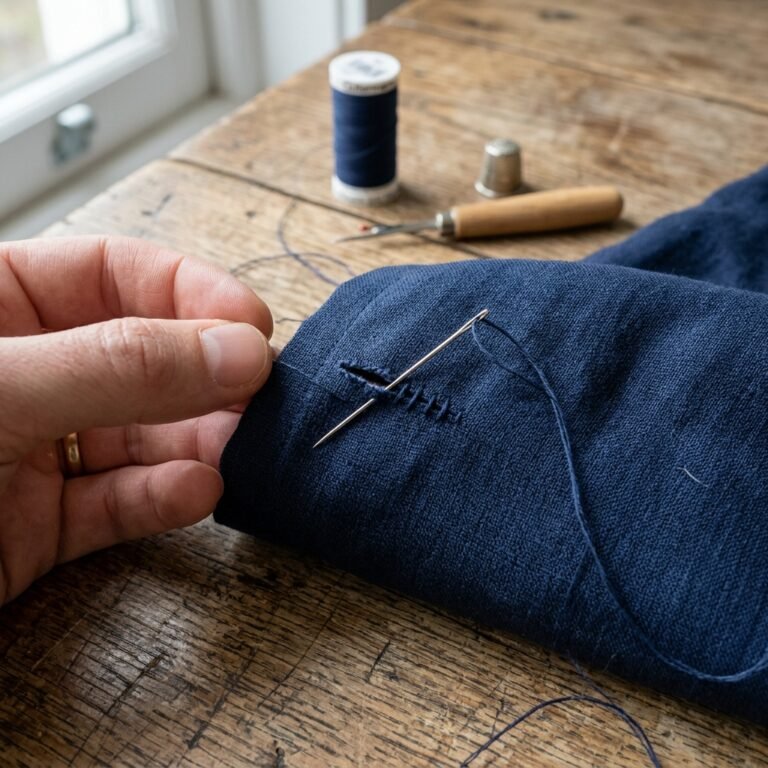
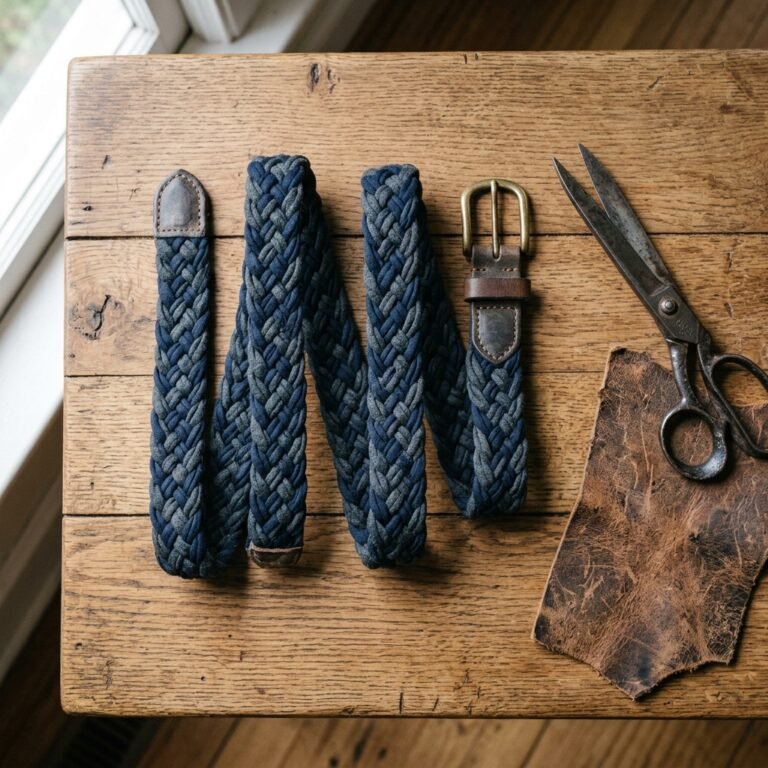
When the mercury drops and the frost begins to creep across the windowpane, there is no companion quite as loyal as a hot water bottle. But let’s be honest: those naked rubber bottles are neither aesthetically pleasing nor particularly comfortable against the skin. They are utilitarian, yes, but they lack the soul and warmth of a well-crafted accessory. Enter the upcycled sweater cover—a project that combines the rugged practicality of traditional insulation with the clever resourcefulness of the modern frugal DIYer. By rescuing a moth-eaten or shrunken wool sweater from the back of the closet or the local thrift bin, you can create a bespoke, masculine-elegant cover that looks like it belongs in a high-end boutique for a total cost of $0. This isn’t just about staying warm; it’s about the satisfaction of darning, cutting, and stitching a piece of history into a functional tool for the modern home. Whether you are a budget-savvy crafter or a handy parent looking to keep the kids warm without cranking up the thermostat, this guide will walk you through the process of turning ‘trash’ into a winter treasure.
The Anatomy of a Perfect Donor: Fabric Selection for Maximum Warmth
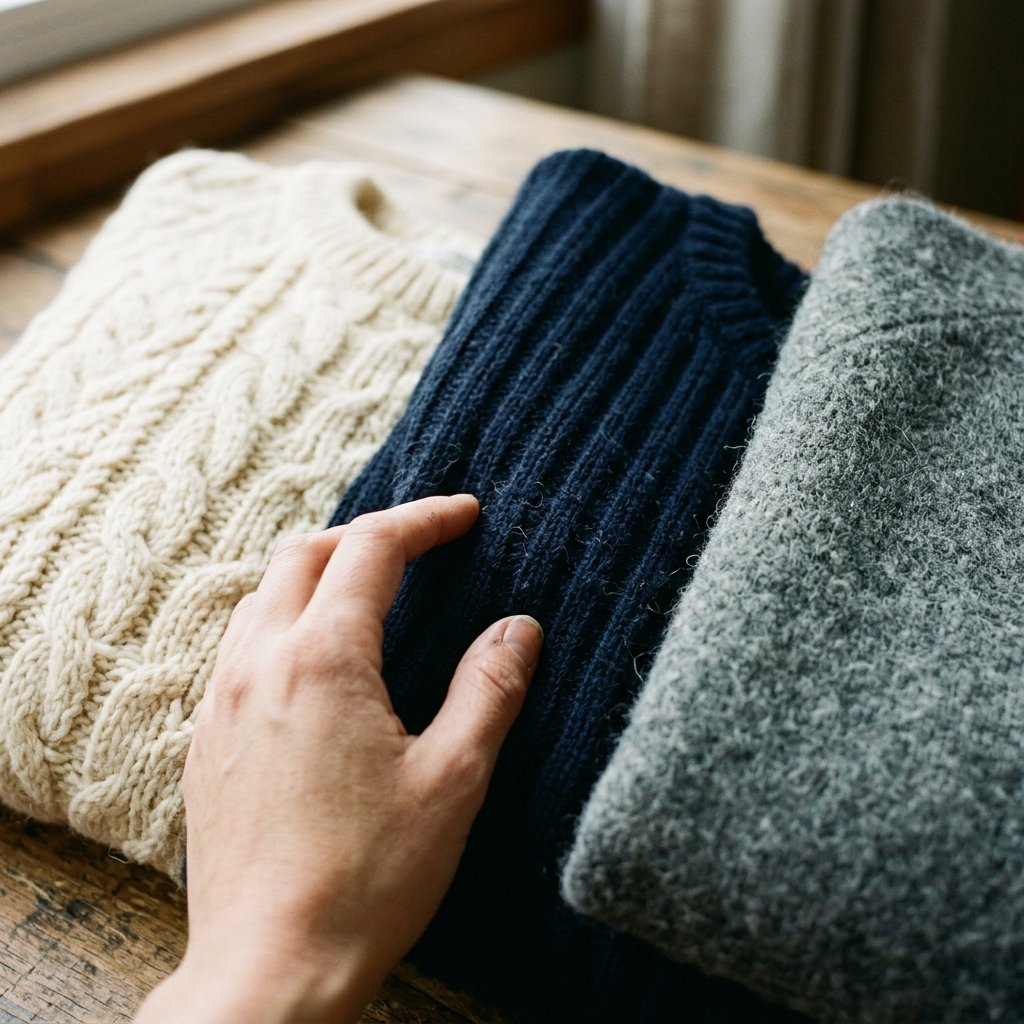
Not all sweaters are created equal. When you are scouting for the perfect donor garment, you need to think like a thermal engineer. The goal is insulation and durability. A thin, synthetic blend might look nice, but it won’t hold the heat or protect your skin from the initial scald of a freshly filled bottle. Look for 100% Wool, Cashmere, or heavy Lambswool. These natural fibers are breathable yet incredible at trapping heat. If you find a sweater that has been accidentally felted (shrunken in the wash), you’ve hit the jackpot; felted wool doesn’t fray when cut, making it the ultimate material for a rugged, no-sew or minimal-sew project.
| Fabric Type | Heat Retention | Durability | DIY Difficulty |
|---|---|---|---|
| 100% Wool | Excellent | High | Easy (if felted) |
| Cashmere | Superior | Medium | Moderate |
| Acrylic/Synthetic | Poor | Low | Easy |
| Cotton Knit | Moderate | High | Moderate (frays easily) |
The Thrift Store Scout’s Checklist
- Check the Seams: Look for side seams. Sweaters knit in the round are harder to reshape.
- The Texture Test: Choose cable knits or chunky ribs for that classic, rugged aesthetic.
- Moth Holes: Don’t be afraid of small holes! We can easily cut around them or use them as an excuse for a decorative ‘visible mending’ patch.
The Rugged Tool Kit: Everything You Need for a $0 Build
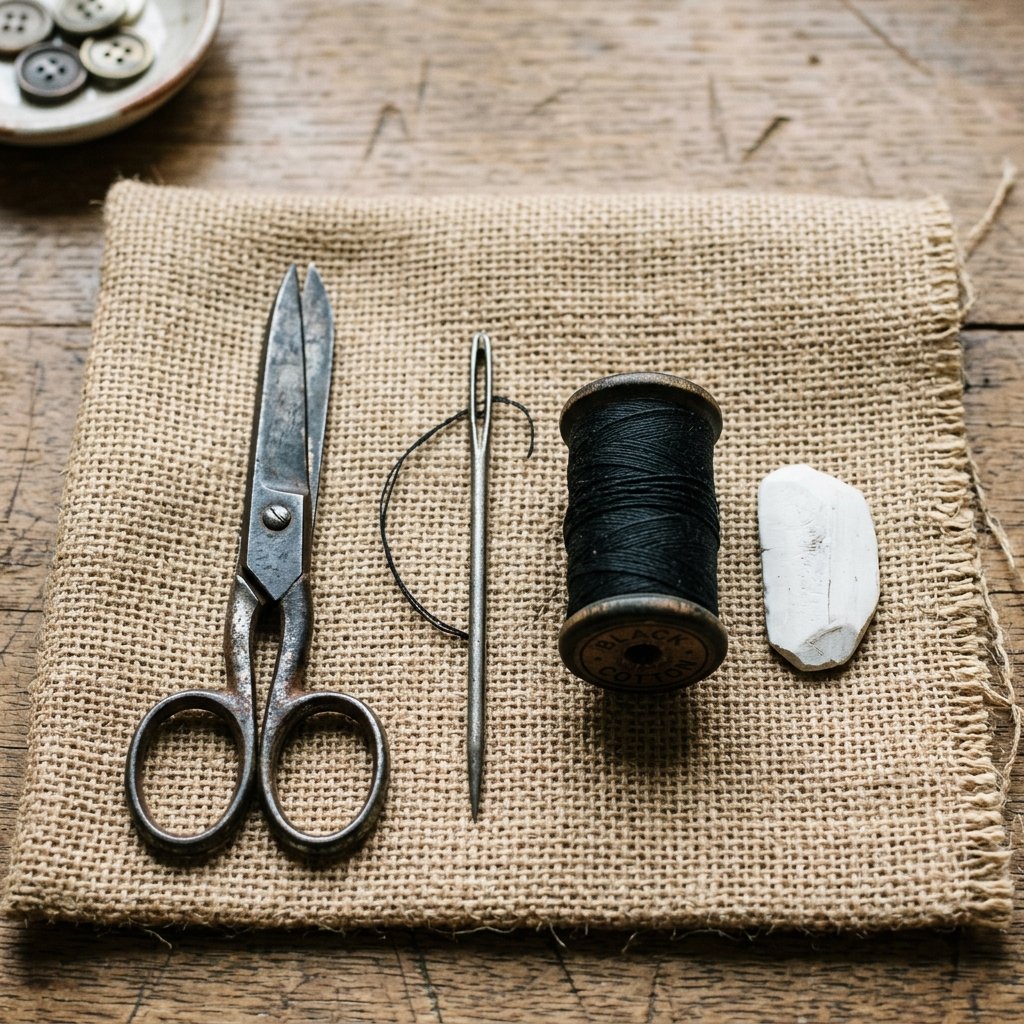
You don’t need a fancy sewing machine or an industrial studio to pull this off. In the spirit of the resourceful craftsman, we will use what is already in your junk drawer or mending kit. The beauty of working with heavy knits is that they are forgiving. Your stitches don’t have to be perfect; they just have to be strong.
“A man is only as good as his tools, but a master is defined by what he can achieve with the simplest of them.”
| Tool | Purpose | Frugal Alternative |
|---|---|---|
| Fabric Shears | Clean cuts through thick wool | Sharp kitchen scissors |
| Large Embroidery Needle | Threading thick yarn or twine | A standard needle (if using thread) |
| Heavy-Duty Thread | Ensuring seams don’t burst | Dental floss (unwaxed) or fishing line |
| Straight Pins | Holding the bottle in place | Binder clips or paper clips |
| Chalk or Soap Sliver | Marking cut lines | A pencil or a dried piece of bar soap |
Pro Tip: The Soap Sliver Trick
Instead of buying expensive tailor’s chalk, use a nearly-gone sliver of bar soap. It marks dark fabrics perfectly and washes out instantly with a little steam. It’s the ultimate budget-savvy hack for the crafty mender.
The Step-by-Step Transformation: Cutting and Assembly
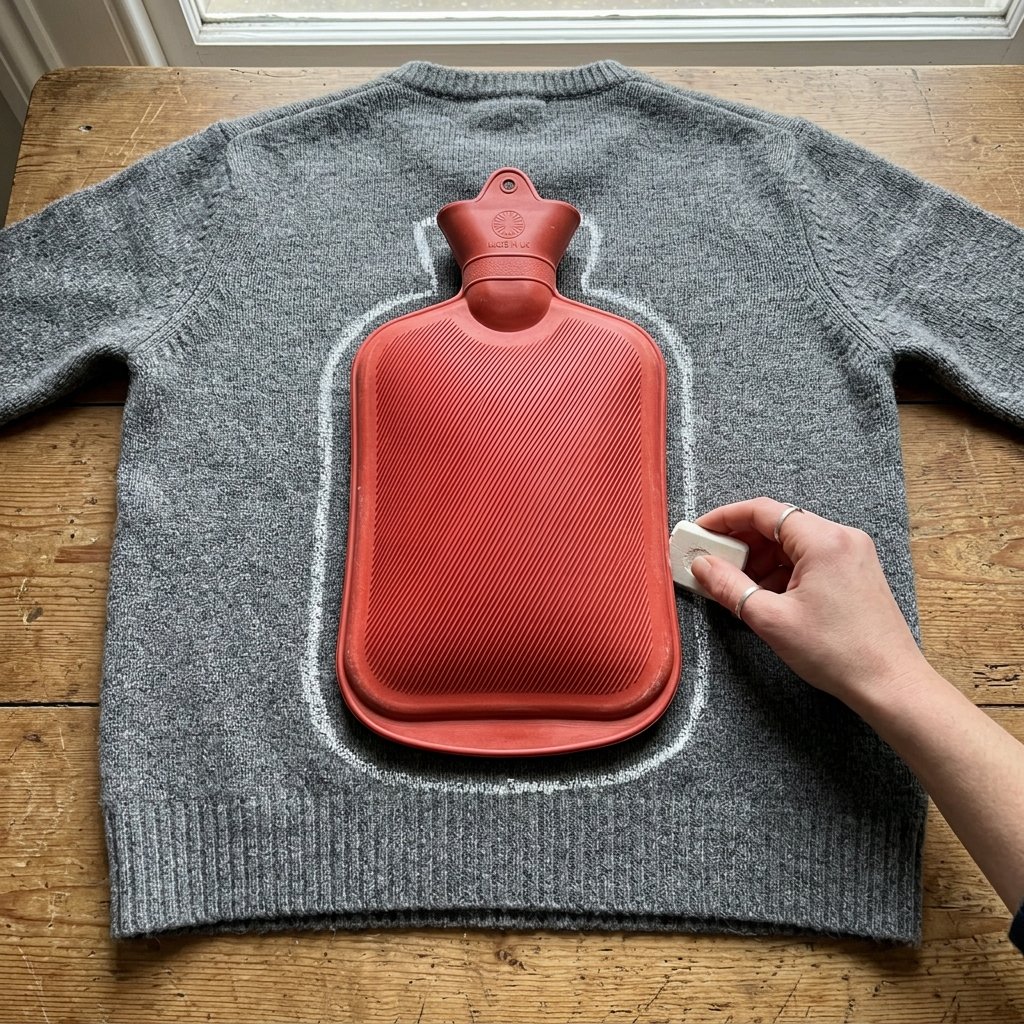
Now, let’s get down to business. The most efficient way to make a cover is to utilize the existing hem of the sweater as the ‘mouth’ of the bottle cover. This saves you from having to finish a complicated edge.
- The Alignment: Lay your sweater flat on a hard surface. Slide the empty hot water bottle inside the sweater, aligning the bottom of the bottle with the bottom hem of the sweater.
- The Marking: Using your soap sliver, trace a perimeter around the bottle, leaving a 1-inch (2.5cm) margin for the seam allowance. Important: Trace all the way up the neck of the bottle.
- The Cut: Carefully cut through both layers of the sweater simultaneously. You should now have two identical bottle-shaped pieces of knit fabric.
- The Pinning: Turn the pieces so the ‘right sides’ (the pretty sides) are facing each other. Pin around the edges, leaving the top neck area open.
- The Stitch: Use a Backstitch for maximum strength. This stitch mimics a machine’s durability and ensures that as the bottle expands with hot water, your seams won’t pop.
“The Backstitch Formula: Bring the needle up through the fabric, go back a stitch length, and come out a stitch length ahead. It creates a continuous, unbreakable line of thread.”
The Masculine-Elegant Finish: Customizing for Style and Function
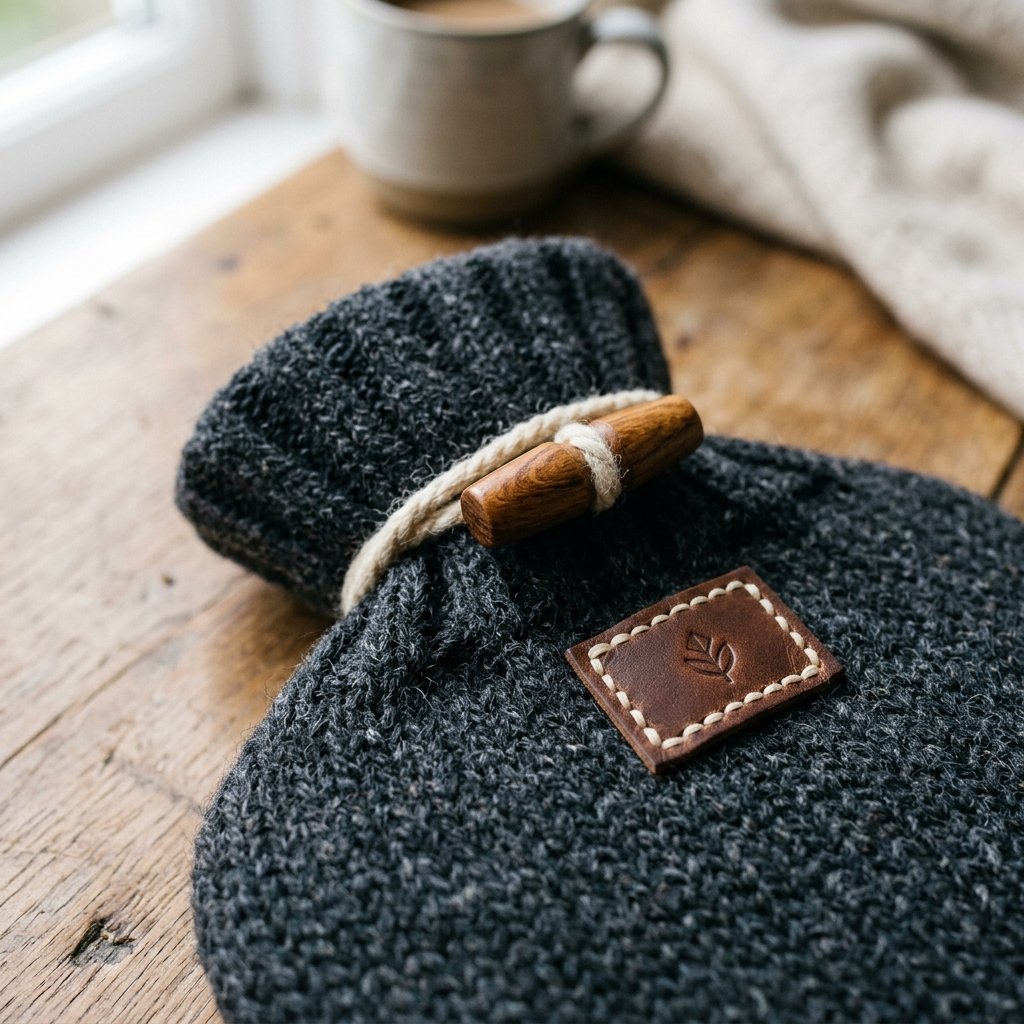
To elevate your cover from a simple DIY to a ‘Masculine-Elegant’ accessory, we need to add some thoughtful details. These additions aren’t just for show; they improve the grip and the ease of use.
Adding a Leather Pull-Tab
If you have an old leather belt or a scrap from a worn-out boot, cut a small 2-inch strip. Fold it over the side seam near the top and sew it in place with a ‘box-X’ stitch. This gives you a rugged handle to pull the cover off when it’s time for a wash.
The Wooden Toggle Closure
If your sweater neck is a bit loose, don’t just sew it shut. Use a wooden toggle or a large button. This allows you to easily slip the bottle in and out. If you don’t have a button, a small, smooth twig from the backyard can be sanded and drilled to create a 100% free rustic closure.
| Add-on | Material Cost | Style Impact |
|---|---|---|
| Leather Tab | $0 (Upcycled) | Rugged / Industrial |
| Wooden Toggle | $0 (Found) | Rustic / Classic |
| Contrast Stitching | $0 (Scrap yarn) | Bespoke / Crafty |
Safety First: The Golden Rules of Hot Water Bottle Use
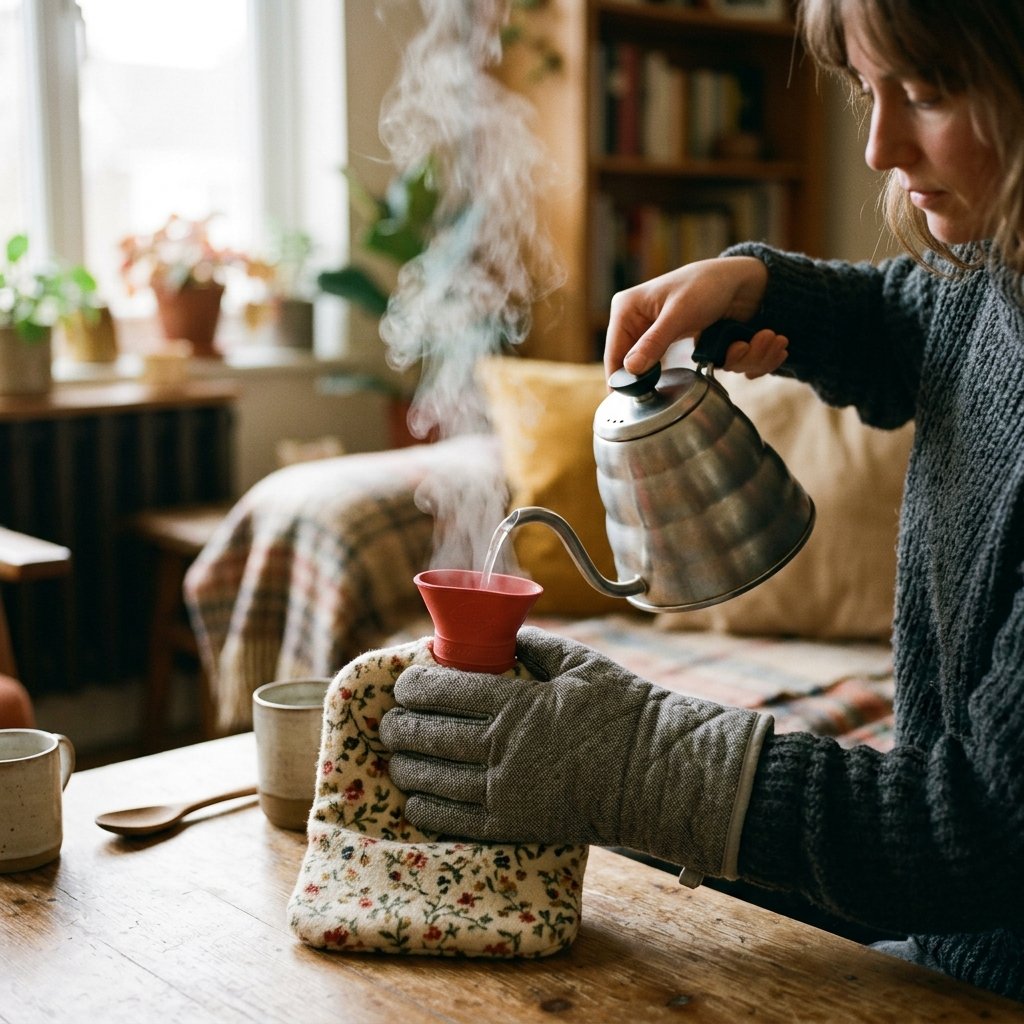
As much as we love a cosy hack, safety is paramount. A hot water bottle is a vessel of energy, and it must be treated with respect. Your new upcycled cover is a safety feature in itself, providing a barrier against burns, but the bottle inside needs care too.
“Safety Mantra: Never use boiling water, never overfill, and always check for leaks before you tuck in.”
- Temperature Control: Use hot, but not boiling water. Boiling water can degrade the rubber over time, leading to a dangerous burst. Aim for around 140°F to 160°F (60°C to 70°C).
- The 2/3 Rule: Never fill the bottle to the top. Fill it about two-thirds full, then gently squeeze the air out until the water reaches the neck before screwing on the stopper. This makes the bottle more flexible and less likely to leak under pressure.
- The Inspection: Every winter, perform a ‘pressure test.’ Fill the bottle with cold water, seal it, and squeeze firmly over a sink. If you see any cracks or weeping, it is time to retire the bottle (but keep your cover!).
Conclusion
Creating your own upcycled sweater hot water bottle cover is more than just a weekend project; it’s a masterclass in resourceful living. For the cost of a few minutes of your time and a garment that was headed for the landfill, you’ve created a high-quality, durable, and stylish winter essential. This project embodies the ‘Trash-to-Treasure’ philosophy, proving that with a little cleverness and a sharp pair of shears, you can bypass the consumer cycle and craft something truly unique. Whether you’re keeping it for those long, chilly nights in your own workshop or gifting it to a loved one as a thoughtful, handmade gesture, this cover is a testament to the power of the DIY spirit. So, go ahead—raid that closet, find that wool, and get stitching. Stay warm, stay crafty, and stay budget-savvy.

Makenzie is the founder and lead writer at MoneyHackTips.com — a personal finance blog dedicated to delivering street-smart financial wisdom for real people on real budgets. With 300+ published articles covering everything from debt management to investing fundamentals, Makenzie’s mission is to make every dollar work harder. When not writing about money hacks, Makenzie is testing frugal living strategies, optimizing side hustles, and helping readers build financial freedom from scratch.