
The Arm-Length Lottery: Why Off-the-Rack Rarely Fits
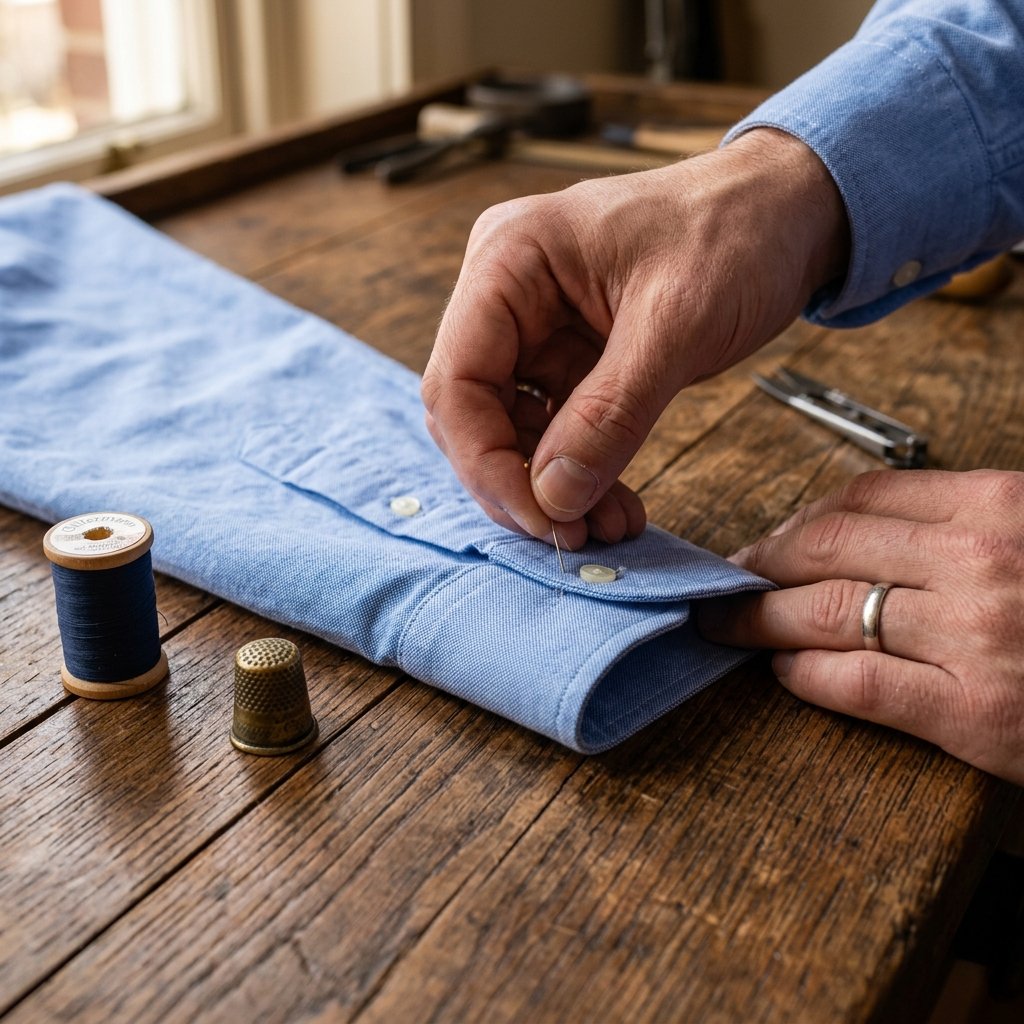
We have all been there. You find the perfect dress shirt—the collar is crisp, the fabric is a high-grade Egyptian cotton, and the price is an absolute steal. But there is one glaring problem: the sleeves are two inches too long, bunching up at your wrists like an accordion. In the world of mass-produced menswear, brands cater to the ‘average’ arm length, which often leaves the rest of us looking like we are wearing our older brother’s hand-me-downs. Traditionally, this meant a trip to the tailor, a $20 to $30 fee, and a week of waiting. But what if you could reclaim that time and money? As a resourceful DIYer, you don’t need a sewing machine or a professional degree in garment construction. You simply need a needle, some thread, and 10 minutes of focus. This guide will teach you the ‘No-Tailor Hack’—a rugged, practical, and elegant way to shorten your sleeves by hand, ensuring your cuffs land exactly where they should: one inch past your wrist bone.
The Gentleman’s Toolkit: Essential Materials for a Precision Hem
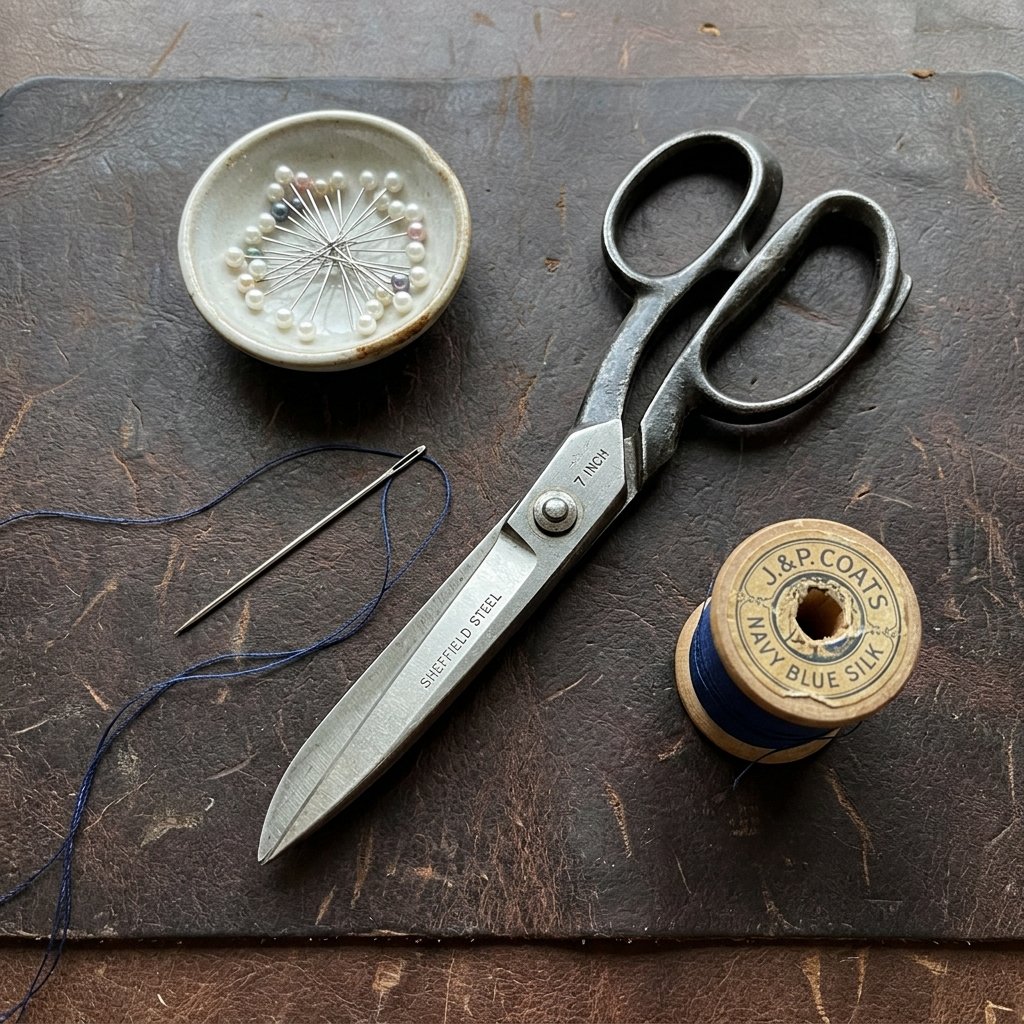
Before we make the first cut or stitch, we must gather our supplies. A true craftsman knows that the quality of the tool dictates the quality of the finish. You don’t need an expensive setup; in fact, you likely have most of these items in a junk drawer or a basic mending kit. The goal is to achieve an invisible finish that looks like it came straight from a Savile Row atelier. We are trading $25 for about $0.05 worth of thread and a bit of ‘elbow grease.’
| Material | Purpose | Estimated Cost |
|---|---|---|
| Sharp Sewing Needle | Precision stitching through cotton/linen. | $0.10 |
| Matching Thread | Polyester or cotton-wrapped poly for strength. | $0.05 |
| Fabric Shears | Clean cuts to prevent fraying. | Free (Owned) |
| Fine Pins | Holding the fold in place before stitching. | $0.02 |
| Steam Iron | Setting the crease for a professional look. | Free (Owned) |
Choosing the Right Thread
Always match your thread color to the darkest shade in the fabric. If you are hemming a patterned shirt, choose the dominant background color. For a 100% invisible look, a slightly darker thread is better than a lighter one, as it hides in the shadows of the fabric folds.
The Blueprint: Measuring for the Perfect Cuff Break
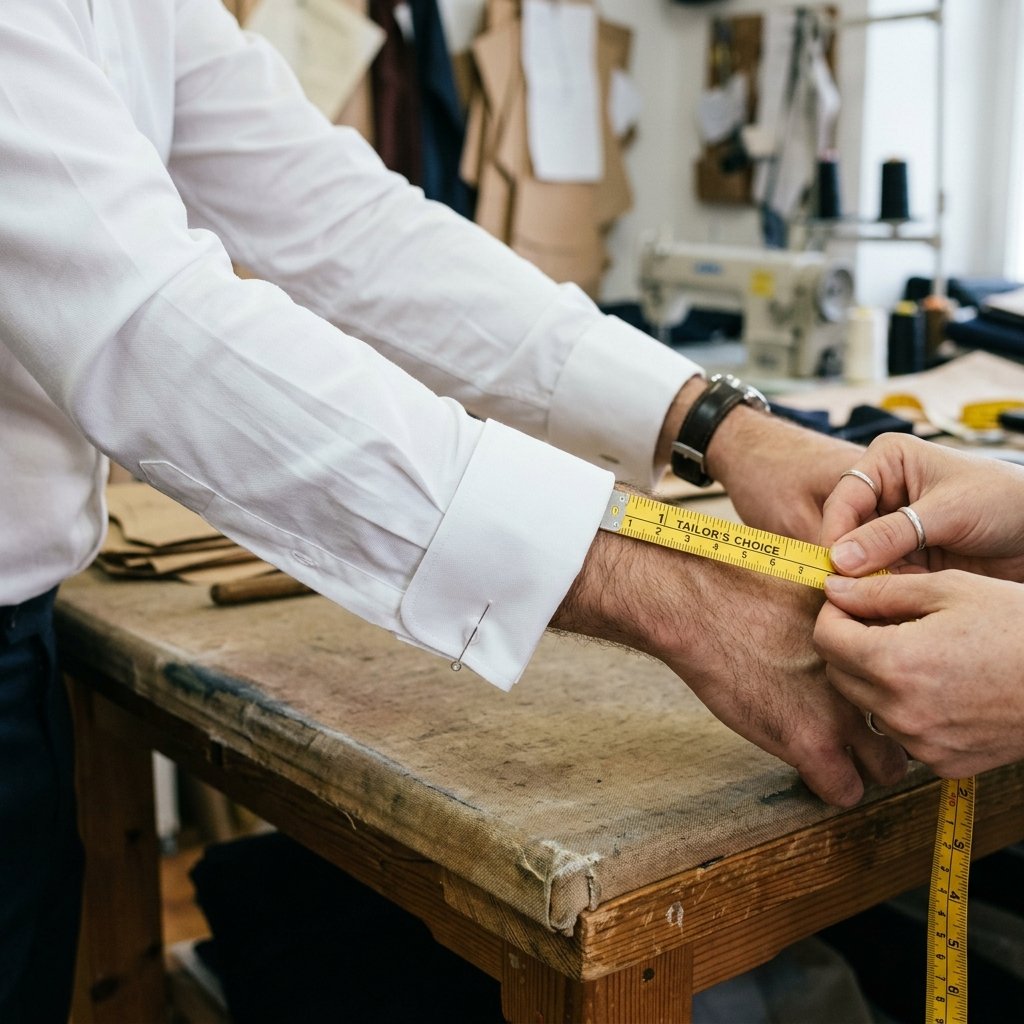
Precision is the difference between a ‘hack job’ and a ‘hand-tailored’ masterpiece. To find your ideal sleeve length, put the shirt on and stand naturally. Do not reach or stretch. Your sleeve should end exactly where your thumb meets your wrist. This allows about half an inch of shirt cuff to show when you wear a blazer over it—the hallmark of a well-dressed man.
- Step 1: Unbutton the cuff and fold the excess fabric inward to the desired length.
- Step 2: Use three to four pins to secure the fold around the circumference of the arm.
- Step 3: Bend your arm. If the cuff pulls too tight against your forearm, you’ve gone too short. Aim for comfort and mobility.
- Step 4: Once satisfied, use a fabric chalk or a simple pencil to mark the ‘fold line’ on the inside of the sleeve.
“Measure twice, cut once—or in this case, pin twice and stitch once. The secret to a professional hem is the iron; never skip the pressing stage.”
The Secret Stitch: Mastering the Blind Hem by Hand
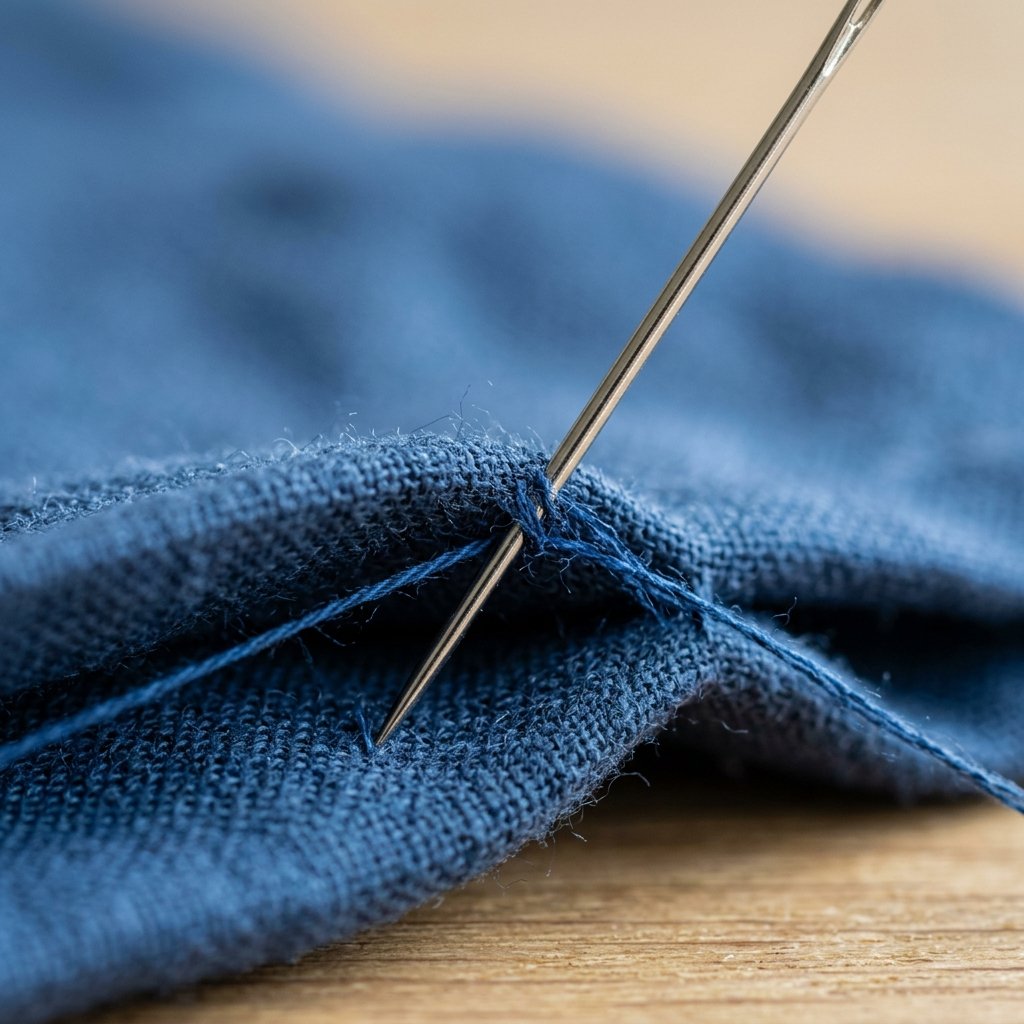
How do tailors make the thread disappear? They use a technique called the Blind Hem Stitch. This method catches only a single thread of the exterior fabric, making the stitch virtually invisible from the outside. It is rugged enough to withstand daily wear but elegant enough for a tuxedo shirt.
The Stitching Process
- Thread the Needle: Use about 18 inches of thread. Any longer and it will tangle; any shorter and you will run out mid-sleeve. Double-knot the end.
- Anchor the Thread: Start on the inside of the folded hem (the part no one sees). Pass the needle through the seam allowance to hide the knot.
- The Tiny ‘Bite’: Reach the needle across to the main sleeve fabric and pick up just one or two fibers. This is the ‘bite.’
- The Slide: Pass the needle back into the fold of the hem, sliding it forward about 1/4 inch before coming back out for the next bite.
- Tension Check: Keep your stitches firm but not tight. If you pull too hard, the fabric will pucker, ruining the clean silhouette.
| Fabric Type | Stitch Difficulty | Pro Tip |
|---|---|---|
| Oxford Cotton | Easy | Use a slightly thicker needle; the weave is forgiving. |
| Broadcloth/Poplin | Medium | Use a very fine needle to avoid visible holes. |
| Linen | Easy | Linen hides stitches well due to its textured weave. |
| Flannel | Beginner | The fuzziness of flannel makes stitches 100% invisible. |
The 10-Minute Execution: A Step-by-Step Tactical Guide
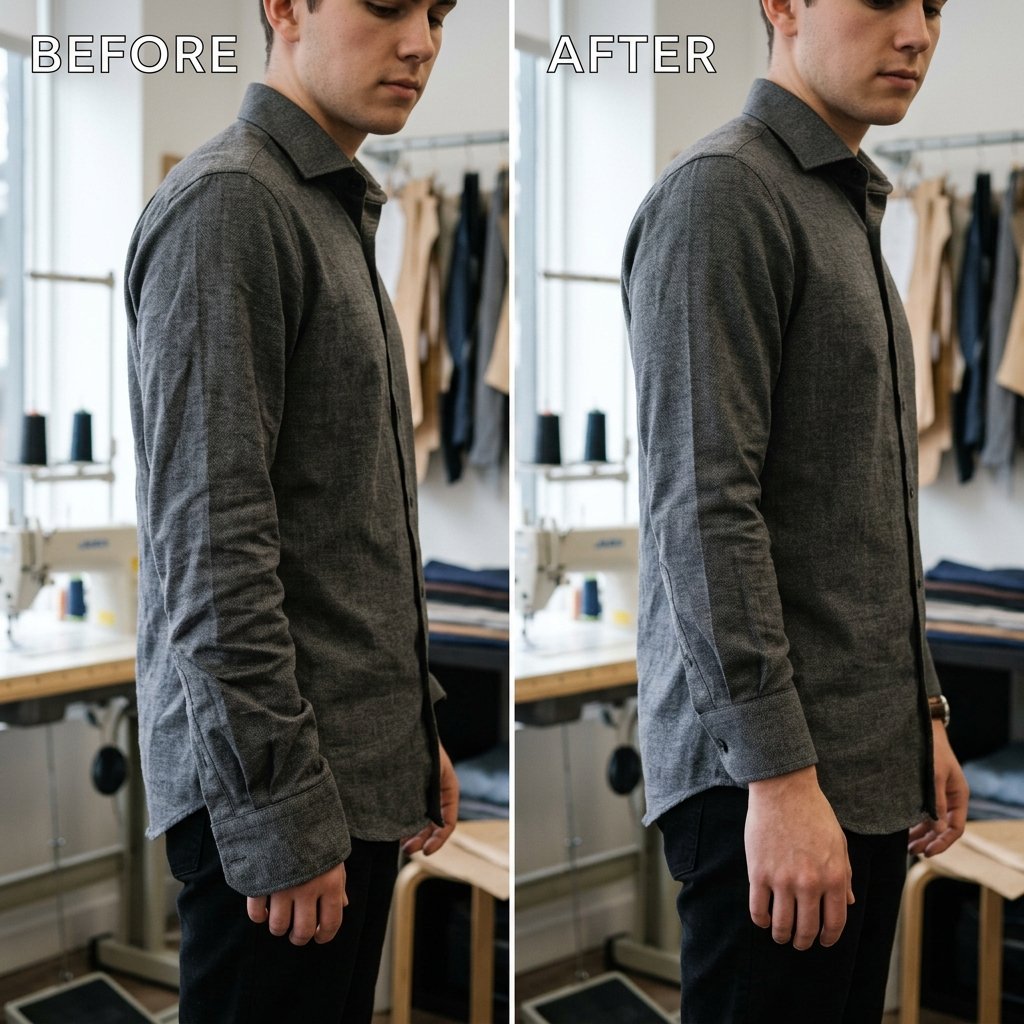
Now that you know the stitch, let’s execute. We are going to move with efficiency. Set a timer—once you master this, you can finish a shirt in the time it takes to brew a pot of coffee.
Phase 1: The Prep (2 Minutes)
Turn the shirt inside out. Fold the excess fabric up into the sleeve. If you are shortening by more than 2 inches, you may want to trim the excess, leaving 1 inch for the hem. Use your iron to press this fold flat. A sharp crease is your best friend.
Phase 2: The Stitching (6 Minutes)
Work your way around the sleeve using the Blind Hem Stitch. Focus on consistency. Each ‘bite’ should be spaced evenly. Since you are working by hand, you have total control over the tension. If you make a mistake, simply snip the thread and start over—it’s a zero-risk operation.
Phase 3: The Finish (2 Minutes)
Once you reach your starting point, tie off the thread with a double surgical knot inside the fold. Give the sleeve one final press with the steam iron to ‘set’ the stitches. Flip the shirt right-side out and admire your work. You just saved $20 and a trip to the mall.
“Tailoring is not just about clothes; it is about taking ownership of your appearance through practical skill.”
Conclusion
Wear It With Pride: The Frugal Tailor’s Victory
By mastering this 10-minute hack, you have graduated from a passive consumer to a savvy creator. You no longer have to pass up a great deal on a shirt just because the sleeves aren’t perfect. You have the ‘rugged elegance’ to fix it yourself. This skill doesn’t just save you hundreds of dollars a year in alteration fees; it ensures that every garment you own fits like it was custom-made for your frame. Remember, the most expensive suit in the world looks cheap if it doesn’t fit, but a $10 thrift store find looks like a million bucks when the hems are hit with precision. Now, go through your closet, find those ‘accordion sleeves,’ and get to work. Your wardrobe—and your wallet—will thank you.

Makenzie is the founder and lead writer at MoneyHackTips.com — a personal finance blog dedicated to delivering street-smart financial wisdom for real people on real budgets. With 300+ published articles covering everything from debt management to investing fundamentals, Makenzie’s mission is to make every dollar work harder. When not writing about money hacks, Makenzie is testing frugal living strategies, optimizing side hustles, and helping readers build financial freedom from scratch.