The Rise of the Budget-Savvy Upcycler
Let us face a harsh reality: retail loungewear prices have gotten completely out of hand. You walk into a trendy boutique or browse online, and suddenly you are staring at a price tag of $80 to $120 for a simple cotton shorts-and-tee set. For the frugal DIYer, the handy parent, and the resourceful upcycler, paying those prices is simply out of the question. Why empty your wallet for mass-produced basics when you have the power to create custom, perfectly fitted, and incredibly stylish lounge sets for pennies on the dollar?
Welcome to the ultimate trash-to-treasure clothing hack. If you have been decluttering your closet and tossing oversized, baggy T-shirts into the donation pile, stop right there! Those massive, seemingly shapeless garments are actually blank canvases waiting for a clever transformation. The men’s XXL section at your local thrift store is an absolute goldmine for high-quality, heavyweight cotton fabric that costs mere pocket change. In this comprehensive masterclass, we are going to dive deep into the art of upcycling, teaching you how to slice, dice, and stitch a single oversized T-shirt into a trendy two-piece lounge set instantly.
“True style is not about how much you spend; it is about how resourcefully you can envision the potential in what others discard.”
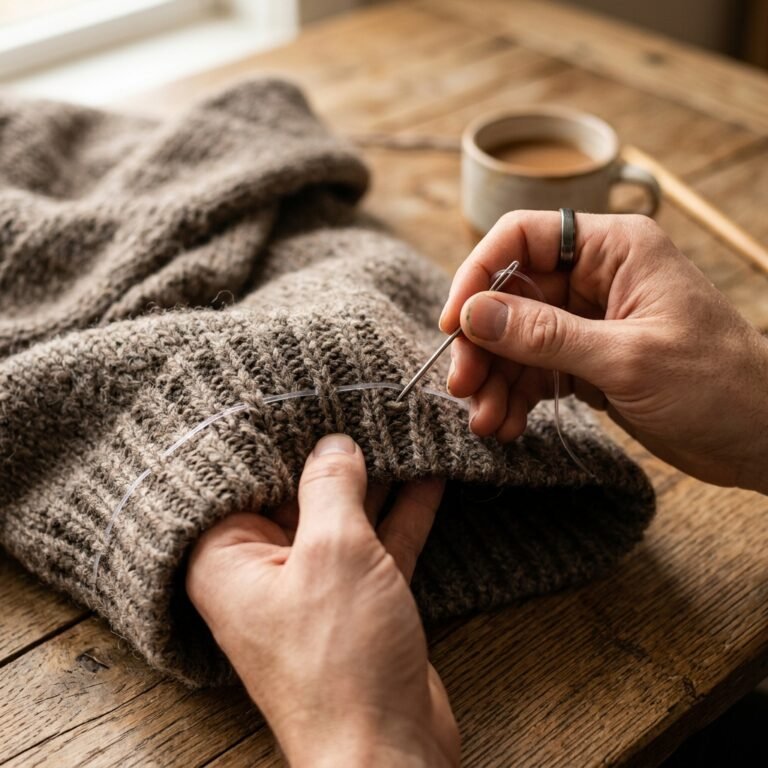
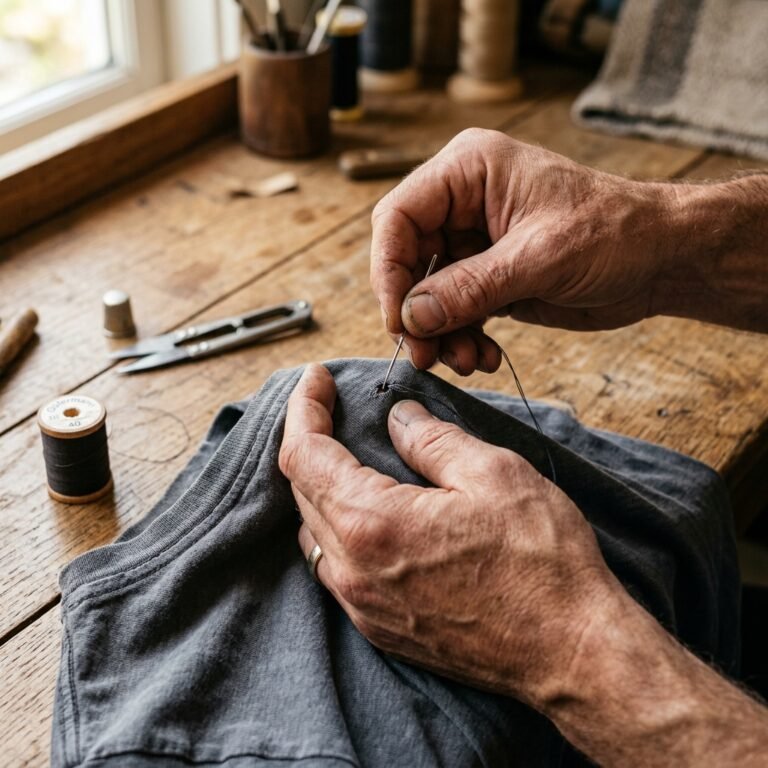
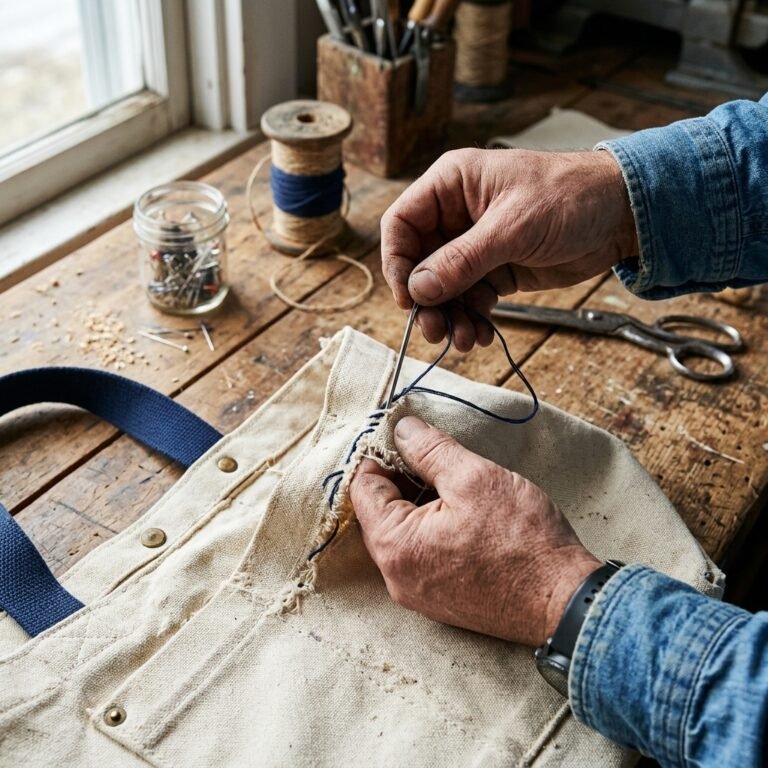
Whether you are a seasoned sewist with a heavy-duty machine or a resourceful crafter armed with nothing but a needle, thread, and sheer determination, this guide is built for you. We will walk through the foolproof measuring tricks, the precise cutting techniques, and the sturdy hand-mending stitches that will ensure your new lounge set survives countless movie nights, errand runs, and cozy weekend mornings. Grab your fabric scissors, clear off your dining room table, and let us turn that $2 thrifted tee into a boutique-worthy masterpiece!
Section 1: The Anatomy of the Perfect Oversized Tee

Selecting Your Canvas: Size and Fabric Matter
Before you make a single cut, you need the right raw material. Not all T-shirts are created equal when it comes to upcycling into a two-piece set. The secret to a successful transformation lies in the size and the fabric composition. You want a shirt that is at least three to four sizes larger than your standard fit. If you normally wear a medium, you should be hunting for an XXL or XXXL. This excess fabric is crucial because you need enough width to accommodate the circumference of your hips for the shorts, plus seam allowances.
Understanding Fabric Blends
When you are thrifting or raiding your spouse’s discarded clothing pile, pay close attention to the care tag. The fabric composition dictates how the garment will drape, how easy it will be to sew, and how it will hold up in the wash. Heavyweight 100% cotton is the holy grail for a rugged, structured look, while a cotton-spandex blend offers that luxurious, stretchy boutique feel.
| Fabric Material | Stretch Factor | Best Upcycle Use Case |
|---|---|---|
| 100% Heavyweight Cotton | Minimal stretch. Highly durable. | Best for structured, boxy tops and loose, relaxed-fit shorts. Easy to sew. |
| Cotton/Polyester Blend | Medium stretch. Resists shrinking. | Great for comfy, everyday wear. Edges will not curl as much when cut raw. |
| Spandex/Modal Blends | High stretch. Ultra-soft drape. | Perfect for form-fitting lounge shorts and draped, off-the-shoulder tops. |
Always check the shirt for hidden stains or holes. However, if there is a small hole near the bottom hem, do not panic! Since we are cutting the shirt in half, you can easily work around minor imperfections. This is the essence of clever, budget-savvy crafting: turning flaws into design features.
Section 2: The Crafty Toolkit and Budget Breakdown
Arming Yourself for the Upcycle
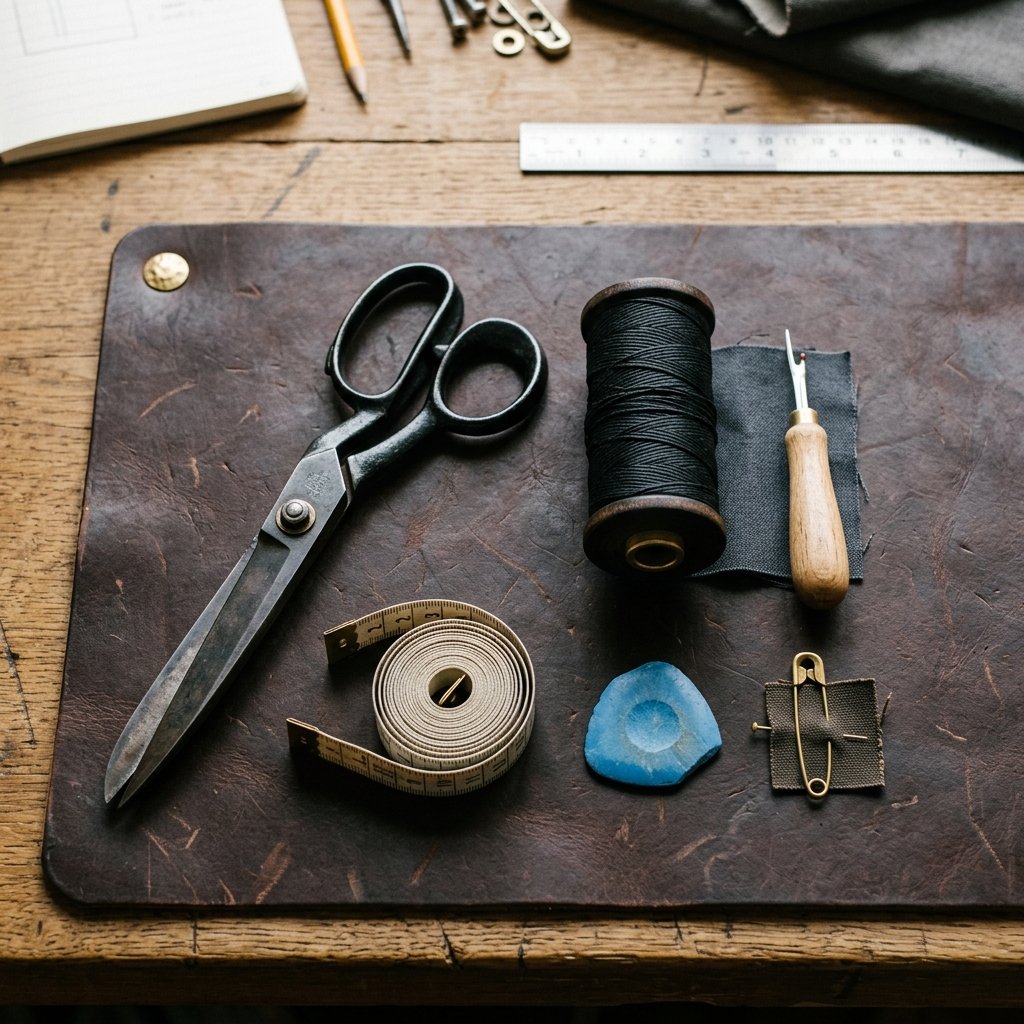
One of the most encouraging aspects of this project is how little equipment you actually need. You do not need a $500 sewing machine to make a gorgeous lounge set. A few basic, practical tools will get the job done beautifully. If you are a handy parent or a crafty expert, you likely already have these items in your junk drawer or sewing kit.
- Heavy-Duty Fabric Scissors: Do not use your kitchen scissors! A sharp pair of fabric shears ensures clean, non-frayed edges.
- Tailor’s Chalk or a Washable Marker: For mapping out your cuts.
- A Pair of Well-Fitting Shorts: To use as your custom template.
- Elastic Band: About 1 inch wide, measured to your waist size.
- Needle and Thread (or Sewing Machine): Heavy-duty polyester thread is recommended for durability.
- Safety Pin: The ultimate hack for threading elastic through a waistband.
The Frugal Reality: DIY vs. Store-Bought
Let us look at the numbers. The satisfaction of upcycling isn’t just creative; it is incredibly financial. By utilizing items you already own and sourcing cheap thrifted garments, your savings are astronomical.
| Item / Component | Retail Price (Store-Bought) | Thrift/DIY Cost |
|---|---|---|
| Matching Lounge Set | $60 – $120 | $0 – $4 (Thrifted Tee) |
| Waistband Elastic (1 yard) | Included in retail | $1.50 (or salvaged from old pants) |
| Thread, Needles & Chalk | N/A | $0.50 (from your stash) |
| Total Estimated Cost | $60+ | Under $6 |
“Safety Note: When using extremely sharp fabric shears or rotary cutters, always cut away from your body and keep your non-dominant hand clear of the cutting path. If working with kids on an upcycle project, handle the cutting steps yourself!”
Section 3: Measuring and Marking the Blueprint
Drafting Your Custom Pattern
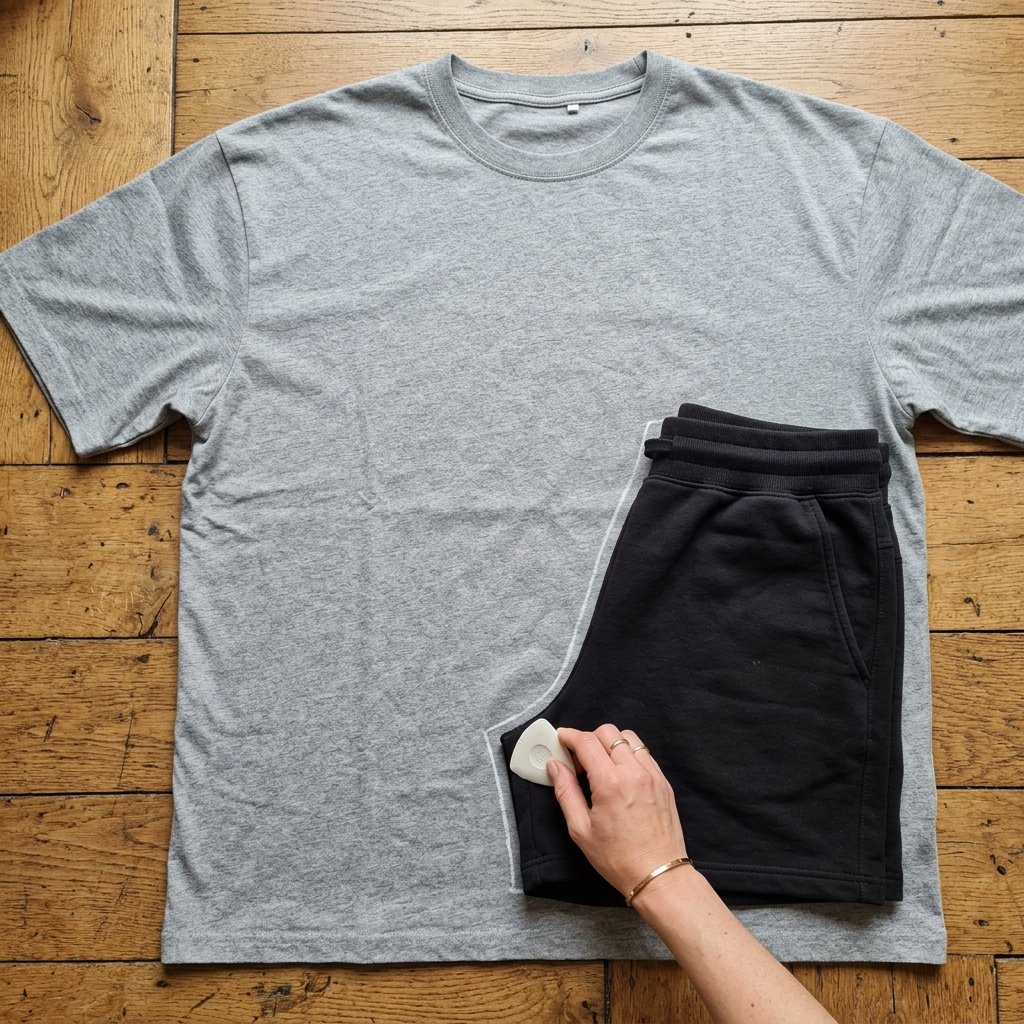
Now comes the clever part: creating a custom pattern without actually buying a pattern. We are going to use a pair of your favorite, best-fitting lounge shorts as a template. This ensures the final product fits your unique body perfectly. Lay your oversized T-shirt completely flat on a large table or the floor. Smooth out all the wrinkles so the front and back hems align perfectly.
Step-by-Step Marking Guide
- Fold Your Template Shorts: Take your favorite pair of shorts and fold them in half vertically, so the crotch seam is pushed out to one side.
- Position the Template: Place the folded shorts onto the bottom corner of the T-shirt. Align the bottom hem of the shorts with the bottom hem of the T-shirt. This is a massive time-saver: you are utilizing the T-shirt’s existing factory hem for your shorts, meaning you won’t have to sew a new hem later!
- Trace the Outline: Using your tailor’s chalk, trace around the curved crotch seam, the waistband, and the side. Crucial Step: Add a 1-inch seam allowance around your tracing. You need this extra fabric for sewing and for creating the elastic casing at the waist.
- Flip and Repeat: Once you have traced one leg, flip your template shorts over and trace the second leg on the opposite bottom corner of the T-shirt.
You should now have two distinct leg shapes drawn on the bottom half of the massive tee. The top half of the tee (from the chest up) will become your trendy crop top. This resourceful layout ensures practically zero fabric waste!
Section 4: The Cut – No Turning Back!

Executing the Perfect Cut
Take a deep breath. Cutting into fabric can feel intimidating, but remember: this is a $3 thrift store shirt. You are experimenting, learning, and crafting! Slide your heavy-duty fabric shears along the chalk lines you just drew.
Slicing the Shorts
- Cut through both the front and back layers of the T-shirt simultaneously. This ensures your front and back leg pieces are identical.
- Follow your chalk lines smoothly. Try to make long, continuous snips rather than short, choppy ones to keep the edges clean.
- Once you have cut out both leg pieces, set them aside. You now have the raw components for your lounge shorts.
Cropping the Top
Now, direct your attention to the remaining top half of the T-shirt. Depending on how long you want your top to be, draw a straight line across the chest or stomach area. If you want a trendy, boxy crop top, measure about 15 to 18 inches down from the shoulder seam and cut straight across. You can leave this bottom edge completely raw! Jersey cotton naturally rolls up slightly when cut and washed, giving it a highly sought-after, rugged, effortless look.
If the sleeves are too long, you can chop them off to create a muscle tee, or trim them down and roll them up for a stylized cuff. Do not throw away the fabric scraps! Frugal upcyclers know that those leftover middle strips of the T-shirt make excellent reusable cleaning rags or can be braided into a sturdy dog toy.
Section 5: Assembling the Shorts (Machine & Hand-Sewing)
Stitching It All Together
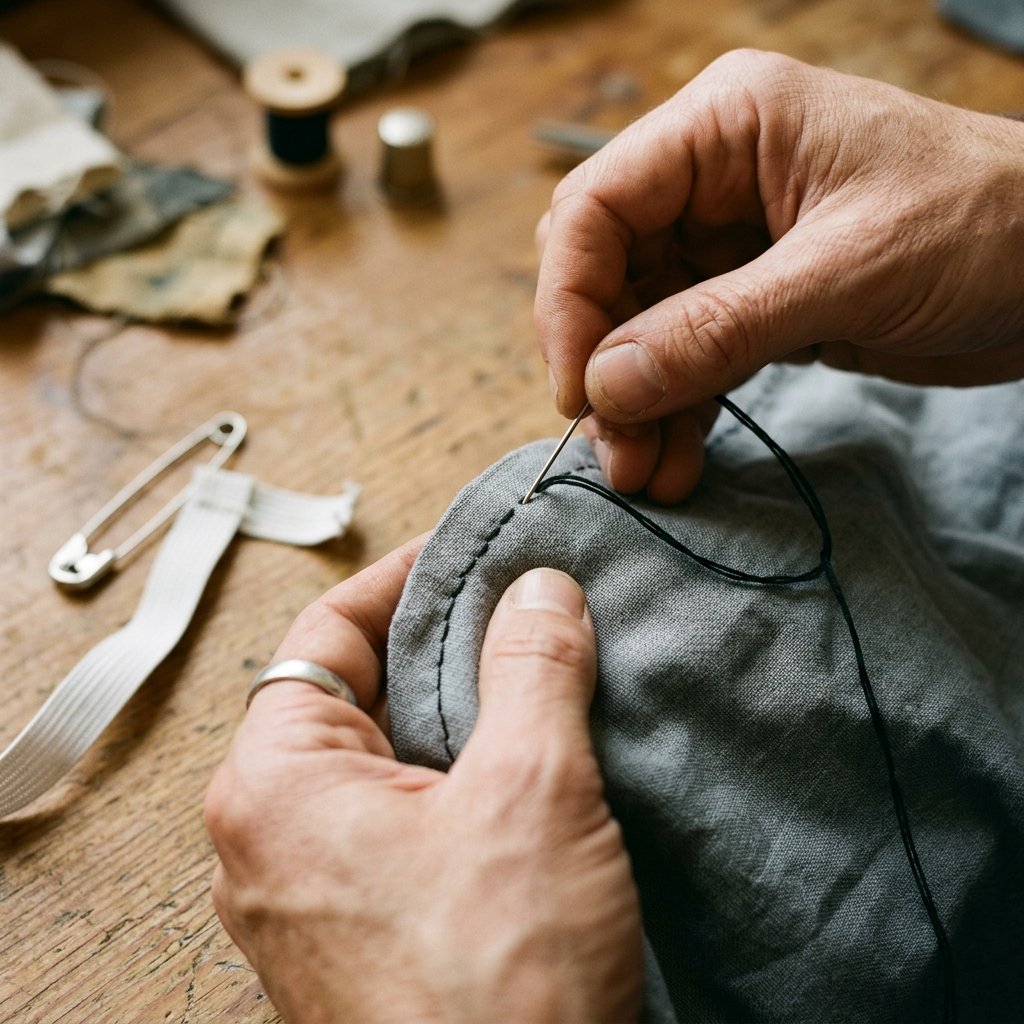
It is time to build your shorts. Whether you are using a sewing machine or relying on grandma’s secret hand-sewing techniques, the assembly process is identical. First, take your two leg pieces. Unfold them so you have two separate pieces of fabric, each resembling a U-shape. Place them right sides together (the printed or outside parts of the fabric should be touching each other).
The Crotch Seam
- Pin the curved U-shapes together. This curve is the crotch seam.
- Sew along this curve from the top waistband edge down to the point of the crotch. If you are hand-sewing, use a tight backstitch. The backstitch is incredibly strong and mimics the durability of a machine stitch, ensuring your shorts won’t split when you sit down!
- Repeat this for both the front curve and the back curve.
The Inseam
Once the front and back crotch seams are sewn, open up the fabric and align the crotch seams in the center. You will suddenly see the shape of the shorts! Now, pin the inner leg seams (the inseam) together in one continuous line from the bottom of one leg, up through the crotch, and down to the bottom of the other leg. Sew this line securely.
Creating the Waistband
“The Safety Pin Trick: Never struggle with threading elastic again. Pierce one end of your elastic with a large safety pin, close it, and use the hard metal head of the pin to guide the elastic through your fabric casing. It is a crafty expert’s best friend!”
Fold the top raw edge of your shorts down by 1.5 inches to create a casing for your elastic. Pin it in place and sew around the perimeter, making sure to leave a 2-inch gap open. Take your elastic (cut to your waist measurement minus 1 inch for snugness), attach your safety pin, and thread it all the way through the casing. Once the elastic comes out the other side, sew the two ends of the elastic together securely. Finally, sew the 2-inch fabric gap closed. Boom! Custom-fitted lounge shorts!
Section 6: Styling and Customizing the Trendy Top

Elevating the Basics
Your shorts are finished, but the top needs a little personality. A basic cropped tee is great, but as a creative gift-giver or a Dollar Tree designer with an eye for high-end aesthetics, you know that the magic is in the details. You can easily elevate this top to look like a $50 boutique item with a few simple modifications.
Neckline Hacks
- The Off-The-Shoulder Slouch: Cut a wider, boat-neck opening around the collar. Stretch the fabric slightly with your hands so the raw edge rolls, creating a relaxed, Flashdance-inspired vibe.
- The V-Neck Plunge: Find the center of the collar, cut a straight slit down about 3 inches, and fold the edges inward. Secure with a quick hand-stitched invisible ladder stitch for a clean V-neck.
- Distressing: For a more rugged, masculine-elegant, or vintage streetwear look, use a pumice stone or a piece of rough sandpaper to gently distress the edges of the sleeves and the hem.
If you want to add a pop of color or a custom design, this is the perfect time to break out the bleach for a reverse-tie-dye effect, or use fabric paint and a homemade cardboard stencil to add a custom logo. You are the designer here; the possibilities are entirely dictated by your imagination and your budget.
Section 7: Upkeep, Washing, and Rocking Your New Set
Preserving Your Craftsmanship
You have successfully transformed a discarded, oversized T-shirt into a trendy, custom-tailored lounge set. You spent less than $6 and maybe 45 minutes of your time. Now, how do you ensure this masterpiece lasts? Upcycled clothing, especially pieces with raw edges, requires a little bit of clever upkeep.
Washing Raw Hems
Because you left the bottom of the crop top and potentially the sleeves raw, the fabric will naturally want to roll. This is a great look, but aggressive washing machines can cause it to fray excessively. To prevent this, always wash your upcycled lounge set inside out on a delicate, cold water cycle. If you are particularly worried about fraying, you can run a quick line of clear nail polish or fabric glue along the very edge of the raw cuts—a brilliant frugal hack to lock the threads in place!
Styling Your Set
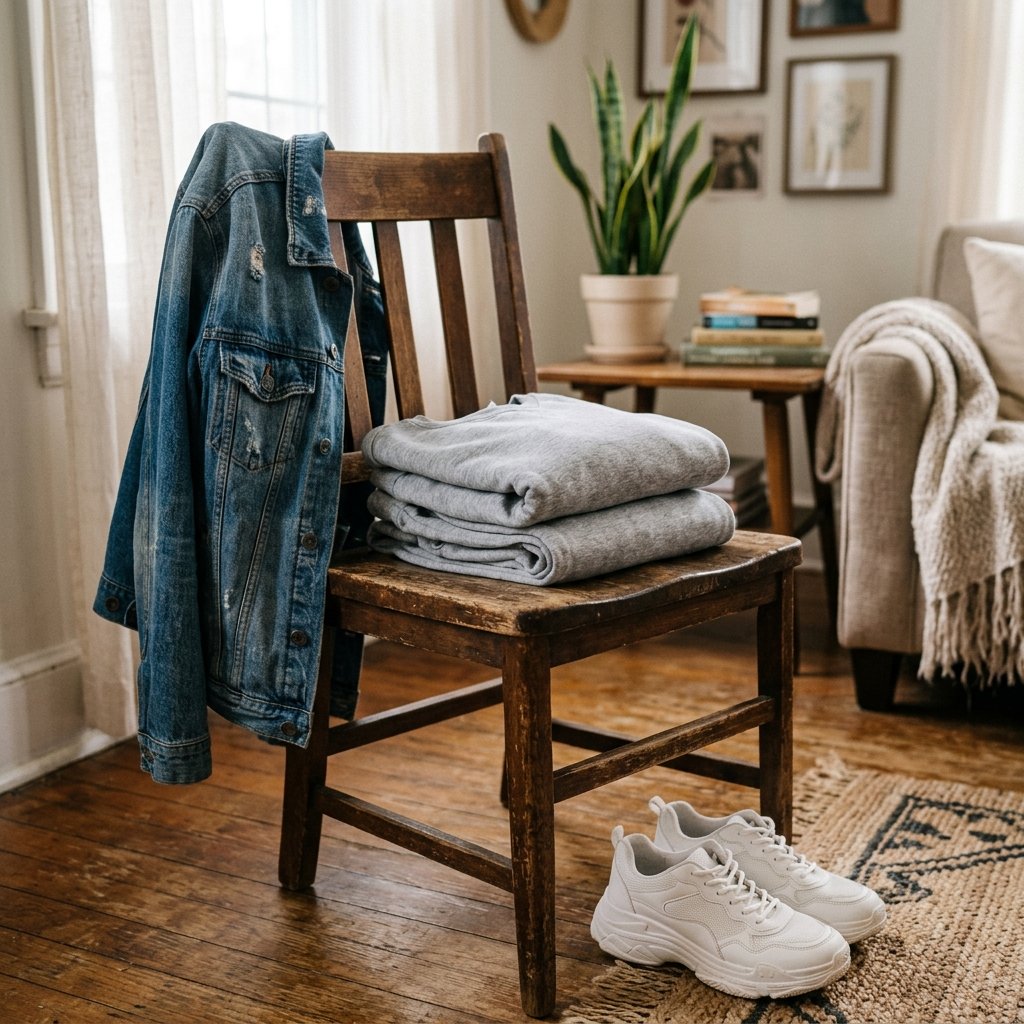
This set isn’t just for lounging on the couch. Throw on an oversized denim jacket, some chunky white sneakers, and a layered gold necklace, and you have a chic, effortless outfit for running errands or grabbing coffee. You have taken control of your wardrobe, saved money, and kept textiles out of the landfill. That is the true mark of a resourceful, budget-savvy upcycler.
Conclusion
Wear Your Resourcefulness with Pride
Transforming an oversized, thrifted T-shirt into a trendy lounge set is more than just a fun afternoon craft; it is a statement. It proves that you do not need to fall victim to outrageous retail markups to look stylish and feel comfortable. By embracing the frugal DIY mindset, utilizing basic hand-sewing techniques, and looking at old garments not as trash, but as raw materials, you unlock a world of endless wardrobe possibilities.
Next time you walk past the men’s clearance rack or dig through a donation bin, keep your eyes peeled for those massive, heavyweight tees. Each one is a potential custom outfit waiting to be liberated by your scissors and creativity. So wear your new lounge set with absolute pride. When someone asks where you bought it, you get to smile, channel your inner crafty expert, and say, “I made it myself for two dollars.” Happy upcycling, and stay savvy!

Makenzie is the founder and lead writer at MoneyHackTips.com — a personal finance blog dedicated to delivering street-smart financial wisdom for real people on real budgets. With 300+ published articles covering everything from debt management to investing fundamentals, Makenzie’s mission is to make every dollar work harder. When not writing about money hacks, Makenzie is testing frugal living strategies, optimizing side hustles, and helping readers build financial freedom from scratch.