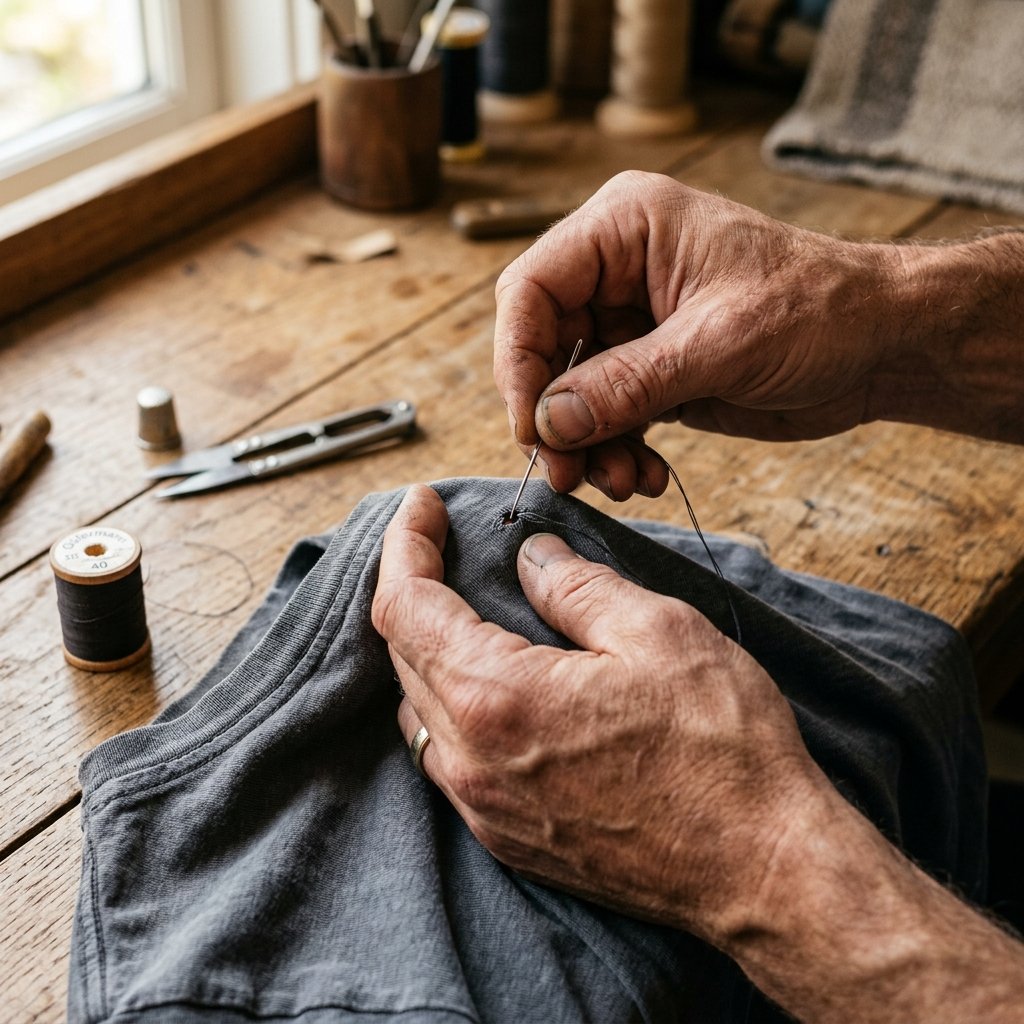

We have all been there. You reach into your drawer, pull out that one legendary, perfectly faded, buttery-soft vintage t-shirt that fits you like a second skin, and suddenly—tragedy strikes. Right there, usually near the belly button or the collar, is a tiny, mocking pinhole. In the world of fast fashion, the default reaction is to toss it in the rag bin or, worse, the trash. But for the resourceful, the clever, and the budget-savvy upcyclers among us, a tiny hole is not a death sentence; it is an invitation to practice a forgotten art.
Welcome to the ultimate guide on the Secret Invisible Stitch. This isn’t just about saving a piece of fabric; it is about reclaiming the rugged, practical skill of self-reliance. Mending your own gear is a power move. It saves you from spending $25 to $50 on a replacement tee, keeps textiles out of the landfill, and gives you the immense satisfaction of fixing something with your own two hands. Whether you are a frugal DIYer, a handy parent tired of replacing kids’ clothes every week, or someone who simply respects the lifespan of a good garment, this technique will change your laundry game forever.
The secret lies in a clever adaptation of the classic ladder stitch, tailored specifically for the stretchy, interlocking loops of jersey knit fabrics. With zero fancy equipment, 100% free materials you likely already have, and about 5 minutes of your time, you can make that pesky hole vanish. Let us thread the needle and dive into the resourceful world of invisible mending!
Safety Note: This project involves sharp needles and fine scissors. Always work in a well-lit area to avoid eye strain and accidental pricks. Keep needles securely stored in a pincushion or secure container away from small children and pets when not in active use.
The Anatomy of a T-Shirt Hole: Why They Happen and How to Stop Them
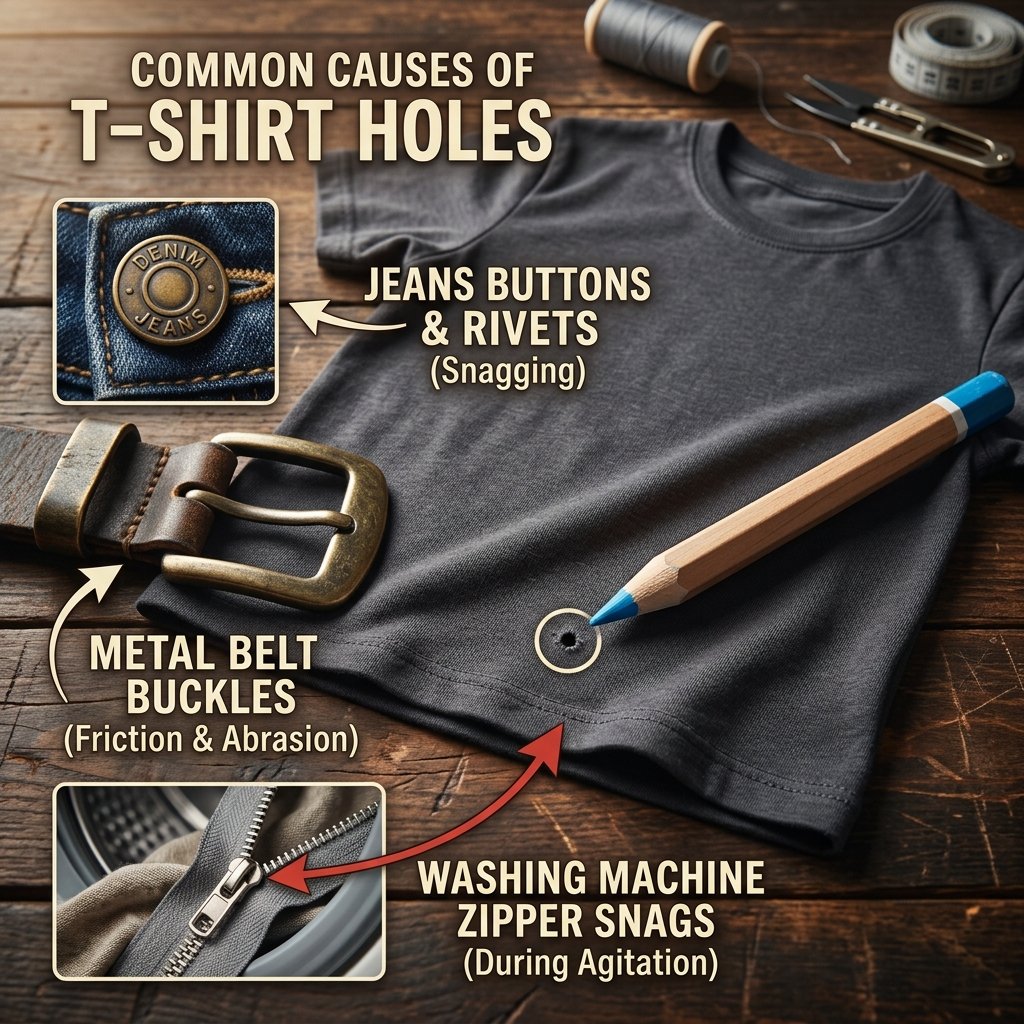
Before we wield our needles like crafty experts, we must understand the enemy. T-shirt holes rarely appear out of nowhere. They are the result of specific mechanical failures in the fabric. Unlike woven fabrics (like your denim jeans) which feature a warp and a weft, t-shirts are made of jersey knit. This means the fabric is essentially one continuous thread forming interlocking loops. When one of those loops breaks, the tension is released, and a hole begins to form and “run.”
The Usual Suspects of Fabric Destruction
- The Belt Buckle Friction: The most common culprit for those tiny holes right at the belt line. The friction between your shirt, your jeans button, a belt buckle, and a countertop slowly grinds away the cotton fibers until they snap.
- The Washing Machine Agitator: Snags happen when a soft tee gets wrapped around a zipper or a bra hook in the wash.
- Silverfish and Moths: Yes, these tiny pests love natural fibers. If you find clusters of holes, you might have a closet invader.
Understanding the root cause helps you prevent future damage, but once the hole is there, you need the right stitch for the job. Not all holes are created equal, and knowing your tailoring solutions is key to frugal garment rescue.
| T-Shirt Damage Type | The Tailoring/Stitch Solution |
|---|---|
| Tiny Pinholes (Belly Button Level) | The Secret Invisible Stitch (Ladder/Slip variation) |
| Larger Snags or Runs (Over 1/4 inch) | Woven Darning or Patching |
| Blown Armpit Seams | Backstitch or Whipstitch |
| Stretched or Worn Necklines | Elastic Thread Weaving or Sashiko Reinforcement |
The Frugal Mender’s Arsenal: Gathering Your Zero-Budget Tools
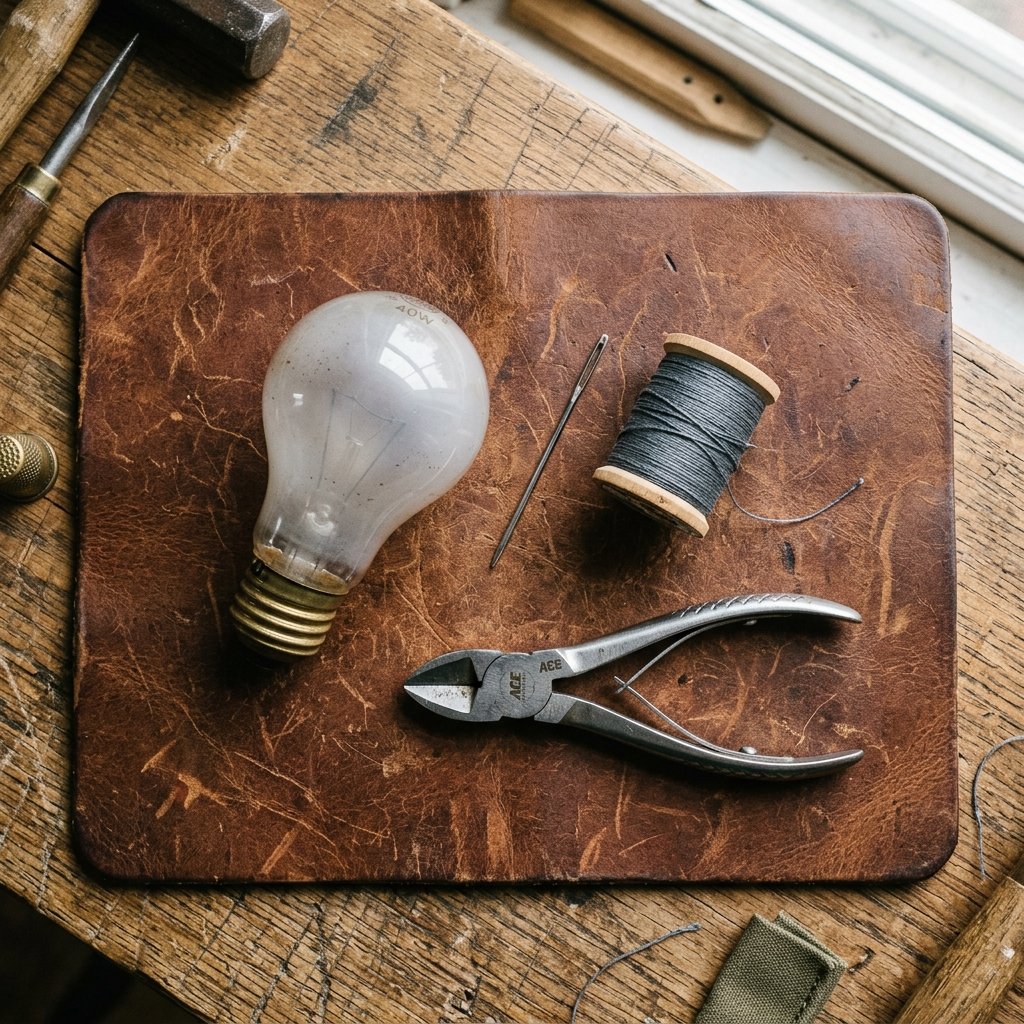
You do not need a $300 sewing machine or a fancy tailor’s kit to execute the invisible stitch. The beauty of this resourceful technique is that it requires an absolute minimum of supplies. In fact, if you have ever hoarded those tiny emergency sewing kits from hotel rooms, you are already fully equipped. Here is what you need to assemble your mending arsenal.
The Essential Gear
- The Needle: For t-shirts, you ideally want a ballpoint needle. Unlike sharp needles which pierce the threads (causing more damage), a ballpoint needle slips between the interlocking loops of the knit fabric. If you only have a standard sharp needle, that is fine! Just work carefully.
- The Thread: Match the color as closely as possible. For stretchy t-shirts, a polyester thread is superior to 100% cotton because polyester has a slight “give” to it, which prevents the repair from snapping when you stretch the shirt over your head.
- A Good Light Source: Invisible mending requires precision. A bright desk lamp or natural sunlight is your best friend.
- An Embroidery Hoop (Optional but helpful): A small hoop keeps the fabric taut, but a simple mason jar lid or a tennis ball placed behind the hole works just as brilliantly for zero cost!
Let’s look at how you can substitute professional tailoring tools with clever household items to keep this project 100% free.
| Professional Tailoring Tool | Clever Frugal Household Alternative |
|---|---|
| Darning Mushroom ($15) | A Tennis Ball, Lightbulb, or Lemon (Free) |
| Fabric Tension Hoop ($10) | Mason Jar Ring or Rubber Band over a Cup (Free) |
| Tailor’s Chalk ($5) | A sliver of dried bar soap (Free) |
| Thread Snips ($12) | Nail Clippers for a clean, close cut (Free) |
Mastering the Secret Invisible Stitch: A Step-by-Step Guide
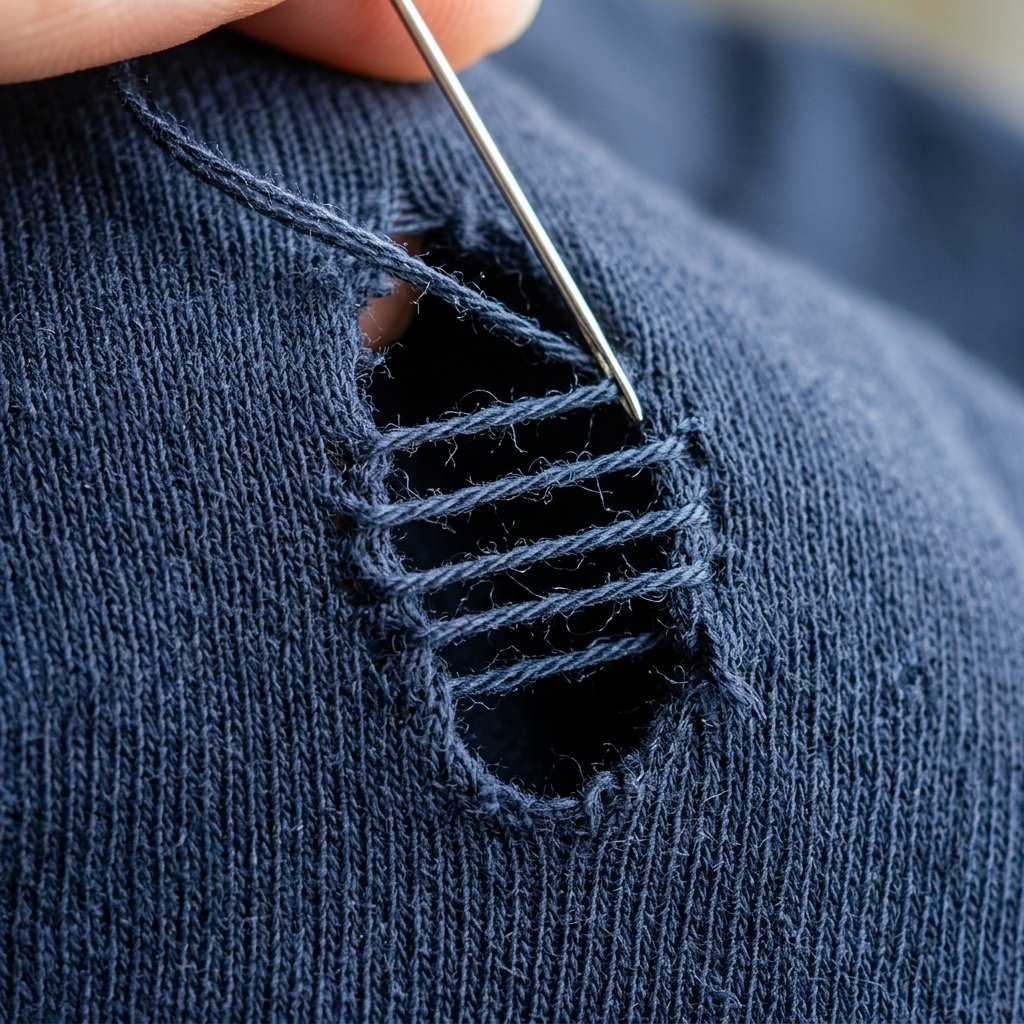
Now for the main event. The Secret Invisible Stitch is essentially a microscopic ladder stitch. By weaving the thread back and forth across the hole and then pulling it tight, the fabric edges kiss together, hiding the thread completely inside the fold of the seam. This technique is brilliant because it maintains the structural integrity of the knit without leaving a bulky, ugly knot on the outside of your favorite shirt.
Step 1: Prep and Thread
- Turn your t-shirt inside out. You always want the knot and the bulk of the repair to live on the inside of the garment.
- Thread your needle with a single strand of thread (about 12 inches long). Do not double up the thread; a single strand is less bulky and more invisible.
- Tie a small, secure knot at the very end of the thread.
Step 2: Anchor the Stitch
- Locate the tiny hole. Insert your needle into the fabric about 1/8 inch outside the edge of the hole.
- Pull the thread through until the knot catches securely on the fabric. You are now anchored and ready to bridge the gap.
Step 3: The Ladder Technique
This is where the magic happens. Imagine the hole is a river, and you are building a bridge back and forth.
- Take your needle directly across the hole to the opposite side.
- Pick up a tiny amount of fabric (just catching one or two loops of the knit) with the tip of the needle. Pull the thread through.
- Now, go directly back across the hole to the side you started on, slightly below your first stitch. Pick up another tiny bit of fabric.
- Repeat this back-and-forth motion. Your stitches should look like the rungs of a ladder spanning across the hole. Keep your stitches very close together, no more than 1/16 inch apart.
Mender’s Mantra: “Small bites, straight lines. Let the thread do the heavy lifting.” Do not pull the thread tight just yet; leave the ‘ladder rungs’ loose until the entire hole is covered.
Step 4: The Magic Pull
- Once you have ladder-stitched across the entire hole, gently grasp the thread and pull.
- Watch as the edges of the hole are drawn together. Because you took small bites of fabric, the raw edges will fold inward, and the thread will vanish completely inside the seam.
Step 5: Knotting Off
- To secure the repair, take a tiny stitch right next to where your thread came out.
- Before pulling the loop tight, pass your needle through the loop twice.
- Pull tight to create a flush knot. Snip the thread close to the knot using your scissors (or nail clippers!).
Turn the shirt right-side out. Give it a gentle steam with an iron, and the hole will be virtually undetectable. You just saved a shirt in under 5 minutes!
Fabric Type Compatibility Guide: Adjusting Your Tension
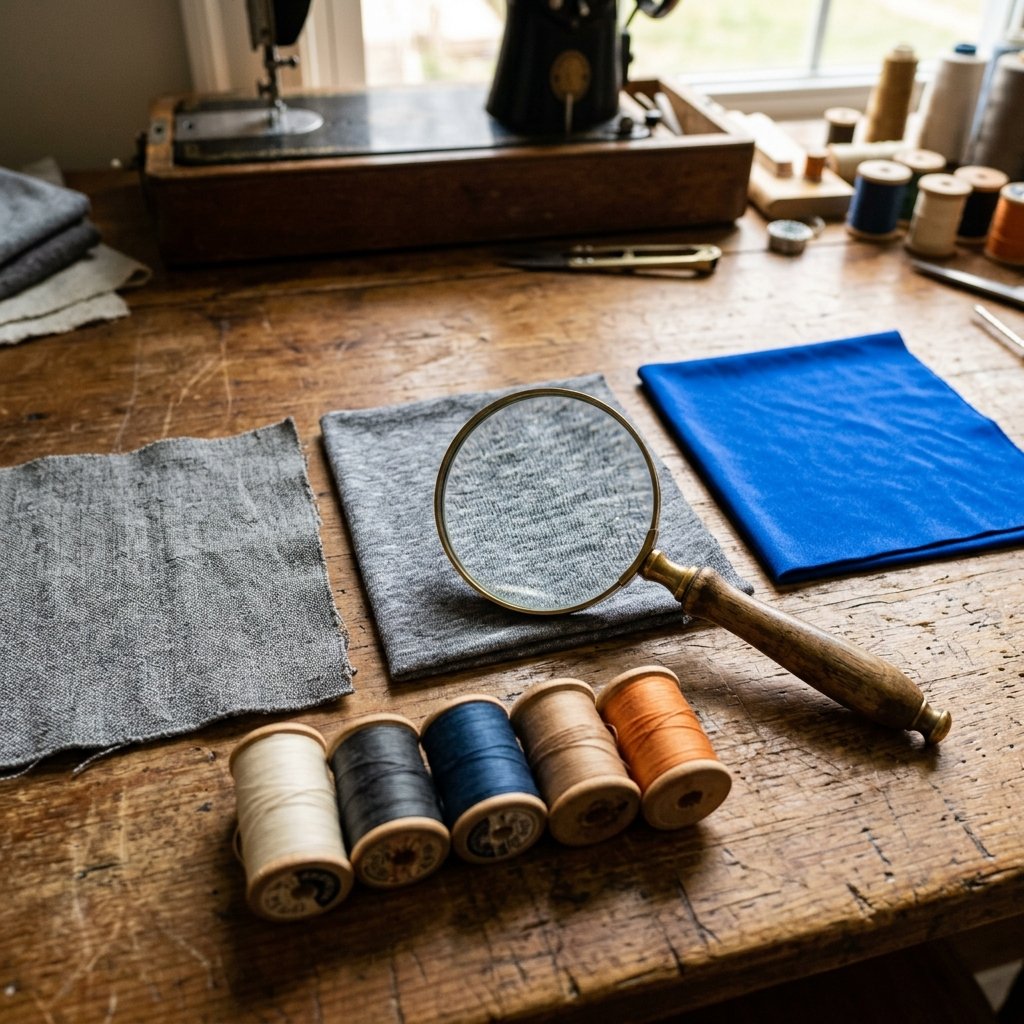
Not all t-shirts are woven from the same cloth. The success of your invisible stitch heavily depends on understanding the material you are working with. A 100% heavy cotton work tee behaves very differently under a needle than a slinky, stretchy athletic synthetic blend. As a resourceful crafter, adapting your technique to the material is what separates an amateur patch job from a master tailor’s invisible mend.
When working with highly elastic materials, the biggest risk is that your repair will pop the first time you stretch the shirt. To prevent this, you must build ‘give’ into your stitch. You do this by not pulling the ladder stitch too tight, and by ensuring you are using a polyester thread, which inherently possesses a micro-stretch.
| Fabric Type | Characteristics | Mending Strategy & Tension Adjustment |
|---|---|---|
| 100% Heavyweight Cotton | Sturdy, minimal stretch, prone to clean tears. | Use medium tension. Cotton holds stitches beautifully. You can pull the ladder stitch firmly closed. |
| Tri-Blend (Cotton/Poly/Rayon) | Extremely soft, high stretch, prone to running. | Use light tension. Catch extra loops around the hole to prevent runs. Do not pull the final thread aggressively tight. |
| Athletic Synthetics (Spandex/Lycra) | Maximum stretch, slippery texture. | Use a ballpoint needle exclusively. Anchor stitches further back from the hole. Leave slight slack in the knot to allow for garment expansion. |
| Merino Wool Tees | Delicate, temperature regulating, expensive. | Use a matching wool or silk thread if possible. Handle with extreme care; wool fibers break easily under high tension. |
By respecting the fabric’s natural properties, your repair will not just look invisible; it will move seamlessly with the garment, ensuring your favorite shirt survives another decade of rugged wear.
Advanced Mending: Tackling Stretched Collars and Blown Seams
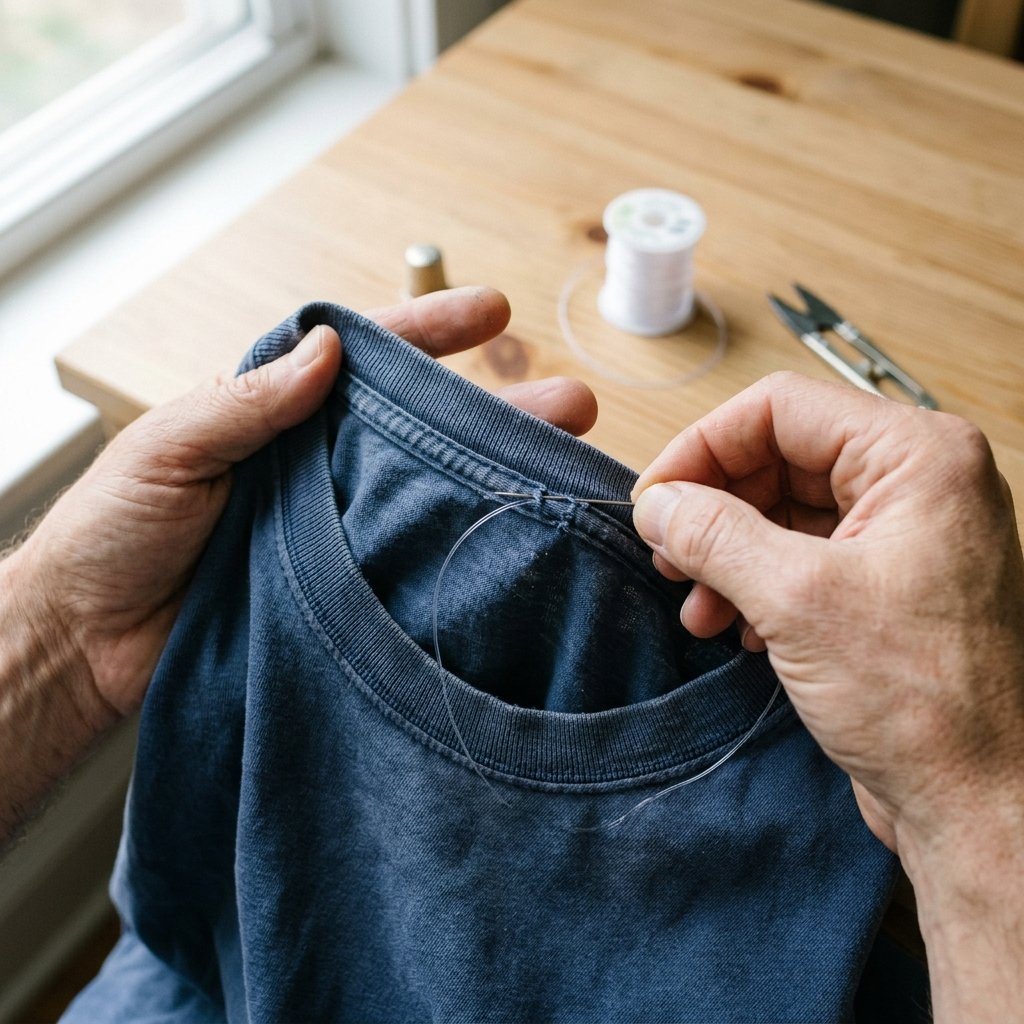
Once you have mastered the secret invisible stitch for tiny pinholes, you will find yourself looking at your wardrobe with a new sense of power. Why stop at tiny holes? The frugal DIYer knows that extending the life of clothing is an ongoing journey. Let us look at two other common t-shirt ailments and how to fix them with zero budget.
Rescuing a ‘Bacon Collar’ (Stretched Neckline)
A stretched-out, wavy neckline (affectionately known as the bacon collar) can make a shirt look sloppy. You don’t need to throw it away. The fix is incredibly clever and uses a tool you can get for under $3: elastic thread.
- Thread a needle with a long strand of clear or matching elastic thread.
- Working from the inside of the collar, weave the needle in and out of the existing collar seam, running the elastic completely around the neckline.
- Once you return to the start, gently pull the elastic thread to cinch the collar back to its original shape.
- Tie it off securely. The elastic hidden inside the collar will give it back its snap and structure!
Fixing a Blown Armpit Seam
Armpit seams take the brunt of our daily movement, making them prime real estate for blowouts. Because this is a seam separation and not a hole in the middle of the fabric, the ladder stitch is perfect here too.
- Turn the shirt inside out.
- Pinch the two edges of the blown seam together.
- Use the exact same ladder stitch technique, crossing from one side of the seam allowance to the other.
- Because armpits require strength, run a second pass of the ladder stitch back over the first one before tying off. This double-reinforcement ensures the seam will withstand heavy lifting, chopping wood, or whatever rugged tasks your day demands.
The Rugged Economics of Repair: Why Mending is a Power Move
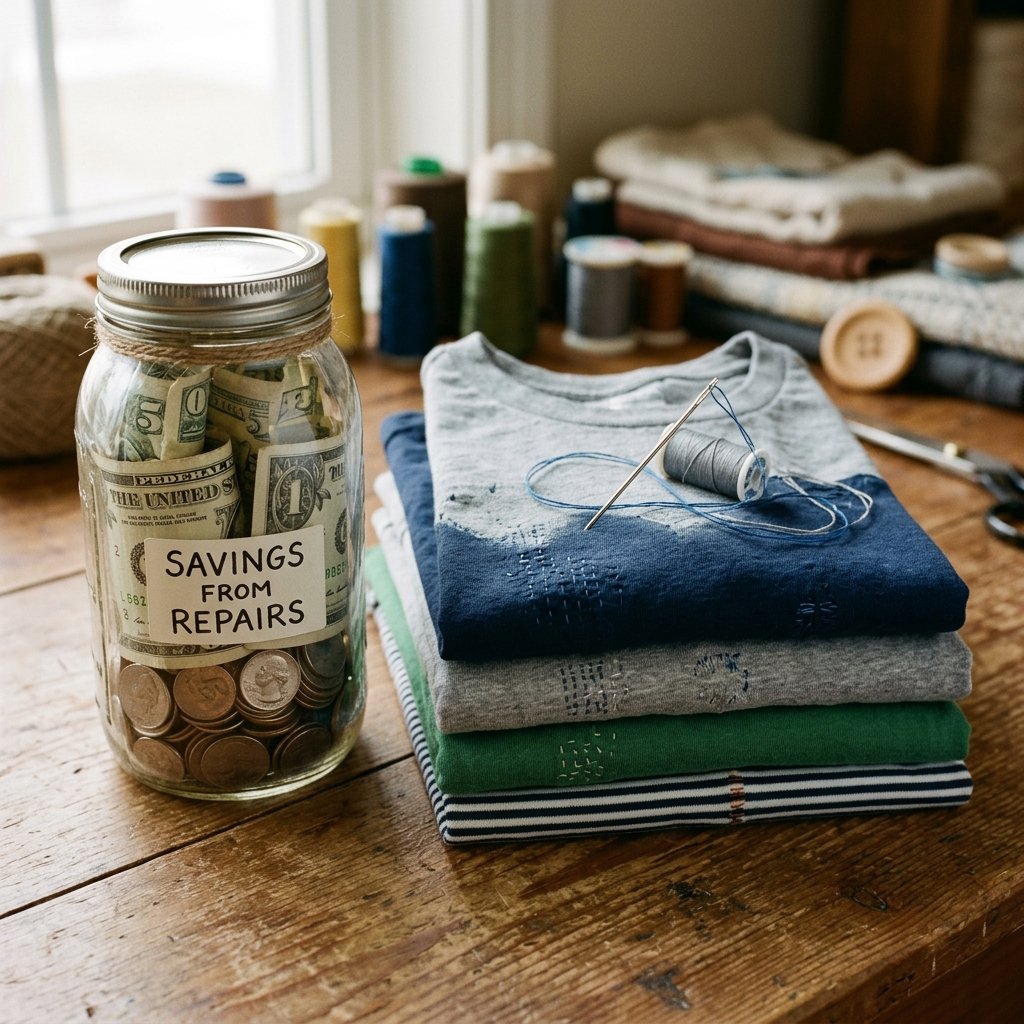
Let us talk numbers, because being budget-savvy is about looking at the long game. We live in an era of disposable clothing, where a t-shirt is treated as a single-use item once it gets a minor blemish. But when you adopt the mindset of a frugal upcycler, you realize that throwing away a shirt over a 2-millimeter hole is like throwing away a car because it has a flat tire.
Consider the math: A high-quality, perfectly fitted t-shirt costs anywhere from $20 to $50. If you toss three shirts a year due to minor snags, you are burning up to $150 annually. By investing 5 minutes of your time and $0.02 worth of thread, you are effectively paying yourself an incredible hourly rate to sit on your couch and sew.
| Action Taken for a Pinhole | Financial Cost | Time Investment | Environmental Impact |
|---|---|---|---|
| Throw Away & Buy New | $25.00+ | 1-2 Hours (Shopping) | High Waste (Textile Landfill) |
| Take to a Professional Tailor | $10.00 – $15.00 | 1 Hour (Drop-off/Pick-up) | Zero Waste |
| The Secret Invisible Stitch (DIY) | $0.00 (Using household items) | 5 Minutes | Zero Waste (Upcycled Hero) |
Beyond the undeniable financial savings, there is a profound psychological benefit to mending. In a world where everything is automated and disposable, fixing something with your own hands builds confidence. It teaches patience. It transforms a mass-produced item into something uniquely yours. Every stitch is a tiny rebellion against waste, proving that with a little resourcefulness, you can make things last a lifetime.
Conclusion
There you have it—the ultimate frugal crafter’s guide to the Secret Invisible Stitch. What once seemed like a frustrating end to your favorite t-shirt is now nothing more than a 5-minute victory lap for your newfound DIY tailoring skills. By understanding the anatomy of your garments, gathering a zero-budget mending arsenal, and mastering the simple ladder stitch, you have unlocked a superpower that will save you money and keep your wardrobe looking impeccable.
The next time you pull a shirt from the laundry and spot that dreaded tiny pinhole, do not sigh in defeat. Grab your needle, thread it with purpose, and get to work. Fixing your own gear is rugged, it is practical, and it is undeniably clever. So, go rescue those shirts from the rag bin, share this grandma-approved secret with your friends, and wear your invisibly mended clothes with the pride of a true upcycling expert. Happy stitching!

Makenzie is the founder and lead writer at MoneyHackTips.com — a personal finance blog dedicated to delivering street-smart financial wisdom for real people on real budgets. With 300+ published articles covering everything from debt management to investing fundamentals, Makenzie’s mission is to make every dollar work harder. When not writing about money hacks, Makenzie is testing frugal living strategies, optimizing side hustles, and helping readers build financial freedom from scratch.