
The Art of the Instant Upgrade
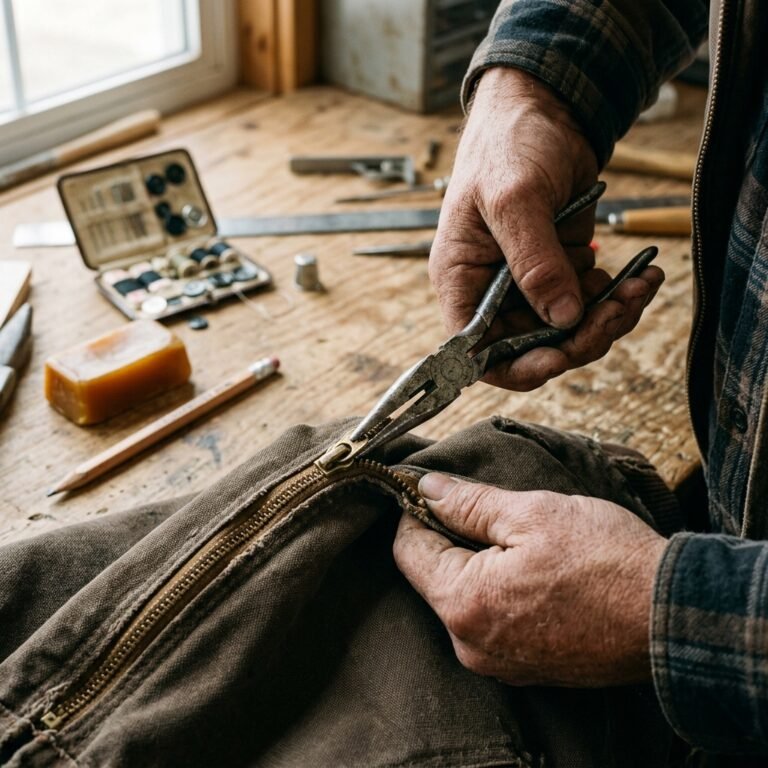
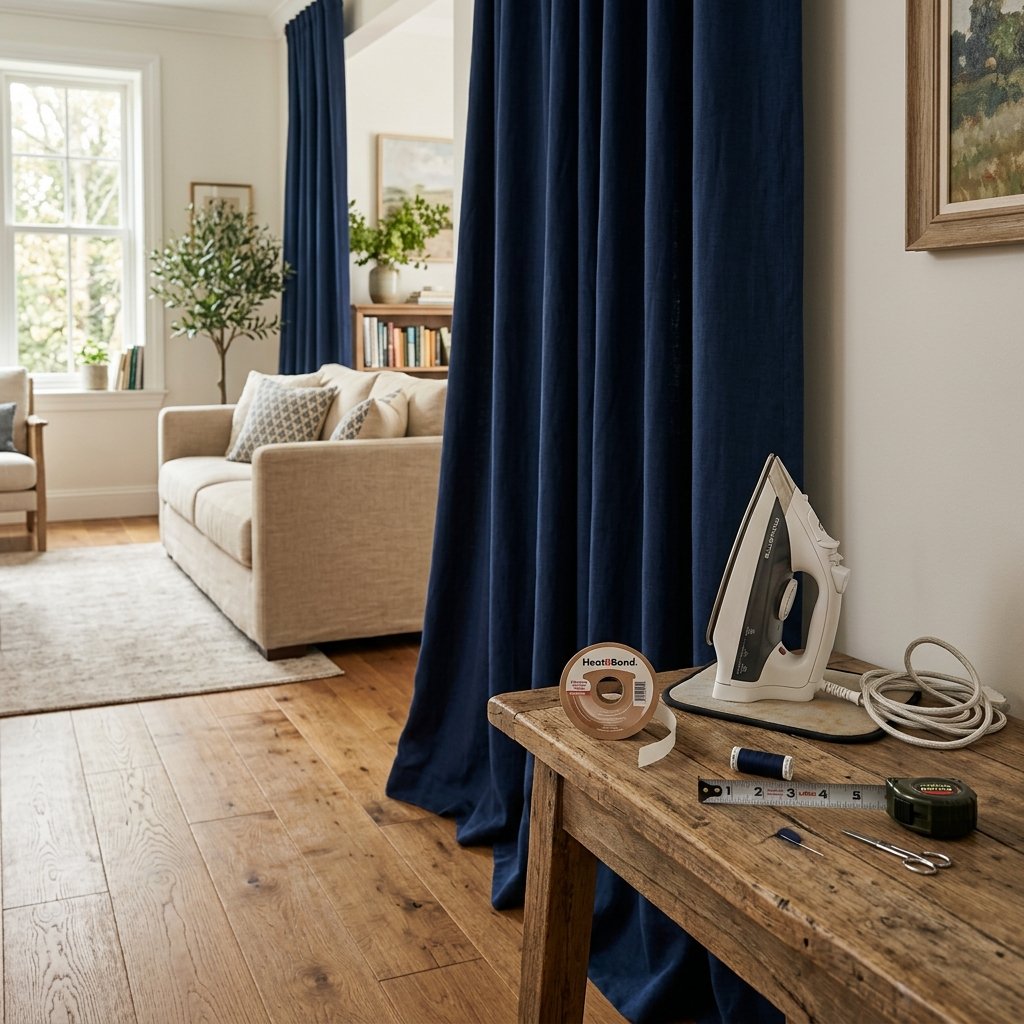
There is a profound difference between a house that feels lived-in and a home that feels curated. Often, that difference lies in the details—specifically, the way your curtains meet the floor. We’ve all been there: you find the perfect set of drapes on clearance, or perhaps you’ve upcycled some heavy linen sheets, only to find they trail on the floor like a forgotten wedding gown. The traditional solution involves a bulky sewing machine, a steady hand, and hours of tedious labor. But for the resourceful DIYer, the busy parent, or the style-conscious renter, there is a better way. You don’t need to be a master tailor to achieve a crisp, professional edge. In fact, you can achieve a high-end look in just 15 minutes using nothing more than a bit of heat and a clever eye for measurement. This guide is your blueprint for a ruggedly elegant home, proving that a $10 solution can look like a $200 custom job.
The Modern Homesteader’s Toolkit: Essential Gear for a No-Sew Victory
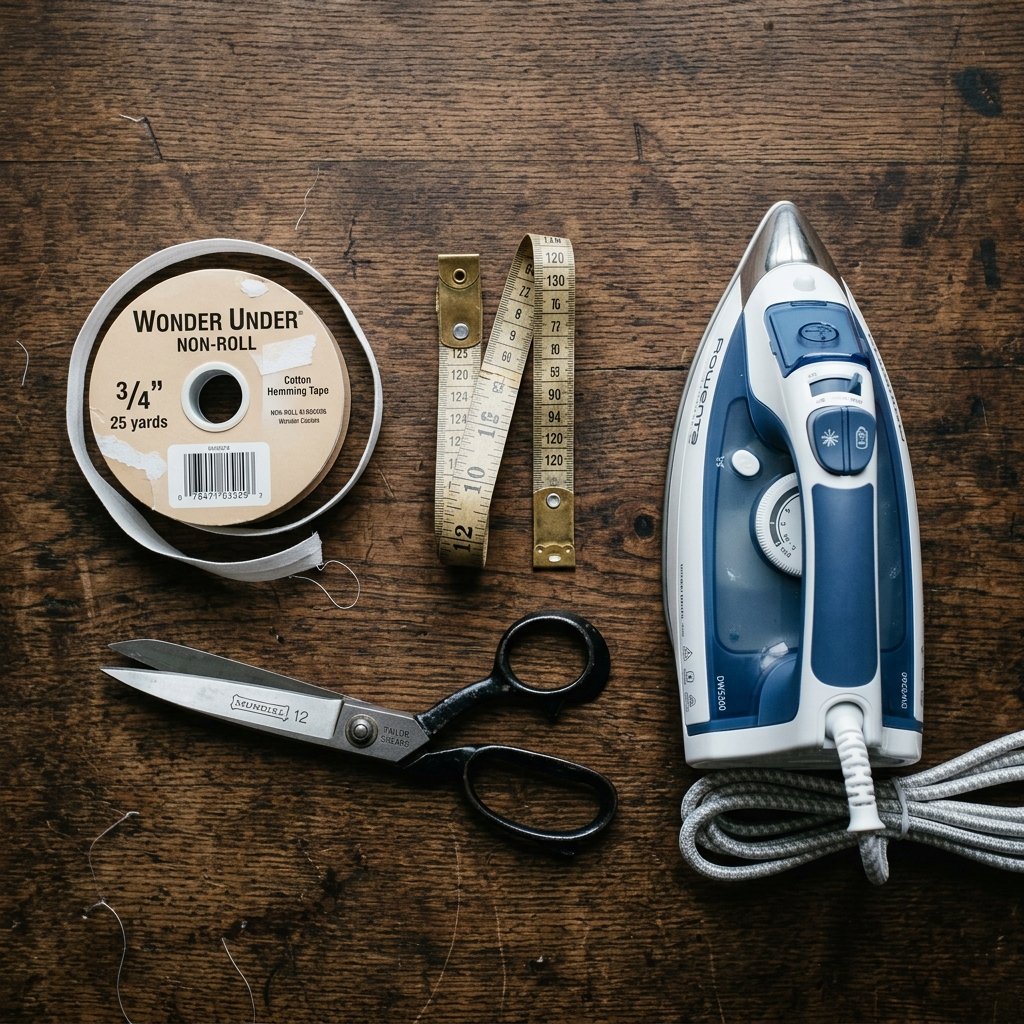
Before we dive into the process, we must assemble our gear. This isn’t about expensive gadgets; it’s about selecting the right tools for a durable, clean finish. The hero of this operation is Heat-Activated Hemming Tape (often called fusable web). This ingenious material acts as a permanent adhesive when triggered by the heat of an iron, creating a bond that can withstand years of sunlight and occasional washing.
The Essential Material List
| Item | Purpose | Estimated Cost |
|---|---|---|
| Iron-On Hemming Tape | The ‘glue’ that replaces the thread | $3.00 – $7.00 |
| Steam Iron | Activates the adhesive bond | Owned |
| Measuring Tape | Ensures precision and symmetry | $2.00 |
| Straight Pins or Fabric Chalk | Temporary marking of the fold | $1.50 |
| Sharp Fabric Scissors | For a clean, non-frayed cut | $5.00 |
“The secret to a professional finish isn’t the price of the tool, but the precision of the hand. Measure twice, iron once, and never rush the cooling process.”
Precision Plotting: The Golden Rules of Curtain Length

Before you make a single cut, you must decide on the ‘break’ of your curtains. Just like a well-tailored pair of trousers, the length of your drapes dictates the formality of the room. A ‘Floating Hem’ sits exactly 1/2 inch above the floor, ideal for high-traffic areas where you don’t want dust bunnies clinging to the fabric. A ‘Kiss Hem’ barely touches the floor, offering a bespoke, tailored look. For those seeking a more romantic or ruggedly luxurious feel, the ‘Puddle Hem’ allows 2-4 inches of extra fabric to gather on the floor.
How to Measure Like a Pro
- Step 1: Hang the curtains on the rod exactly where they will live. Never measure them flat on the floor; gravity changes how fabric hangs.
- Step 2: Use your pins or chalk to mark the desired finished length while the fabric is hanging.
- Step 3: Add exactly 2 inches to this measurement for the ‘fold-over’ allowance. This ensures you have enough fabric to create a clean, double-layered hem.
The Heat-Bond Revolution: A Step-by-Step Guide to the 15-Minute Hem
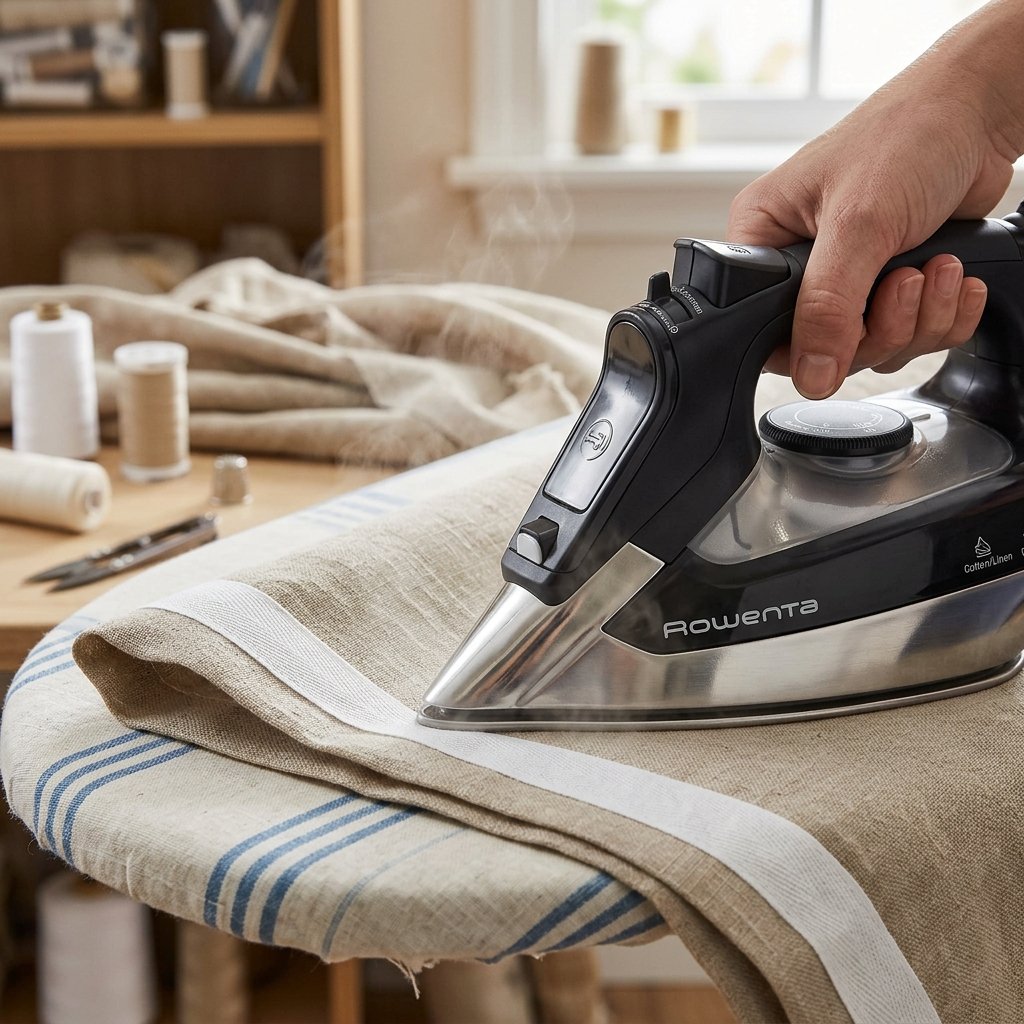
Now we move to the execution. This is where the magic happens. By using the iron-on method, you are essentially welding the fabric together. It is fast, clean, and incredibly satisfying.
The Execution Phase
- Pre-Heat and Prep: Set your iron to the setting recommended for your fabric (usually the ‘Cotton’ or ‘Linen’ setting, but check the care label). Ensure the steam function is ON.
- The First Fold: Lay your curtain face-down on an ironing board. Fold the bottom edge up by 1 inch and press it flat. This creates a crisp leading edge.
- The Tape Placement: Unroll your hemming tape and lay it inside the fold you just created. Ensure no tape is peeking out, as it will stick to your iron!
- The Final Press: Fold the fabric over once more (another 1 inch) so the tape is sandwiched between layers. Press firmly with the iron for 10-15 seconds per section. Do not slide the iron; lift and press to avoid stretching the fabric.
- The Cool Down: This is the most critical step. Let the fabric sit undisturbed for 5 minutes. The bond strengthens as the adhesive cools and hardens.
“Heat creates the bond, but patience secures the victory. Never test the hem while the fabric is still warm to the touch.”
The Versatile Clip-and-Fold: A Renter’s Secret Weapon
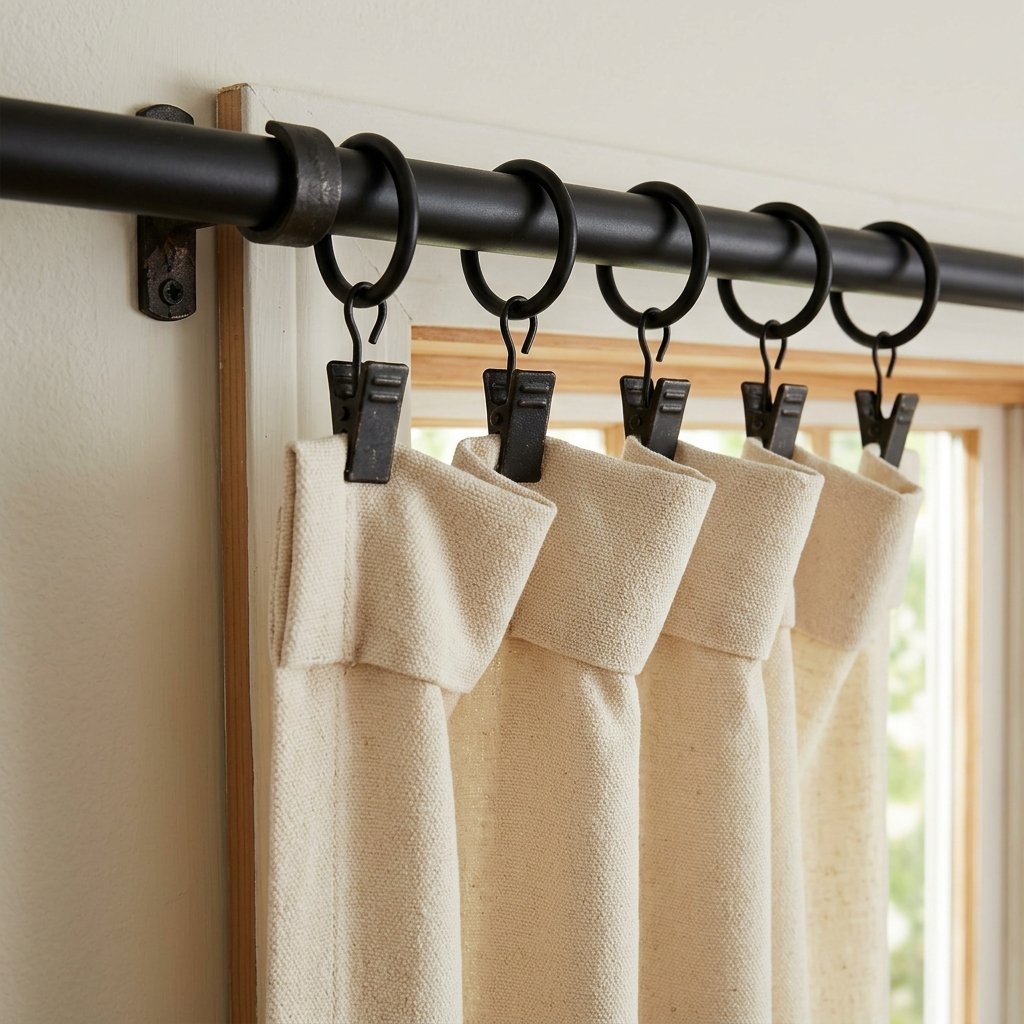
What if you aren’t ready for a permanent change? Perhaps you are in a rental or you like to swap your decor seasonally. For the frugal strategist, the ‘Clip-and-Fold’ method is the ultimate hack. This technique requires zero heat and zero cutting, making it 100% reversible.
Comparison: Tape vs. Clips
| Feature | Iron-On Tape | Curtain Clips |
|---|---|---|
| Permanence | Permanent/Semi-Permanent | Fully Reversible |
| Visual Style | Clean, Hidden Edge | Industrial/Modern Exposed |
| Time to Complete | 15 Minutes | 5 Minutes |
| Skill Level | Intermediate DIY | Beginner/Entry Level |
To execute this, simply fold the excess fabric toward the back (the side facing the window) and use stylish metal curtain rings with clips to secure the top. This effectively ‘shortens’ the curtain from the top down, allowing the excess fabric to hang hidden behind the main panel.
Mastering the Material: Fabric Compatibility Guide
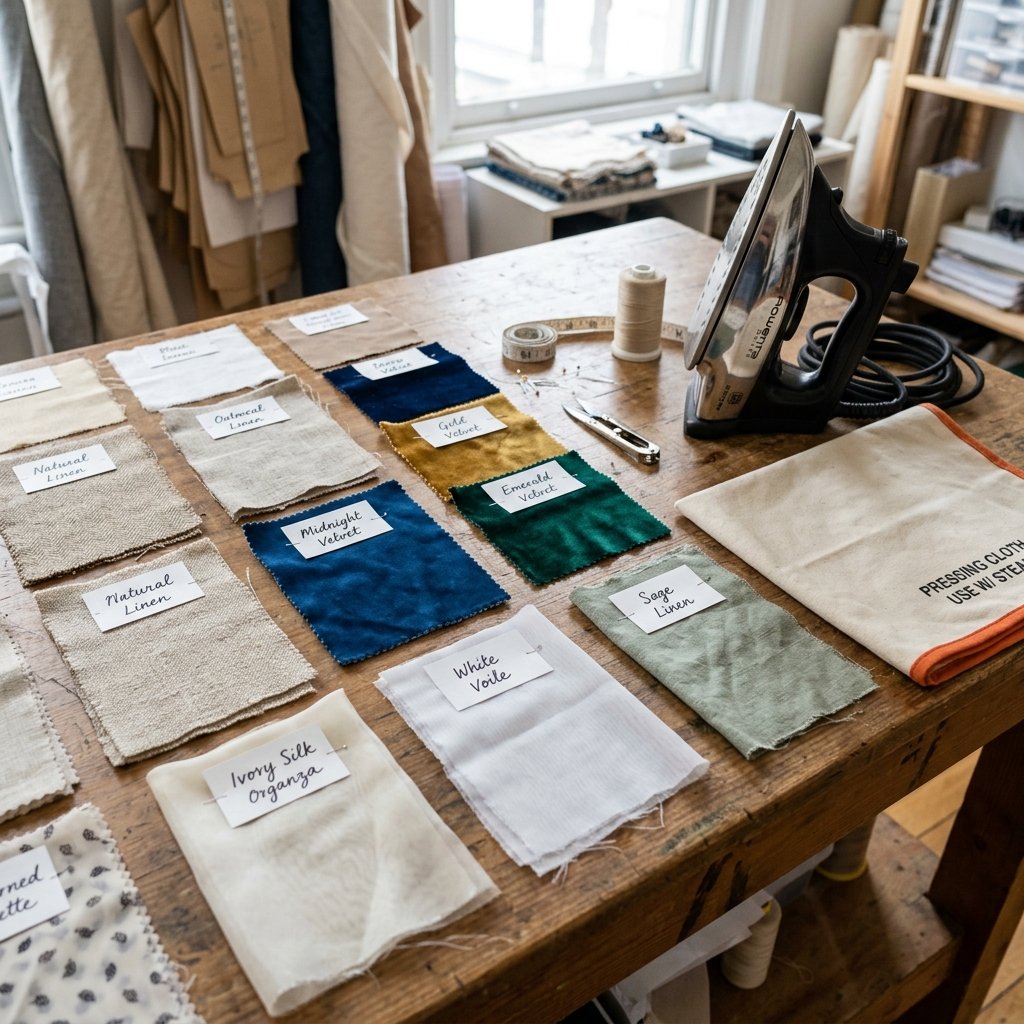
Not all fabrics are created equal. A heavy velvet drape requires more heat and wider tape than a delicate polyester sheer. Understanding the ‘hand’ of your fabric will prevent the tragedy of a scorched hem or a bond that fails under its own weight.
Fabric Heat & Tape Settings
- Heavy Cotton & Linen: Use High Heat and Heavy-Duty Tape. These fibers are porous and soak up the adhesive well.
- Velvet & Faux Suede: Use Medium Heat and a Pressing Cloth (a thin kitchen towel) between the iron and the fabric to prevent crushing the pile.
- Sheers & Polyester: Use Low Heat and Ultra-Light Tape. Be extremely careful, as these synthetic fibers can melt instantly if the iron is too hot.
- Blackout Curtains: These often have a rubberized backing. Never iron the backing directly. Only apply heat to the fabric side.
The Bottom Line: DIY vs. Professional Tailoring
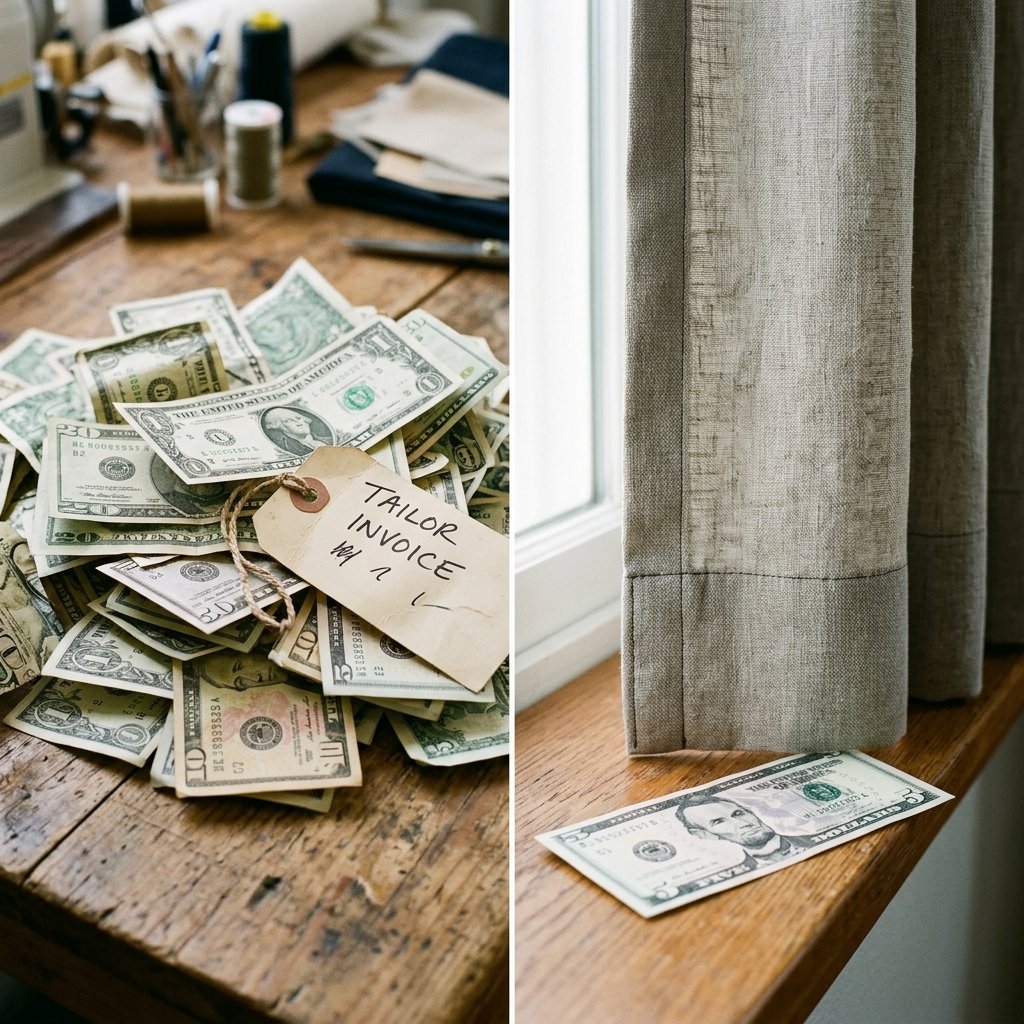
Why do we do this ourselves? Beyond the satisfaction of a job well done, the financial incentives are staggering. Professional tailoring for a single pair of curtains can cost upwards of $50 to $100, excluding the time spent driving to the shop and waiting for the turnaround. By mastering the 15-minute no-sew hem, you are effectively paying yourself a high hourly wage.
The Savings Breakdown
| Expense | Professional Tailor | DIY No-Sew |
|---|---|---|
| Labor Cost | $60.00 | $0.00 |
| Materials | Included | $5.00 |
| Turnaround Time | 1-2 Weeks | 15 Minutes |
| Total Cost | $60.00+ | $5.00 |
With the $55 saved, you could buy a second set of curtains for another room, or invest in higher-quality hardware to further elevate the look of your space. That is the essence of clever, budget-savvy living.
Conclusion
A Polished Home on a Dime
Hemming your curtains is more than just a chore; it’s a finishing touch that signals care and attention to detail in your sanctuary. Whether you choose the permanent bond of iron-on tape or the versatile flexibility of clips, you’ve now reclaimed your space from the clutter of dragging fabric. You’ve saved over $50, avoided the headache of a sewing machine, and completed a professional-grade project in the time it takes to drink a cup of coffee. Go ahead, stand back, and admire the view. Your home looks incredible, and you did it all yourself. Stay crafty, stay frugal, and keep building the life you want, one hem at a time.

Makenzie is the founder and lead writer at MoneyHackTips.com — a personal finance blog dedicated to delivering street-smart financial wisdom for real people on real budgets. With 300+ published articles covering everything from debt management to investing fundamentals, Makenzie’s mission is to make every dollar work harder. When not writing about money hacks, Makenzie is testing frugal living strategies, optimizing side hustles, and helping readers build financial freedom from scratch.