
The Resurrection of the Graphic Tee
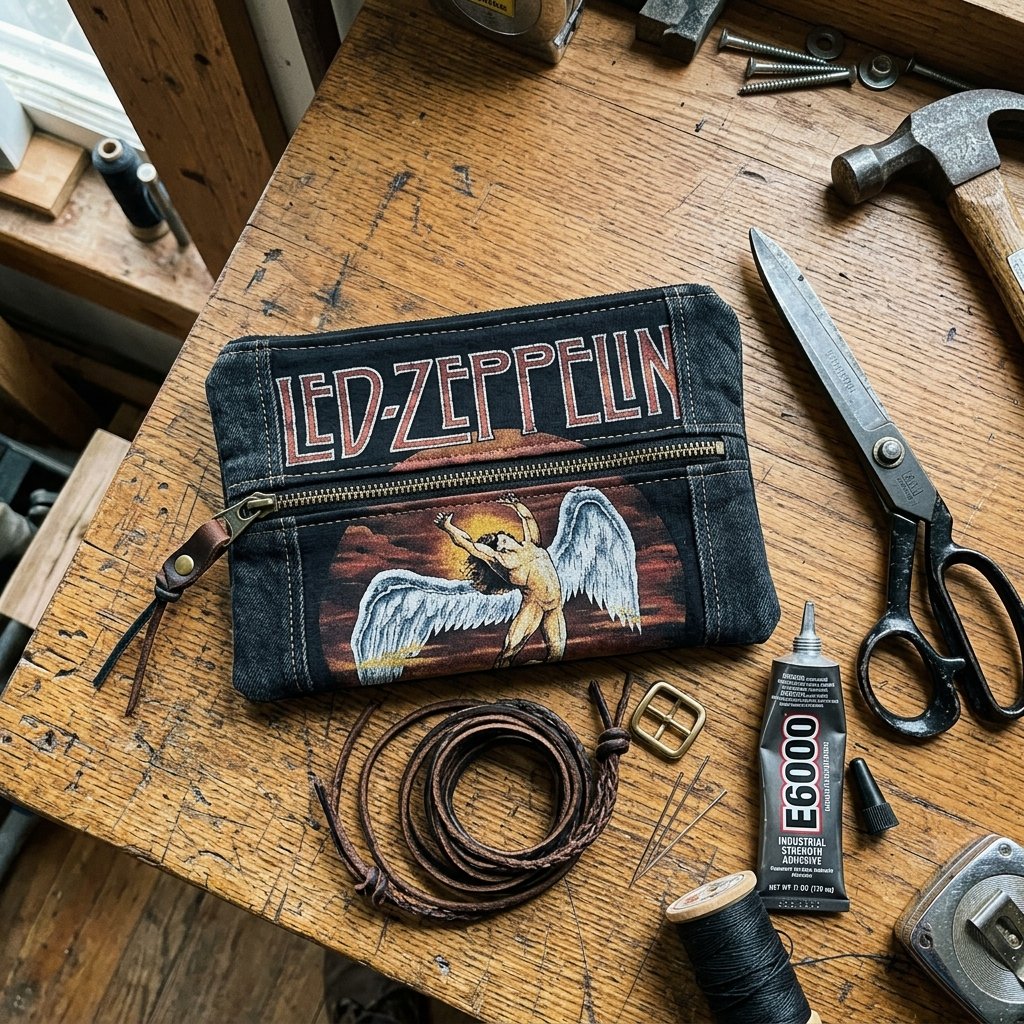
We all have that one drawer—the ‘drawer of doom’—overflowing with nostalgic graphic tees that are either too small, slightly stained, or simply past their prime for public wear. But that faded logo from your favorite 2012 concert or that rugged mountain print from a camping trip shouldn’t end up in a landfill. As a frugal DIYer, you know that fabric is a resource, and a high-quality cotton tee is essentially a free yard of premium material waiting for a second act. Today, we are going to perform some no-sew magic. We are transforming those sentimental scraps into trendy, functional zipper pouches. Whether you need a rugged case for your charging cables, a masculine-elegant grooming kit, or a unique gift for a friend, this project delivers high-end results for under $2. No sewing machine? No problem. We’re using industrial-strength adhesives and clever folding techniques to create a bond that’s as tough as any stitch.
The Blueprint: Materials and Budget Breakdown
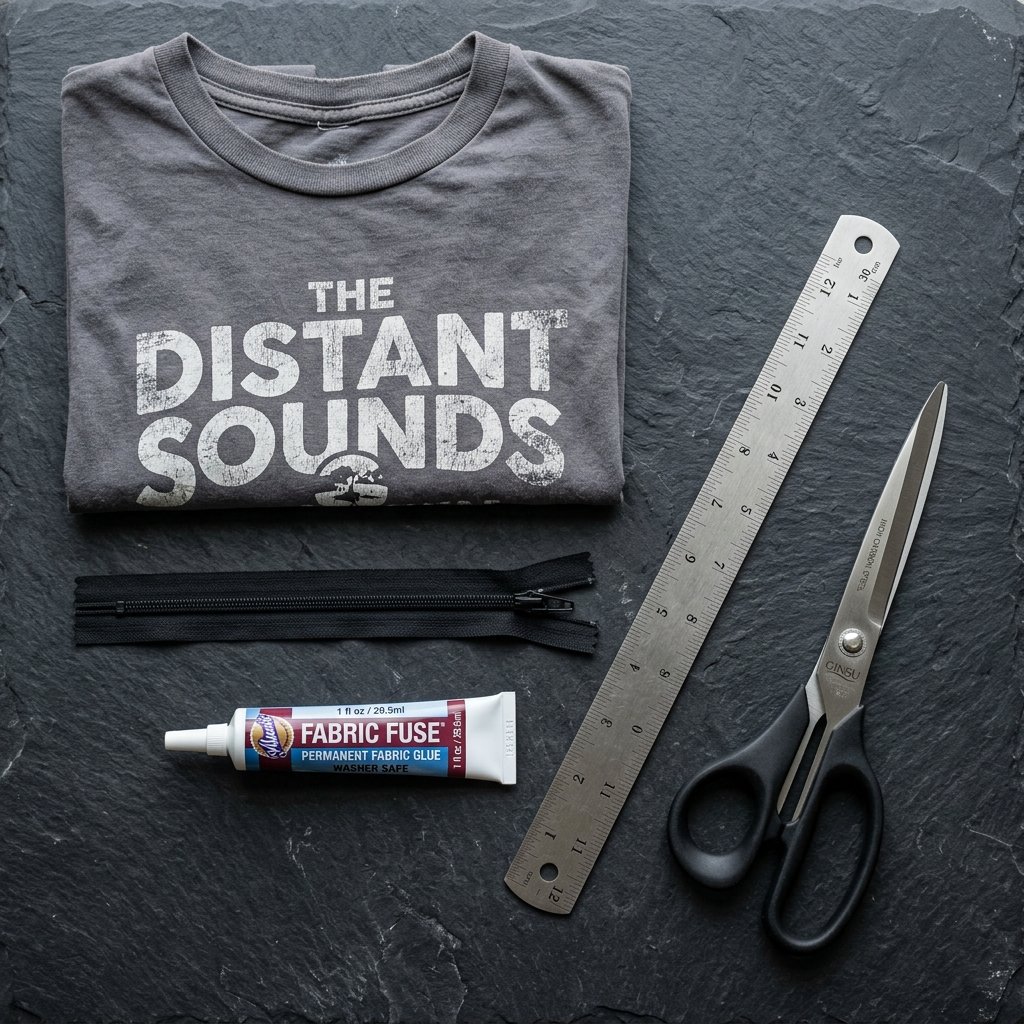
Before we dive into the construction, let’s talk logistics. The beauty of this project is that the primary material—the fabric—is 100% free. By upcycling what you already own, you are bypassing the high costs of craft store fabric bolts. Here is what you will need to gather from your junk drawer and local dollar store.
| Item | Source | Estimated Cost |
|---|---|---|
| Old Graphic Tee | Your Closet | $0.00 |
| Industrial Fabric Glue (e.g., E6000 Fabri-Fuse) | Craft Store/Hardware Store | $0.80 per project |
| 9-inch Nylon Zipper | Dollar Store or Reclaimed | $0.50 |
| Fabric Scissors | Household Tool Kit | $0.00 |
| Iron & Ironing Board | Household Utility | $0.00 |
| Total Investment | – | $1.30 |
Choosing the Right Adhesive
Not all glues are created equal. For a pouch that will see daily use, you need a flexible, permanent fabric adhesive. Look for labels that specify ‘washable’ and ‘permanent’. Avoid hot glue for this project; while fast, it creates bulk and can brittle over time, leading to a ‘crunchy’ feel that screams amateur. We want a masculine-elegant finish that looks like it came from a boutique, not a kindergarten classroom.
Phase One: Prepping Your Graphic Canvas
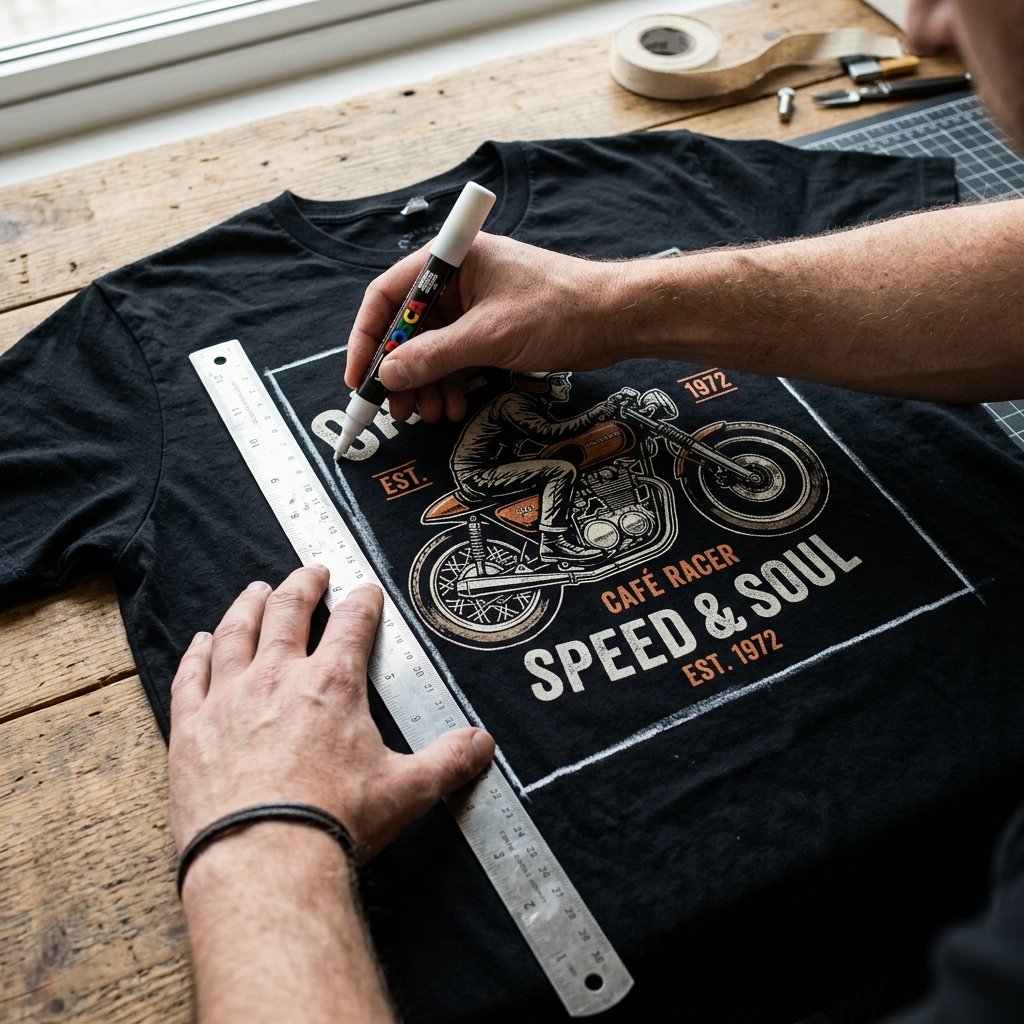
The secret to a professional-looking upcycled project is in the prep work. You aren’t just cutting a hole in a shirt; you are curating a design. Follow these steps to ensure your graphic is centered and the fabric is stable.
- Launder and Iron: Start with a clean shirt. Iron it flat to remove every wrinkle. Any crease present during the gluing phase will be permanent.
- The Template: Decide on the size of your pouch based on the graphic. A standard 9-inch zipper works best with a fabric rectangle of roughly 10 inches by 12 inches.
- Frugal Tip: Use a piece of cardboard (like a cereal box) to create a template. Place it over the graphic to see exactly how the image will sit on the finished pouch.
- Cutting with Precision: Use sharp fabric shears. Dull scissors will chew the knit fabric of a T-shirt, leading to frayed edges that are difficult to seal.
“Measure twice, cut once, and always align your graphic 1/2 inch lower than you think—the zipper fold will take up more space than you expect!”
The No-Sew Assembly: Step-by-Step Construction
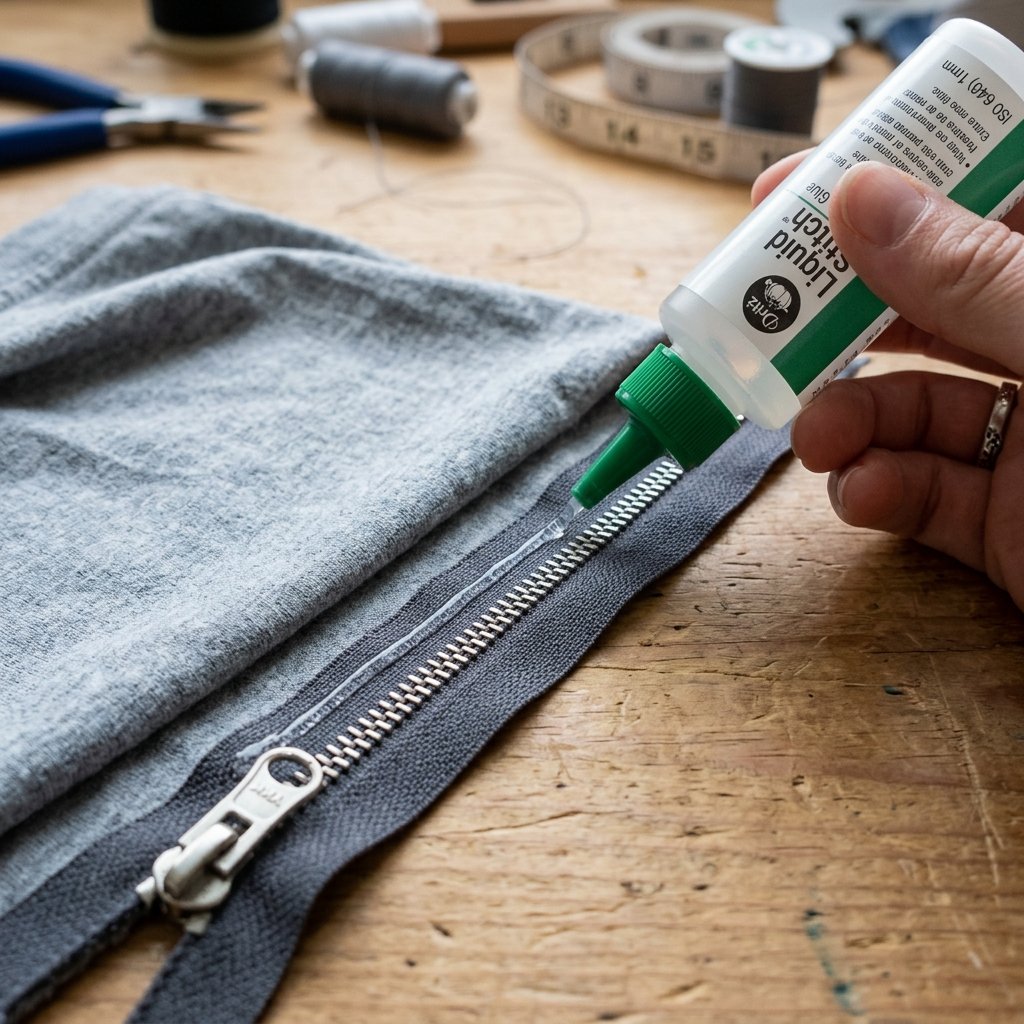
Now we move into the ‘magic’ phase. We are going to use a ‘sandwich’ technique to secure the zipper. This method hides the raw edges of the fabric inside the glue line for a clean, rugged finish.
Step 1: The Zipper Bond
Lay your fabric rectangle face up. Apply a thin, consistent bead of fabric glue along the top edge. Place your zipper face down (pull-tab side touching the graphic) onto the glue. Press firmly. Wait 5 minutes for the initial tack to hold.
Step 2: The Loop Fold
Bring the bottom edge of your fabric up to meet the top edge of the zipper. Apply glue to the remaining side of the zipper tape and press the bottom edge of the fabric into it. You should now have a fabric tube with the zipper at the top.
Step 3: Sealing the Flanks
Turn the entire tube inside out. This is crucial for hiding your seams. Apply a generous line of glue down the left and right open sides. Pro Tip: Place heavy books on top of the edges while they dry to ensure a deep fiber-to-fiber bond. Let it cure for at least 4 to 24 hours depending on the glue brand.
| Step | Action | Crucial Detail |
|---|---|---|
| 1 | Zipper Placement | Face-down on the graphic side |
| 2 | Side Seams | Glue while inside-out |
| 3 | Curing | Apply weight for a flat finish |
Reinforcements and Rugged Finishes
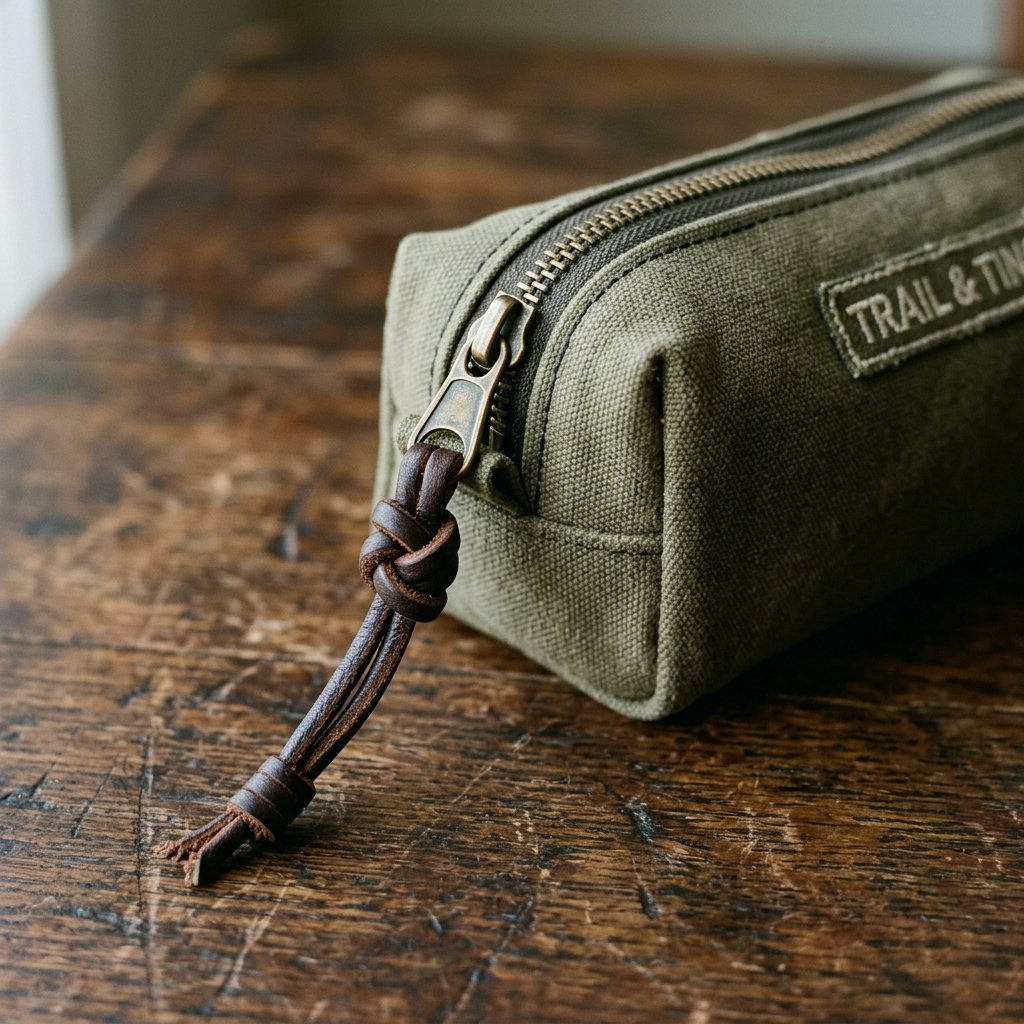
A true handy crafter knows that the difference between a ‘DIY project’ and a ‘product’ is the finishing touches. Since T-shirt material (jersey knit) can be floppy, we want to add some structure.
- Interfacing Hack: If your shirt is very thin, glue a piece of scrap denim or heavy canvas to the inside of the graphic area before assembly. This gives the pouch a sturdy, rugged feel.
- The Zipper Pull: Remove the cheap metal tab and loop a small piece of leather cord or paracord through the zipper head. It adds a masculine, high-end touch for pennies.
- Heat Setting: Once the glue is dry, run a warm iron over the seams (use a pressing cloth!). The heat helps many fabric glues ‘set’ into the fibers for maximum durability.
“A pouch is only as strong as its weakest seam. Double-bead the corners; they take the most stress when the pouch is stuffed with gear.”
Store-Bought vs. DIY: The Frugal Comparison
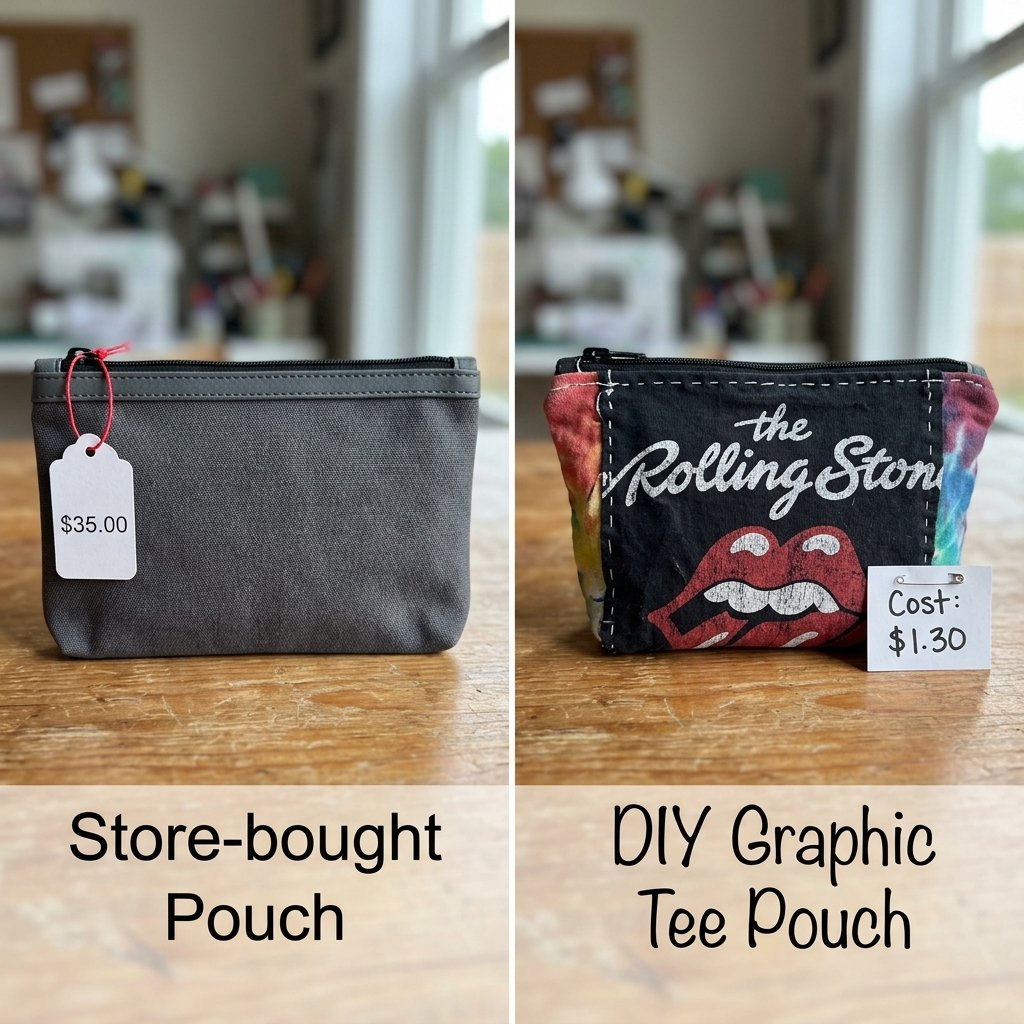
Is it really worth the 30 minutes of effort? Let’s look at the numbers. High-end ‘upcycled’ pouches at trendy retailers often trade on the ‘vintage’ look, but they charge a premium for it. By doing it yourself, you aren’t just saving money; you’re preserving a personal memory.
| Feature | Boutique Upcycled Pouch | Your No-Sew DIY Pouch |
|---|---|---|
| Cost | $25.00 – $45.00 | $1.30 |
| Personal Value | Generic Vintage | Your Actual Concert/Memory |
| Construction Time | Shopping Time (1 hour) | Crafting Time (30 mins) |
| Durability | Machine Sewn | Industrial Bonded (Equal) |
| Customization | None | 100% Bespoke |
As you can see, you are saving over 90% compared to retail prices while creating a piece that is uniquely yours. This is budget-savvy living at its finest.
Conclusion
Mastering the Art of the Upcycle
You’ve done it. You’ve taken a piece of clothing destined for the rag bin and transformed it into a trendy, functional accessory. This no-sew zipper pouch is more than just a storage solution; it’s a testament to resourceful creativity. By mastering this simple gluing and folding technique, you can now apply these skills to making pencil cases, tool wraps, or even custom gift bags for the holidays. Remember, being frugal isn’t about having less—it’s about making more with what you already have. So, go ahead, raid that closet, and turn your old favorites into new treasures. Happy crafting!

Makenzie is the founder and lead writer at MoneyHackTips.com — a personal finance blog dedicated to delivering street-smart financial wisdom for real people on real budgets. With 300+ published articles covering everything from debt management to investing fundamentals, Makenzie’s mission is to make every dollar work harder. When not writing about money hacks, Makenzie is testing frugal living strategies, optimizing side hustles, and helping readers build financial freedom from scratch.