
The Secret to a Million-Dollar Wedding on a Hundred-Dollar Budget
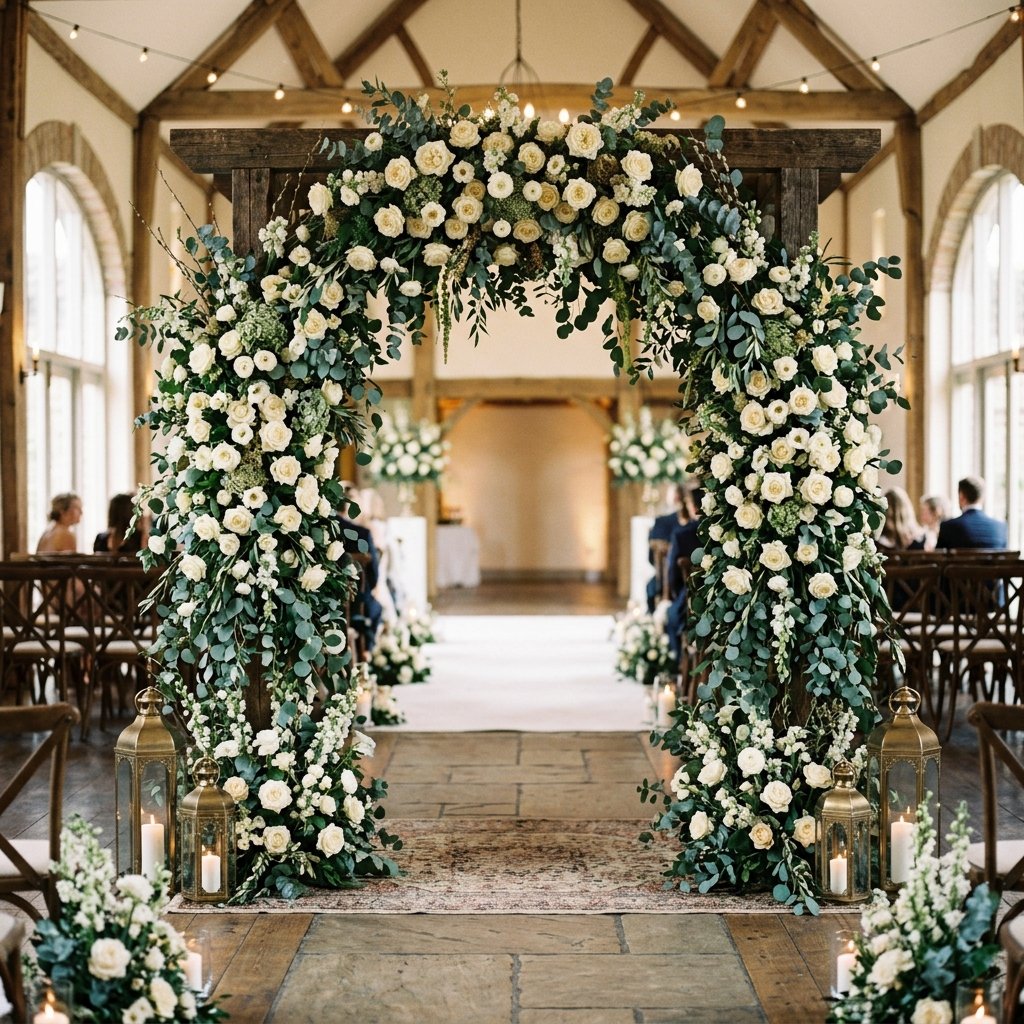
Let’s be honest: the wedding industry is designed to make you believe that ‘elegant’ must equal ‘expensive.’ I have seen brides quoted upwards of $1,500 for a single floral backdrop that stays up for exactly six hours. As a frugal DIYer with a penchant for rugged engineering and high-end aesthetics, I say: no more. You don’t need a celebrity florist; you need a strategy. We are going to build a breathtaking, Instagram-worthy floral wall that looks like it stepped out of a luxury bridal magazine, all for under $50. This isn’t just about saving money; it’s about the pride of craftsmanship. Whether you are a budget-savvy bride, a handy dad helping with the big day, or a crafty friend looking to gift something spectacular, this guide will walk you through the clever sourcing, the structural build, and the artistic layering required to create a masterpiece from scratch.
“Budget is not a limitation; it is an invitation to be more creative than the person who just wrote a check.”
The Strategic Blueprint: Cost Breakdown and Comparison
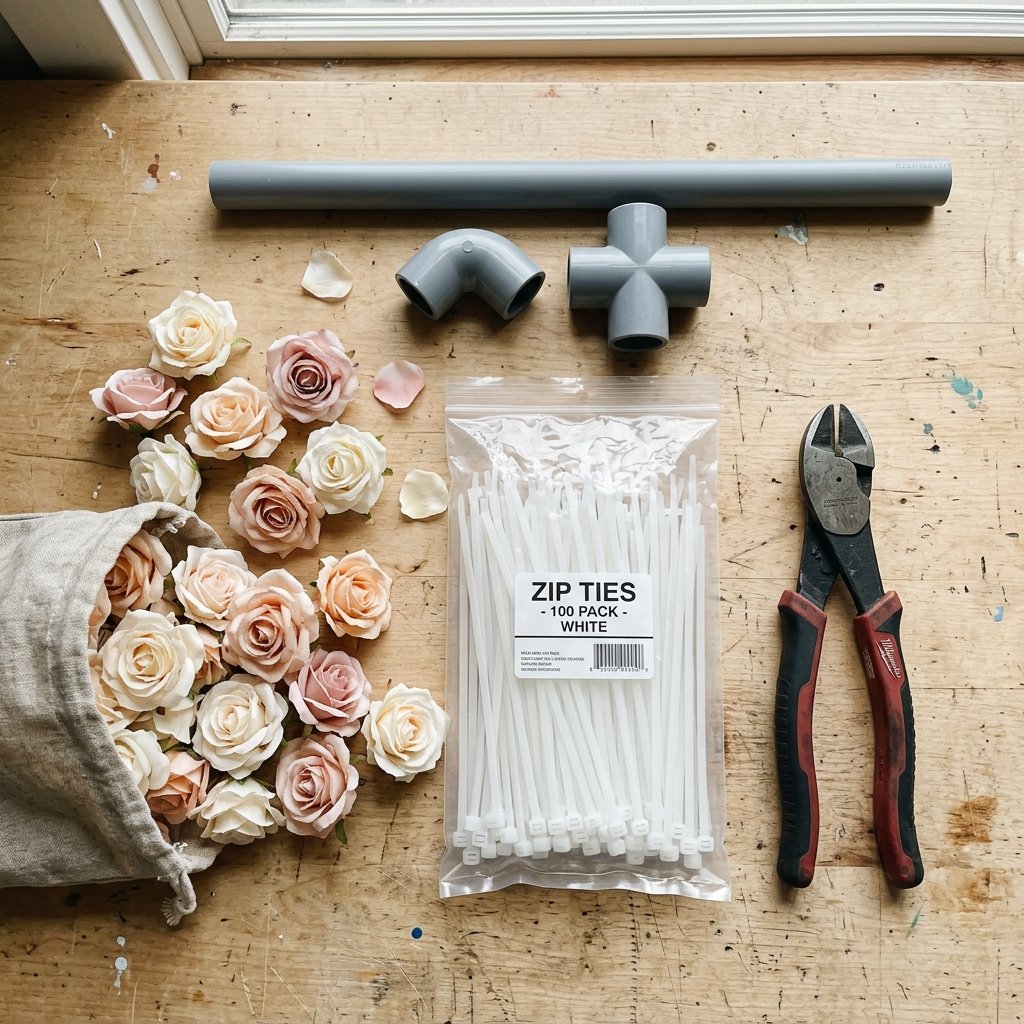
Before we pick up a single stem, we need to understand the ‘why’ and the ‘how’ of our savings. A professional floral wall is expensive because of the labor and the markup on premium silk flowers. By sourcing our own materials and building a reusable frame, we slash those costs by over 95%. Below is a comparison of what you would pay a rental company versus what we are going to spend today.
| Expense Category | Professional Rental/Florist | Our DIY Budget Build |
|---|---|---|
| Structural Frame | $200 – $450 | $12.50 (PVC Pipe) |
| Faux Floral Stems | $600 – $1,500 | $28.00 (Bulk/Dollar Store) |
| Greenery & Fillers | Included in above | $6.00 (Upcycled/Discount) |
| Labor & Delivery | $150 – $300 | $0 (DIY Pride) |
| Grand Total | $950 – $2,250 | $46.50 |
Where the Savings Come From
- The PVC Pivot: Instead of heavy iron or wood, we use 3/4-inch PVC. It is lightweight, rugged enough for the task, and costs pennies.
- The Hybrid Floral Method: We mix high-quality focal flowers with ‘filler’ flowers from budget sources to create depth without the price tag.
- The Zip-Tie Secret: No expensive floral foam or wire is needed. We use bulk zip-ties for a secure, wind-proof hold.
Building the Skeleton: The Rugged PVC Frame
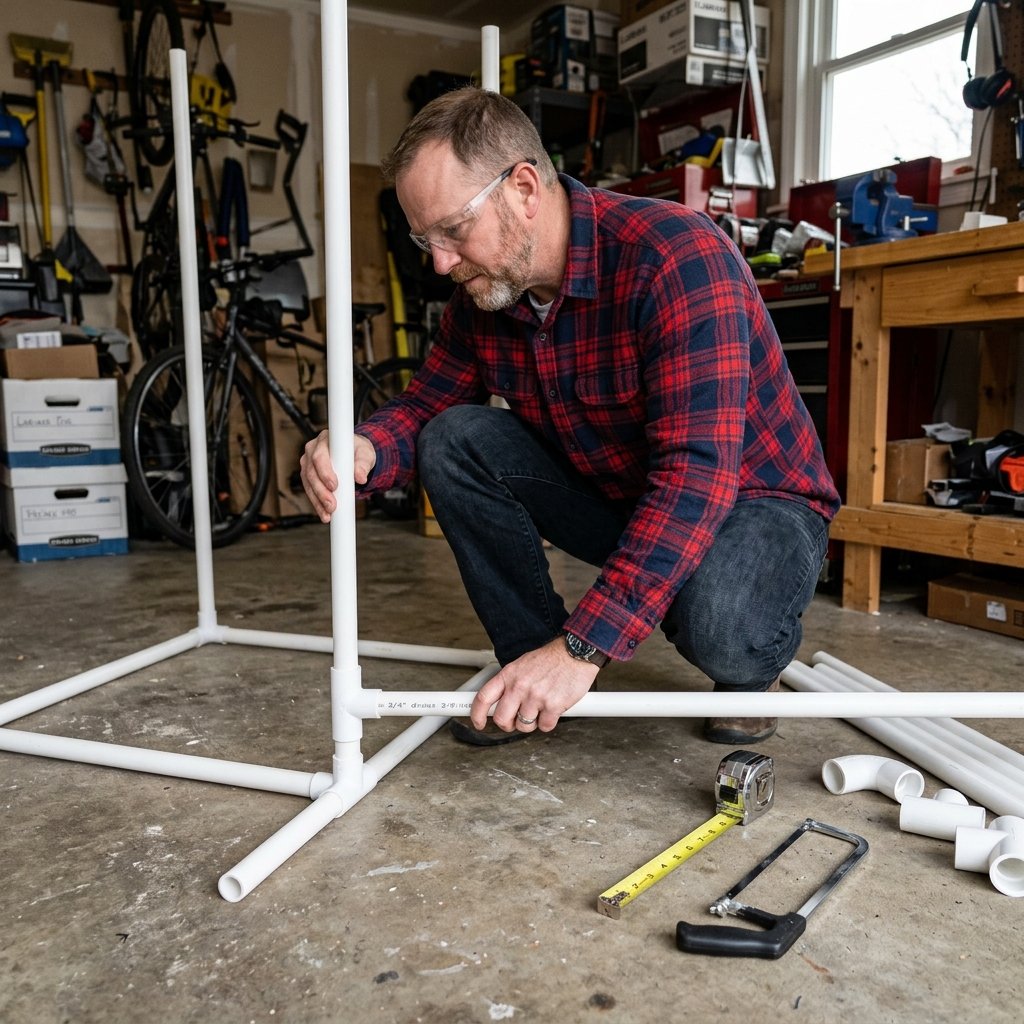
A backdrop is only as good as the bones beneath it. We aren’t looking for a flimsy kit; we want a structure that can stand up to a breeze if the wedding is outdoors. For this, we head to the plumbing aisle. PVC is the unsung hero of the DIY world—it’s the ultimate LEGO set for adults.
Materials for the 7ft x 6ft Frame:
- (4) 10ft lengths of 3/4-inch PVC pipe ($4.00 each)
- (2) 90-degree elbows ($0.60 each)
- (4) T-connectors ($0.80 each)
- (4) End caps ($0.50 each)
- PVC Cement (Optional, for a permanent bond)
The Assembly Steps:
- Cut Your Vertical Supports: Cut two pieces of PVC to 7 feet. These are your main uprights.
- Cut Your Horizontal Support: Cut one piece to 6 feet. This will be the top bar where the flowers hang.
- Build the Feet: For maximum stability, create two ‘H’ shaped bases. Cut four 18-inch pieces for the ‘legs’ of the bases. Connect two legs to a T-connector, with a small 4-inch riser in the middle.
- Join the Frame: Use the 90-degree elbows to connect the top bar to the uprights. Slot the uprights into the T-connectors on your bases.
- Weight It Down: If you’re outdoors, slide a piece of rebar inside the bottom of the uprights or use sandbags hidden by fabric.
“Measure twice, cut once, and always dry-fit your joints before you apply the cement.”
The Floral Strategy: Sourcing and Prepping on a Dime
This is where the magic happens. To stay under $50, you cannot walk into a high-end craft store and buy individual stems at $8.00 a piece. You have to be a tactical shopper. We are looking for ‘blanks’—items that provide volume for very little money.
The $28 Floral Shopping List:
- Dollar Store Roses (15 bunches): Look for the ones with the most realistic centers. We will ‘fluff’ these to make them look expensive. ($18.75)
- Bulk Eucalyptus Garland: Check online marketplaces or discount bins. You need about 12 feet of greenery. ($6.00)
- Coffee Filters: Yes, really. Large white coffee filters can be folded into ‘carnations’ to fill large gaps for nearly $0. ($1.50)
- White Bed Sheet: Thrift a king-sized white sheet to act as your ‘canvas’ backing. ($2.00)
The ‘High-End’ Hack: Fluffing Your Florals
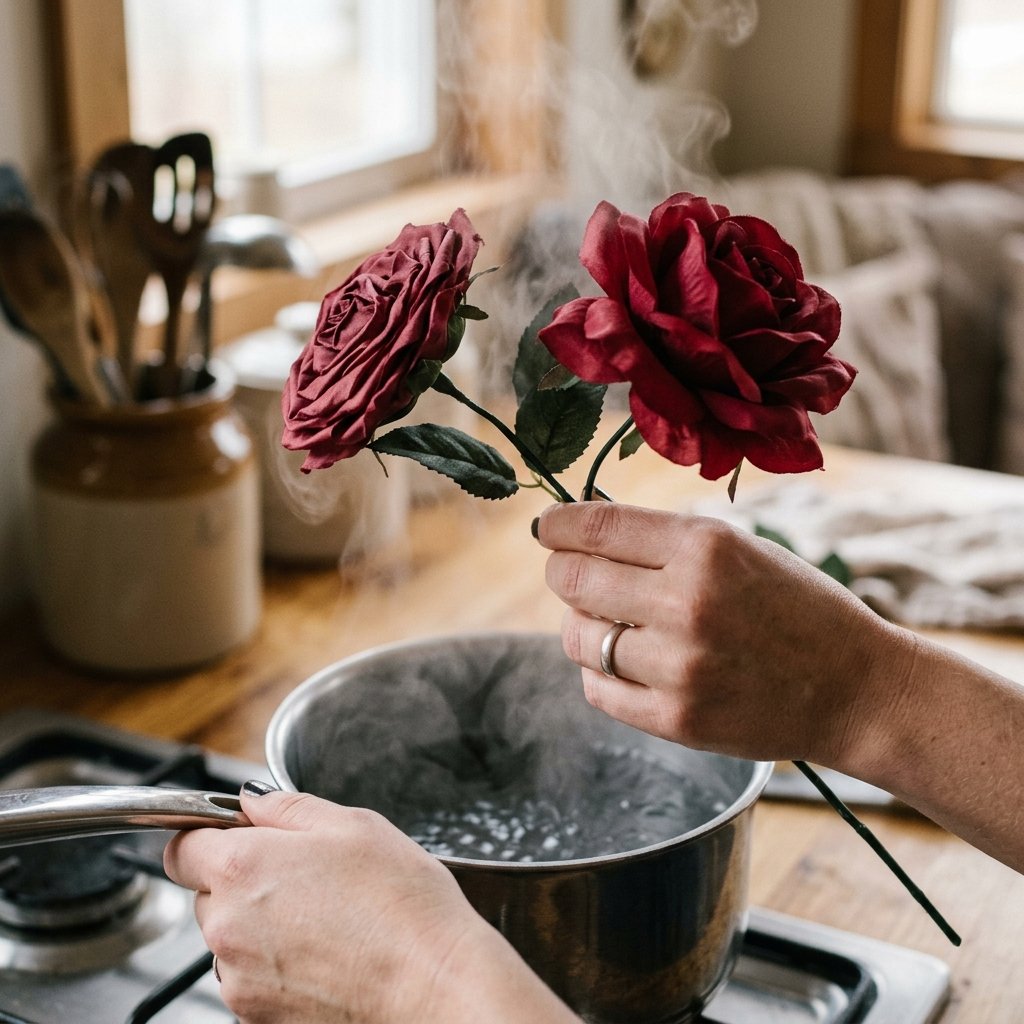
Cheap silk flowers often arrive flat. To make them look like $10 stems, hold them over a pot of boiling water for 10 seconds. The steam relaxes the plastic and fabric, allowing you to manually pull the petals open. Once they dry in this ‘open’ position, they look twice as full and significantly more realistic.
The Master Class: Layering and Securing the Flowers
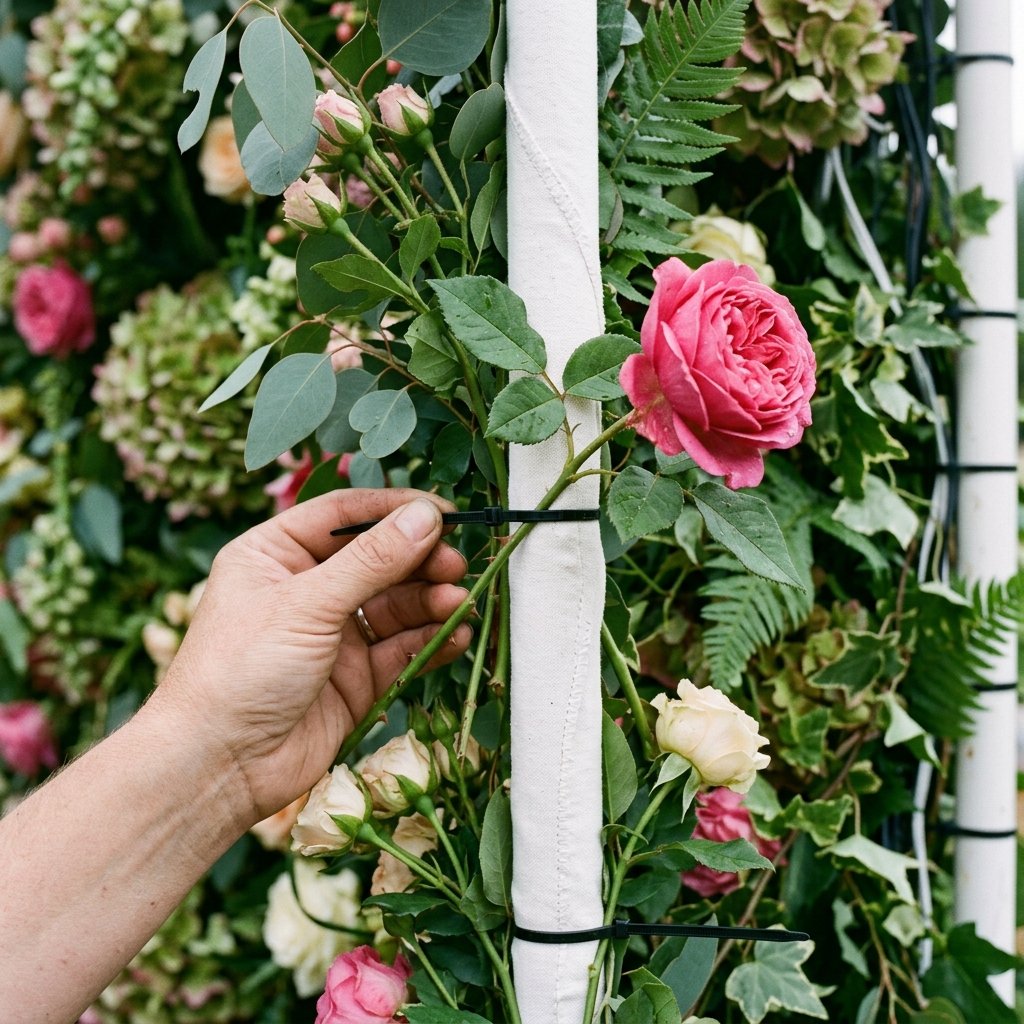
We aren’t just taping flowers to a pipe. We are building a textured wall. The goal is to hide the frame completely while creating a sense of organic growth. Follow this layering logic for a professional result.
Step-by-Step Layering Guide:
- The Canvas: Drape your white bed sheet over the top bar of the PVC frame. Secure it with clamps or safety pins. This ensures that even if there are small gaps in your flowers, the viewer sees white ‘light’ instead of a plastic pipe.
- The Greenery Skeleton: Zip-tie your eucalyptus or ivy garlands along the top bar and down the sides in an asymmetrical ‘L’ shape. This creates the ‘flow’ of the piece.
- The Focal Points: Group your largest, best-looking roses in clusters of three. Place one cluster in the top left corner and another about 2/3 of the way down the opposite side. This draws the eye across the backdrop.
- The Fillers: Use your fluffed Dollar Store roses to fill the space between the focal clusters. Don’t place them in straight lines; stagger them like they are growing in a garden.
- The Texture: Add in your coffee filter ‘carnations’ and any sprigs of baby’s breath. These add the ‘froth’ and softness that makes the backdrop look expensive.
| Layer Type | Purpose | Attachment Method |
|---|---|---|
| Base Sheet | Hides the frame/adds depth | Clamps/Safety Pins |
| Greenery | Creates the shape and movement | Zip-ties |
| Focal Flowers | Provides the ‘Wow’ factor | Hot Glue/Wire |
| Filler Flowers | Eliminates gaps and holes | Direct Stem Insertion |
Logistics: Transport, Setup, and the ‘Rugged’ Safety Check
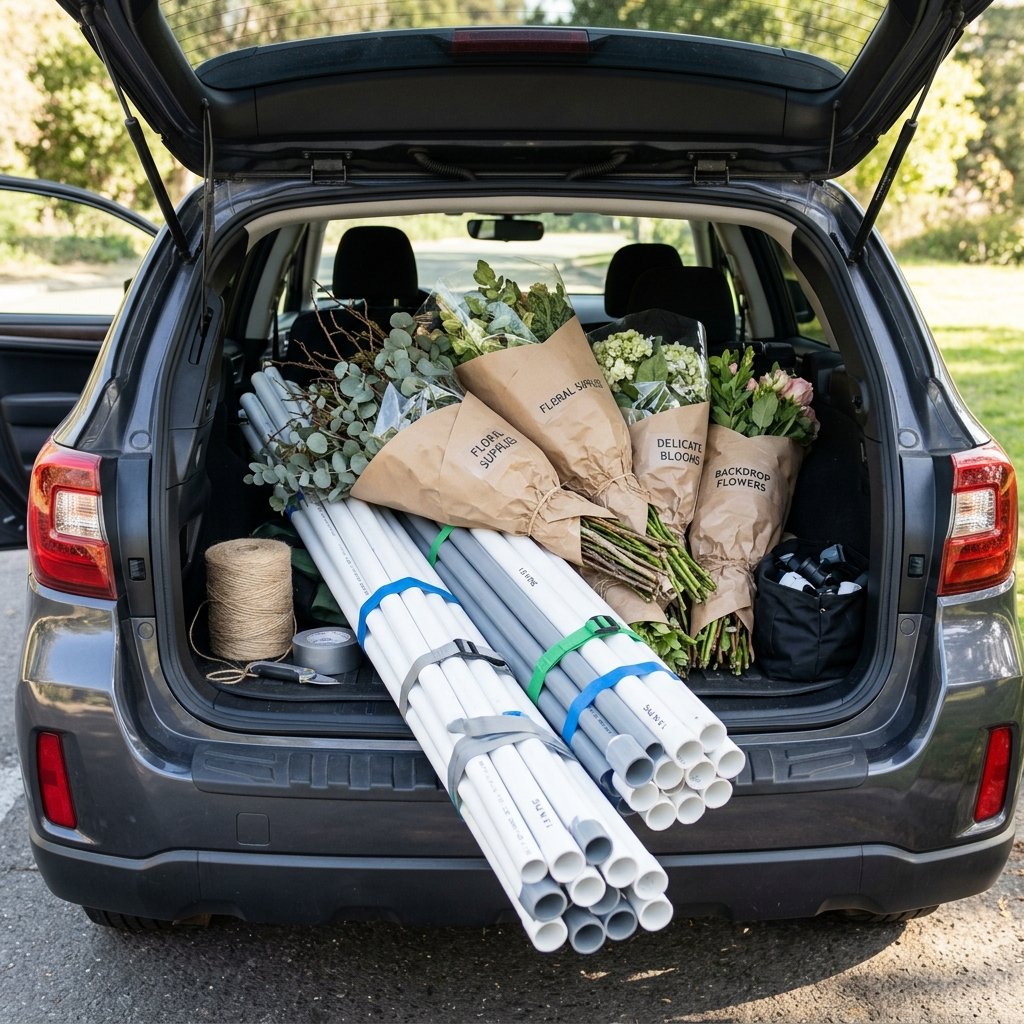
A beautiful backdrop is a failure if it falls over during the vows. Because we built this with PVC, it is modular. You can pull the pipes apart, stack them in a trunk, and reassemble them at the venue in 5 minutes.
“Stability is the difference between a DIY success and a DIY disaster. Never underestimate the power of a hidden sandbag.”
The Setup Checklist:
- The ‘Shake’ Test: Once assembled at the venue, give the frame a firm shake. If it wobbles, your base isn’t wide enough or needs more weight.
- Lighting is Everything: Position your backdrop so the light hits it from the front or 45-degree angle. Avoid placing it directly in front of a bright window, or the flowers will look like silhouettes.
- Safety Note: If using hot glue to reinforce stems, ensure all ‘glue strings’ are removed with a hair dryer on low heat. These strings catch the light and scream ‘cheap DIY’ in photos.
Transporting Your Masterpiece:
Don’t transport the frame fully assembled. Keep the floral ‘clusters’ attached to the top bar and side bars, but disconnect the pipes. Wrap the floral sections in large trash bags or old sheets to prevent the petals from catching on things in your car. When you arrive, simply slide the pipes back together and fluff the petals one last time.
Conclusion
Your Luxury Backdrop Awaits
By following this guide, you have successfully bypassed the ‘wedding tax’ and created a piece of decor that will be the centerpiece of your photos for years to come. You’ve spent less than $50, but the result is a professional-grade, breathtaking floral wall that reflects your resourcefulness and style. Remember, the best DIY projects aren’t just about the money you save—they are about the stories you create. When guests ask where you got that stunning backdrop, you can tell them with a grin that you built it yourself. Now, go grab your wire cutters and your PVC—your dream wedding is just a few zip-ties away!

Makenzie is the founder and lead writer at MoneyHackTips.com — a personal finance blog dedicated to delivering street-smart financial wisdom for real people on real budgets. With 300+ published articles covering everything from debt management to investing fundamentals, Makenzie’s mission is to make every dollar work harder. When not writing about money hacks, Makenzie is testing frugal living strategies, optimizing side hustles, and helping readers build financial freedom from scratch.