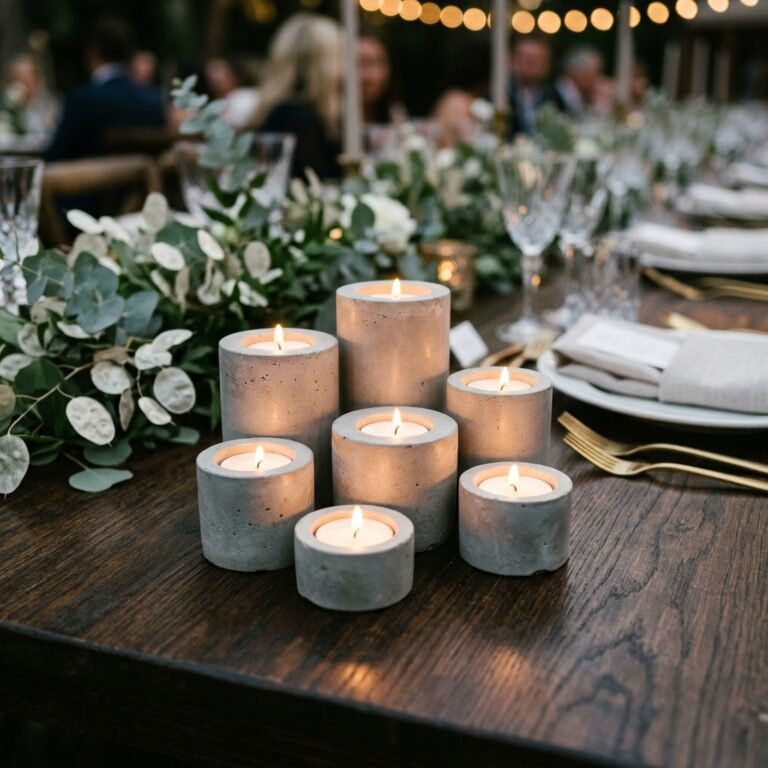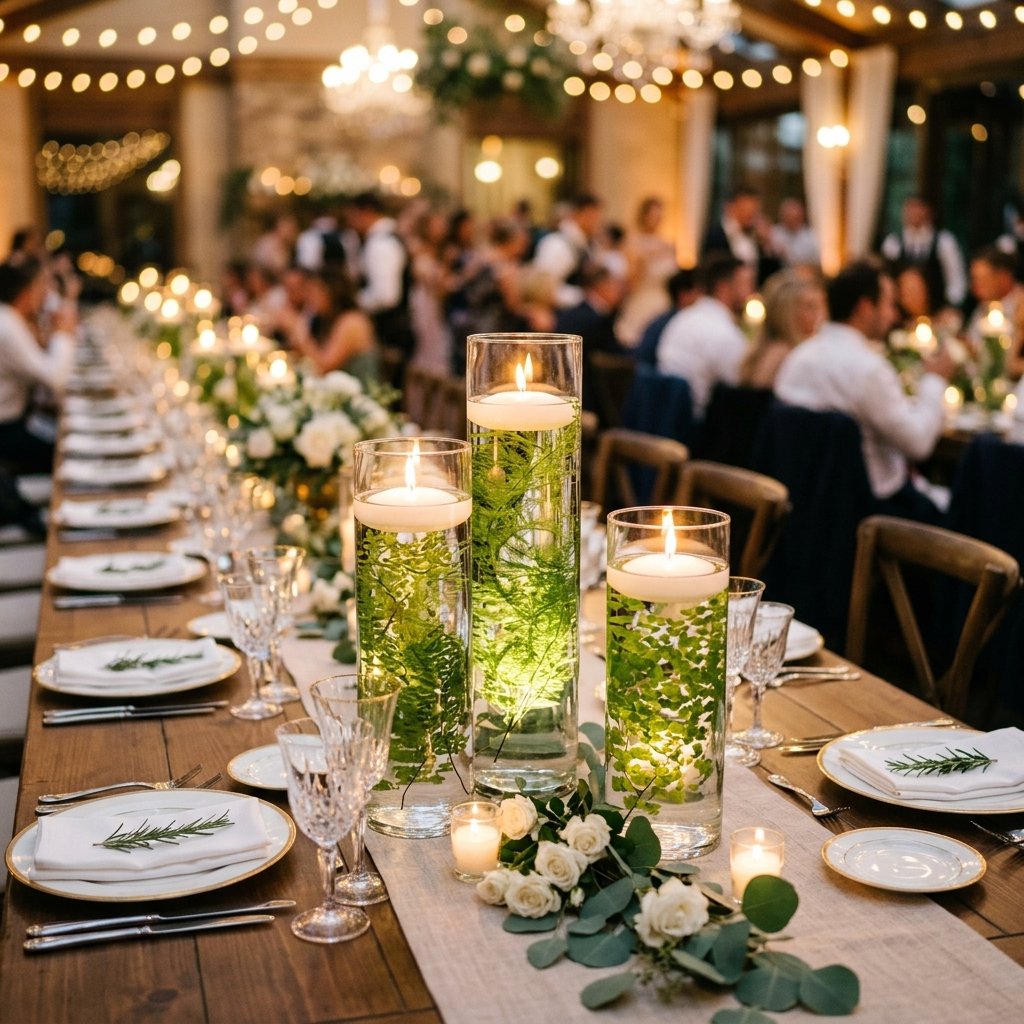

Planning a wedding often feels like a high-stakes balancing act between your Pinterest-board dreams and the cold, hard reality of your bank account. As a veteran of the ‘Trash-to-Treasure’ movement, I have seen couples spend thousands on floral arrangements that wilt before the first dance. But what if I told you that you could achieve a breathtaking, high-end aesthetic for the cost of a few lattes? We are talking about the Floating Candle Centerpiece with Underwater Ferns—a design staple in luxury hotel lobbies and upscale gala events, now reimagined for the resourceful and budget-savvy DIYer.
This isn’t just about sticking a leaf in a jar; it is about the strategic alchemy of light, water, and greenery. By submerging delicate ferns, we create a magnifying effect that exudes rugged elegance and sophisticated charm. Whether you are a handy parent helping with a child’s nuptials or a budget-savvy bride-to-be, this guide will walk you through the clever hacks and crafty secrets to mastering this look without the florist’s premium markup. Get ready to turn $1.25 items into $100-looking masterpieces.
The Economics of Elegance: DIY vs. Professional Florist

Before we pick up a single vase, let’s talk numbers. The wedding industry often applies a 300% to 500% markup on simple glass and water arrangements. By taking the DIY route, you aren’t just saving money; you are reclaiming your creative agency. You can source your materials from thrift stores, dollar outlets, or even your own backyard. Below is a tactical breakdown of what you can expect to save by being clever and resourceful.
| Expense Item | Professional Florist Price (Per Table) | DIY Crafty Expert Price (Per Table) |
|---|---|---|
| Set of 3 Glass Cylinder Vases | $45.00 (Rental) | $3.75 (Dollar Tree) |
| Submerged Greenery (Ferns/Ruscus) | $25.00 | $0.00 (Foraged or $2.00 Silk) |
| High-Quality Floating Candles | $15.00 | $3.00 (Bulk Buy) |
| Labor & Setup Fees | $50.00+ | $0.00 (Self-Assembled) |
| Total Per Table | $135.00 | $8.75 |
By choosing the DIY path, you are looking at a 93% savings. For a wedding with 15 tables, that is over $1,800 put back into your honeymoon fund or house down payment. That is what I call practical, masculine-elegant financial management.
The Essential Kit: Sourcing Your Materials Like a Pro
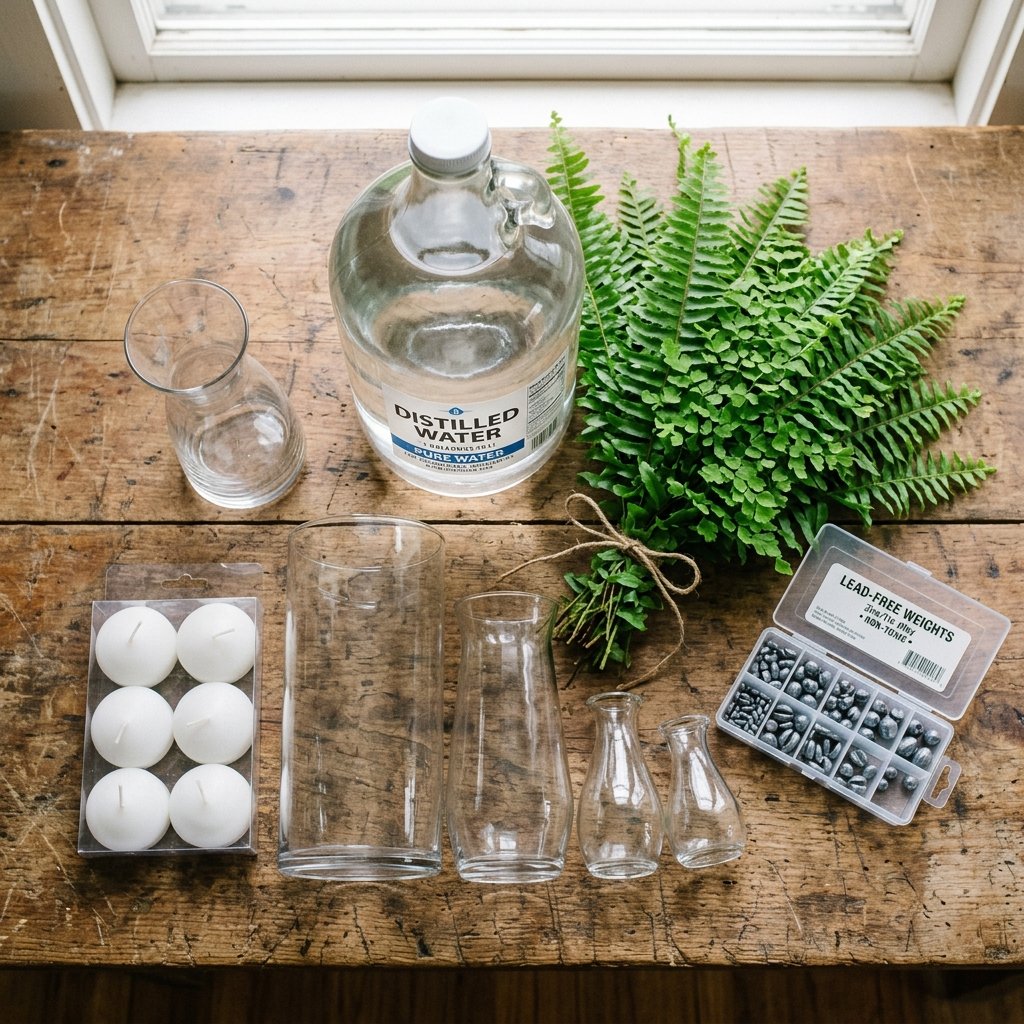
To achieve that ‘Pottery Barn’ or ‘Anthropologie’ look, the quality of your components matters. You want to look for items that have clean lines and high clarity. Here is your tactical shopping list for a high-end finish:
- Glass Cylinder Vases: Aim for three different heights (e.g., 7-inch, 9-inch, and 10.5-inch) to create visual depth and a ‘staircase’ effect.
- Distilled Water: This is a pro-tip. Tap water contains minerals that can create bubbles on the glass or make the water look cloudy over time. Distilled water stays crystal clear.
- Submersible Greenery: Ferns are the gold standard here because of their intricate, fractal-like leaves. You can use fresh Plumosa Ferns or high-quality silk ferns.
- Fishing Sinkers or Clear Adhesive: To keep those ferns from floating to the top, you need a rugged, practical solution to weight them down.
- Floating Candles: Look for 3-inch diameter candles. They burn longer (usually 8-10 hours) and fit the scale of standard cylinder vases perfectly.
Budget Mantra: A clever crafter never pays full price. Scour thrift stores for glass vases first; mismatched heights often look more ‘curated’ and expensive than perfectly matched sets.
The Science of Submersion: The ‘Invisible Weight’ Trick
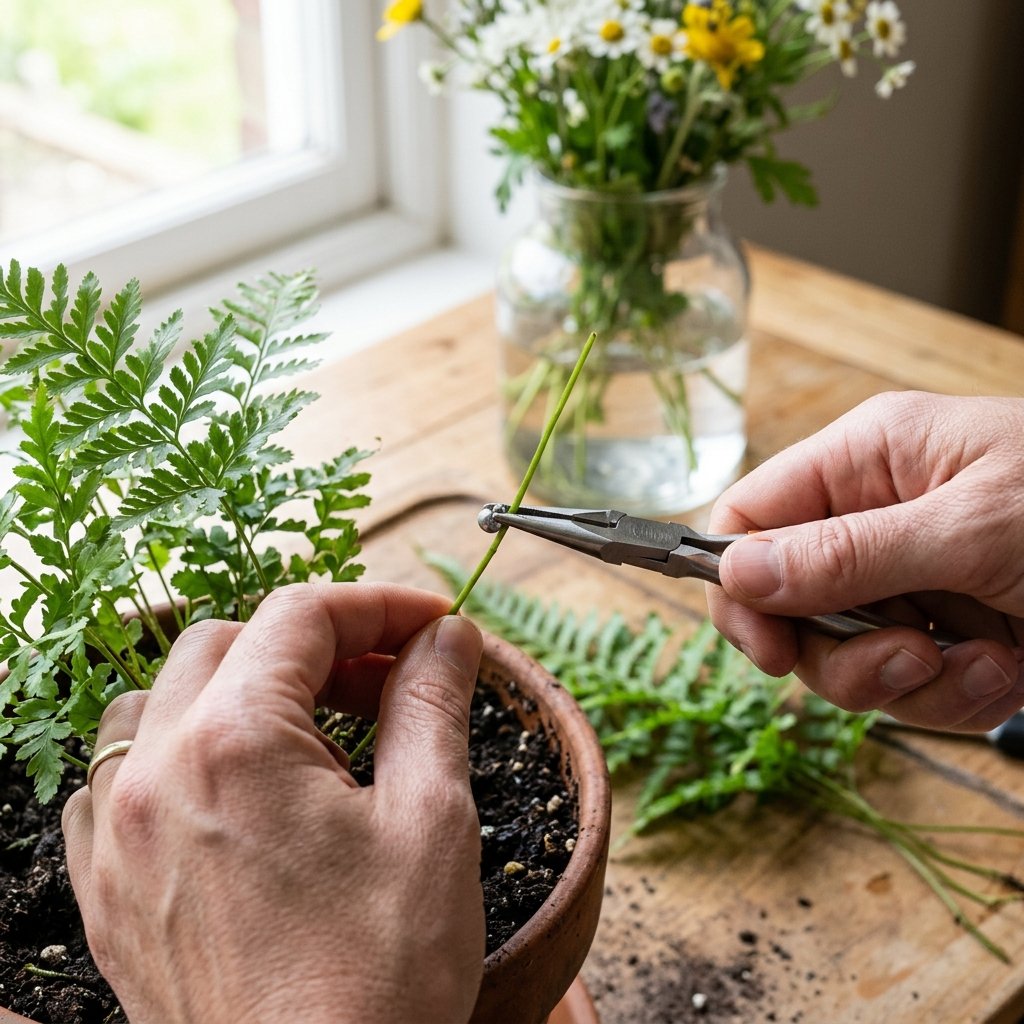
The biggest challenge with underwater centerpieces is the buoyancy of the plant. If you just drop a fern in, it will float to the top and crowd the candle. To get that breathtaking, suspended-in-time look, you must master the anchor. There are two primary methods for this:
Method A: The Fishing Sinker Hack
This is the rugged and practical way. Take a small, lead-free split-shot fishing sinker and crimp it onto the bottom of the fern stem. Hide the weight by nesting it into a layer of clear glass river stones or white pebbles at the bottom of the vase. The weight is invisible, but the effect is permanent.
Method B: The Clear Adhesive Method
If you don’t want stones at the bottom, use a tiny dab of clear floral adhesive or a high-temp glue gun (let it cool slightly) to stick the stem directly to the bottom of the glass before adding water. Warning: Ensure the glue is fully cured before pouring water to avoid cloudiness.
| Weighting Method | Pros | Cons |
|---|---|---|
| Fishing Sinkers | Very secure, easy to adjust, reusable. | Requires base stones to hide weight. |
| Floral Adhesive | Cleanest look, no stones needed. | Harder to remove from glass later. |
| Clear Fishing Line | Invisible, allows for ‘hovering’ look. | Fiddly to tie and tension. |
The Build: A Step-by-Step Tactical Assembly
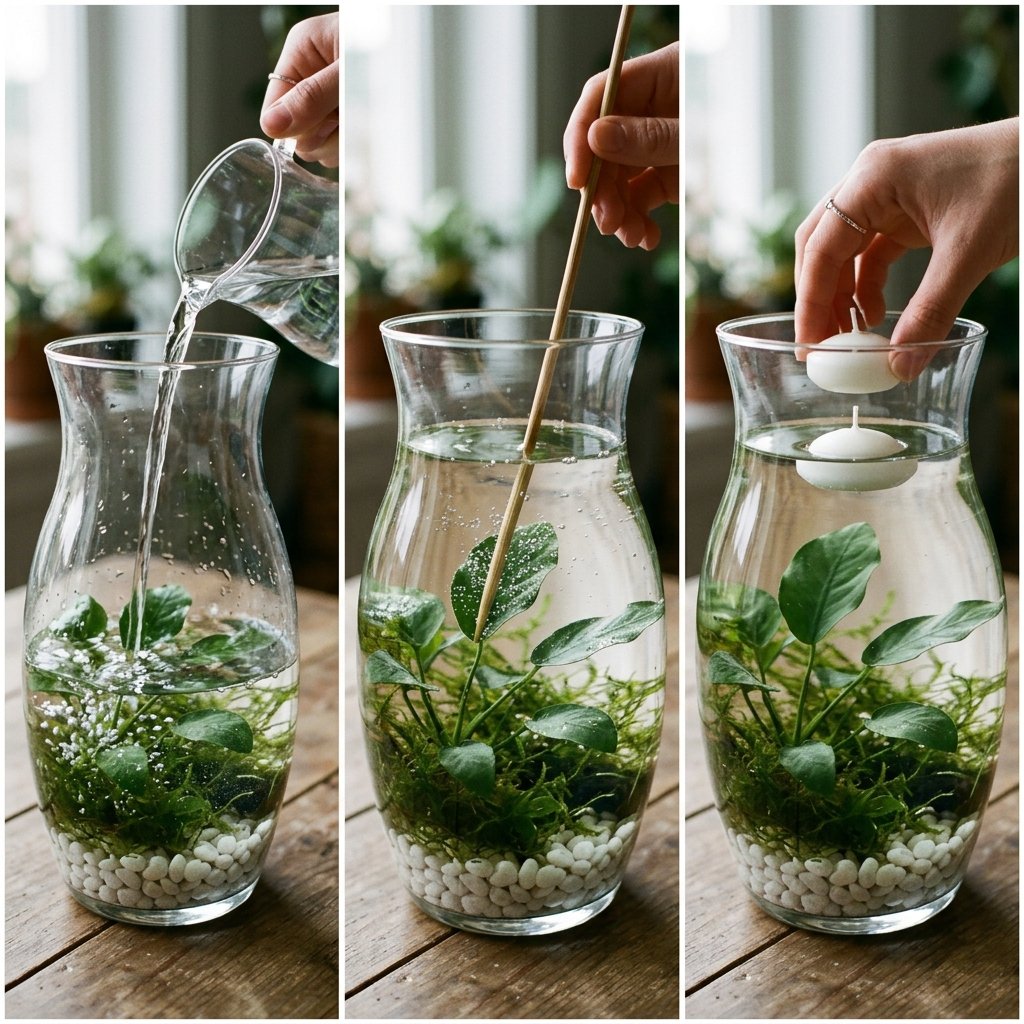
Now that you have your materials, let’s assemble. Follow these steps for a flawless execution that will have your guests asking which high-end florist you hired.
- Prep the Glass: Clean your vases with a 50/50 mix of vinegar and water. This removes fingerprints and ensures the maximum transparency required for the underwater magnifying effect.
- Anchor the Fern: Place your weighted or glued fern into the dry vase. Ensure the height of the fern is about 2 inches shorter than the top of the vase to leave room for the candle.
- The Gentle Pour: This is the most critical step. Tilt the vase slightly and pour the distilled water down the inside wall of the glass. If you pour directly onto the fern, you might dislodge it or create unwanted air bubbles.
- De-Bubbling: Use a long skewer or a clean chopstick to gently tap the leaves of the fern. This releases trapped air bubbles that can make the greenery look ‘fuzzy.’
- Placement: Place the vases on the table before adding the candle. Moving full vases of water is a recipe for spills.
- The Final Touch: Gently place the floating candle on the surface. Ensure the wick is dry. Pro-Tip: Use a long-reach butane lighter to light the candles just 15 minutes before guests arrive.
Folding Wisdom: Like money origami, the beauty of this craft is in the precision. A straight stem and a centered candle create the symmetry of high-end design.
Customization: From Masculine-Elegant to Whimsical White
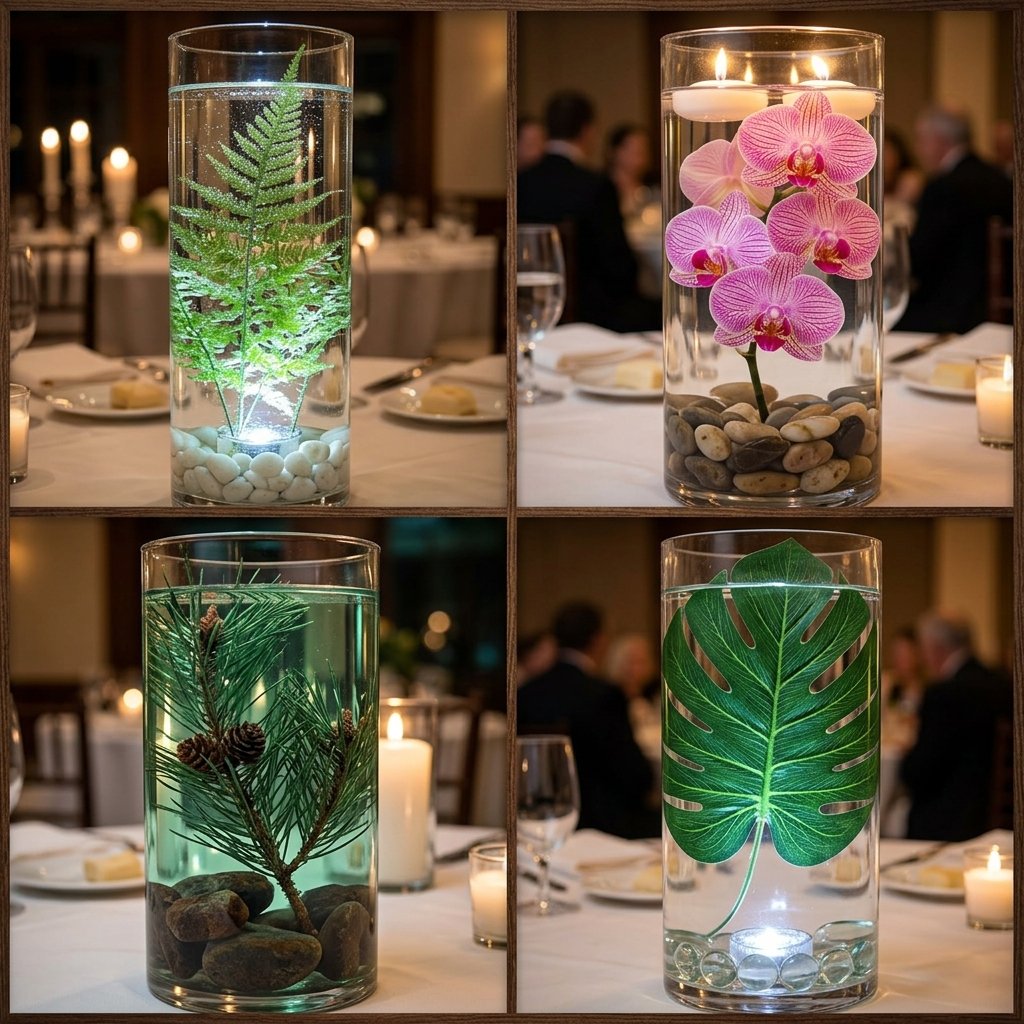
While the green fern is a classic, you can adapt this budget-savvy hack to fit any wedding theme. The beauty of the floating candle centerpiece is its versatility. By simply changing the ‘filler,’ you change the entire vibe of the room.
- The Rugged Forest Look: Instead of ferns, use submerged pine branches or small birch twigs. This adds a masculine, earthy elegance perfect for fall or winter weddings.
- The Glamour Glow: Add a submersible LED light at the very bottom of the vase, hidden under clear gems. This lights the fern from below, creating a dramatic, cinematic effect.
- The Minimalist Zen: Use a single, large Monstera leaf or a stalk of Lucky Bamboo. This works exceptionally well in modern, industrial venues.
| Theme | Greenery Suggestion | Base Material |
|---|---|---|
| Classic Wedding | Plumosa Fern | Clear Glass Marbles |
| Rustic/Boho | Eucalyptus or Olive Branches | River Rocks |
| Modern/Chic | Orchid Stem (Weighted) | No Base (Clean) |
| Winter Wonderland | Blue Spruce or Cedar | Silver Glitter Dust |
Safety, Logistics, and the ‘Big Day’ Strategy
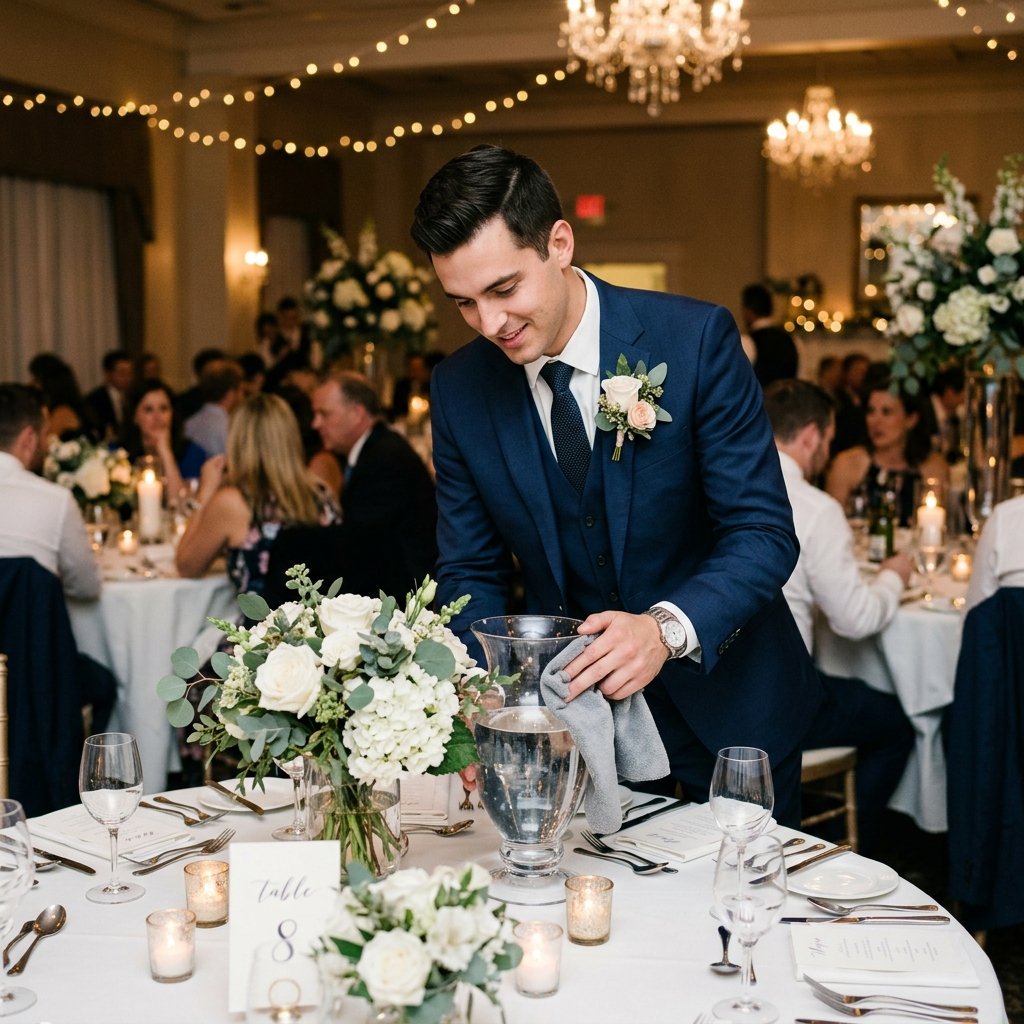
As a handy parent or DIYer, you know that the ‘how-to’ is only half the battle; the ‘when-to’ is just as important. Managing 50+ vases of water requires a tactical plan.
Safety Note: Always ensure the floating candle is the correct size for the vase. A candle that is too small can drift to the edge and overheat the glass, potentially causing it to crack. Keep a 1-inch gap between the water line and the rim of the vase.
Logistics Checklist:
- Transport: Do not transport vases filled with water. Pack the vases in their original cardboard dividers. Prepare the ferns (weighted) ahead of time and keep them in a damp paper towel in a cooler.
- Water Source: Ensure your venue has a water source accessible to you, or bring several 5-gallon jugs of distilled water.
- The ‘Splash’ Factor: Have a pack of microfiber towels on hand during setup. Water spots on the outside of the glass will kill the ‘high-end’ illusion instantly.
- Cleanup: Assign a ‘Strike Team’ (usually helpful groomsmen or family members) to empty the vases into a bucket at the end of the night. Never pour water with wax remnants down a venue’s drain!
Conclusion
Creating a breathtaking wedding atmosphere doesn’t require a celebrity budget; it requires resourcefulness, a bit of craftiness, and a clever eye for detail. The DIY Floating Candle Centerpiece with Underwater Ferns is the ultimate ‘Trash-to-Treasure’ success story—taking simple glass, water, and foraged greenery and elevating them into a display of pure elegance.
By following this guide, you’ve mastered the art of the anchor, the science of distilled clarity, and the logistics of a professional setup. You are no longer just a guest or a planner; you are a budget-savvy artisan. So, go ahead—light those candles, watch the light dance through the water, and take pride in the fact that you created a million-dollar look for the price of a few bucks. Happy crafting, and congratulations!

Makenzie is the founder and lead writer at MoneyHackTips.com — a personal finance blog dedicated to delivering street-smart financial wisdom for real people on real budgets. With 300+ published articles covering everything from debt management to investing fundamentals, Makenzie’s mission is to make every dollar work harder. When not writing about money hacks, Makenzie is testing frugal living strategies, optimizing side hustles, and helping readers build financial freedom from scratch.