
The Art of the Rugged Rebrand: Why Settle for Basic?
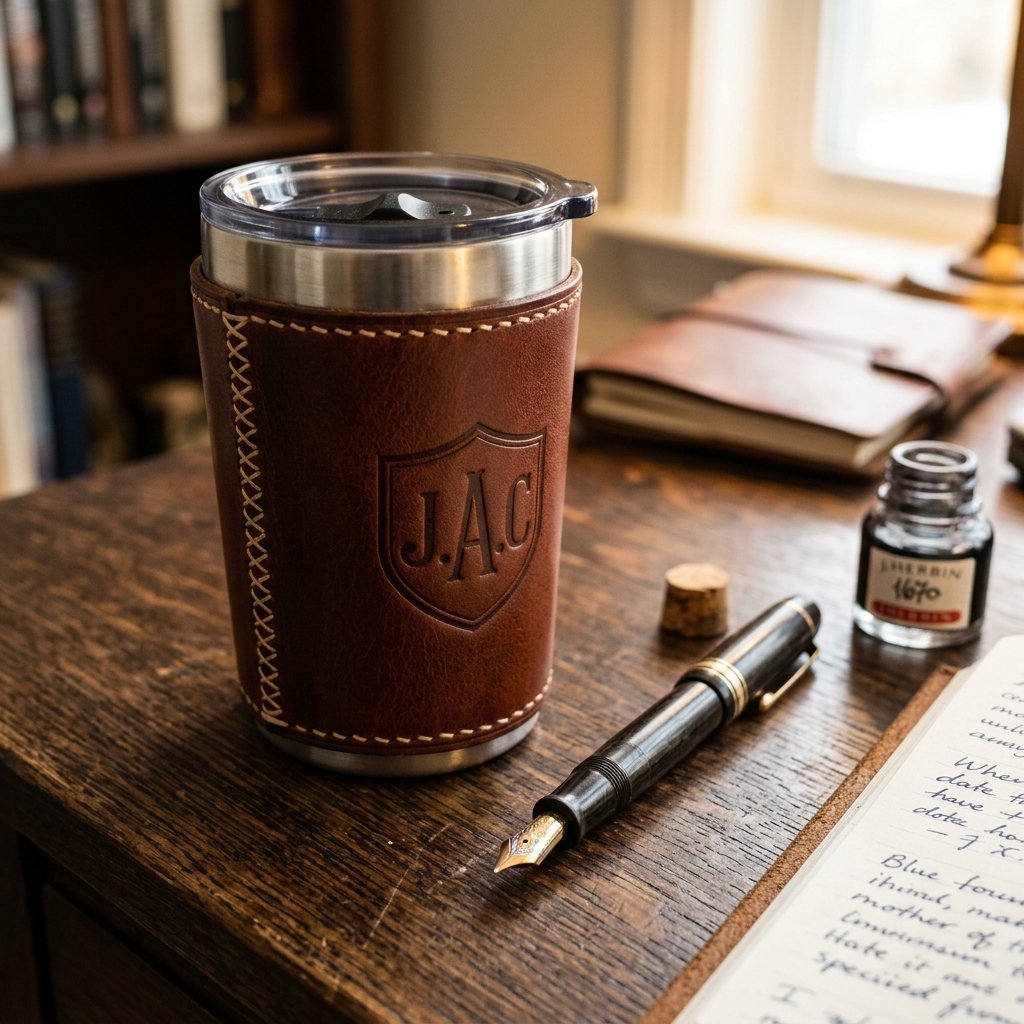
Let’s be honest: those generic, silver stainless steel tumblers are everywhere. They are functional, sure, but they lack soul. They lack that rugged, masculine elegance that says you value craftsmanship over mass production. But if you’ve ever looked at a designer leather-wrapped mug in a high-end boutique, you’ve likely seen price tags north of $80. As a savvy DIYer, you know better. You know that with a bit of resourceful creativity and a few scraps of leather, you can create a bespoke piece that looks like it belongs in a luxury cabin—all for a fraction of the cost.
This guide isn’t just about sticking leather to a cup; it’s about the crafty-expert techniques that ensure your mug feels premium in the hand and lasts for years of morning commutes. We are going to dive deep into the world of leather-working, from sourcing budget-friendly hides to mastering the professional saddle stitch. Whether you are looking to treat yourself or you are a crafty gift-giver looking for the perfect Father’s Day or graduation present, this project is your ticket to high-end style on a Dollar Tree budget. Let’s roll up our sleeves and turn some trash into a timeless treasure.
Sourcing and Strategy: The Budget Breakdown
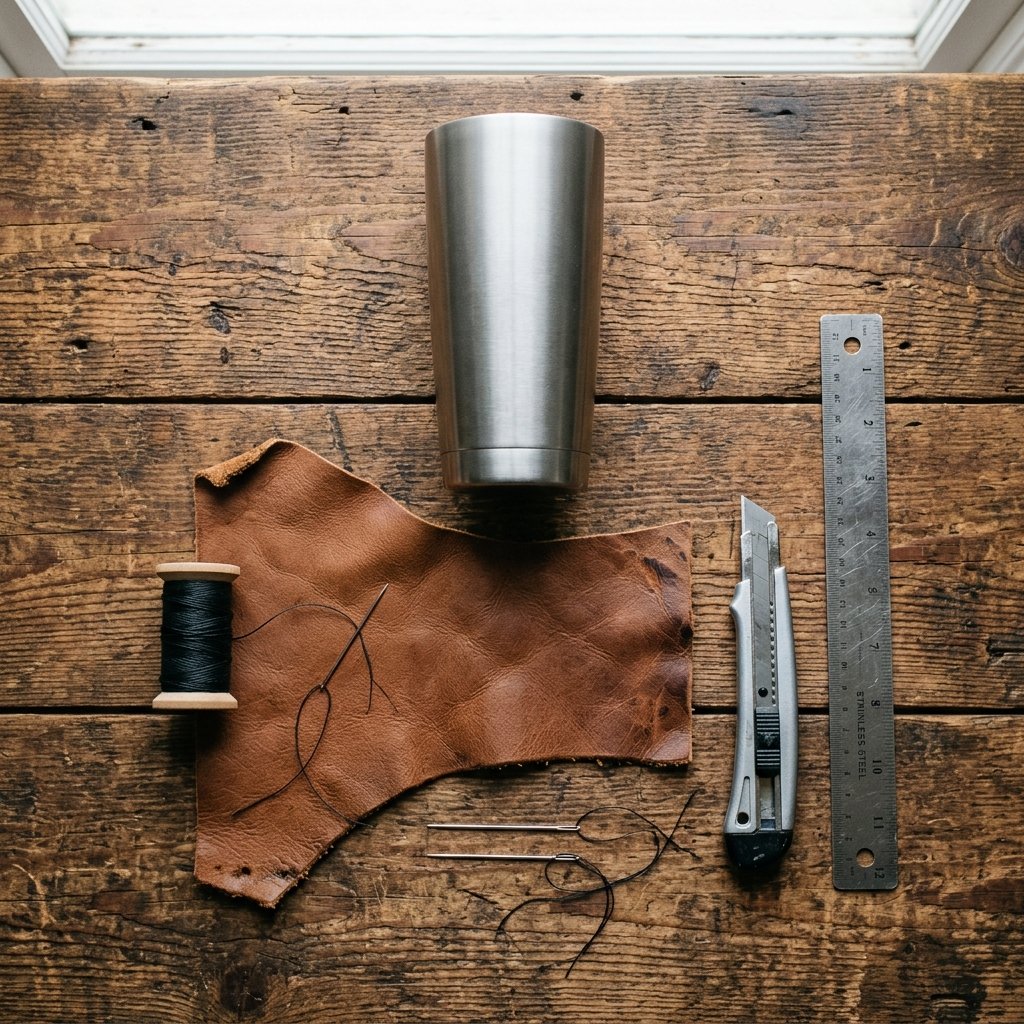
The secret to looking expensive on a budget is knowing where to spend and where to scrimp. You don’t need a $200 leather hide to make one mug. In fact, for this project, the smaller the piece, the better. We are looking for veg-tan leather scraps or even upcycled leather from an old thrift store jacket or briefcase.
Material Comparison: DIY vs. Designer
Before we pick up our tools, let’s look at the financial reality of this project. By being budget-savvy, you are essentially paying yourself for your labor.
| Item | Designer Store Cost | DIY Frugal Cost |
|---|---|---|
| Stainless Steel Tumbler | $35.00 | $5.00 (Thrifted or Sale) |
| Genuine Leather Wrap | $45.00 | $2.00 (Scraps/Upcycled) |
| Custom Monogramming | $15.00 | $0.00 (DIY Tooling) |
| Total | $95.00 | $7.00 |
As you can see, you are saving over 90% by doing it yourself. To keep costs low, check the ‘scrap bin’ at your local craft store or visit a leather repair shop and ask for their off-cuts. Often, they will give you small pieces for free or a few dollars. For the mug itself, look for ‘blanks’ at discount retailers or use a mug you already own that needs a face-lift.
The Blueprint: Measuring for a Precision Fit
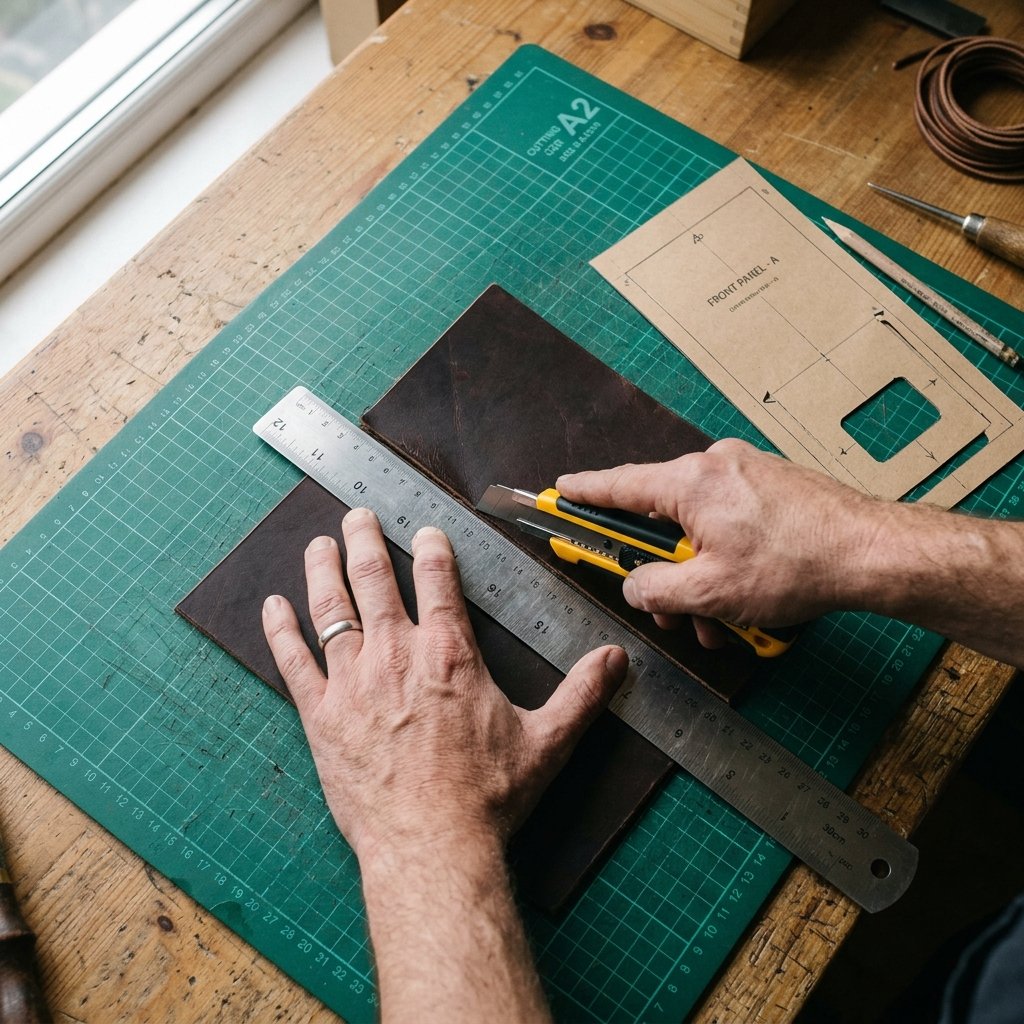
Measure Twice, Cut Once
A ‘cheap’ DIY project looks cheap because of poor fitment. To make your mug look like a bespoke boutique item, the leather must fit perfectly with no gaps and no overlapping bulges. This requires a bit of geometry and a lot of patience.
- Step 1: Wrap a piece of masking tape around the widest part of the mug. Mark where the tape overlaps. Peel it off and measure the length—this is your circumference.
- Step 2: Repeat this for the bottom of the mug if it is tapered. Most travel mugs are wider at the top than the bottom.
- Step 3: Measure the height of the area you want to cover. Always leave at least 0.5 inches of clearance at the top so your lips don’t touch the leather while drinking.
- Step 4: Transfer these measurements to a piece of cardstock to create a template.
“The hallmark of a crafty expert is the template. Never cut your leather until your paper mock-up fits the mug like a glove. Precision is the difference between ‘homemade’ and ‘handmade’.”
When cutting your leather, use a fresh blade in your utility knife. A dull blade will pull the leather and create jagged edges, ruining the masculine-elegant aesthetic we are aiming for. Use a metal ruler as a guide to ensure perfectly straight lines.
Custom Tooling: Adding the Executive Touch

This is where we turn a simple wrap into a custom masterpiece. Tooling leather allows you to add monograms, logos, or rugged patterns. If you are a creative gift-giver, this is the step that makes the recipient feel truly special.
The Poor Man’s Tooling Kit
You don’t need a professional stamping set. You can use household items to create textures:
- Nails and Bolts: The head of a hexagonal bolt can create a cool geometric border.
- Letter Stamps: A basic set of alphabet stamps is a great $10 investment that you can use for dozens of future projects.
- Water: Always ‘case’ your leather first. Lightly dampen the surface with a sponge. This softens the fibers so they take the impression and hold it once dry.
Place your leather on a hard, flat surface (like a piece of granite or a sturdy workbench). Position your stamp and give it one firm, vertical strike with a mallet. Do not bounce the mallet, or you will get a double-shadow effect. This adds a rugged, tactile quality that screams high-end craftsmanship.
The Saddle Stitch: Strength Meets Style
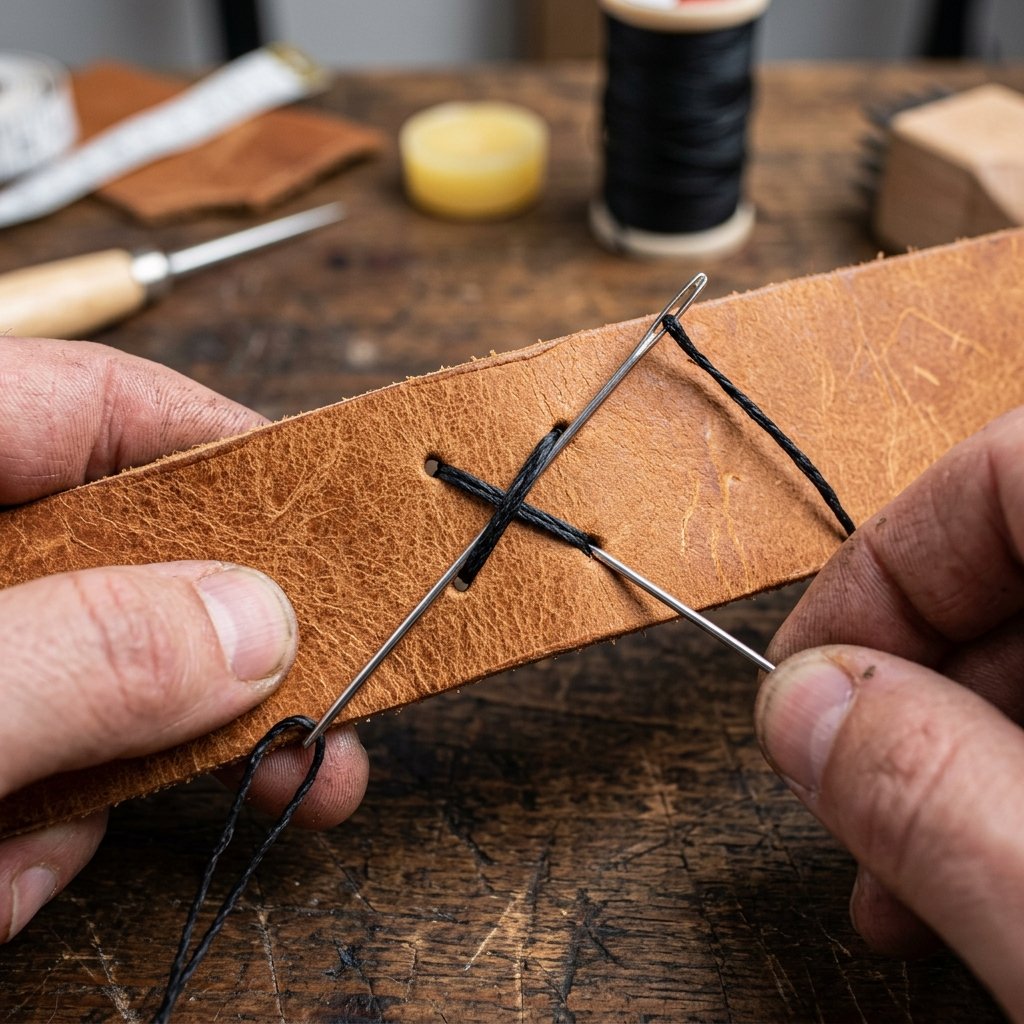
While you could simply glue the leather to the mug, a hand-stitched seam is the signature of quality. The saddle stitch is incredibly durable—if one thread breaks, the rest stay tight. It also provides that classic, artisanal look found on luxury car steering wheels and designer handbags.
The Stitching Process
- Punch the Holes: Use a stitching chisel or a small nail to pre-punch holes along the vertical edges of your leather. Space them exactly 4mm apart for a professional look.
- Thread the Needles: You will need two needles and a length of waxed polyester thread about 4 times the length of the seam.
- The Cross-Over: Pass one needle through the first hole until the thread is centered. Then, pass both needles through the next hole from opposite sides.
- Tension: Pull the thread tight after every stitch. Consistency is key to a clever, budget-savvy finish.
“A tight stitch is a sign of a disciplined crafter. Keep your tension even, and the leather will pull together into a seamless, indestructible bond.”
| Stitch Type | Difficulty | Aesthetic Value |
|---|---|---|
| Running Stitch | Low | Minimal / Basic |
| Saddle Stitch | Medium | High / Professional |
| Cross Stitch | Medium | Rugged / Decorative |
Finishing Touches: Weatherproofing and Patina
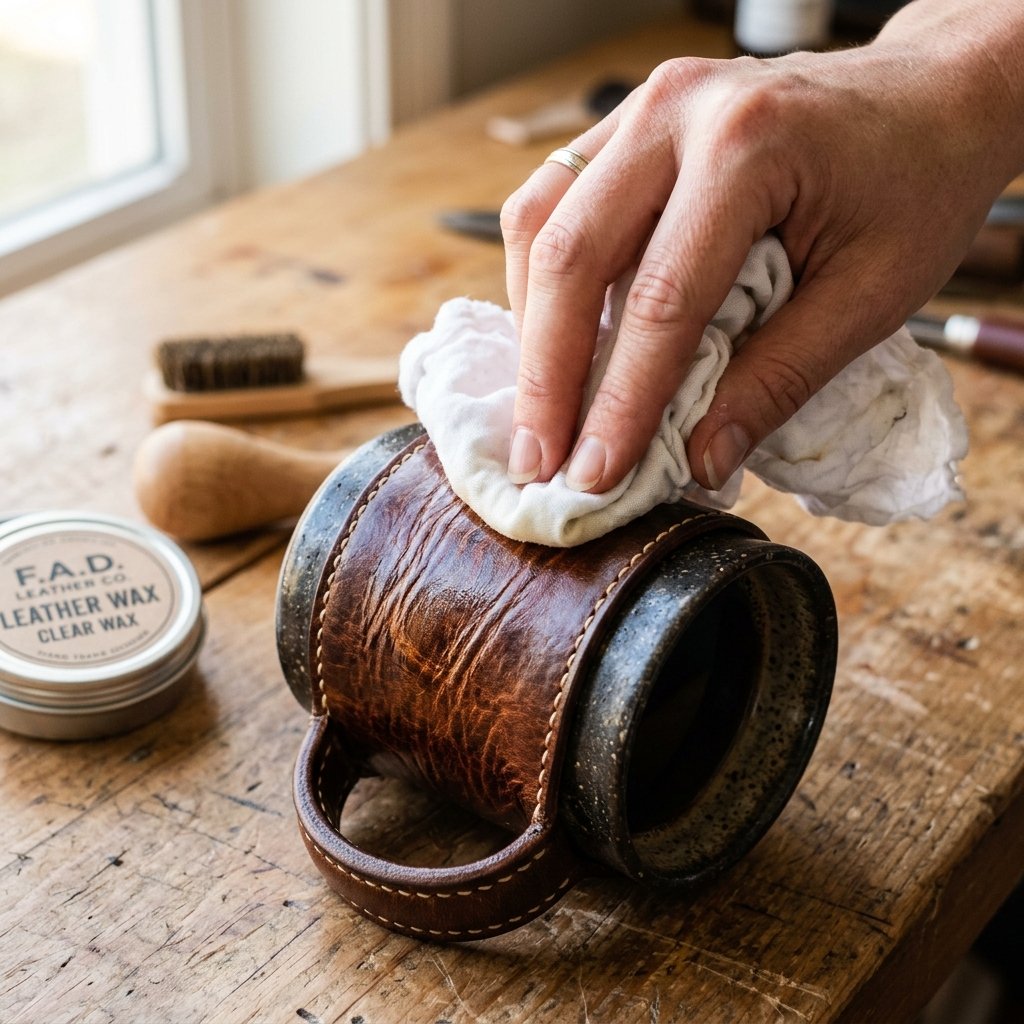
Your mug is going to face coffee spills, rain, and car cupholders. Without proper finishing, your crafty-expert work will degrade. We need to seal the leather and burnish the edges to give it that masculine-elegant sheen.
Edge Burnishing and Sealing
Raw edges look unfinished. To fix this, dampen the edges of the leather with a little water or gum tragacanth. Rub the edge vigorously with a smooth wooden tool (or even the back of a plastic lighter) until it becomes shiny and smooth. This is called burnishing.
Finally, apply a leather conditioner or a mix of beeswax and olive oil. This not only protects the leather from moisture but also deepens the color, giving it an instant vintage patina. Your $7 project now looks like a $100 heirloom.
“Leather is a living material. Treat it with respect, seal it with care, and it will tell your story for a lifetime of adventures.”
Conclusion
Your Bespoke Journey Begins
Congratulations! You’ve just successfully navigated the transition from frugal DIYer to a master of high-end upcycling. By taking a simple, utilitarian travel mug and wrapping it in hand-tooled, hand-stitched leather, you’ve created more than just a container for caffeine—you’ve created a statement piece. This project proves that you don’t need a massive bank account to own nice things; you just need a bit of resourceful creativity and the willingness to learn a new skill.
As you use your mug, the leather will darken and soften, developing a unique character that no store-bought item can replicate. Whether you’re gifting this to a handy dad or keeping it for your own daily grind, wear that rugged elegance with pride. Now that you’ve mastered the basics of leather wrapping, the world is your oyster. What’s next? A leather-wrapped flask? A custom notebook cover? The skills are yours—go forth and create!

Makenzie is the founder and lead writer at MoneyHackTips.com — a personal finance blog dedicated to delivering street-smart financial wisdom for real people on real budgets. With 300+ published articles covering everything from debt management to investing fundamentals, Makenzie’s mission is to make every dollar work harder. When not writing about money hacks, Makenzie is testing frugal living strategies, optimizing side hustles, and helping readers build financial freedom from scratch.