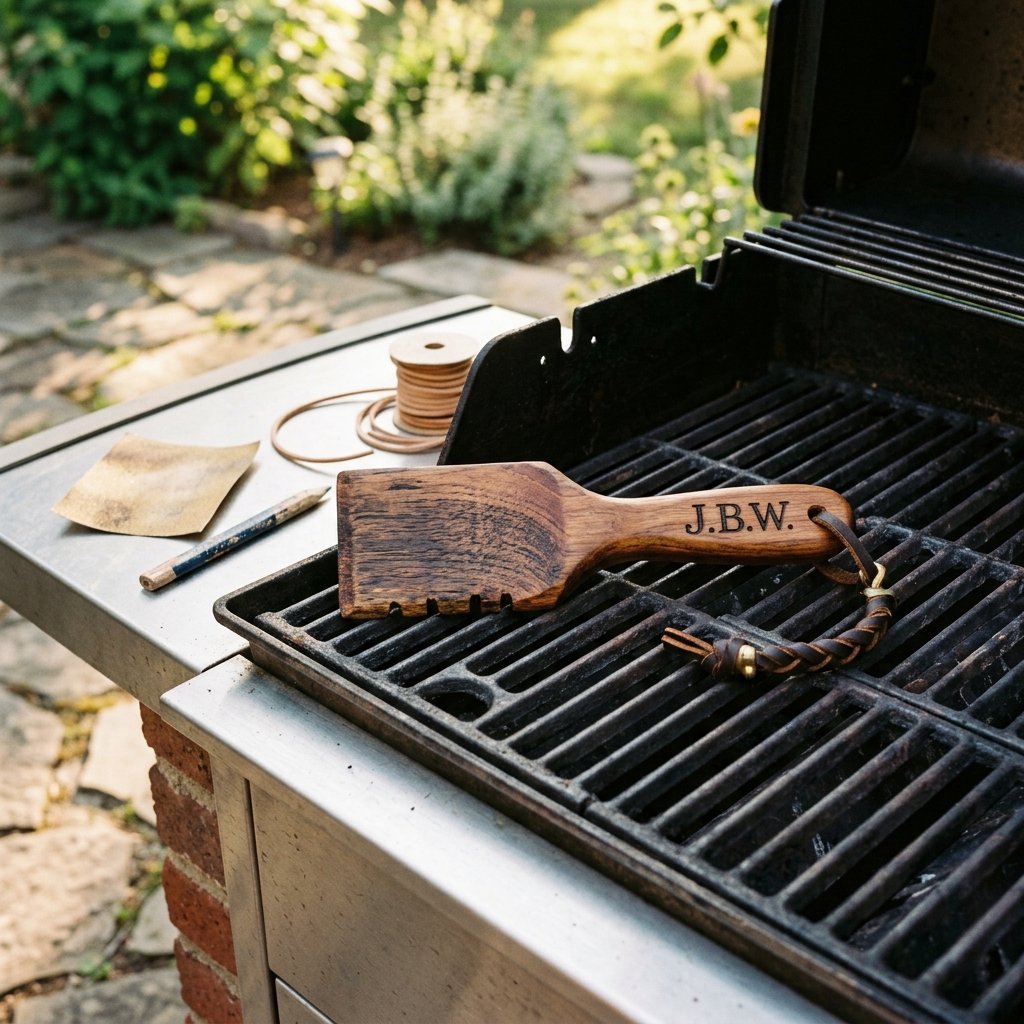

The Ultimate Thoughtful, Rugged, and Budget-Savvy Father’s Day Gift
Let us be honest for a moment, frugal DIYers and creative gift-givers: shopping for Father’s Day can feel like an endless loop of novelty ties, overpriced shaving kits, and generic coffee mugs. If you are looking for a gift that screams masculine elegance, offers unparalleled practicality, and costs pennies on the dollar, you have just struck gold. Welcome to the ultimate scrap-wood upcycle: the DIY Wooden Grill Scraper. This is not just a cheap craft; it is a bespoke, heirloom-quality grilling tool that any barbecue enthusiast will genuinely use and cherish. And the best part? You can make it in exactly 10 minutes.
For years, grill masters have relied on wire brushes to clean their grates. But recently, medical professionals and barbecue experts alike have sounded the alarm on wire brushes. Those tiny metal bristles can snap off, stick to the grill grates, and end up in your food, leading to severe health hazards. The modern, rugged, and infinitely safer solution is a solid wood grill scraper. When a wooden scraper is pushed along a hot grill, the heat literally burns custom grooves into the wood, matching the exact spacing of that specific grill’s grates. It is custom-tailored cleaning at its finest.
Safety First, Savings Second: A wooden grill scraper eliminates the risk of stray wire bristles in your family’s food while saving you the $25 to $40 you would spend on a high-end store-bought wooden alternative.
Whether you are a handy mom looking for a quick weekend project, a crafty gift-giver wanting to personalize a present, or a budget-savvy DIYer trying to clear out your scrap wood pile, this project is for you. You do not need a fancy workshop or a decade of carpentry experience. With a single piece of hardwood, a saw, and some sandpaper, you can craft a functional piece of art. Let us dive into this resourcefully creative guide and build the easiest, most impressive Father’s Day gift imaginable.
Why Wooden Scrapers are the Ultimate Grill Master’s Tool
The Science and Safety Behind the Wood
Before we start cutting into our lumber, it is crucial to understand why a wooden grill scraper is vastly superior to its metal counterparts. As crafty experts, we love a project that solves a real-world problem, and this one does exactly that. A wire brush simply scratches at the surface of the grates, often leaving behind dangerous metal shards. A wooden scraper, however, uses the natural properties of the wood and the heat of the grill to create a perfect, custom-fit cleaning tool.
The Burn-In Process Explained
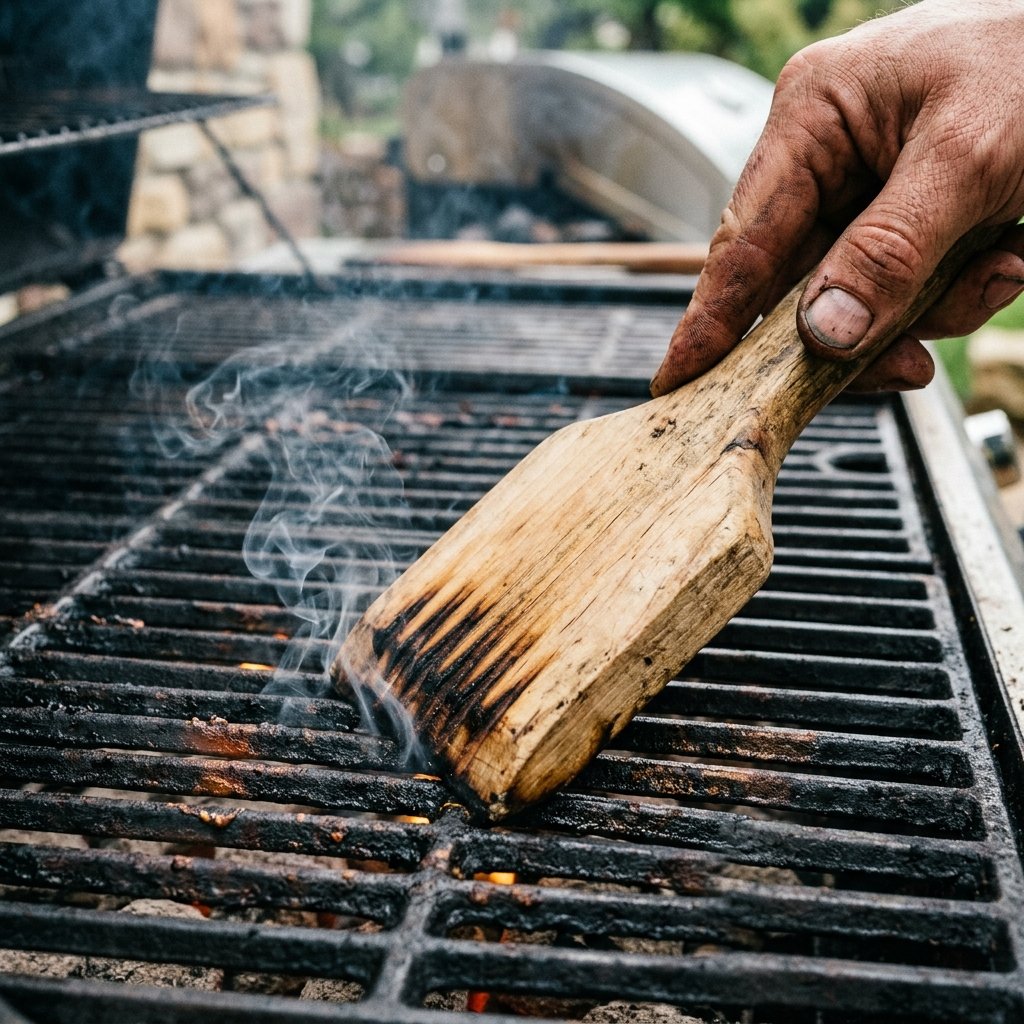
When you give this gift, you are actually giving an interactive experience. The first time the recipient uses the wooden scraper, they must heat their grill to a high temperature. By pressing the beveled edge of the wooden scraper firmly against the hot grates and pushing forward, the metal sears into the wood. After a few passes, the wood develops deep, charred grooves that perfectly encapsulate the grates. From that day forward, the scraper hugs the grates seamlessly, pushing off grease, charred food, and debris without damaging the porcelain or cast-iron finish of the grill.
- 100% Food Safe: No metal bristles, no toxic glues, no synthetic plastics melting near your food.
- Custom Fit: Adapts to any grill type, whether it is a classic charcoal kettle, a high-end gas grill, or a ceramic kamado smoker.
- Protects Grill Grates: Unlike harsh metal scrapers that can chip expensive porcelain-coated grates (leading to rust), wood is gentle yet incredibly effective.
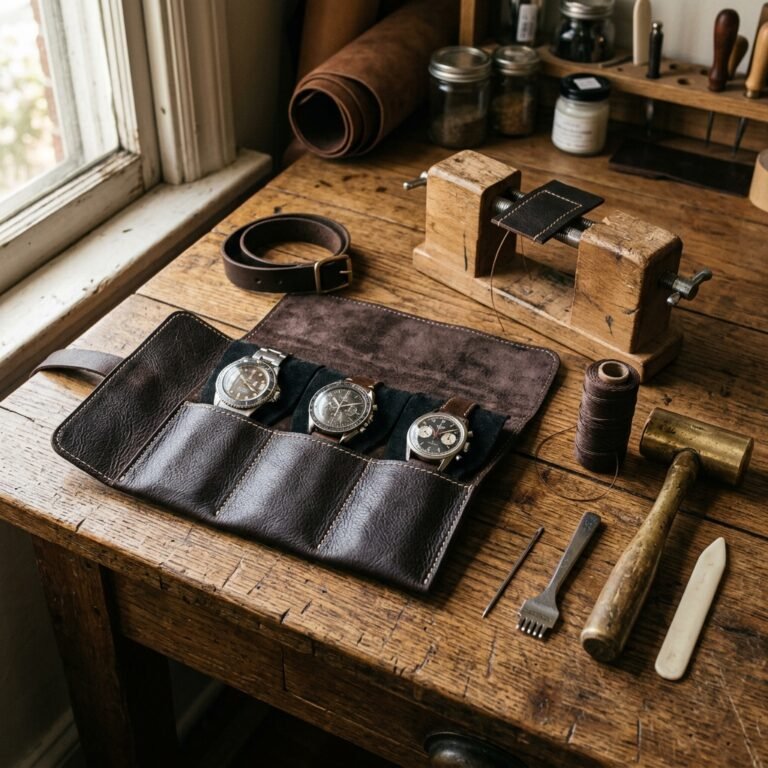
- Develops Patina: Like a good cast-iron skillet or a rugged leather tool roll, a wooden scraper looks better with age, smoke, and use.
Lumber Yard Logistics: Choosing the Perfect Wood
Selecting the Right Scrap for the Job
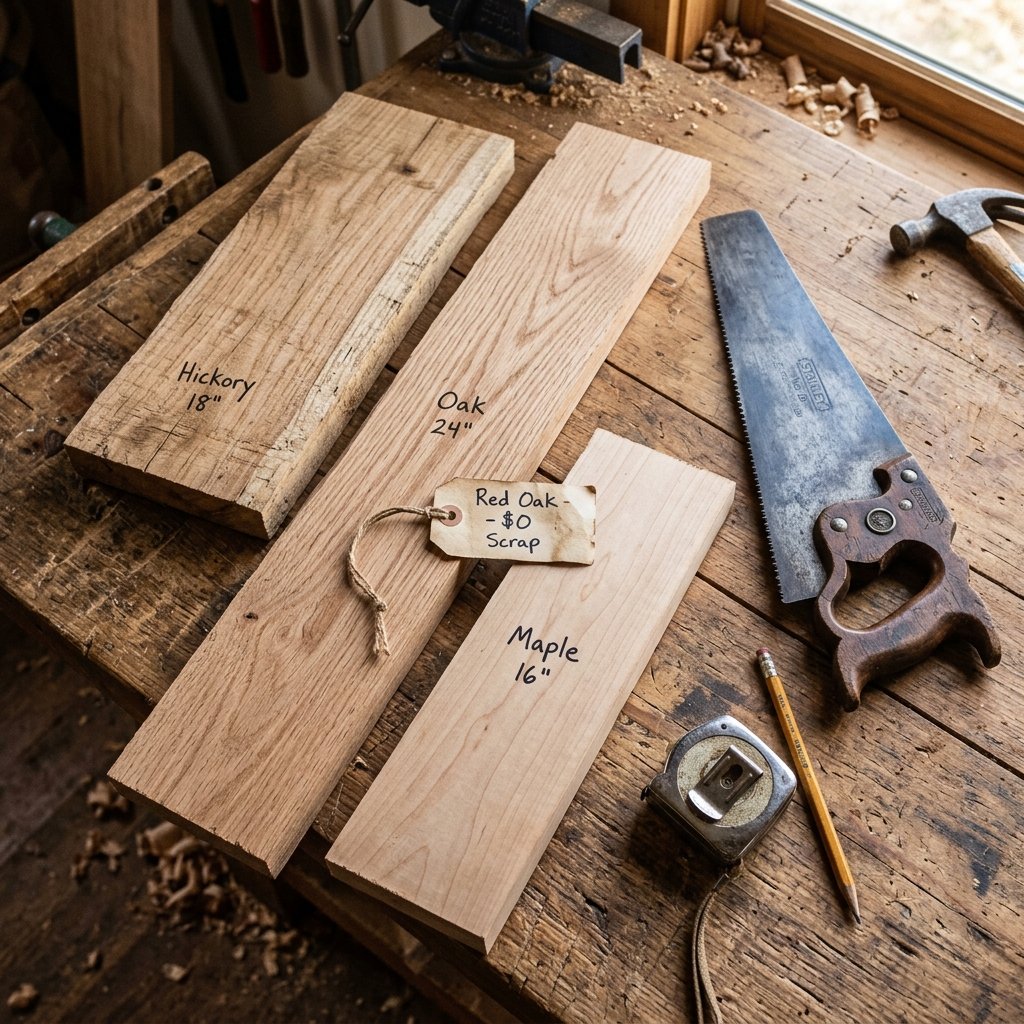
Not all wood is created equal, especially when it comes to tools that will be exposed to high heat, grease, and food. As frugal DIYers, our first instinct is to grab whatever scrap wood is lying around the garage. However, for a grill scraper, you must be selective. You need a hardwood that can withstand friction and heat without splintering or catching fire too quickly. Softwoods like pine or spruce are a massive mistake—they contain toxic sap, burn too fast, and will leave a nasty resin flavor on the grill.
The Hardwood Hierarchy
If you do not have a scrap pile, head to your local home improvement store or lumber yard. Look for the “hobby board” section, where you can often find small, affordable pieces of premium hardwood. You are looking for a board that is roughly 1 inch thick (often sold as 4/4 or 3/4-inch actual thickness) and about 4 to 6 inches wide. A length of 16 to 18 inches provides the perfect leverage for scraping.
| Wood Type | Durability | Flavor Profile (if charred) | DIY Budget Rating |
|---|---|---|---|
| Red/White Oak | Extremely High | Classic, smoky BBQ aroma | Excellent (Very common scrap) |
| Hickory | Maximum Hardness | Sweet, strong, traditional | Good (Slightly pricier) |
| Hard Maple | Very High | Mild, sweet | Great (Smooth finish) |
| Cedar (Untreated) | Moderate | Aromatic, woodsy | Outstanding (Cheap & accessible) |
| Pine / Fir | Very Low (DO NOT USE) | Toxic sap, bitter resin | N/A (Unsafe for grills) |
Crafty Expert Tip: Never use pressure-treated wood, plywood, MDF, or painted/stained wood for this project. The chemicals used in these materials are highly toxic when heated and will ruin the grill and the food. Stick to 100% natural, untreated hardwoods.
Materials Needed & The Ultimate Budget Breakdown
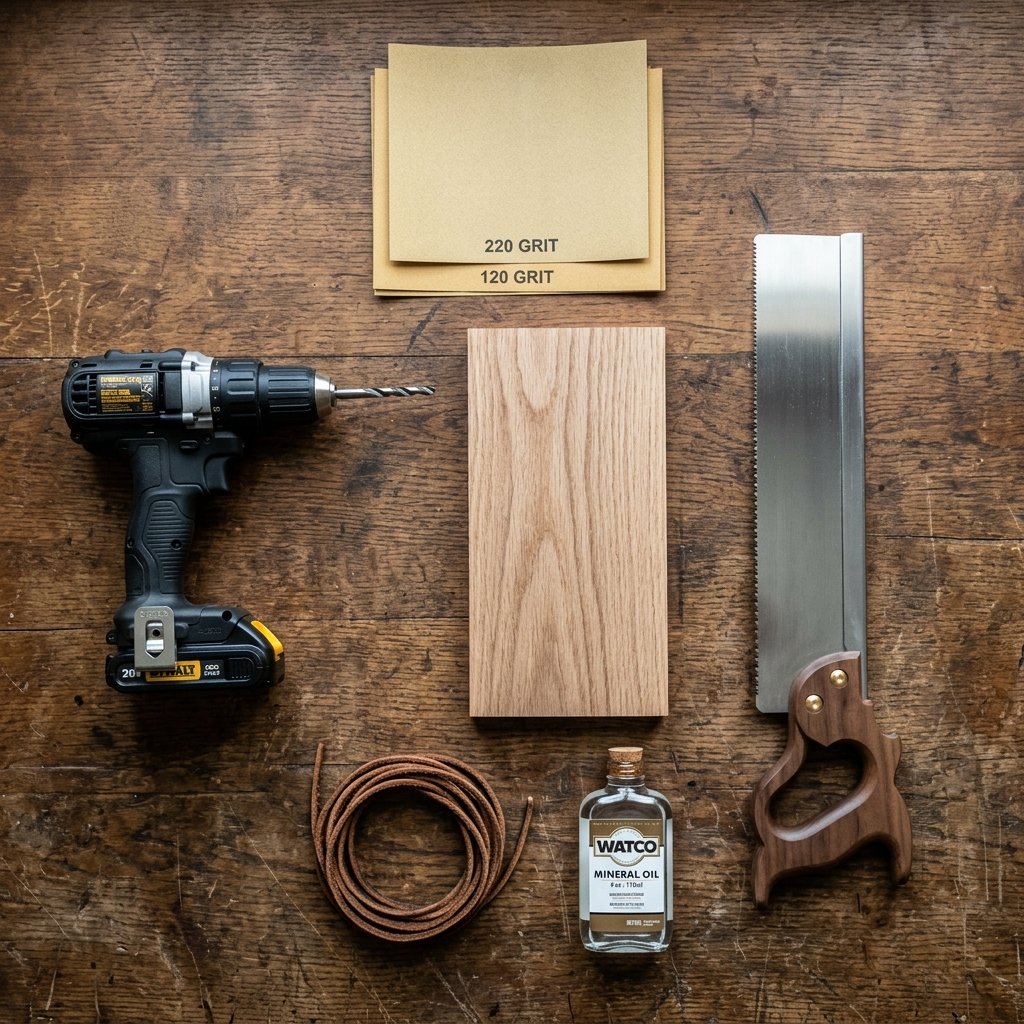
Crafting High-End Gear on a Dollar Tree Budget
The beauty of this project lies in its staggering profit margin—or rather, its savings margin. If you were to buy a boutique wooden grill scraper from a specialty barbecue store, you would easily spend upwards of $30 to $45. By utilizing your resourceful, budget-savvy skills, you can make an identical (if not superior) product for next to nothing.
The Minimalist Tool Kit
You do not need a garage full of expensive power tools to pull this off. While a miter saw or table saw makes the job faster, a simple hand saw and some elbow grease will yield the exact same results.
- The Wood: One piece of untreated hardwood (approx. 18″ long, 5″ wide, 3/4″ thick).
- The Saw: A miter saw, circular saw, or a sharp hand saw.
- Sandpaper: Medium grit (120) and fine grit (220) for a buttery smooth finish.
- Food-Safe Oil: Mineral oil, butcher block conditioner, or even simple olive oil from your pantry.
- Optional Upgrades: A drill with a 3/8″ bit (for a lanyard hole), a strip of scrap leather or paracord, and a wood-burning tool for personalization.
| Material / Tool | Store-Bought Scraper Cost | DIY Frugal Cost |
|---|---|---|
| Hardwood Board | Included in retail ($35) | $0 (Scrap) or $4 (Hobby Board) |
| Leather Lanyard | Included in retail | $0.50 (Upcycled belt/craft scrap) |
| Food-Safe Oil Finish | N/A | $0.25 (Pantry staple) |
| Labor / Time | N/A | 10 Minutes of DIY joy |
| Total Estimated Cost | $35.00+ | $0.00 – $4.75 |
As the table above proves, this is a masterclass in frugal gifting. You are transforming a discarded off-cut of lumber into a premium, functional tool that commands respect at any neighborhood cookout.
The 10-Minute Step-by-Step Build Guide
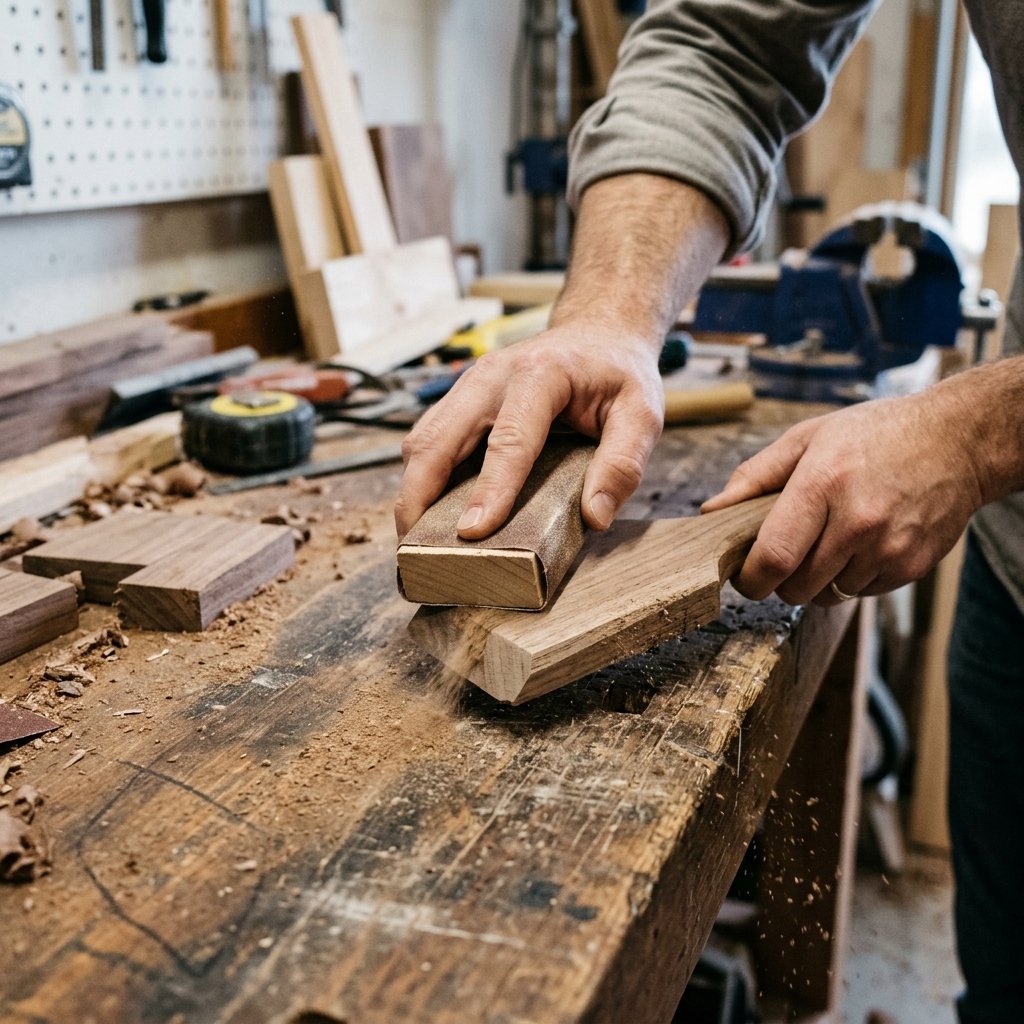
Measure, Cut, and Craft with Confidence
Roll up your sleeves, handy moms and dads. It is time to turn that raw lumber into a sleek, masculine grilling tool. Follow these precise steps, and you will have a finished product in your hands before your morning coffee gets cold.
Step 1: Measure and Mark the Board
Take your piece of hardwood and determine the optimal length. An 18-inch scraper is the sweet spot—it keeps the user’s hands far enough away from the hot coals while providing enough leverage to scrape hard. Use a pencil and a straight edge to mark your cut line.
Step 2: The Critical Bevel Cut
This is the most important step of the entire build. The scraping end of the board cannot be flat; it must be angled so it can comfortably reach the grates while the user stands over the grill. You need to cut a 45-degree angle (a bevel) into one end of the board.
- If using a power miter saw, set the blade tilt to 45 degrees. Secure the wood flat against the fence and make a smooth, steady cut.
- If using a hand saw, use a protractor or a speed square to draw a 45-degree line down the side profile of the wood. Clamp the wood securely to your workbench and carefully saw along the line. Let the saw do the work; do not force it.
Step 3: Shaping the Handle (Optional but Elegant)
While a straight rectangular board works perfectly fine, adding a slight taper to the handle elevates the project from “scrap wood” to “artisanal tool.” Use your saw to shave off a shallow angle on the top half of the board, narrowing the handle section so it fits comfortably in the palm of a hand.
Step 4: Sanding for a Buttery Finish
Nobody wants a splinter while flipping burgers. Take your 120-grit sandpaper and vigorously sand all the edges, corners, and flat surfaces. Pay special attention to the handle area, rounding over the sharp 90-degree corners so they feel soft and ergonomic. Once the rough spots are gone, switch to your 220-grit sandpaper for a final pass. The wood should feel smooth as glass.
Budget-Savvy Tip: Do not waste money on an electric sander if you do not have one. Wrap your sandpaper around a spare block of wood to create a DIY sanding block. It gives you better leverage and saves your fingers!
Step 5: Drill the Lanyard Hole
A true grill master needs to hang their tools by the barbecue. Measure about 1.5 inches down from the top (non-beveled) end of the handle, centered in the middle. Use a drill with a 3/8-inch or 1/2-inch drill bit to bore a hole straight through the wood. Place a piece of scrap wood underneath while drilling to prevent the back from splintering as the bit exits.
Personalization & Masculine Elegance
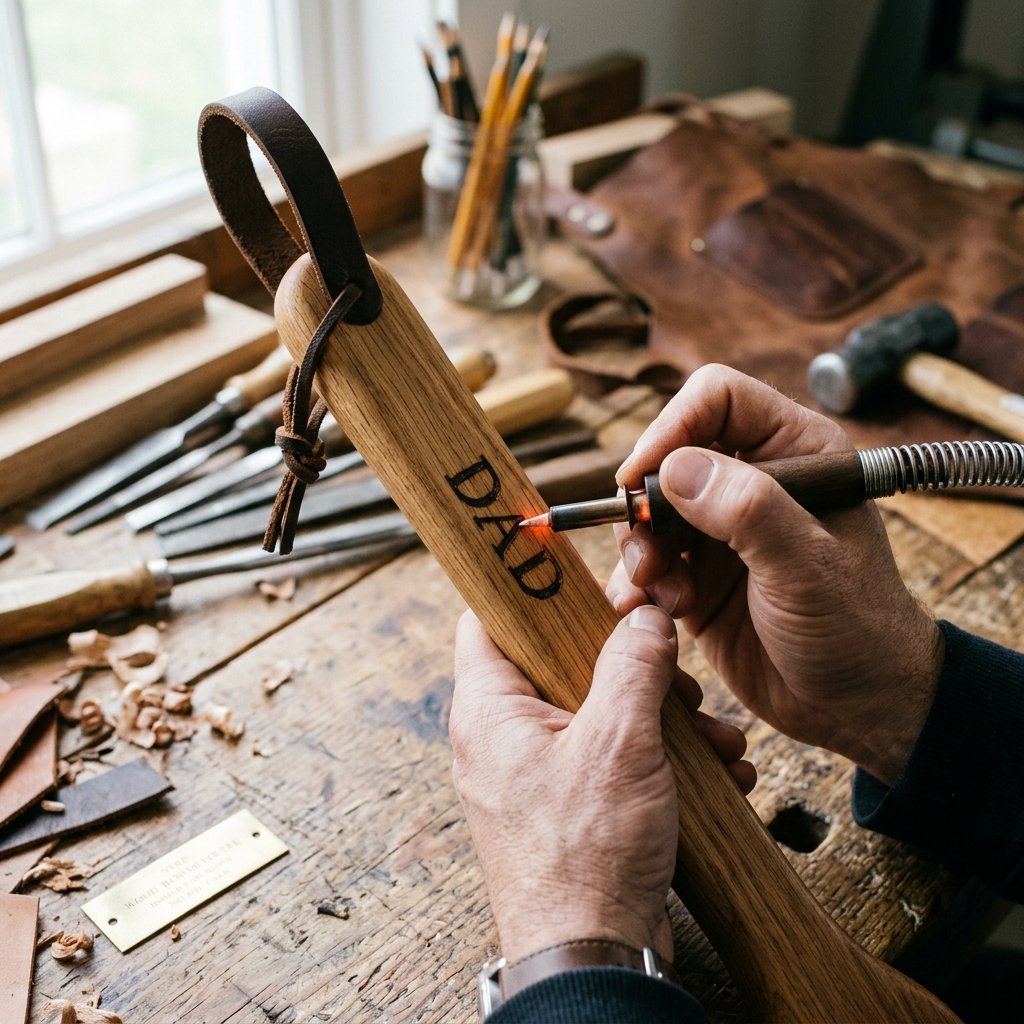
Transforming Wood into a Bespoke Heirloom
You have built a functional tool, but now it is time to make it an unforgettable Father’s Day gift. The difference between a good gift and a breathtaking one lies in the personalized details. This is where your creative gift-giving skills truly shine.
Custom Wood Burning (Pyrography)
If you have a craft wood-burning tool (often found for under $15 at craft stores), use it to etch a custom message into the handle. You can burn in the recipient’s initials, “Dad’s Grill,” “King of the BBQ,” or even a simple silhouette of a spatula or a flame. If you do not have a wood burner, a high-quality permanent marker can work, though it may fade over time with heavy oiling and use.
Rugged Leather Accents
Thread a piece of thick, genuine leather cord or heavy-duty paracord through the hole you drilled in Step 5. Tie it off with a classic square knot or a rugged hangman’s noose knot. This simple $0.50 addition instantly makes the scraper look like it was purchased from a high-end outdoor catalogue. For an extra touch of masculine elegance, you can wrap the handle section tightly with a leather strip, securing it with brass tacks.
The Built-In Bottle Opener Hack
Want to completely blow Dad’s mind? Head to the hardware store and buy a wall-mounted cast-iron bottle opener for about $4. Screw it directly into the front face of the wooden handle, just below the leather lanyard. Now, he can scrape the grill and pop open a cold craft soda or beer without ever leaving his station. It is the ultimate practical, multi-functional upgrade.
The “Break-In” Ritual & Maintenance

Oiling, Seasoning, and Caring for the Scraper
Your DIY masterpiece is assembled and personalized. The final step before wrapping it in rustic kraft paper and twine is to protect the wood. Raw wood will absorb grease and moisture, leading to warping or cracking over time. You must seal it with a food-safe finish.
The Oiling Process
Pour a small amount of food-grade mineral oil, butcher block oil, or melted beeswax onto a clean cloth. Rub the oil generously into every surface of the wooden scraper. You will immediately see the wood grain pop, transforming from a dull, dusty color to a rich, vibrant, and elegant hue. Let the oil soak in for 10 minutes, then wipe off any excess. Do not use boiled linseed oil or chemical wood stains, as these are toxic and not food-safe.
Teaching Dad the “Break-In” Ritual
When you give this gift, make sure to include a small, handwritten note explaining how to use it. The first use is a rite of passage for the wooden scraper.
- Step 1: Fire up the grill to a high heat (around 400°F to 500°F). Let the grates get incredibly hot.
- Step 2: Take the beveled edge of the wooden scraper and place it flat against the grates.
- Step 3: Apply firm downward pressure and slowly push the scraper from the back of the grill to the front.
- Step 4: Repeat this motion 5 to 10 times. The heat will scorch the wood, burning deep, permanent grooves that perfectly match the grill’s grate pattern.
From that moment on, the scraper is uniquely customized to his specific grill. To maintain it, tell him to simply wipe the edge with a damp cloth after scraping, and reapply a coat of mineral oil once a year to keep the wood from drying out. It is a rugged, low-maintenance tool designed for a lifetime of backyard cookouts.
Conclusion
Give the Gift of Craftsmanship This Father’s Day
There is something profoundly satisfying about building a gift with your own two hands, especially when it is as clever, useful, and budget-savvy as this DIY Wooden Grill Scraper. In just 10 minutes, you have rescued a piece of scrap wood from the bin and transformed it into a premium, masculine, and highly elegant tool that protects your family from the dangers of wire brushes while elevating the grilling experience.
As frugal DIYers and resourceful upcyclers, we know that the best gifts are not the ones with the highest price tags; they are the ones crafted with intention, practicality, and love. So, skip the crowded department stores this Father’s Day. Head out to the garage, grab a saw, and create a bespoke heirloom that will be proudly displayed next to the barbecue for years to come. Happy crafting, and happy grilling!

Makenzie is the founder and lead writer at MoneyHackTips.com — a personal finance blog dedicated to delivering street-smart financial wisdom for real people on real budgets. With 300+ published articles covering everything from debt management to investing fundamentals, Makenzie’s mission is to make every dollar work harder. When not writing about money hacks, Makenzie is testing frugal living strategies, optimizing side hustles, and helping readers build financial freedom from scratch.