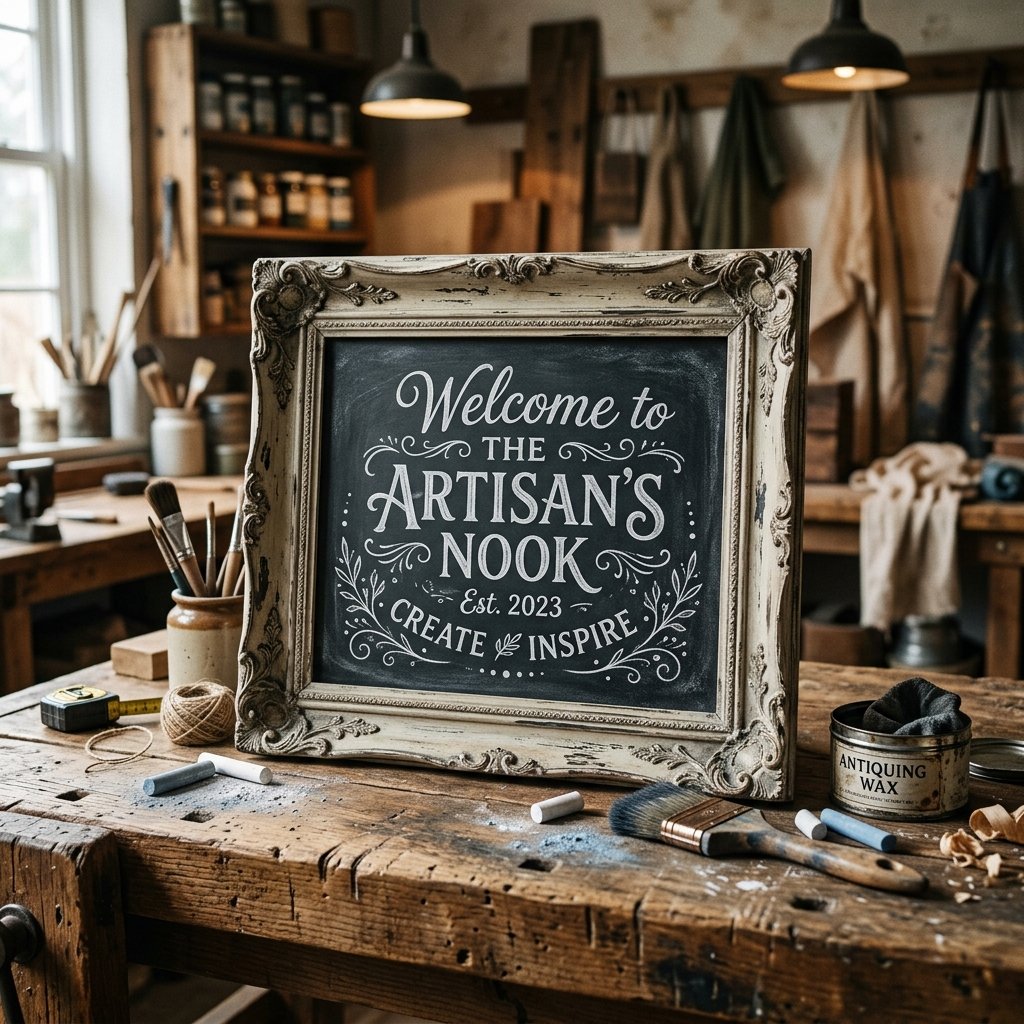

Welcome, frugal DIYers, crafty gift-givers, and budget-savvy upcyclers! If you have ever walked down the aisles of your local dollar store and thought, ‘There has to be a way to make this look expensive,’ you are in the exact right place. Today, we are diving deep into one of the most resourceful, clever, and downright satisfying crafting transformations known to the budget decor world: turning cheap, plastic, or flimsy wood picture frames into gorgeously rugged, high-end DIY chalkboards.
Whether you are a budget bride looking to create stunning table numbers and elegant welcome signs, a handy parent wanting a chic menu board for the kitchen, or a crafty upcycler building a rustic command center for your mudroom, this tutorial is your ultimate masterclass. The beauty of the chalkboard lies in its timeless, masculine-elegant aesthetic—it bridges the gap between vintage farmhouse charm and sleek industrial utility. Best of all? You can achieve a Pottery Barn or Anthropologie look for a fraction of the cost, often ringing in at under $5 per project.
In this comprehensive guide, we will leave no stone unturned. We will explore the anatomy of a perfect dollar store frame, the secrets to prepping glass and plastic surfaces, the great debate between chalkboard paint versus chalkboard contact paper, and the artisanal faux-finishing techniques that will make your cheap plastic frames look like carved mahogany or aged bronze. Roll up your sleeves, grab your favorite cup of coffee (or a sturdy glass of iced tea), and let us turn everyday trash into functional treasure.
Section 1: Scouting the Aisles – The Anatomy of a High-End Dupe
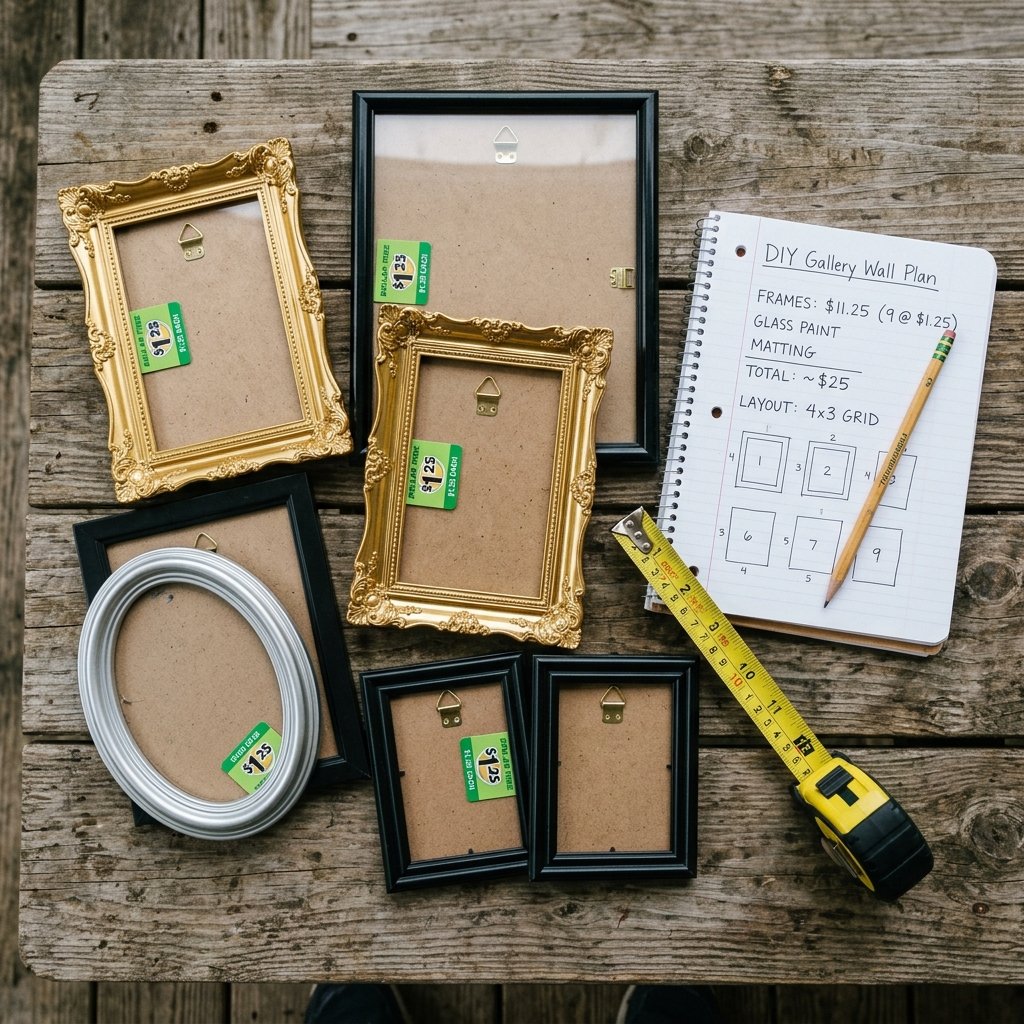
The foundation of any successful upcycling project begins with strategic sourcing. When you step into the Dollar Tree or your local thrift store, you need to look past the flimsy cardboard inserts and the glaringly cheap gold paint. You are hunting for shape, texture, and potential. A true crafty-expert knows that the bones of the object dictate the final masterpiece.
Frame Styles to Hunt For
- The Ornate Plastic Frame: These often look incredibly tacky on the shelf, sporting a bright, shiny plastic finish. However, those intricate scrollworks and floral motifs are a goldmine for antiquing wax and dry-brushing techniques. Once painted in a matte black or distressed cream, they instantly transform into vintage Victorian or French Country masterpieces.
- The Wide-Profile Document Frame: Usually measuring 8.5 x 11 inches, these frames have wide, flat borders. They are perfect for a rugged, industrial look or a modern farmhouse aesthetic. Their flat surface is ideal for adhering faux wood-grain contact paper or applying the famous baking soda paint trick for a concrete texture.
- Deep Shadow Boxes: Occasionally, dollar stores carry deeper frames. These are phenomenal for chalkboards because the depth adds a substantial, heavy, and expensive feel to the piece.
Material Budgets: The Crafty-Expert Breakdown
To truly appreciate the value of this DIY, let us look at the cold, hard numbers. Below is a budget breakdown comparing your DIY upcycle to a standard store-bought equivalent.
| Material / Item Needed | DIY Estimated Cost | Store-Bought Equivalent Cost |
|---|---|---|
| Picture Frame (Dollar Tree or Thrifted) | $1.25 – $2.00 | $15.00 – $35.00 (for a basic framed chalkboard) |
| Chalkboard Paint or Vinyl (Prorated per project) | $0.50 – $1.00 | Included in store-bought |
| Acrylic Paint & Antiquing Wax (For frame finish) | $0.75 | Included in store-bought |
| Chalk & Eraser Materials | $0.25 | $3.00 – $5.00 |
| Total Estimated Project Cost | $2.75 – $4.00 | $18.00 – $40.00+ |
As you can see, the savings are astronomical, especially if you are a budget bride making ten or twenty of these for a wedding reception. The financial victory alone is enough to make any frugal DIYer’s heart sing.
Section 2: Prepping Your Canvas – Disassembly and Safety First
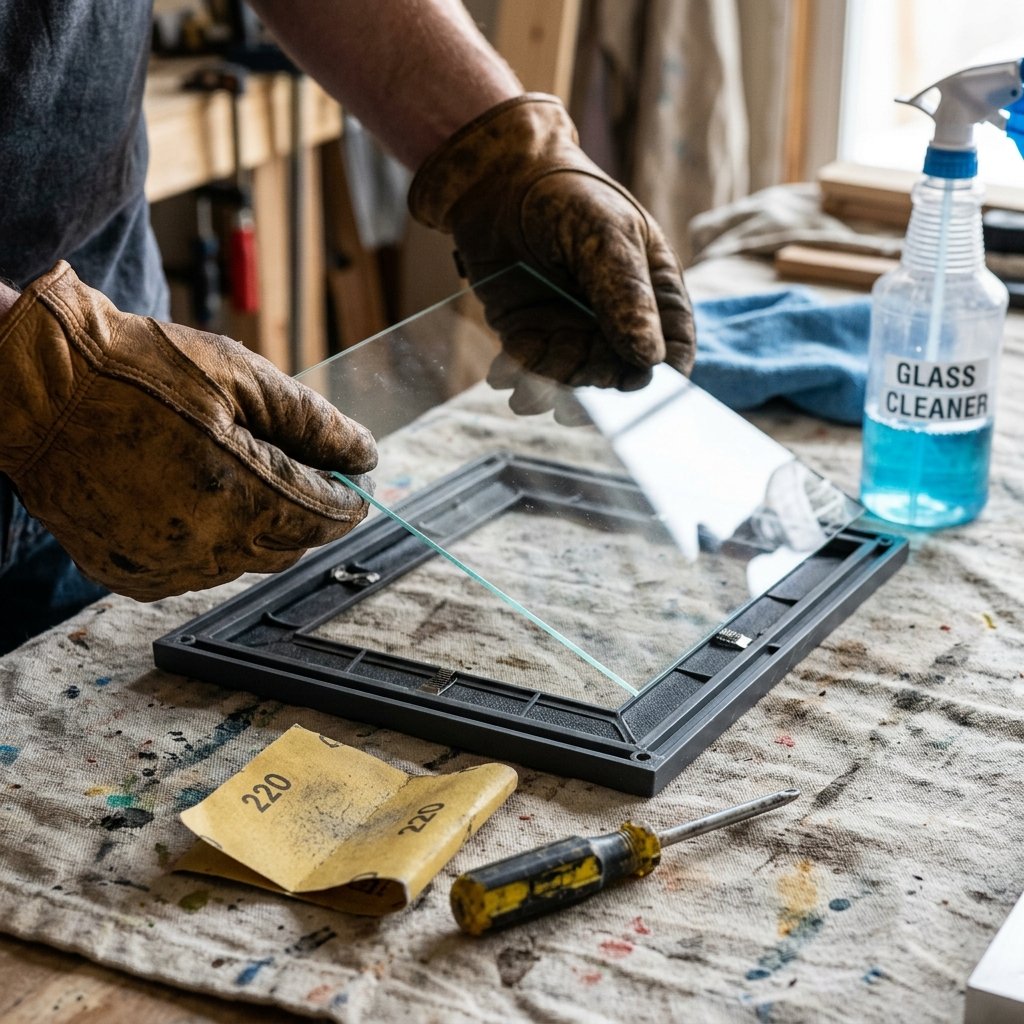
Now that you have secured your frames, it is time to prep. Preparation is the unglamorous but utterly essential phase of any rugged, long-lasting DIY project. Skipping steps here will result in peeling paint, bubbly vinyl, or a frame that falls apart when you try to hang it.
Step-by-Step Disassembly
- Remove the Backing: Carefully bend back the metal tabs holding the cardboard backing in place. If the tabs are stiff, use a flathead screwdriver or the edge of a butter knife to pry them up. Remove the backing and set it aside.
- Extract the Insert: Take out the stock photo or paper insert. You can recycle this or save it for a papier-mâché project later.
- Handle the Glass/Plastic: Carefully slide out the glass or clear plastic pane.
Safety Warning for Frugal DIYers: Dollar store frames often use very thin, sharp, and fragile glass. Always handle the edges with care. If you are working in a garage or workshop, wearing lightweight work gloves is a smart, practical move. If the glass breaks, sweep it up immediately—do not attempt to salvage broken panes for this project.
Cleaning and Sanding
Whether your frame’s insert is glass or plastic, it needs to be impeccably clean before it becomes a chalkboard. Use rubbing alcohol or a mixture of white vinegar and water to wipe down the surface. This removes fingerprints, manufacturing oils, and dust. Let it dry completely.
If you are planning to paint the frame itself (which we highly recommend for that high-end look), you must give the plastic or cheap wood a light scuff-sand. Take a fine-grit sandpaper (around 220 grit) and gently rub it over the frame. You do not need to sand off the existing finish entirely; you just need to create a ‘tooth’ for your new primer and paint to grip onto. Wipe away the sanding dust with a damp cloth or tack cloth.
Section 3: Creating the Chalkboard Surface – Paint vs. Vinyl
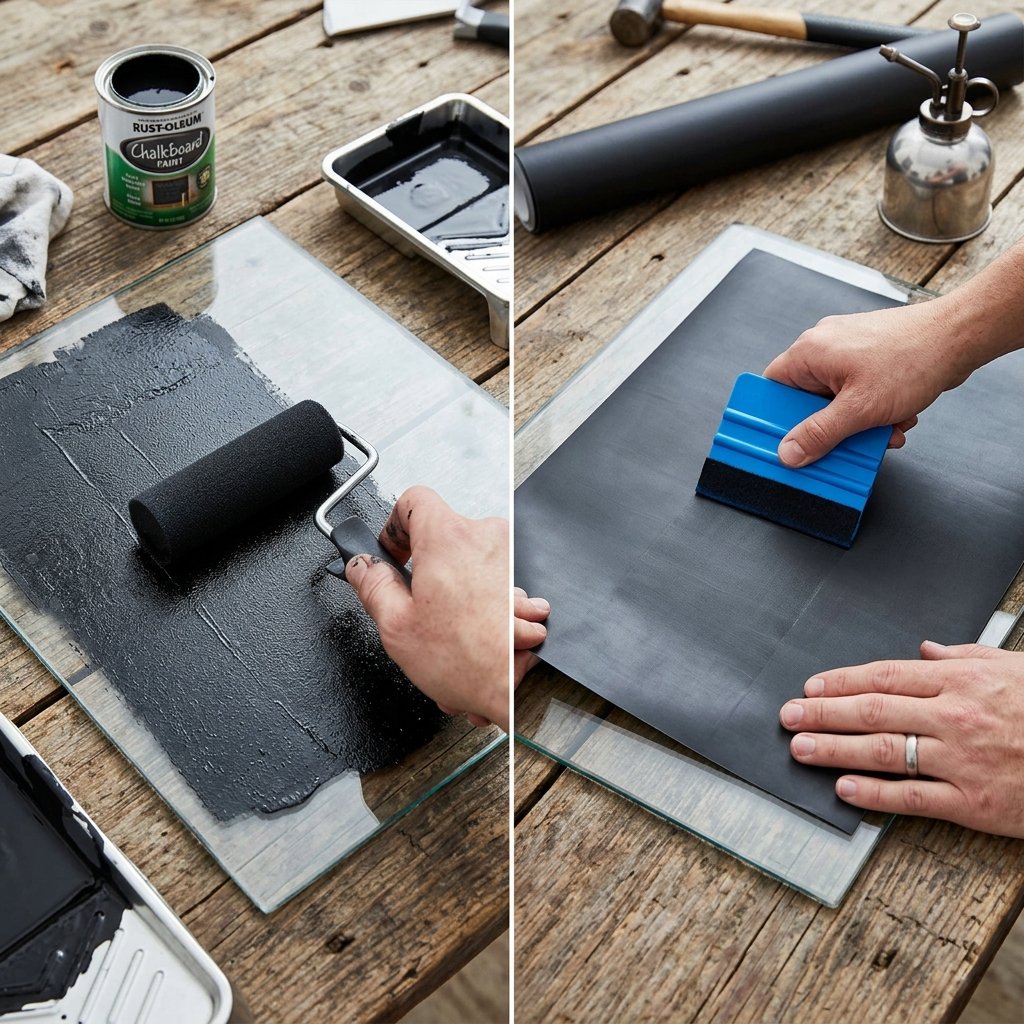
The core of this project is the chalkboard surface itself. You have two primary, budget-savvy options to transform the glass or plastic insert into a writable surface: Chalkboard Paint or Chalkboard Contact Paper (Vinyl). Let us break down both methods so you can choose the right one for your skill level and timeline.
Method A: The Classic Chalkboard Paint
Using chalkboard paint provides a highly authentic, slightly textured, and beautifully matte finish. It is the traditional choice for a reason.
- Priming: While some chalkboard paints claim to be paint-and-primer in one, applying a light coat of an adhesion-promoting primer (like Zinsser or Kilz) to glass or plastic ensures your chalkboard will never chip.
- Application: You can use spray paint or brush-on paint. If using a brush, use a high-quality synthetic brush or a high-density foam roller. Apply the first coat using horizontal strokes. Let it dry for exactly the time specified on the can (usually 2 to 4 hours).
- The Second Coat: Apply the second coat using vertical strokes. This cross-hatching method ensures complete, opaque coverage and a beautifully even texture.
- Curing: This is critical. Do not write on your board immediately! Chalkboard paint needs to cure for at least 3 days (72 hours) to harden properly.
Method B: Chalkboard Contact Paper / Vinyl
If you are in a rush (hello, last-minute event stylists!) or want a completely mess-free option, chalkboard vinyl is your best friend. You can often find rolls of this at the dollar store or craft stores for very cheap.
- Measuring: Lay your glass/plastic pane over the back of the vinyl and trace it. Cut the vinyl slightly larger than the pane (about 1/4 inch extra on all sides).
- Application: Peel back just the top inch of the paper backing. Align the vinyl with the top edge of your glass. Using a squeegee, a credit card, or a plastic scraper, slowly push the vinyl down, peeling the backing away as you go to prevent air bubbles.
- Trimming: Once applied, use a sharp craft knife (X-Acto) to trim the excess vinyl perfectly flush with the edges of the glass.
The Most Important Step: Seasoning the Board
The Crafty-Expert Secret: Whether you use paint or vinyl, you MUST ‘season’ the chalkboard before writing your first message. If you skip this, your first drawing will burn permanently into the surface (known as ghosting). To season: take a piece of white chalk, lay it on its side, and vigorously rub it over the entire surface of the board until it is completely covered in chalk dust. Then, wipe it clean with a dry felt eraser or a soft cloth. Your board is now primed and ready for action!
Section 4: Elevating the Frame – Faux Finishes and High-End Painting Techniques
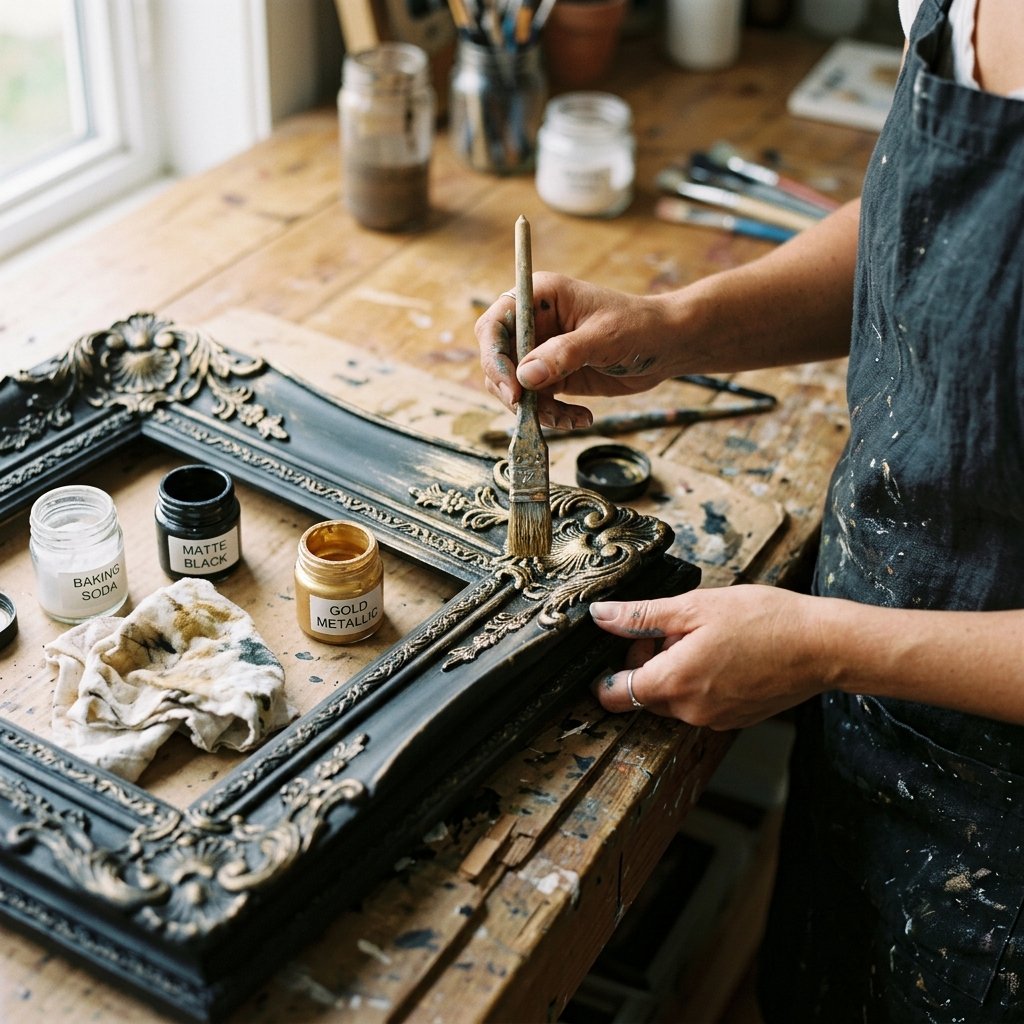
A chalkboard is only as gorgeous as the frame that holds it. This is where your inner Dollar Tree Interior Designer gets to shine. We are going to take that scuff-sanded plastic frame and apply artisanal techniques to make it look like a rugged, expensive piece of home decor.
Technique 1: The Baking Soda Paint Trick (Faux Ceramic/Stone)
If you want a modern, matte, Pottery Barn-inspired look, this is the ultimate hack. Mixing baking soda into standard acrylic craft paint changes the molecular texture of the paint, turning it into a thick, chalky, clay-like substance.
- Mix roughly 1 part baking soda to 2 parts acrylic paint (a deep charcoal, muted olive, or warm terracotta works beautifully).
- Stir until it reaches the consistency of thick pancake batter.
- Apply it to the frame using a stiff bristle brush, stippling (dabbing) it on to create a rough, stone-like texture.
- Allow it to dry completely. The result is a gorgeous, ultra-matte, faux-stone finish.
Technique 2: Dry Brushing and Antiquing (Faux Wood/Aged Metal)
For our frugal DIYers who love a rustic, farmhouse, or masculine-elegant aesthetic, dry brushing is the way to go. This works exceptionally well on ornate frames with lots of ridges and details.
- Base Coat: Spray paint the entire frame in a solid matte color (e.g., Matte Black for an iron look, or Dark Brown for a wood look). Let it dry.
- Dry Brushing: Take a completely dry, stiff brush and dip just the very tips of the bristles into a contrasting color (like metallic gold, silver, or a creamy white). Wipe almost all the paint off onto a paper towel until the brush feels dry.
- Application: Lightly whisk the brush over the raised details of the frame. The paint will only catch on the high points, instantly highlighting the intricate details and making the frame look like aged, oxidized metal or distressed, weathered wood.
Technique 3: The Coffee/Tea Stain on Faux Wood
If your frame has a smooth surface and you want to mimic real wood grain, paint the frame a light tan. Once dry, mix a tiny bit of dark brown paint with water (or use highly concentrated instant coffee). Brush this ‘stain’ over the tan paint, and while it is still wet, drag a dry brush or a wood-graining tool through it to create faux wood knots and streaks.
Section 5: Assembly, Styling, and Practical Applications
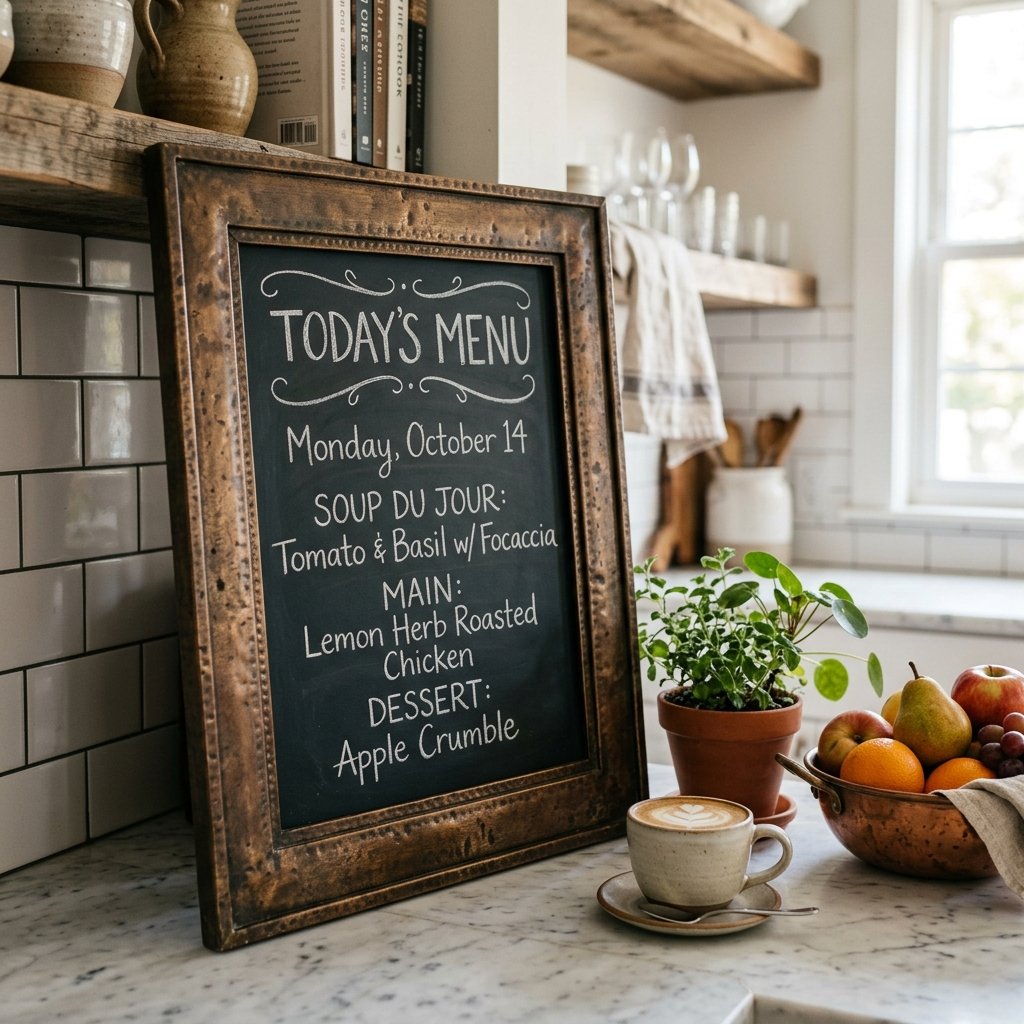
With your chalkboard surface perfectly seasoned and your frame looking like a million bucks, it is time for the grand assembly. This is where the practical, rugged construction comes into play.
Reassembling the Masterpiece
- Carefully place your seasoned chalkboard insert back into the beautifully painted frame. Ensure the chalkboard side is facing the front.
- Place the original cardboard backing (or a sturdier piece of scrap cardboard if the original was too flimsy) behind the insert to give it rigid support.
- Press the metal tabs firmly back down. If the tabs broke off during disassembly (a common issue with cheap frames), use a line of hot glue or E6000 adhesive around the inner perimeter to secure the backing permanently.
Creative Styling & Use Cases
Now that you have your gorgeous DIY chalkboard, how will you use it? The possibilities for a creative gift-giver or home stylist are endless:
- Event & Wedding Decor: Use a white chalk marker (which offers cleaner lines than traditional chalk) to write table numbers, a signature cocktail menu, or an elegant ‘Welcome to Our Unplugged Ceremony’ sign. Place them on small wooden easels.
- Kitchen Command Center: Hang a larger frame on the pantry door to track grocery lists, weekly meal plans, or the coffee-of-the-day.
- Masculine Workshop Labels: Use small frames to label different sections of a garage workbench, tool storage areas, or hardware bins. The dark chalkboard against an aged-metal frame looks incredibly rugged and organized.
- Kids’ Creative Corners: Mount several frames at a low height in a playroom to give kids their own designated, framed art spaces. It keeps the chalk off your walls while looking incredibly chic.
Section 6: Advanced Upgrades – Magnetic Boards and Chalk Ledges
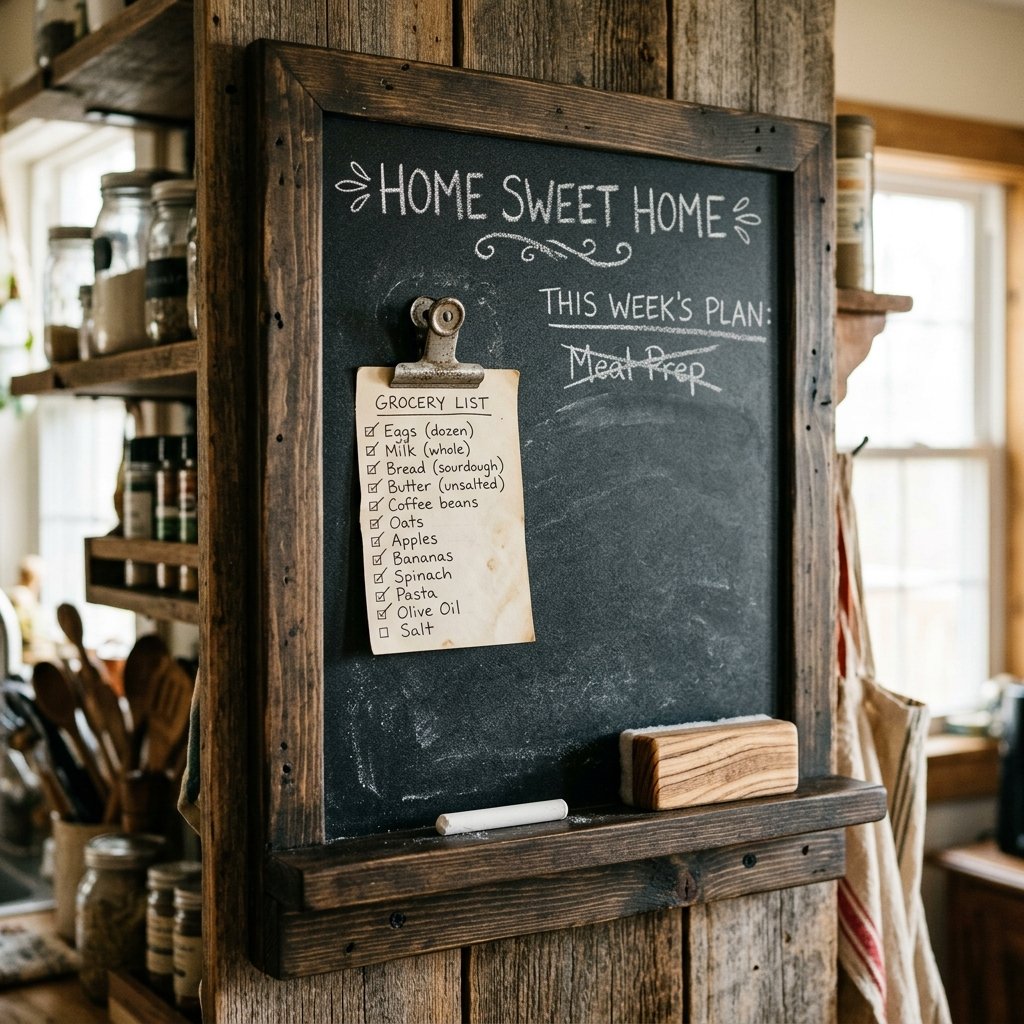
For the handy moms and dads who want to take this Dollar Tree hack to the absolute pinnacle of functional design, let us talk about advanced upgrades. Why settle for just a chalkboard when you can have a magnetic command center or a board with a built-in chalk ledge?
The Magnetic Upgrade
To make your chalkboard magnetic, you need to replace the glass/plastic insert with a piece of galvanized sheet metal. You can buy small, thin sheets of galvanized steel from the hardware store very cheaply.
- Carefully cut the sheet metal to the size of your frame using tin snips (wear heavy-duty leather gloves!).
- Clean the metal thoroughly with a degreaser.
- Prime the metal with a metal-bonding primer, then follow the chalkboard paint steps from Section 3. Now you have a surface that holds magnets and chalk!
Adding a Custom Chalk Ledge
A practical chalkboard needs a place to hold the chalk. You can build a custom ledge using items you probably already have in your scrap wood pile or from the craft aisle.
- Take a wooden craft stick (popsicle stick) or a small square wooden dowel cut to the width of the bottom of your frame.
- Paint or stain the dowel to match your newly finished frame.
- Using a high-strength adhesive (like wood glue mixed with a dab of hot glue for instant hold), attach the dowel to the bottom front edge of the frame.
- Allow it to cure for 24 hours. You now have a rugged, functional ledge to rest your chalk pieces and a small felt eraser.
These small, resourceful additions elevate the project from a simple craft to a highly functional piece of home utility, proving that with a little ingenuity, budget-friendly materials can compete with high-end retail designs.
Conclusion
And there you have it, my fellow crafty-experts and frugal DIYers—the ultimate Dollar Tree hack. By looking past the flimsy plastic and cheap finishes, we have unlocked the potential to create stunning, high-end DIY chalkboards that rival anything you would find in a premium home goods catalog. We have navigated the aisles, mastered the art of chalkboard paint and vinyl, and applied artisanal faux finishes that breathe rugged elegance into everyday objects.
This project is a testament to the fact that beautiful home decor and thoughtful, personalized gifts do not require a massive budget. All it takes is a little resourcefulness, a willingness to get your hands dirty, and the creative vision to see the treasure hidden within the trash. Whether you are crafting a single menu board for your kitchen or fifty table signs for a budget-friendly dream wedding, these techniques will serve you for a lifetime of upcycling.
So, the next time you find yourself wandering the dollar store aisles, do not just see cheap frames. See the potential. See the vintage farmhouse signs, the sleek modern message boards, and the beautifully organized command centers waiting to be brought to life. Grab your sandpaper, shake up that can of paint, and start creating. Happy crafting, and remember: the best things in life are made, not bought!

Makenzie is the founder and lead writer at MoneyHackTips.com — a personal finance blog dedicated to delivering street-smart financial wisdom for real people on real budgets. With 300+ published articles covering everything from debt management to investing fundamentals, Makenzie’s mission is to make every dollar work harder. When not writing about money hacks, Makenzie is testing frugal living strategies, optimizing side hustles, and helping readers build financial freedom from scratch.