
The Art of the High-End Upcycle
We have all been there: you are standing in the garden center, staring at a gorgeous, heavy-duty stone or ceramic planter that costs upwards of $100. You look down at the $4 orange utility bucket in your hand and think, ‘There has to be a better way.’ Well, my fellow frugal makers, there is. Today, we are going to dive deep into the world of ‘rugged elegance.’ We are taking that industrial, neon-colored plastic eyesore and transforming it into a piece of decor that looks like it was plucked straight from a high-end boutique or a rustic French countryside estate. This project is not just about saving money; it is about the satisfaction of seeing potential where others see trash. By the time we are done, no one will believe your sophisticated planter once held joint compound or car wash suds. We are going to use clever texturizing techniques, strategic sanding, and masculine-elegant finishes to create a durable, weather-resistant masterpiece that will be the envy of your neighborhood.
The Strategic Budget: Why DIY Wins Every Time
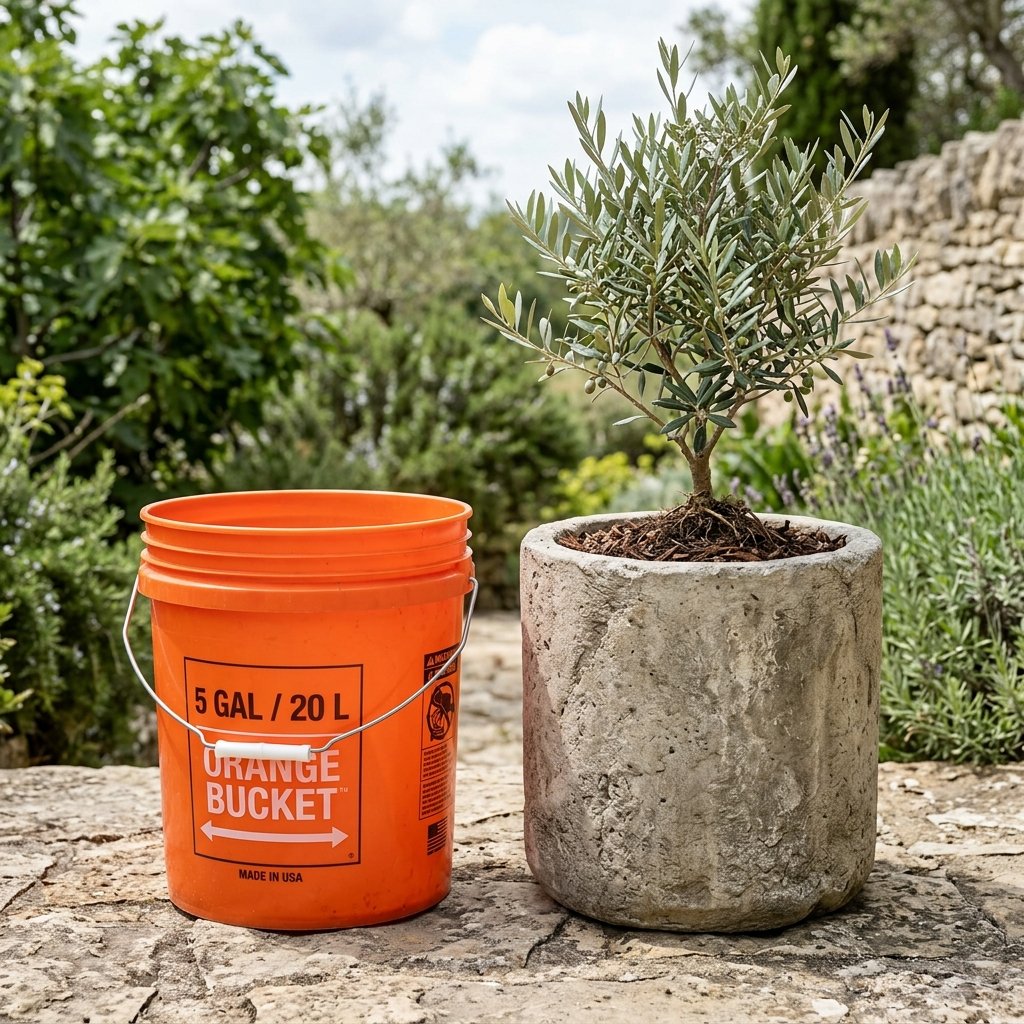
Before we pick up a brush, let us look at the numbers. The luxury home decor market thrives on selling us ‘looks’ that are easily replicated with a bit of grit and creativity. A 15-inch ceramic or faux-stone planter at a big-box retailer can easily set you back $65 to $120. Meanwhile, a 5-gallon bucket is often free if you ask at construction sites or bakeries, or under $5 at any hardware store. Even with the cost of specialty paints and textures, you are looking at a total investment of less than $15 per planter. That is a 90% savings that you can reinvest into high-quality soil and premium plants.
| Item | Retail Store Price | DIY Upcycle Cost | Total Savings |
|---|---|---|---|
| Large Stone Planter | $85.00 | $4.50 (Bucket) | $80.50 |
| Textured Paint/Finish | Included | $6.00 | – |
| Decorative Hardware | Included | $2.00 | – |
| Grand Total | $85.00 | $12.50 | $72.50 |
The secret to a high-end look is not the price tag of the materials, but the precision of the process. A well-prepped surface is the difference between a ‘craft project’ and a ‘designer piece.’
Phase 1: Structural Prep and the Secret to Adhesion

The biggest mistake DIYers make when working with plastic is skipping the prep. Plastic is non-porous and designed to repel liquids, which means your beautiful paint will peel right off if you do not create ‘tooth’ for it to grab onto. First, remove any metal handles. We want a clean silhouette. Next, take 80-grit sandpaper and go to town. You are not just lightly scuffing; you want to remove the shine entirely until the bucket looks dusty and matte. This ensures your finish lasts through rain, snow, and sun. Once sanded, wipe it down with rubbing alcohol to remove any manufacturing oils or finger grease.
Drilling for Success
A planter without drainage is just a bucket that kills plants. Flip the bucket over and use a 1/2-inch drill bit to create at least 5 to 7 holes. This is crucial for root health. If you are planning to use these indoors, you can skip the holes and use the bucket as a ‘cachepot,’ placing a slightly smaller nursery pot inside.
- Step 1: Remove the wire handle using pliers.
- Step 2: Sand the entire exterior with 80-grit sandpaper.
- Step 3: Clean with 100% isopropyl alcohol.
- Step 4: Drill drainage holes in a circular pattern on the bottom.
Phase 2: The Faux-Stone Texture Formula

To get that heavy, expensive stone look, we are going to use the ‘Baking Soda Method.’ This is a classic designer trick that adds physical dimension to flat paint. You will want a matte latex paint in a neutral ‘farmhouse’ shade—think charcoal, slate gray, or a warm ‘greige.’ The ratio is the most important part here. You want a consistency that looks like thick oatmeal or wet cement.
| Material | Measurement | Purpose |
|---|---|---|
| Matte Latex Paint | 1 Cup | Base Color & Binder |
| Baking Soda | 1/4 Cup | Coarse Stone Texture |
| Plaster of Paris (Optional) | 1 Tablespoon | Extra Hardness & Durability |
Apply the mixture using a stippling motion (dabbing up and down) rather than long brush strokes. This creates those tiny peaks and valleys found in natural stone. For a truly high-end look, apply two coats, letting the first one dry for at least 2 hours. While the second coat is still slightly tacky, you can lightly mist it with water and dab with a sea sponge to soften any harsh edges.
Phase 3: Adding Masculine-Elegant Details

Now that the body looks like stone, we need to break up the silhouette to add visual interest. Farmhouse style is all about the marriage of rugged materials—stone, wood, and natural fibers. Adding a thick jute rope rim or wooden feet can elevate the project instantly. For the rope rim, use a high-temp hot glue gun to wrap 3/4-inch manila rope around the top 3 inches of the bucket. This hides the ‘utility’ lip of the bucket and gives it a finished, nautical or rustic feel.
The Wooden Base Hack
If you want to go the extra mile, create a simple ‘X’ base using scrap 2×4 lumber. Cross two pieces of wood and screw them together, then set the bucket on top. This lifts the planter off the ground, preventing rot on your deck and giving it the height of a much more expensive architectural piece. Stain the wood in a dark ‘Walnut’ or ‘Weathered Oak’ to contrast with your stone-painted bucket.
Pro Tip: If you want a ‘zinc’ or ‘metal’ look instead of stone, use a metallic spray paint as your base and then ‘dry brush’ a dark espresso acrylic paint into the crevices.
Phase 4: Styling and Planting for Impact
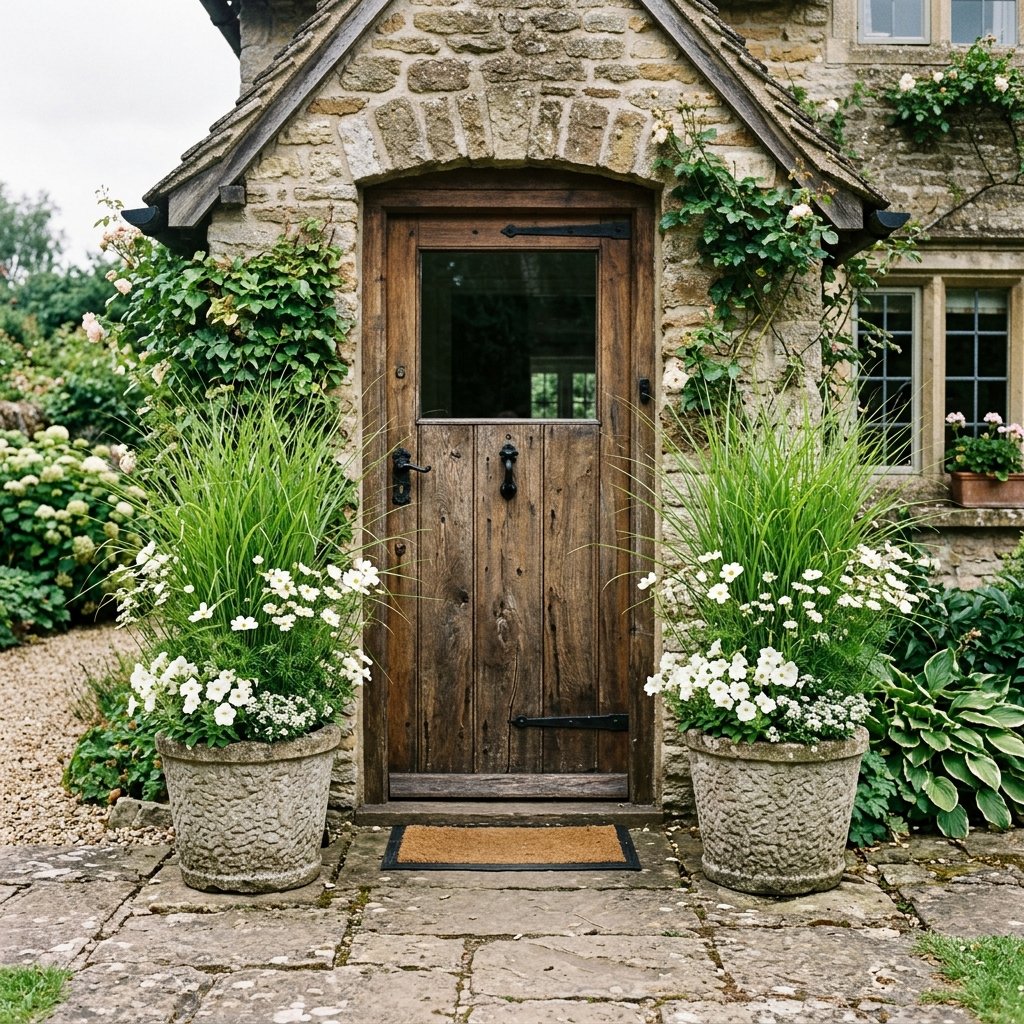
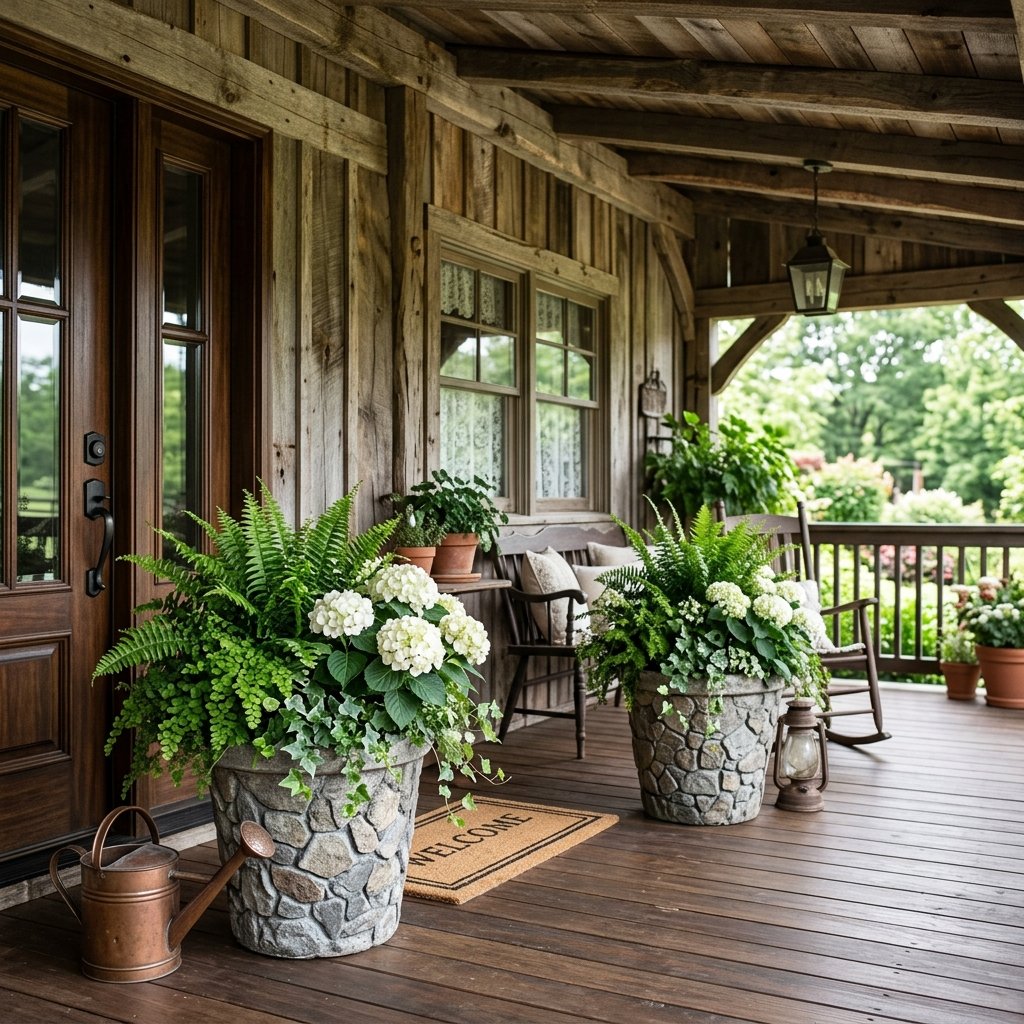
The final step is the ‘reveal.’ To make your 5-gallon masterpiece look truly high-end, you need to choose the right plants. For a classic farmhouse look, nothing beats Boxwood shrubs, Lavender, or Ornamental Grasses. These plants provide structure and height. Because the bucket is deep (14.5 inches), you can save money on potting soil by filling the bottom 1/3 with empty plastic water bottles or crushed soda cans. This also makes the planter much lighter and easier to move around your porch.
- Thriller: A tall center plant like a Dracaena or a small Cedar.
- Filler: Mid-height flowers like White Geraniums or Dusty Miller.
- Spiller: Something that hangs over the edge to soften the stone texture, like Creeping Jenny or Ivy.
Place your finished planters in pairs on either side of your front door. Symmetry is a hallmark of high-end design, and having two identical ‘stone’ planters will immediately signal to guests that your home is curated and intentional.
Conclusion
Your Porch, Upgraded
By following this guide, you have turned a piece of industrial waste into a high-end design element. You have mastered the art of surface prep, the chemistry of textured paint, and the aesthetics of farmhouse styling—all while keeping your budget firmly intact. This project proves that with a little bit of grit and a lot of creativity, you do not need a designer’s budget to have a designer’s home. So, next time you see an ‘ugly’ bucket, do not walk past it. See it for what it truly is: a blank canvas for your next great transformation. Happy crafting, and enjoy your beautiful new porch!

Makenzie is the founder and lead writer at MoneyHackTips.com — a personal finance blog dedicated to delivering street-smart financial wisdom for real people on real budgets. With 300+ published articles covering everything from debt management to investing fundamentals, Makenzie’s mission is to make every dollar work harder. When not writing about money hacks, Makenzie is testing frugal living strategies, optimizing side hustles, and helping readers build financial freedom from scratch.