
Welcome, fellow frugal DIYers, crafty upcyclers, and budget-savvy home decorators! If you have ever strolled through a high-end home goods store, flipped over the price tag on a simple, rustic stack of decorative books, and felt your jaw hit the floor, you are in the right place. We are talking about those gorgeous, stamped, twine-wrapped book bundles that scream “modern farmhouse chic” but also scream “why does this cost $45?” The truth is, creating that cozy, lived-in, Joanna Gaines-inspired aesthetic does not require a massive budget. In fact, with a little resourcefulness and some clever crafting, you can create a stunning, custom farmhouse book stack for right around $3.
This ultimate trash-to-treasure masterclass is designed for anyone who loves the thrill of a good Dollar Tree transformation. We are going to take basic, unloved paperbacks (or thrift store cast-offs) and elevate them into a sophisticated, rugged, and elegantly personalized centerpiece. Whether you are a handy parent looking to spruce up your living room mantel on a dime, a creative gift-giver wanting to craft a personalized housewarming present, or a budget bride designing rustic centerpieces, this project is your golden ticket.
“The secret to high-end budget decor isn’t spending more; it’s seeing the potential in what others overlook. A little paint, some twine, and a lot of imagination can turn everyday trash into your home’s greatest treasure.”
Get ready to roll up your sleeves, tap into your inner crafty-expert, and dive into the art of budget styling. By the end of this comprehensive guide, you will possess the skills to completely camouflage cheap materials, master the art of faux-distressing, and perfectly stamp typography that looks professionally printed. Let’s head to the Dollar Tree and start transforming!
The Anatomy of a High-End Farmhouse Book Stack

Before we dive into the paint and glue, we need to dissect what actually makes a stack of books look expensive. The difference between a cheap craft project and a high-end dupe lies entirely in the details. When you study pieces from boutique home stores, you will notice a few consistent design elements that we are going to replicate on a frugal budget.
Texture and Finish
High-end decorative books never look glossy. The modern farmhouse aesthetic relies heavily on matte, chalky, and slightly distressed finishes. Glossy book covers scream “mass-produced,” while a flat, chalk-painted surface mimics the look of vintage linen or aged parchment. We will achieve this by entirely stripping the shiny covers or painting over them with a specific matte blend.
Typography and Alignment
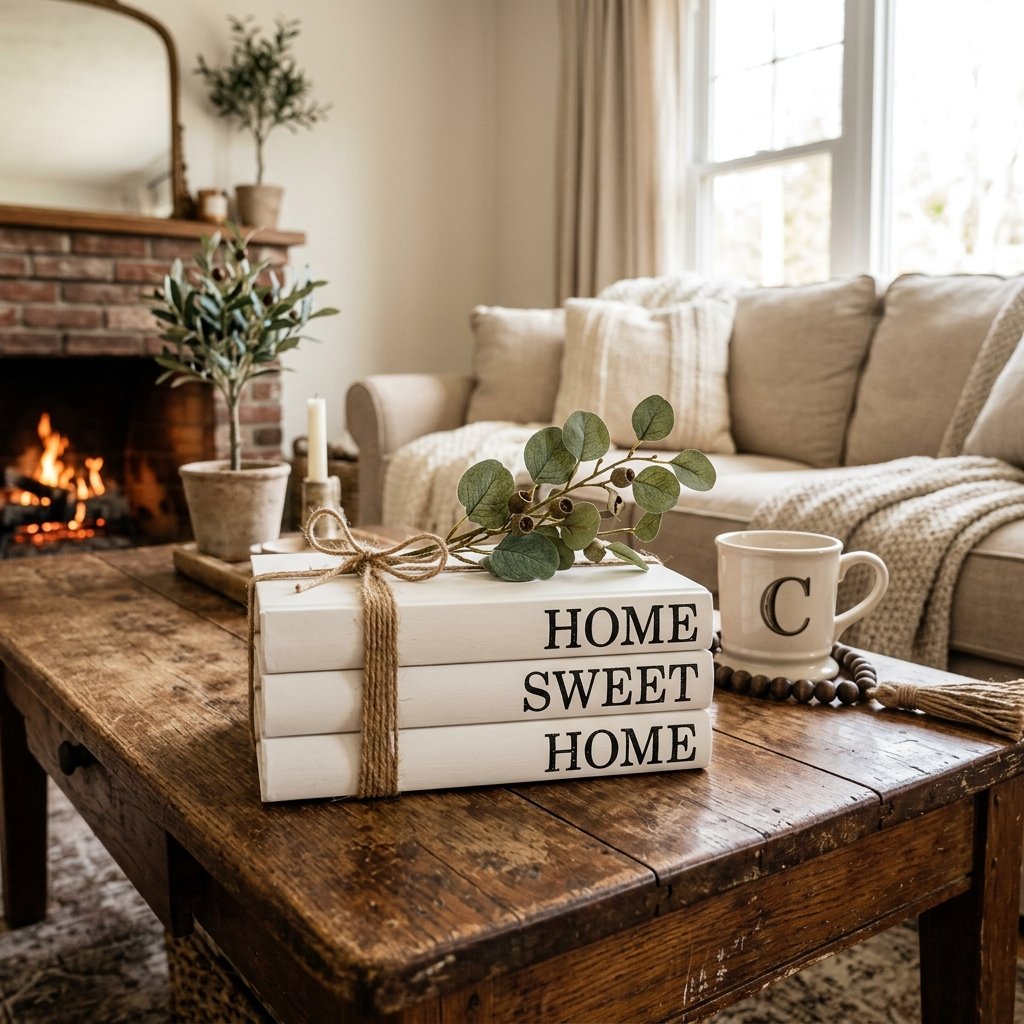
The lettering on the spine is the focal point of your book stack. Whether it spells out your family name, a seasonal greeting like “FALL”, or a classic mantra like “HOME SWEET HOME,” the font matters. Expensive book stacks typically feature crisp, serif fonts or vintage typewriter text. The alignment is usually uniform, but with slight, charming imperfections that suggest they were hand-stamped by an artisan rather than printed by a machine.
Rugged Embellishments
A bare stack of books is just… a stack of books. To make it a cohesive decor piece, it needs to be bound. This is where we bring in practical, masculine-elegant touches. Thick natural jute twine, raw leather laces, or wooden beads add that essential rugged texture. Tucking in a sprig of faux greenery (like eucalyptus, lamb’s ear, or rosemary) softens the look and adds a pop of organic color against the neutral books.
The $3 Dollar Tree Supply List & Budget Breakdown
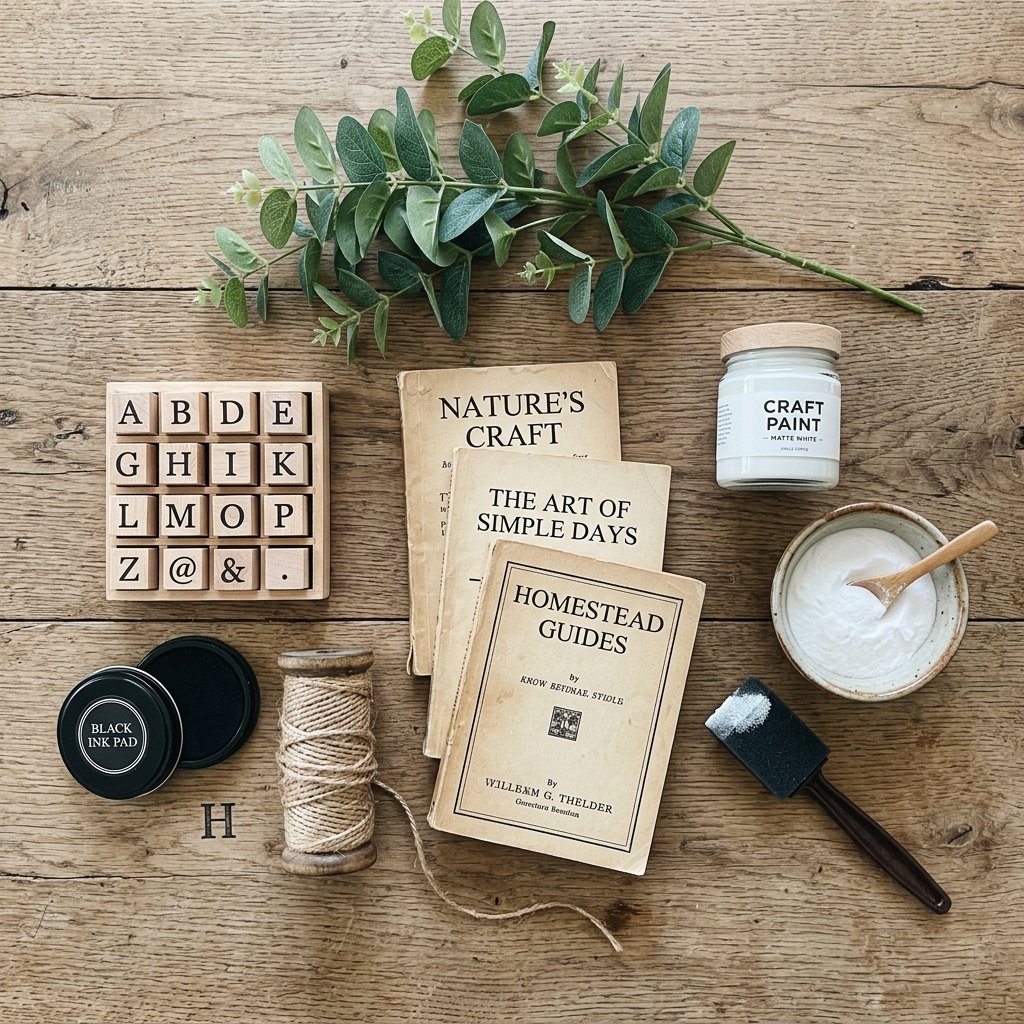
One of the most encouraging aspects of this project is the incredibly low barrier to entry. You likely already have some of these tools lurking in your garage, craft bin, or junk drawer. For the core materials, your local dollar store is your best friend. Here is the clever, budget-savvy breakdown of exactly what you need.
Core Materials to Source
- Books: You need 3 to 4 paperback or small hardcover books. Head to the Dollar Tree book aisle. Do not worry about the titles or the genres; we only care about the size and thickness. Look for books that are roughly the same length and width, but varying the thickness slightly can add a nice organic feel.
- Paint: White or cream chalk paint is ideal. If you don’t have chalk paint, you can easily make your own by mixing standard acrylic paint with a dash of baking soda to give it that gritty, matte texture.
- Stamps & Ink: A set of alphabet stamps and a black ink pad. If you are a frugal crafter, you might already own these. If not, budget craft stores sell small sets for just a few dollars.
- Binding Material: Jute twine, rustic ribbon, or scrap leather cord.
- Greenery: One sprig of faux greenery (Dollar Tree has a great floral section).
Cost Comparison: Store-Bought vs. Zero-Budget DIY
Let’s look at the numbers. This table proves exactly why being a resourceful upcycler pays off in spades.
| Material / Item | Store-Bought (Boutique/Etsy) | Our Frugal DIY Cost |
|---|---|---|
| 3 Decorative Books | $35.00 – $55.00 | $3.75 (Dollar Tree) or 100% free if upcycled! |
| Matte Paint Finish | Included | $1.25 (Dollar Tree Acrylic + Baking Soda) |
| Lettering/Customization | $15.00 (Custom Fee) | $0.00 (Using stash stamps or sharpie hack) |
| Twine & Greenery Accent | Included | $1.25 (Dollar Tree Twine/Floral) |
| Total Estimated Cost | $50.00 – $70.00+ | Under $5.00 (Often ~$3 if using stash items) |
“A penny saved is a penny earned, but a dollar saved on home decor is an excuse to buy more craft supplies!”
Prepping the Canvas: Deconstructing and Painting
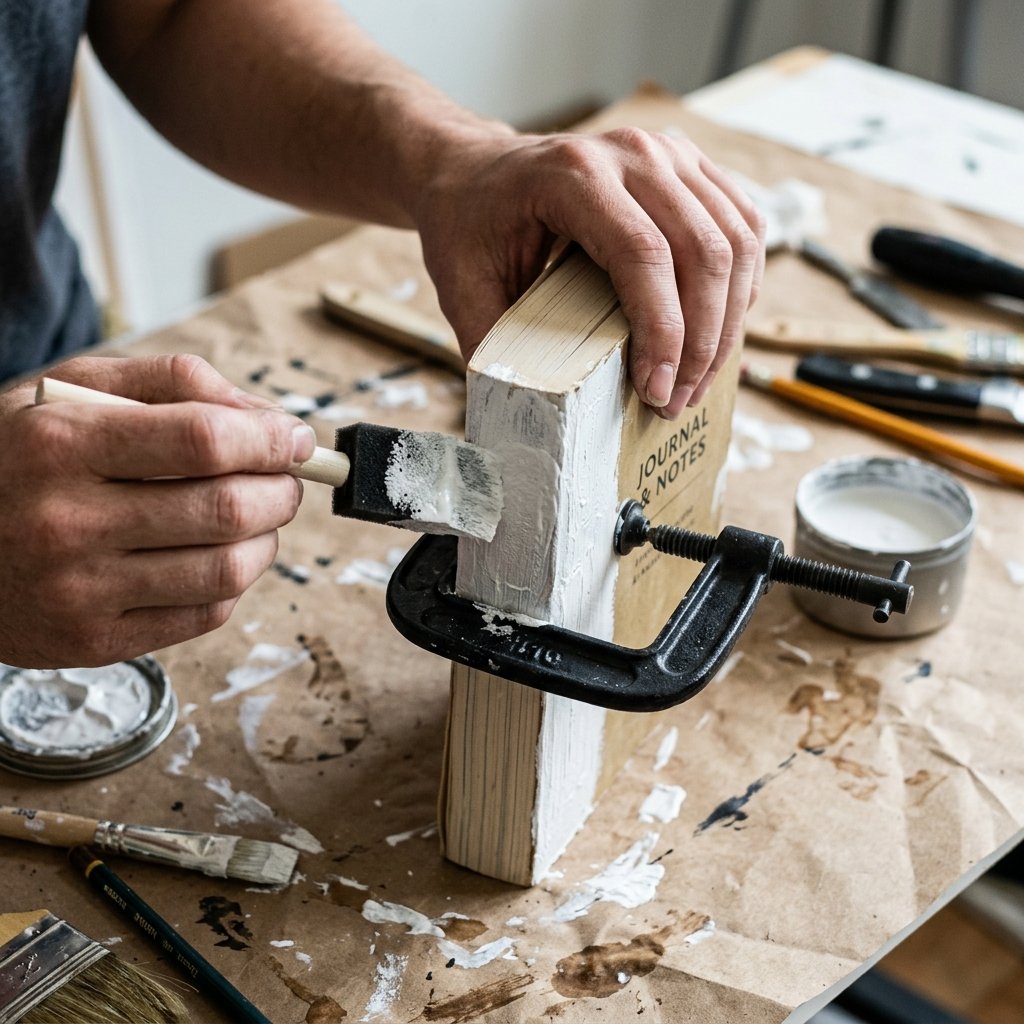
Now comes the practical, hands-on work. Prepping your books correctly is the foundation of a high-end look. If you skip the prep work, your paint will peel, and your books will look like a kindergarten art project rather than a Pottery Barn centerpiece.
Step 1: The Great Cover Tear-Off (Optional but Recommended)
If you are using cheap paperbacks, the covers are usually coated in a glossy, plastic-like film that repels paint. You have two choices here. The rugged, authentic farmhouse method is to simply tear the front cover, back cover, and spine off entirely, exposing the raw, textured cardboard and glue binding underneath. This gives an incredibly rustic, vintage vibe. If you prefer a cleaner, more modern look, leave the covers on but lightly sand them with a medium-grit sandpaper to rough up the surface and give the paint some “tooth” to grip.
Step 2: Mixing the Magic Matte Paint
If you are using standard dollar store acrylic paint, we need to eliminate the shine. Here is my favorite frugal crafter’s formula:
Mix 1 cup of standard acrylic paint with 2 tablespoons of baking soda. Stir thoroughly until the powder is completely dissolved. This creates a thick, chalky texture that adheres beautifully and dries dead-flat.
Step 3: Painting the Spines and Covers
- Clamp the Pages: To prevent the pages from absorbing paint and warping, use binder clips or a heavy weight to hold the book tightly closed.
- First Coat: Using a foam brush, apply a thin, even layer of your chalky paint mixture to the spine, front, and back covers. Do not worry if you can still see the original text through the first coat.
- Dry Time: Let the first coat dry completely. This usually takes about 15 to 20 minutes. Do not rush this step!
- Second Coat: Apply a second, slightly thicker coat. For a truly textured, rustic look, dab the brush up and down (stippling) rather than brushing in long strokes.
- Edge Painting (Optional): If you want the page edges to look aged, lightly dry-brush some brown or cream paint along the outside edges of the pages.
Let the books sit for at least 1 hour to cure before moving on to the lettering phase.
The Art of Typography: Stamping and Lettering
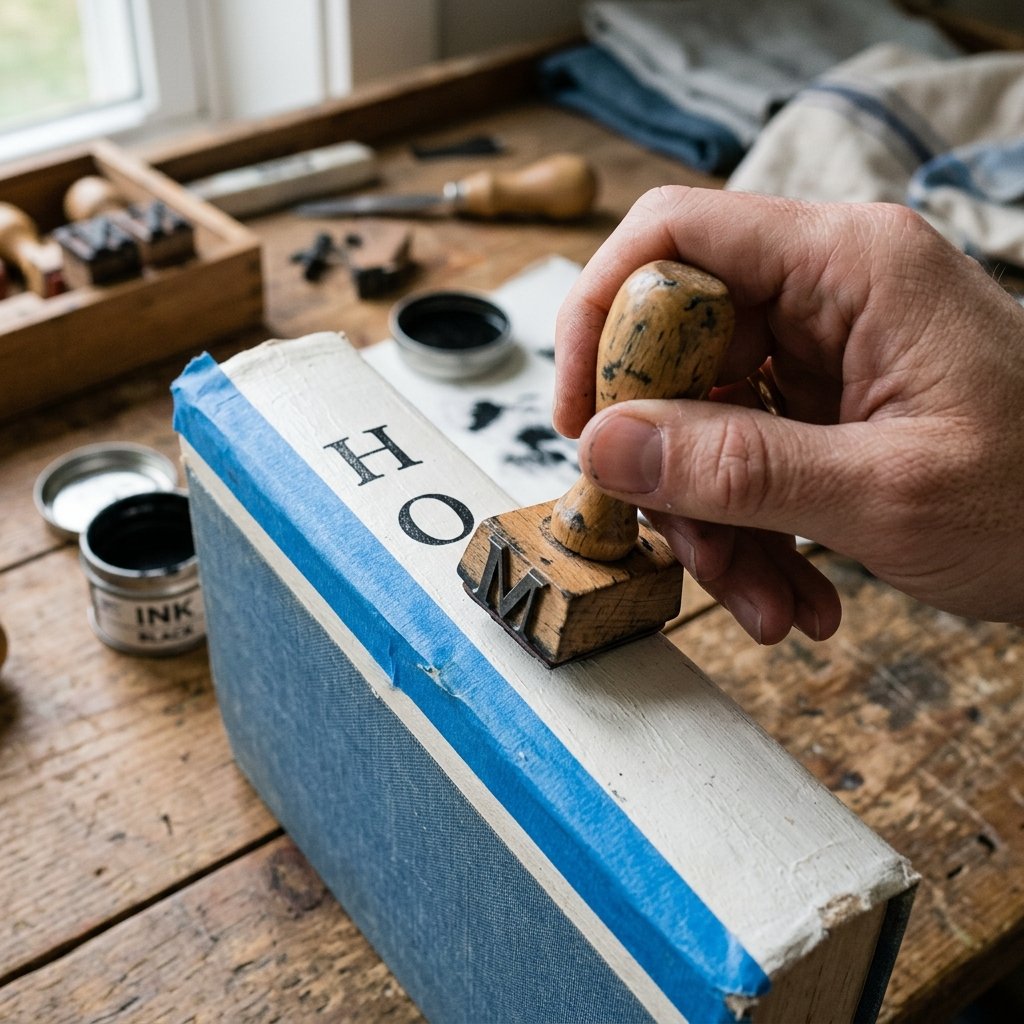
This is where your book stack gets its personality. Whether you are stamping your family name, the coordinates of your home, or a sweet seasonal message, the typography will make or break the illusion of high-end decor.
Choosing Your Message
Keep it simple and impactful. For a 3-book stack, three-letter or three-word combinations work best. Popular choices include:
- BLESSED / OUR / HOME
- FAITH / HOPE / LOVE
- LET / IT / SNOW (for winter styling)
- Your First Name / & / Partner’s Name (Perfect for a budget DIY wedding centerpiece!)
The Stamping Technique
If you have a set of alphabet stamps, you are golden. But stamping on a curved, painted spine requires a bit of finesse.
- Practice First: Never stamp directly on your finished book without practicing. Stamp your word on a piece of scrap paper to check the spacing and ink load.
- Ink Application: Tap the stamp lightly onto the ink pad. Do not press hard, or the ink will bleed into the crevices of the stamp and create a messy letter.
- Alignment: Use a piece of painter’s tape as a straight edge across the spine of your book. This ensures your letters don’t wander uphill.
- The Rocking Motion: Press the stamp onto the painted spine and give it a very slight rock (up, down, left, right) to ensure the entire letter transfers to the slightly uneven surface. Lift straight up.
The Frugal “No-Stamp” Hacks
Don’t have stamps? No problem! A resourceful crafter never lets a lack of specialized tools stop them.
- The Stencil Method: Dollar stores often sell small plastic letter stencils. Tape the stencil to the spine and use a dry stencil brush with a tiny amount of black paint to dab the letters on.
- The Pencil Transfer Hack: Print your words on your computer using a farmhouse font (like Courier or a rustic serif). Rub a heavy layer of pencil graphite on the back of the printed paper. Tape the paper (font side up) to your book spine. Trace over the letters firmly with a pen. The graphite will transfer a perfect outline onto your book, which you can then fill in with a fine-tip black Sharpie or paint pen.
Distressing for the Authentic Vintage Vibe
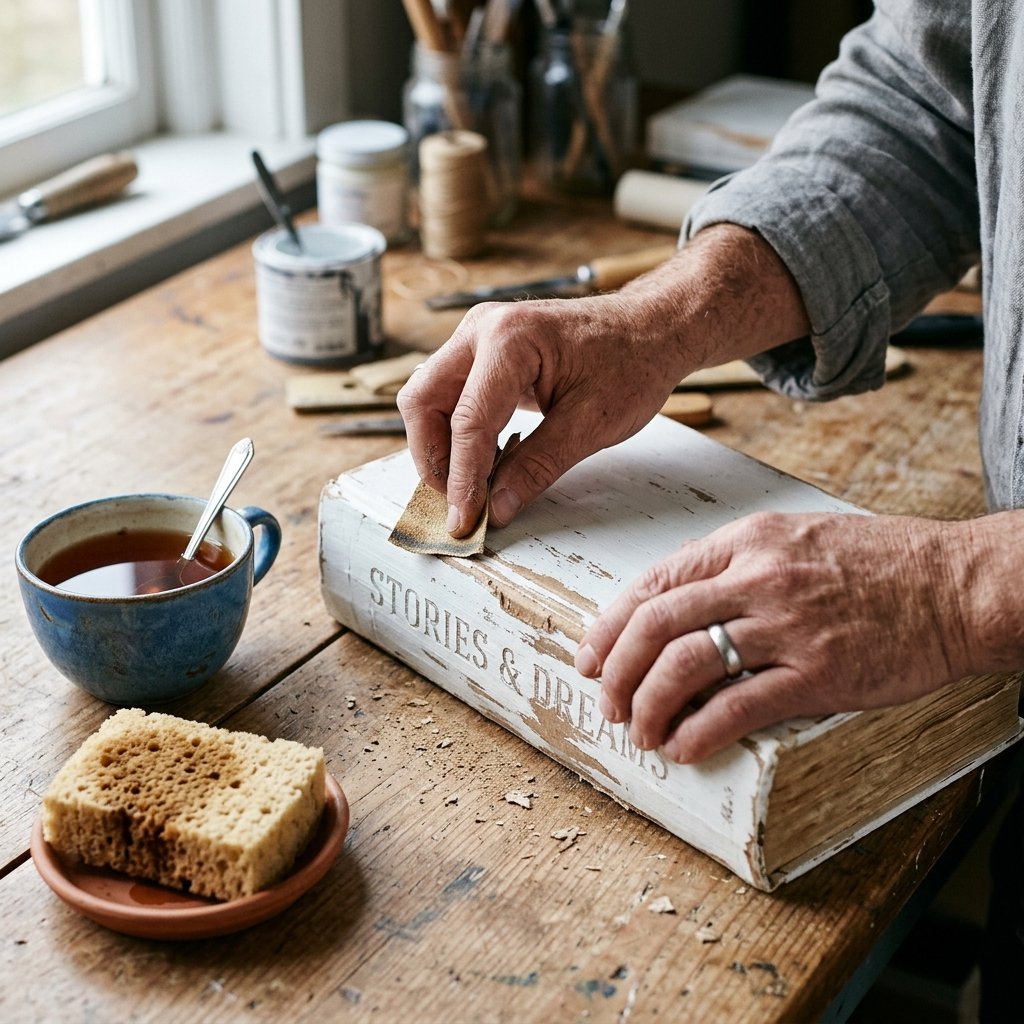
A pristine, perfectly white stack of books doesn’t look like it was salvaged from a French flea market or a historic farmhouse. It looks like it was painted yesterday. To achieve that rugged, lived-in, masculine-elegant charm, we need to distress our work. This step is incredibly satisfying and forgiving.
Sanding the Edges
Grab a piece of medium-grit sandpaper (around 120-grit works beautifully). Gently run the sandpaper along the sharp edges and corners of your painted books. Focus on the areas where a book would naturally experience wear and tear—the top and bottom of the spine, and the outer corners. You want to rub away just enough white paint to reveal the raw cardboard or the original book color underneath. This instantly breaks up the stark white and adds incredible depth.
Antiquing Wax and Tea Staining
If you want to take the vintage look to the next level, we need to age the paint and the pages.
- The Wax Method: Dip a lint-free cloth (an old cut-up t-shirt is perfect) into a tiny amount of dark antiquing wax or brown shoe polish. Wipe most of it off onto a paper towel—you want the cloth almost dry. Lightly rub the cloth over the spine and covers, concentrating on the edges. The dark wax will settle into the imperfections of the paint, creating a beautiful aged patina.
- The Tea Staining Trick for Pages: Bright white pages can ruin the vintage illusion. Brew a strong cup of black tea and let it cool. Dip a sponge or folded paper towel into the tea, wring it out so it’s barely damp, and dab it along the exposed edges of the book pages. As the tea dries, it leaves behind a warm, sepia-toned stain that makes the books look 100 years old.
“Distressing is an art form where mistakes are just happy accidents. If you sand off too much paint or add too much wax, it simply adds to the story of the piece. Embrace the rugged imperfections.”
Embellishing: Twine, Beads, and Faux Greenery
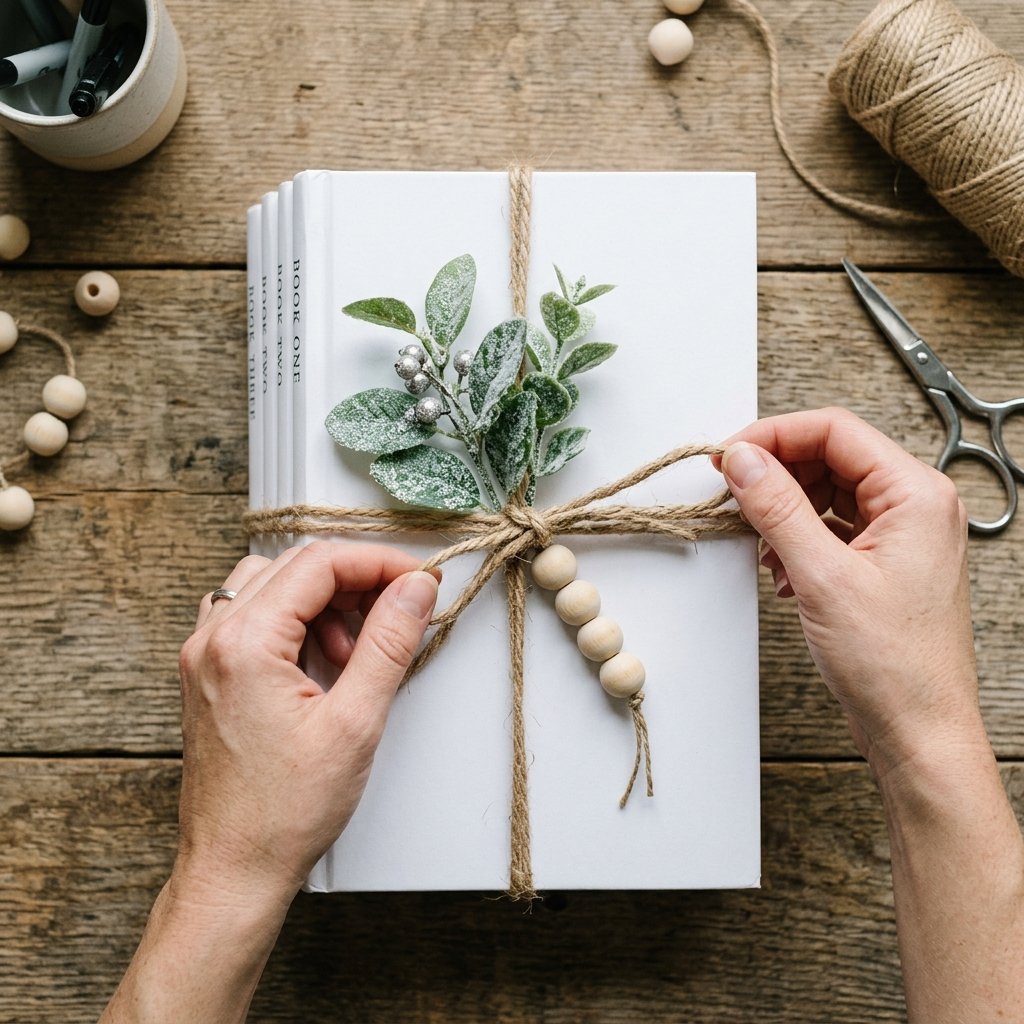
Now that your books are painted, stamped, and perfectly distressed, it is time to assemble the stack and add the finishing embellishments. This is where the project transforms from individual books into a cohesive, high-end decorative centerpiece.
Binding the Stack
Stack your three books together, ensuring the spines are aligned and the messages read clearly from top to bottom. To hold them securely and add that essential farmhouse texture, we will wrap them.
- Jute Twine (The Classic): Take a long piece of thick jute twine. Wrap it vertically around the stack 3 to 4 times, then cross it and wrap it horizontally 3 to 4 times. Tie it off in a simple, rustic knot or a neat bow on the top.
- Leather Lace (The Masculine-Elegant Touch): For a more rugged, library-inspired look, swap the twine for a strip of raw leather lacing or an old upcycled leather belt cut into thin strips. This is a fantastic variation if you are making this as a thoughtful Father’s Day gift for his home office.
- Ribbon (The Bridal Budget Touch): If you are using these for wedding centerpieces, a frayed-edge chiffon ribbon or a wide burlap ribbon adds a softer, romantic elegance.
Adding the Final Accents
The cherry on top of your farmhouse book stack is the accent piece tucked into the binding.
- Faux Greenery: Snip a small sprig of faux eucalyptus, lamb’s ear, or boxwood from a Dollar Tree floral stem. Slide the stem underneath the twine knot on top of the books. The pop of green against the neutral books is visually stunning.
- Wooden Beads: String 3 to 5 unfinished wooden beads onto the ends of your twine before tying the final knot. This adds a trendy, boho-farmhouse flair that mimics expensive boutique garlands.
- Seasonal Swaps: The beauty of this design is its versatility. In the fall, swap the greenery for a small faux autumn leaf or a cinnamon stick. In the winter, tuck in a tiny pinecone and a sprig of faux pine.
Styling Your New Farmhouse Book Stack
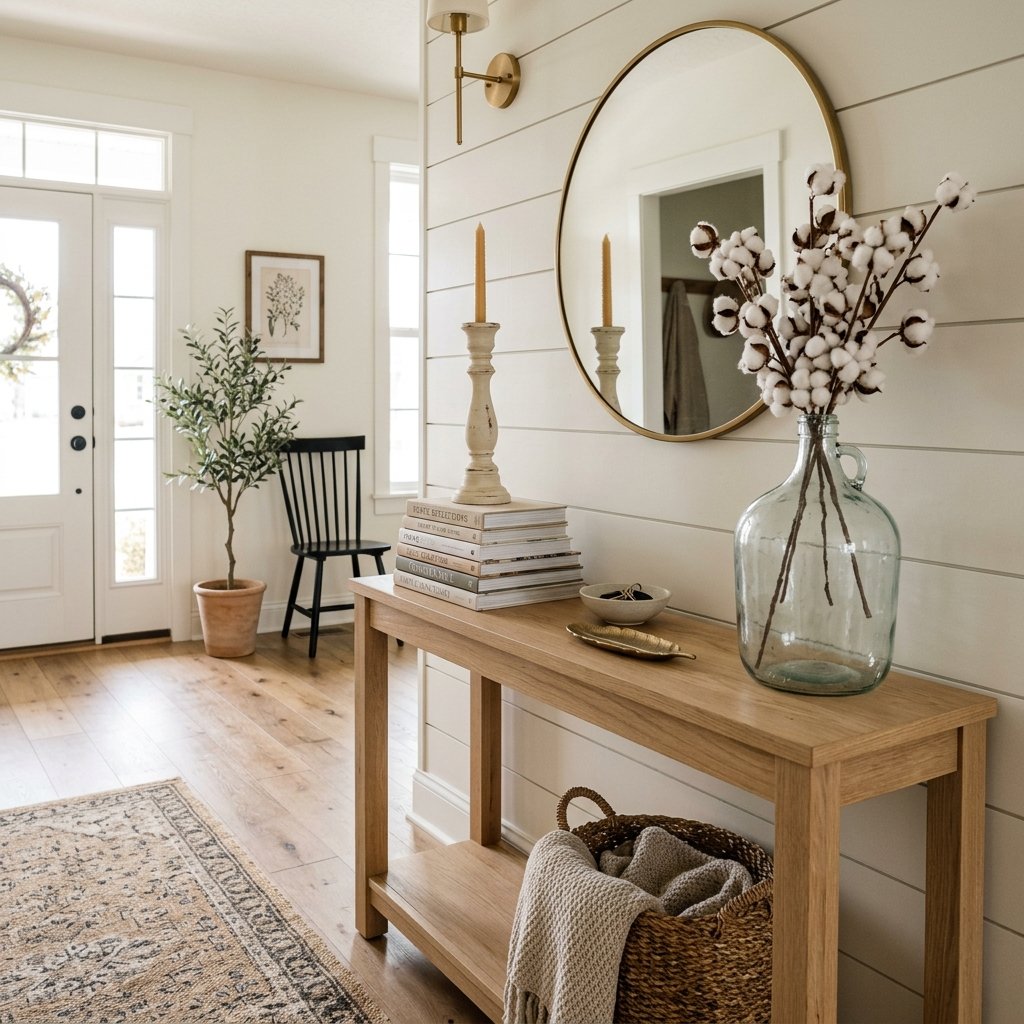
Congratulations, crafty genius! You have just turned $3 worth of dollar store supplies into a stunning, high-end piece of home decor. But creating the piece is only half the battle; knowing how to style it in your home is what truly elevates your space.
The Tiered Tray Centerpiece
Book stacks are the absolute perfect foundation for a tiered tray display. Place your book stack on the bottom or middle tier to act as a riser. Sit a small, cute ceramic mug, a tiny faux potted plant, or a seasonal candle directly on top of the books. The books add height and dimension, preventing your tray from looking flat and cluttered.
Mantel and Console Table Styling
If you are styling a living room mantel or an entryway console table, use the “Rule of Three.” Group your book stack with two other items of varying heights. For example, place your book stack next to a tall, distressed candlestick and a medium-sized glass vase filled with fresh (or faux) cotton stems. The horizontal lines of the books perfectly balance the vertical lines of the candlesticks and vases.
Coffee Table Vignettes
Create a cozy, inviting atmosphere on your coffee table by using a wooden serving tray as a base. Place your farmhouse book stack inside the tray, add a set of rugged wooden coasters, and a large, multi-wick candle. This creates a contained, intentional vignette that looks like it was styled by a professional interior designer.
By mastering this simple, budget-savvy upcycle, you have not only saved yourself $40 or more, but you have also gained the skills to create endless personalized gifts for friends, family, and teachers. The possibilities are truly as limitless as your creativity!
Conclusion
There you have it—the ultimate proof that creating a beautiful, warm, and stylish home does not require draining your bank account. By simply looking at cheap, everyday items through the lens of a resourceful upcycler, you have transformed basic dollar store paperbacks into a bespoke, high-end farmhouse centerpiece. You tackled painting techniques, mastered DIY typography, and learned the art of rustic distressing, all for less than the cost of a fancy cup of coffee.
Remember, the heart of the frugal DIY lifestyle isn’t just about saving money; it is about the immense pride and satisfaction that comes from creating something beautiful with your own two hands. Whether you place this stunning book stack on your own coffee table, use it to elevate your budget wedding decor, or wrap it up as a thoughtful, personalized gift, it is guaranteed to spark joy and draw compliments.
So, keep those creative gears turning, keep haunting those dollar store aisles, and never underestimate the power of a little paint and twine. Happy crafting, and enjoy your gorgeous new decor!

Makenzie is the founder and lead writer at MoneyHackTips.com — a personal finance blog dedicated to delivering street-smart financial wisdom for real people on real budgets. With 300+ published articles covering everything from debt management to investing fundamentals, Makenzie’s mission is to make every dollar work harder. When not writing about money hacks, Makenzie is testing frugal living strategies, optimizing side hustles, and helping readers build financial freedom from scratch.