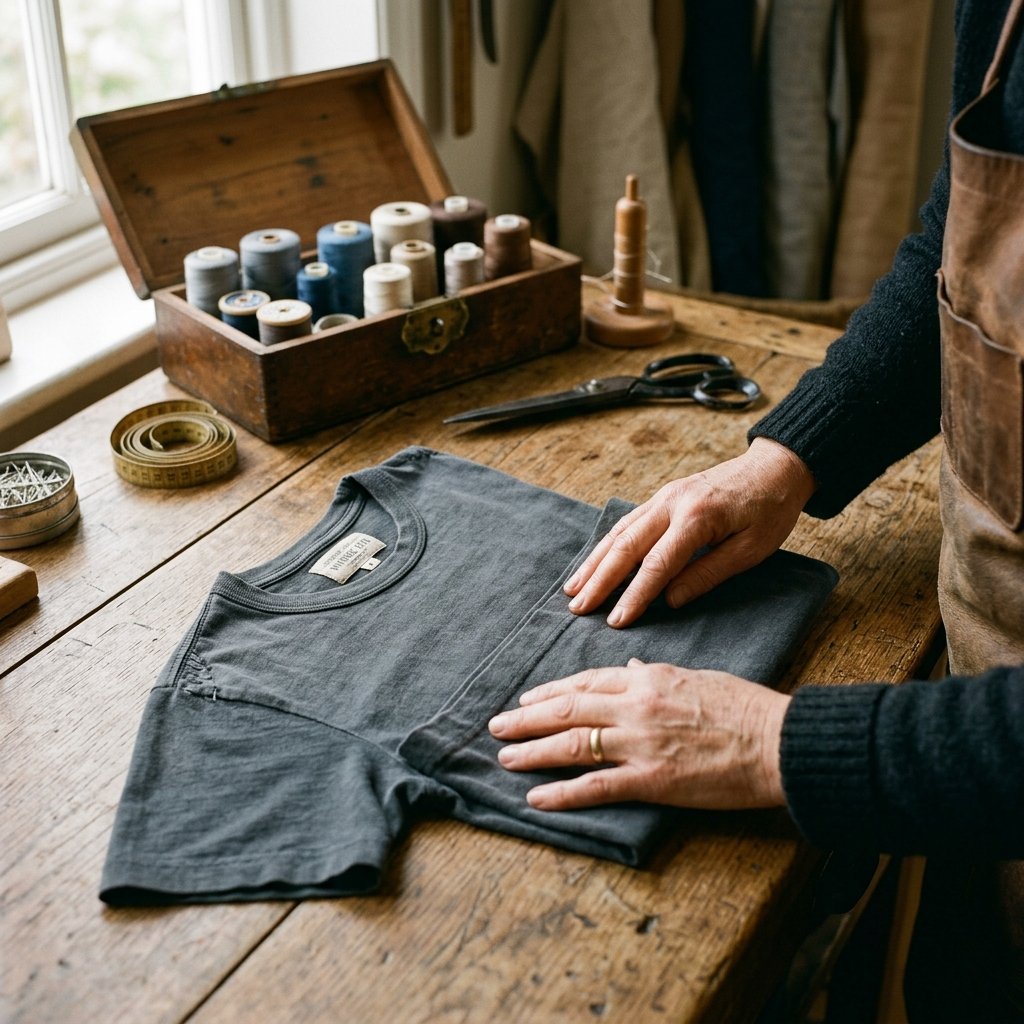

Welcome to the mending revolution, frugal friends and resourceful upcyclers! Let us talk about the dreaded “bacon neck.” You know exactly what I am talking about—that rippled, wavy, stretched-out, sad-looking collar on your absolute favorite, perfectly broken-in vintage rock tee or your most reliable weekend work shirt. It is a true wardrobe tragedy when the body of the shirt fits like an absolute glove, but the neckline looks like it belongs on a stretched-out sweater from the 1980s. The immediate instinct for many is to toss the shirt into the rag bin, relegate it to messy garage duty, or simply throw it away. But before you give up on that beloved garment, stop right there.
You do not need to throw it away, and you certainly do not need a fancy, expensive sewing machine to fix it. We are going to dive deep into the ultimate frugal DIYer’s guide to restoring stretched collars. Whether you are a handy dad trying to save your lucky fishing shirt, a budget-savvy mom rescuing thrift store finds for the kids, or a crafty upcycler looking to extend the life of your wardrobe, these grandma-approved, tailor-tested secrets will save you money and keep your clothes looking incredibly sharp.
By learning these simple techniques, you are not just saving a few bucks; you are actively fighting back against the disposable fast-fashion industry. You are taking ownership of your gear. From a 100% free boiling water trick to a master tailor’s invisible elastic secret that costs mere pennies, we are going to walk through exactly how to breathe new life into your favorite tees. Grab your ironing board, raid your basic sewing kit, and let’s get to work saving those shirts!
The Anatomy of a Crewneck: Why “Bacon Neck” Happens
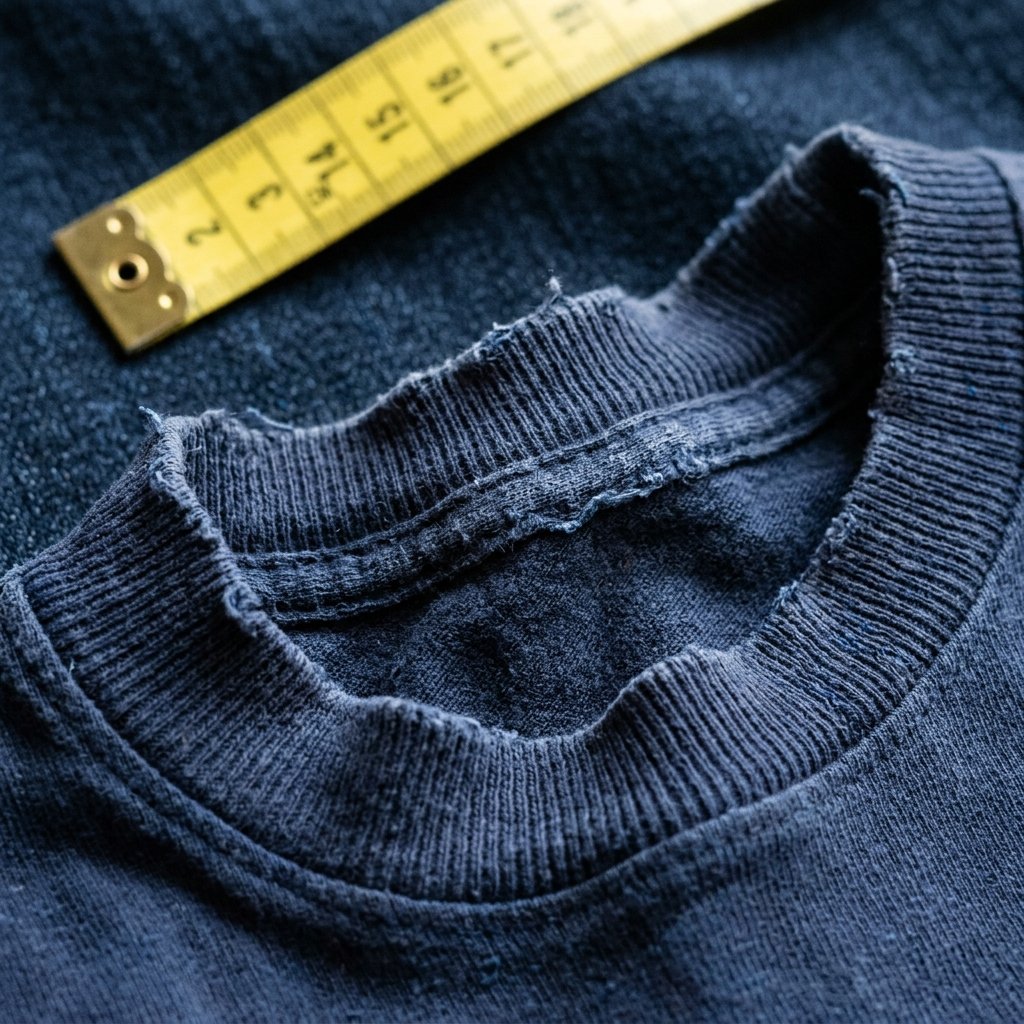
Before we can fix the problem, we need to understand the architecture of our clothing. A crewneck t-shirt collar is typically made from a “rib knit” fabric. Unlike the standard jersey knit used for the body of the shirt, rib knit is designed with alternating raised and recessed rows, which gives it a natural, accordion-like elasticity. This allows the collar to stretch over your head and then snap back snugly against your neck.
However, over time, the cotton fibers in that rib knit become fatigued. They lose their memory and their ability to bounce back. This structural breakdown is what leads to the wavy, rippled effect affectionately (and frustratingly) known as “bacon neck.” Understanding what causes this fatigue is the first step in preventing it in the future.
The Main Culprits of Collar Collapse
- The Hanger Stretch: Shoving a wide hanger up through the bottom of the shirt and forcing it through the neck opening is the number one killer of collars. Always insert the hanger from the bottom hem!
- Aggressive Washing and High Heat: Washing your tees in heavy-duty cycles and blasting them in a high-heat dryer breaks down the subtle elastic properties of the cotton fibers.
- The “Pull-Off” Habit: Yanking your shirt off by grabbing the back of the collar and pulling it over your head puts immense, concentrated stress on the back seam of the neckband.
Safety Note: Always check the care label on your garment before attempting any repair that involves high heat, boiling water, or ironing. Synthetic blends (like high-percentage polyester or athletic wear) can melt, scorch, or permanently warp if treated like 100% cotton.
The 5-Minute Boiling Water & Iron Trick (Zero-Sewing Required)

If you are dealing with a 100% cotton t-shirt, you are in luck. Cotton fibers have a unique ability to shrink and reset when exposed to sudden, extreme heat. This method is the absolute holy grail for frugal DIYers because it requires zero sewing skills, uses items you already have in your kitchen, and is 100% free. It is essentially a targeted shock-treatment for your tired collar.
Materials Needed
- 1 medium pot of boiling water
- 1 steam iron
- 1 ironing board or thick towel
- Your stretched-out 100% cotton tee
Step-by-Step Restoration
- Boil and Prep: Bring a pot of water to a rolling boil on your stove. You want it as hot as possible. Once it is boiling rapidly, turn off the heat.
- The Targeted Dip: Carefully gather the body of your t-shirt in your hands, leaving only the stretched collar exposed. Dip only the ribbed collar into the hot water. Do not submerge the rest of the shirt unless you want the whole thing to shrink! Hold the collar in the water for exactly 5 minutes.
- The Squeeze: Carefully remove the collar from the water (it will be incredibly hot, so use kitchen tongs if necessary). Wring out the excess water gently by squeezing it inside a dry towel. Do not twist or pull the fabric, as this will stretch it right back out!
- The Ironing Board Reshape: Lay the damp collar flat on your ironing board. Using your fingers, gently push and coax the ribbing back into its original, tight circular shape. You want to compress the waves inward.
- The Press: Set your iron to the highest cotton setting with steam. Press the iron firmly down onto the reshaped collar. Do not drag the iron back and forth; instead, press down, hold for a few seconds, lift, and press the next section. The combination of the boiling water shrinkage and the intense flat heat of the iron will lock the fibers back into place.
Let the shirt air dry completely flat. You will be amazed at how a completely ruined collar can look brand new in under ten minutes!
The Invisible Elastic Weave: The Master Tailor’s Secret
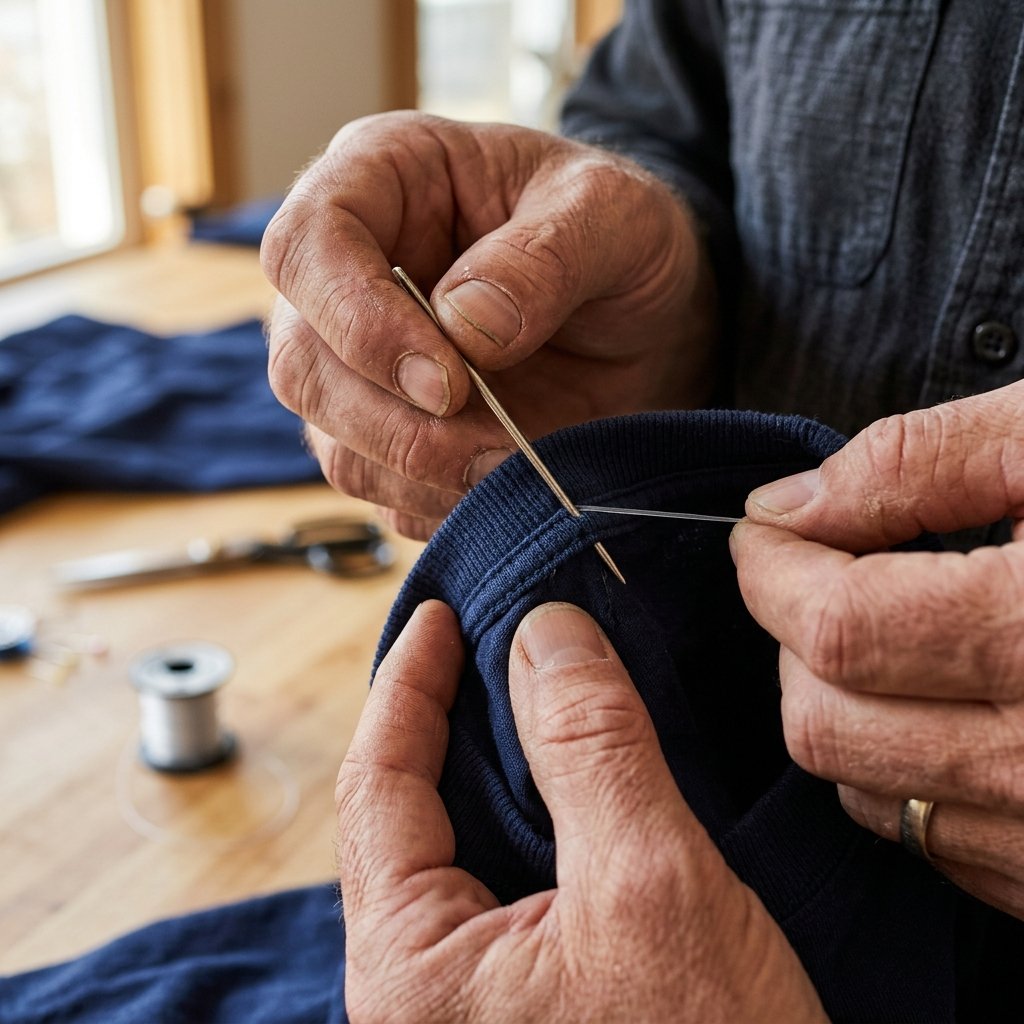
While the boiling water trick is fantastic for cotton, it is often a temporary fix that might need repeating after a few washes. If you want a permanent, rugged solution—or if you are dealing with a cotton-poly blend that won’t shrink in hot water—it is time to channel your inner master tailor. We are going to use a technique called invisible elastic weaving. This method reinforces the collar from the inside, giving it a hidden spine of elasticity that will outlast the shirt itself.
The Magic of Elastic Thread
You will need a spool of elastic sewing thread (often called shirring thread). It looks like normal thread but stretches like a rubber band. You can pick up a spool at any craft store for about $3.00, and one spool will repair dozens of shirts, making the cost per repair mere pennies.
How to Weave the Collar
- Thread the Needle: Cut a piece of elastic thread about 6 inches longer than the circumference of your collar. Thread it through a blunt tapestry needle or a standard darning needle. You want a needle with a dull point so it glides between the fabric fibers rather than piercing them.
- Find the Entry Point: Look at the inside of your t-shirt collar, right at the back of the neck where the tag usually sits. You will see a seam where the ribbed collar attaches to the shirt body. Insert your needle into the hollow “tube” of the ribbed collar seam.
- The Weave: Slowly guide the blunt needle through the hollow space inside the collar ribbing. You are essentially fishing the elastic thread all the way around the neck hole, keeping it completely hidden inside the fabric. If your collar doesn’t have a hollow tube, you can use a simple running stitch along the inside back layer of the ribbing—just make sure the needle doesn’t poke through to the visible front side.
- The Cinch: Once you have threaded the elastic all the way around and come back out at your starting point, gently pull both ends of the elastic thread. You will see the wavy collar instantly cinch up and lay flat. Adjust the tension until the collar is the perfect size—not too tight, not too loose.
- Knot and Hide: Tie a secure square knot with the two ends of the elastic thread. Trim the excess tails, and tuck the knot back inside the seam.
“Mending is not just about saving money; it is about honoring the things that serve us. A visible or invisible repair is a badge of resourcefulness and respect for your gear.”
The Back-Seam Dart Method for Severely Warped Collars
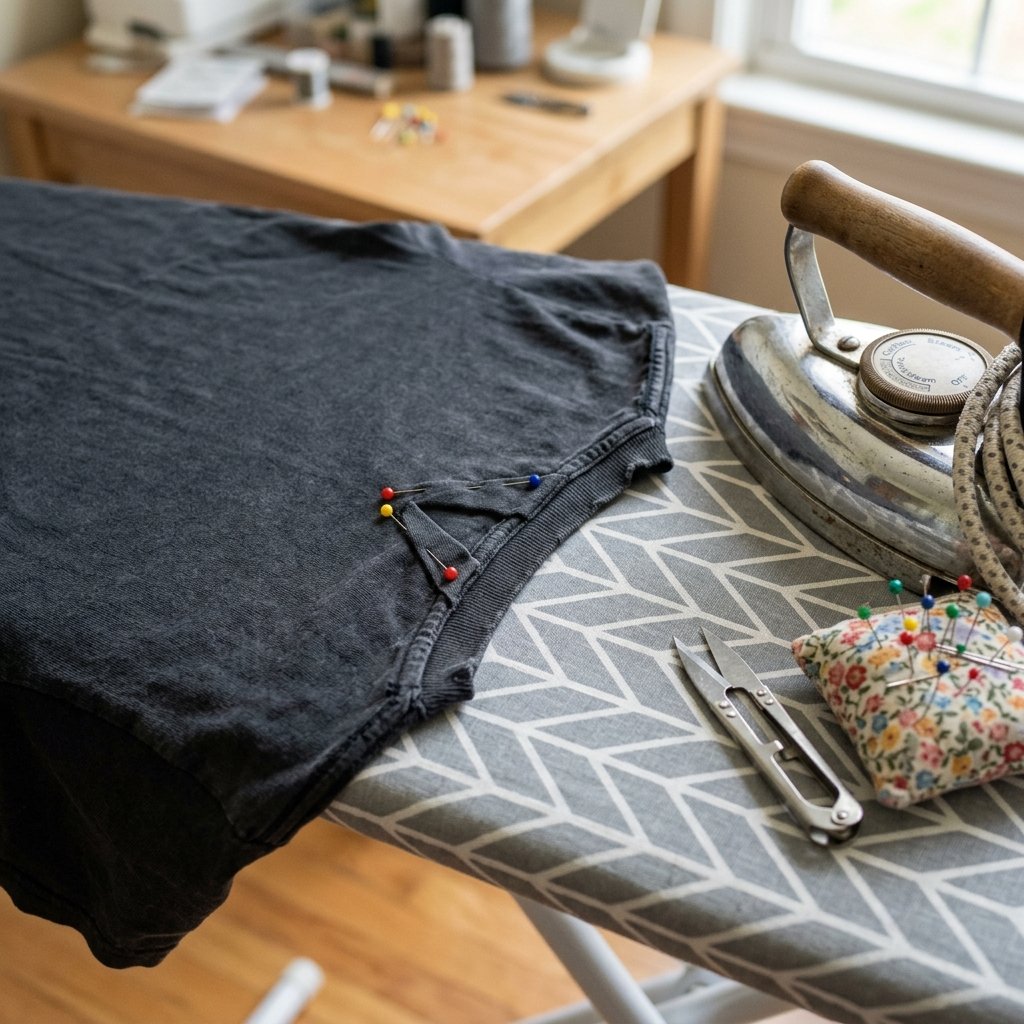
Sometimes, a collar is so severely stretched out that boiling water won’t touch it, and an elastic weave just bunches the fabric up awkwardly. This often happens with shirts that have a high spandex content or vintage paper-thin tees that have completely lost their structural integrity. When you have a massive excess of fabric, the most practical, elegant, and permanent solution is to sew a tiny dart in the back of the collar.
A dart is a classic tailoring technique used to take in volume and shape garments to the body. By placing a small, V-shaped dart at the back of the neck, you remove the excess stretched fabric, pulling the entire front of the collar tight and flat against the chest. Because it is at the back of the neck, it remains virtually unnoticeable.
Executing the Perfect Dart
- Pinch and Pin: Put the shirt on inside out. Go to a mirror and pinch the excess fabric at the center back of the collar until the front of the neckline sits flat and looks normal. Pin that pinched fabric in place with a safety pin or sewing pin.
- Mark the V-Shape: Take the shirt off (keeping it inside out). The pinched fabric will form a little triangle pointing down toward the body of the shirt. Use a piece of chalk to draw a V-shape, starting wide at the top edge of the collar and tapering down to a point where the collar meets the shirt body.
- The Tapered Stitch: Thread a standard sewing needle with thread that perfectly matches the collar color. Using a tight backstitch or a whip stitch, sew along the chalk line you drew. Start at the top edge and sew down to the point. Make sure your stitches are small and secure.
- Press Flat: Once sewn, fold the little flap of excess fabric to one side and press it flat with a hot iron. Turn the shirt right side out. You now have a perfectly sized collar with a subtle, professional-looking seam at the back.
This method takes about 10 minutes and requires only basic sewing skills, but it yields a rugged, permanent result that will keep your favorite shirt in rotation for years to come.
Fabric Compatibility & The Ultimate Collar Repair Matrix
Not all t-shirts are created equal, and treating a delicate vintage poly-blend the same way you treat a heavy-duty cotton work shirt is a recipe for disaster. To be a true frugal mending expert, you must know your materials. Below is a comprehensive guide to matching your shirt’s fabric type with the most effective, budget-savvy repair method. Use this matrix to diagnose your “bacon neck” and choose the perfect DIY solution.
| Fabric Type | Stretch Factor & Memory | Best DIY Repair Method | Estimated DIY Cost | Store Replacement Cost |
|---|---|---|---|---|
| 100% Cotton (Heavyweight Work Tees) | High stretch, poor memory (Prone to extreme bacon neck) | Boiling Water & Iron Trick | $0.00 | $20 – $45 |
| Cotton/Polyester Blend (Standard Graphic Tees) | Medium stretch, decent memory | Invisible Elastic Thread Weave | $3.00 (Thread spool) | $15 – $30 |
| Spandex/Elastane Blends (Athletic Wear) | Low stretch out, but permanent when warped | Back-Seam Dart Method | $0.50 (Basic Thread) | $30 – $60 |
| Vintage Paper-Thin Cotton (Heirlooms) | Extremely fragile, breaks easily | Gentle Elastic Weave (No Heat!) | $3.00 | Priceless |
By utilizing this matrix, you can quickly assess the damage and apply the correct technique. Remember, the goal of the resourceful upcycler is to work with the materials you have. A heavy cotton shirt wants to shrink with heat, while a synthetic blend needs mechanical support like thread or darts. Master this understanding, and you will never have to throw away a favorite shirt due to a sloppy collar ever again.
Conclusion
There you have it—the ultimate frugal masterclass in rescuing your wardrobe from the dreaded “bacon neck.” By utilizing the boiling water shock-treatment, the master tailor’s elastic weave, or the strategic back-seam dart, you possess the knowledge to save almost any crewneck t-shirt from the trash bin. Mending your own clothes is one of the most empowering, budget-savvy, and resourceful skills you can develop. It saves you money, it reduces textile waste, and it allows you to hold onto those perfectly broken-in garments that carry your favorite memories.
So the next time you pull your favorite vintage band tee or your rugged weekend work shirt out of the laundry only to find the collar looking sad and wavy, don’t panic. Grab your iron, thread a needle, and take pride in restoring your gear. Stay crafty, stay resourceful, and keep making things last!

Makenzie is the founder and lead writer at MoneyHackTips.com — a personal finance blog dedicated to delivering street-smart financial wisdom for real people on real budgets. With 300+ published articles covering everything from debt management to investing fundamentals, Makenzie’s mission is to make every dollar work harder. When not writing about money hacks, Makenzie is testing frugal living strategies, optimizing side hustles, and helping readers build financial freedom from scratch.