
The $0 Sensory Revolution
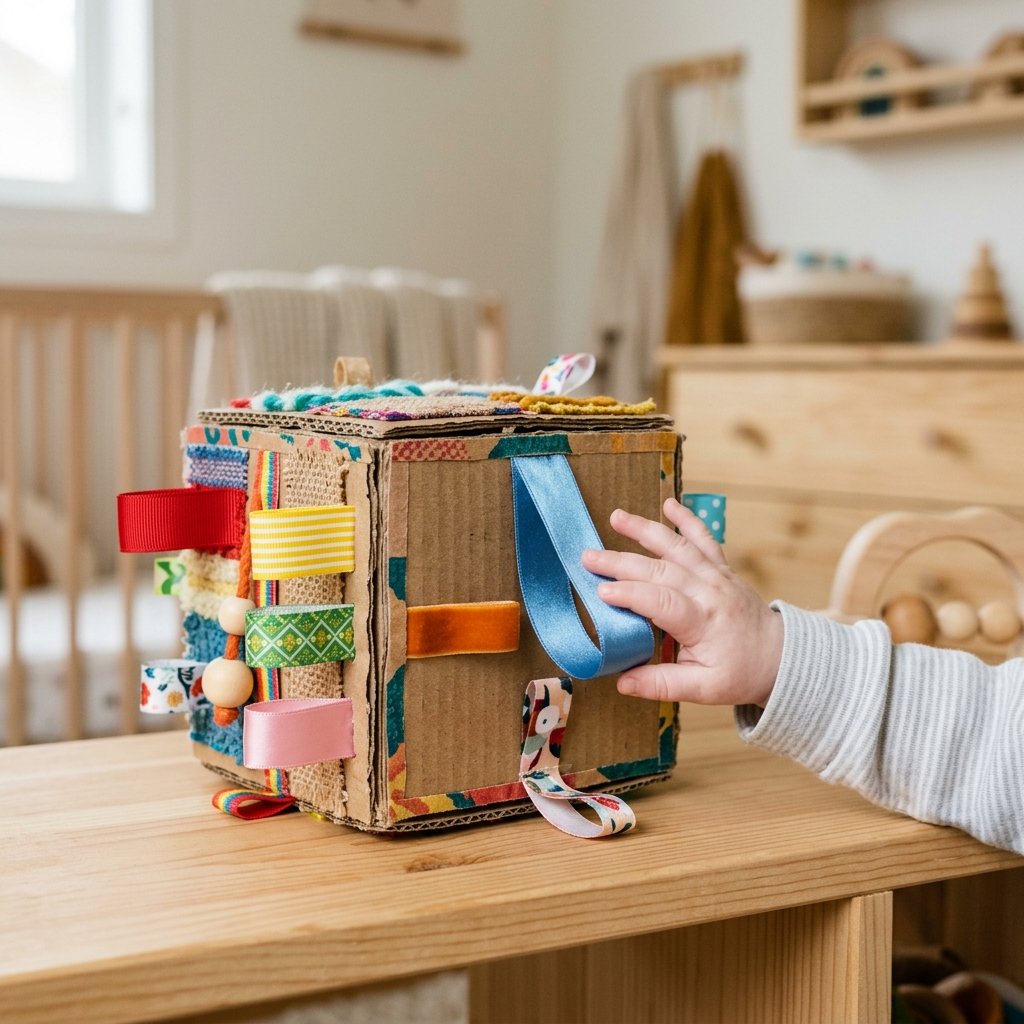
We’ve all seen those sleek, expensive wooden ‘Montessori’ toys in boutique shops that retail for $40 or more. But as a resourceful, budget-savvy parent, you know a secret that big-box retailers don’t want you to realize: your baby is more interested in the shipping box than the toy inside. Why fight nature? It’s time to lean into the ‘trash-to-treasure’ mindset and engineer a DIY Cardboard Ribbon Pulling Toy that provides the exact same developmental benefits as a high-end sensory board for $0. This project isn’t just about saving money; it’s about tactical parenting. By using varied textures, rugged cardboard, and clever knotting techniques, you are building a cognitive powerhouse that stimulates fine motor skills, cause-and-effect logic, and tactile exploration. Let’s roll up our sleeves and turn that Amazon delivery box into a brain-boosting masterpiece.
The Blueprint: Engineering Your Sensory Powerhouse
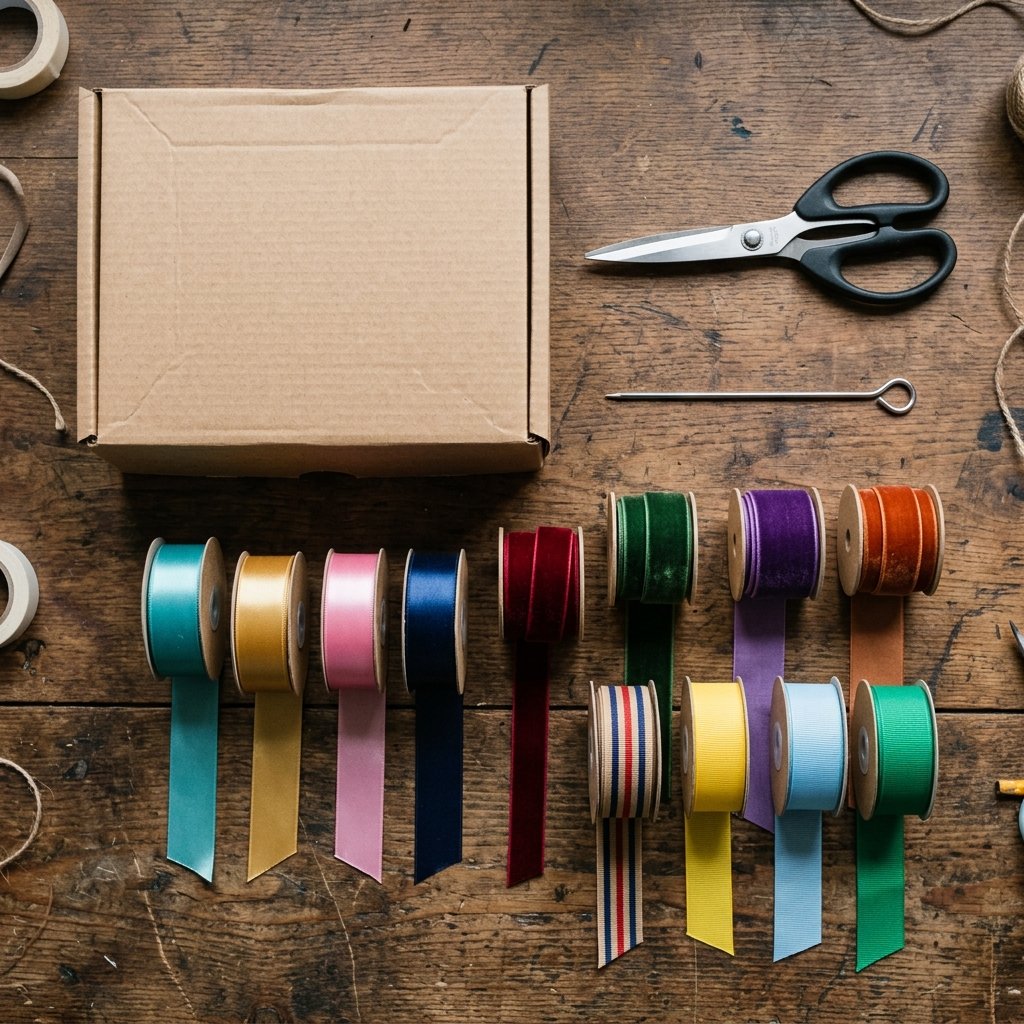
Before we begin the build, let’s look at the ‘why’ behind this project. This toy is designed to challenge a baby’s grip and pull strength while providing a variety of sensory inputs. By selecting ribbons of different widths, materials, and lengths, you create a complex environment for their developing brain. We aren’t just making a toy; we are building a rugged, practical tool for early childhood development.
Why It Works
- Fine Motor Skills: Pinching and grasping small ribbons strengthens the tiny muscles in the hands.
- Cause and Effect: When the baby pulls one side, the other side disappears. This is a fundamental cognitive milestone.
- Tactile Diversity: Using satin, grosgrain, and velvet ribbons introduces different textures.
| Feature | Developmental Benefit | Estimated Store Cost | DIY Cost |
|---|---|---|---|
| Textured Pulls | Sensory Processing | $25.00 | $0.00 |
| Cause/Effect Logic | Cognitive Development | $15.00 | $0.00 |
| Grip Strength | Fine Motor Control | $10.00 | $0.00 |
Material Procurement: Scouting Your Home for Riches
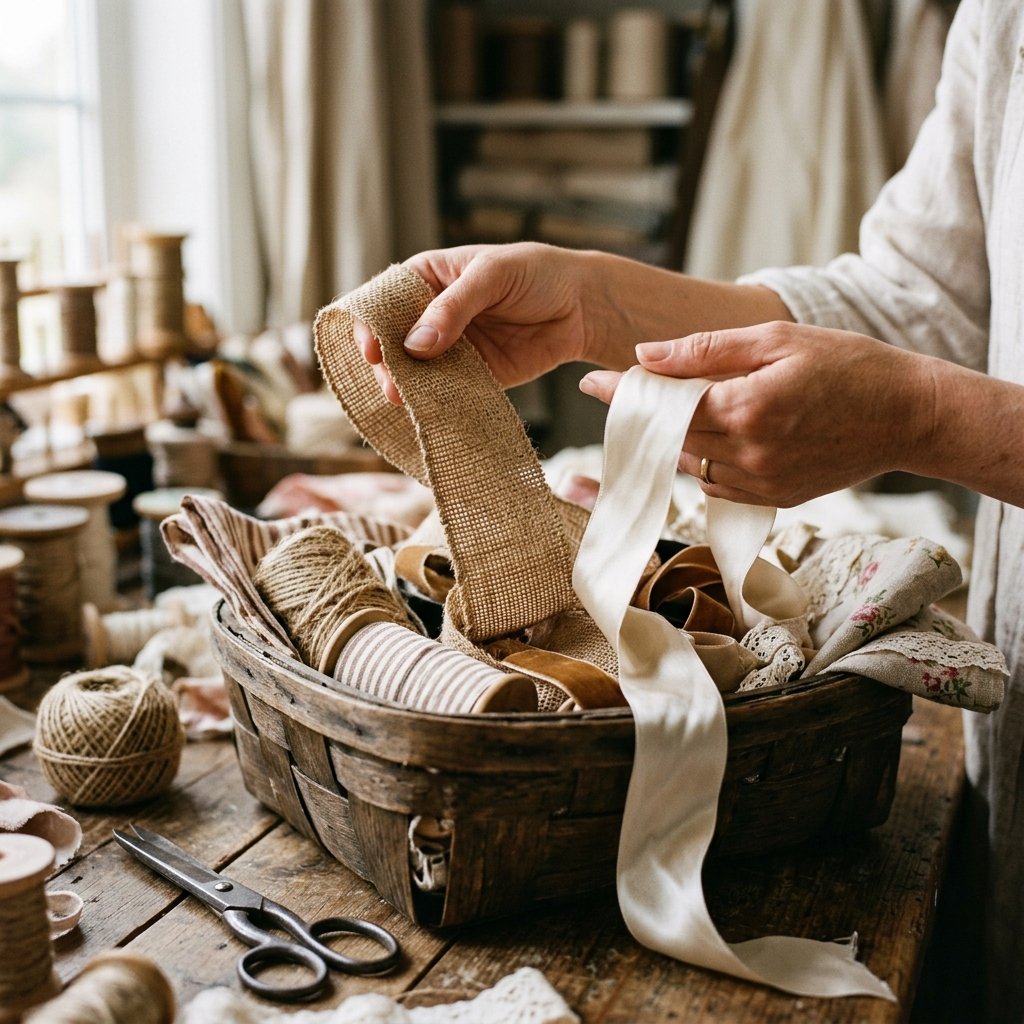
You don’t need a trip to the craft store for this. A clever DIYer knows that the best materials are already in the house. Look for a sturdy, thick-walled cardboard box—think of it as the chassis of your toy. For the ‘engine’—the ribbons—check old gift bags, clothing tags, or even clean shoelaces. The goal is 100% upcycled excellence.
The Material Checklist
- The Chassis: A small to medium square cardboard box (6×6 inches is the ‘sweet spot’).
- The Ribbons: 6-10 strips of varying textures, at least 12 inches long each.
- The Tools: A sharp utility knife or scissors and a pointed tool (like a screwdriver or a knitting needle) for punching holes.
- Adhesive (Optional): Low-VOC hot glue or heavy-duty packing tape to secure the box flaps.
“The best toys aren’t bought; they are engineered from the scraps of daily life. A simple knot and a sturdy box can outperform a plastic gadget any day.”
The Assembly Line: Step-by-Step Tactical Crafting
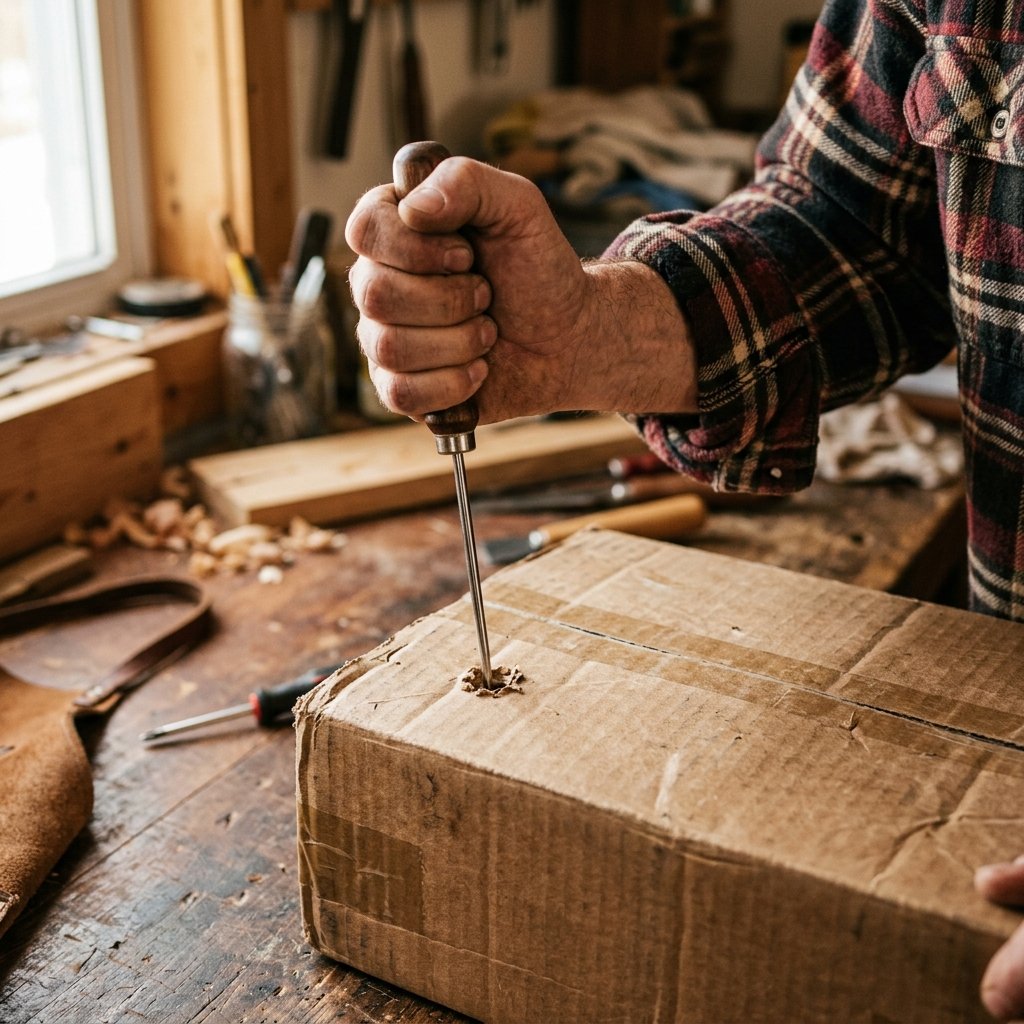
Follow these steps to ensure a rugged build that can withstand the enthusiastic tugging of a determined infant. We want this to be durable, safe, and engaging.
- Reinforce the Base: Tape the bottom of your box shut using heavy-duty tape. If the cardboard is thin, consider nesting a smaller box inside for extra structural integrity.
- The Mapping Phase: Using a pencil, mark pairs of dots on opposite sides of the box. For example, if you have a hole on the ‘North’ face, mark its partner on the ‘South’ face.
- Punching the Ports: Use your pointed tool to punch holes through the marks. Safety Note: Always punch away from your body and keep your fingers clear of the exit point.
- Threading the Ribbon: Feed a ribbon through one hole and out the corresponding hole on the opposite side.
- The Anchor Knot: This is the most critical step. Tie a large, secure knot on both ends of the ribbon. The knot must be significantly larger than the hole so it cannot be pulled through.
- Testing the Tension: Give each ribbon a firm, ‘dad-strength’ pull to ensure the knots hold and the cardboard doesn’t tear.
| Step | Time Required | Skill Level |
|---|---|---|
| Preparation | 5 minutes | Beginner |
| Punching Holes | 10 minutes | Intermediate (Safety first!) |
| Threading & Knotting | 15 minutes | Beginner |
| Final Safety Check | 2 minutes | Expert (Precision is key) |
Safety Protocol: Ensuring a Secure Play Environment

When crafting for little ones, safety is the primary objective. We are building a high-performance toy, but it must meet rigorous safety standards. A crafty parent is a vigilant parent.
Safety Mantra: If a knot can be untied, it’s a hazard. If a ribbon is too long, it’s a risk. Double-check every inch.
The Quality Control Checklist
- Ribbon Length: Ensure no ribbon loop or loose end is longer than 6-8 inches to prevent any entanglement risks.
- Knot Integrity: Pull each knot with significant force. If you can pull it through the hole, the hole is too big or the knot is too small.
- Edge Smoothing: If the cardboard has sharp or rough edges, run a piece of clear packing tape over the corners to prevent ‘paper’ cuts on sensitive skin.
- Supervision: Like all handmade toys, this should be used under adult supervision. Inspect the toy before every play session for wear and tear.
Performance Metrics: How This Boosts Cognitive Development
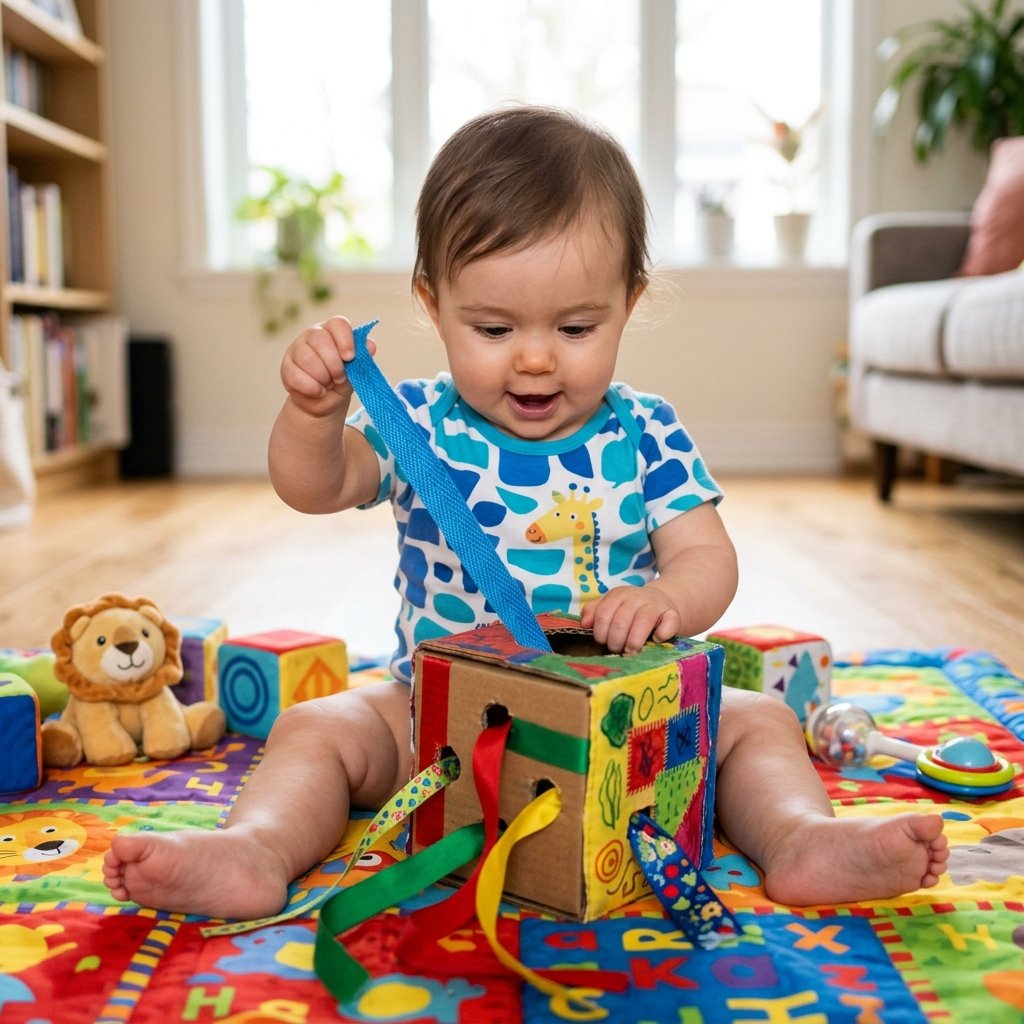
Once the build is complete, you’ll see the ‘Brain Power’ boost in action. Watch as your baby realizes that pulling the red ribbon on the left makes the red ribbon on the right get shorter. This is the beginning of logical reasoning. By varying the resistance—perhaps making some holes slightly tighter than others—you provide a ‘workout’ for their cognitive and physical development.
Visual and Auditory Variations
To take this to the next level, consider these clever upgrades:
- Add Sound: Slide a large wooden bead or a bell onto a ribbon before knotting it. This adds an auditory reward for every pull.
- High Contrast: For younger babies (0-4 months), use black and white ribbons for maximum visual stimulation.
- Mirror Play: Tape a small, shatterproof plastic mirror to one side of the box to encourage ‘tummy time’ while they pull the ribbons.
Conclusion
The Ultimate Budget Win
You’ve just turned a piece of recycling and some scrap fabric into a high-level developmental tool. This DIY Cardboard Ribbon Pulling Toy is proof that you don’t need a massive budget to provide your child with the best start in life. You’ve saved $30+, reduced waste, and created something with your own hands. That is the essence of resourceful parenting. Keep this toy in your ‘tactical play kit’ and watch your baby’s brain power soar—one pull at a time. Now, take that money you saved and put it toward their college fund or your next DIY project!

Makenzie is the founder and lead writer at MoneyHackTips.com — a personal finance blog dedicated to delivering street-smart financial wisdom for real people on real budgets. With 300+ published articles covering everything from debt management to investing fundamentals, Makenzie’s mission is to make every dollar work harder. When not writing about money hacks, Makenzie is testing frugal living strategies, optimizing side hustles, and helping readers build financial freedom from scratch.