
We have all been there: you are getting ready for a big event, or perhaps you are just about to head out the door in your favorite thrifted find, when you hear that heart-sinking r-i-p. A seam has given way. For many, the first instinct is to toss the garment into the ‘someday’ pile or, worse, the trash. But as a resourceful DIYer, you know better. You do not need a bulky, expensive sewing machine to achieve a professional-grade, invisible repair. In fact, some of the most durable and discreet mends in tailoring history are done entirely by hand. Using nothing more than a $0.10 needle and a bit of thread, you can save your wardrobe and your wallet. This guide will walk you through the ‘Invisible Ladder Stitch,’ a technique so clever it looks like magic, allowing you to mend that seam in under 10 minutes.
The Minimalist Mender’s Toolkit
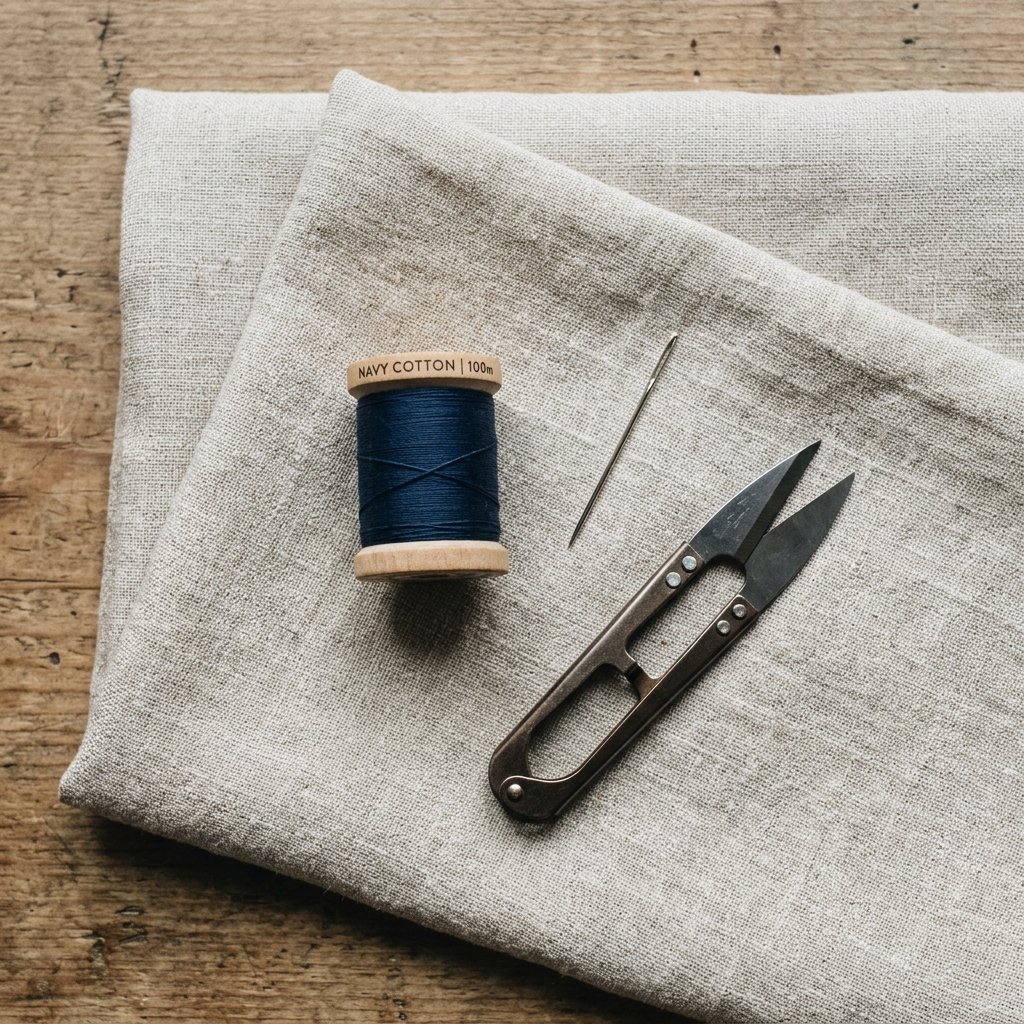
Before we dive into the stitching, let us look at the inventory. You do not need a dedicated craft room; a small tin or even a travel kit will suffice. The beauty of hand-mending is its low barrier to entry. While a sewing machine can cost anywhere from $150 to $500, your hand-mending kit will likely cost you less than a cup of coffee.
| Tool | Purpose | Estimated Cost |
|---|---|---|
| Hand-Sewing Needles | Various sizes for different fabric weights | $1.50 (Pack of 10) |
| All-Purpose Polyester Thread | Durable and has a slight stretch for seams | $2.00 (Spool) |
| Small Embroidery Scissors | For clean snips close to the fabric | $3.00 |
| Thimble (Optional) | Protects your finger on tougher fabrics | $1.00 |
| Total Budget | Professional Repair Kit | $7.50 |
Choosing the Right Thread
For most dresses, an all-purpose polyester thread is your best bet because it is strong and has a tiny bit of ‘give’ which prevents the seam from snapping again. If you are working with a very delicate silk or a heavy denim, you may want to match the thread weight to the fabric, but for 90% of repairs, the standard spool works perfectly. Always try to match the color to the fabric, but if you are using the Ladder Stitch correctly, the thread will be hidden inside the fold anyway!
The Secret Weapon: The Invisible Ladder Stitch
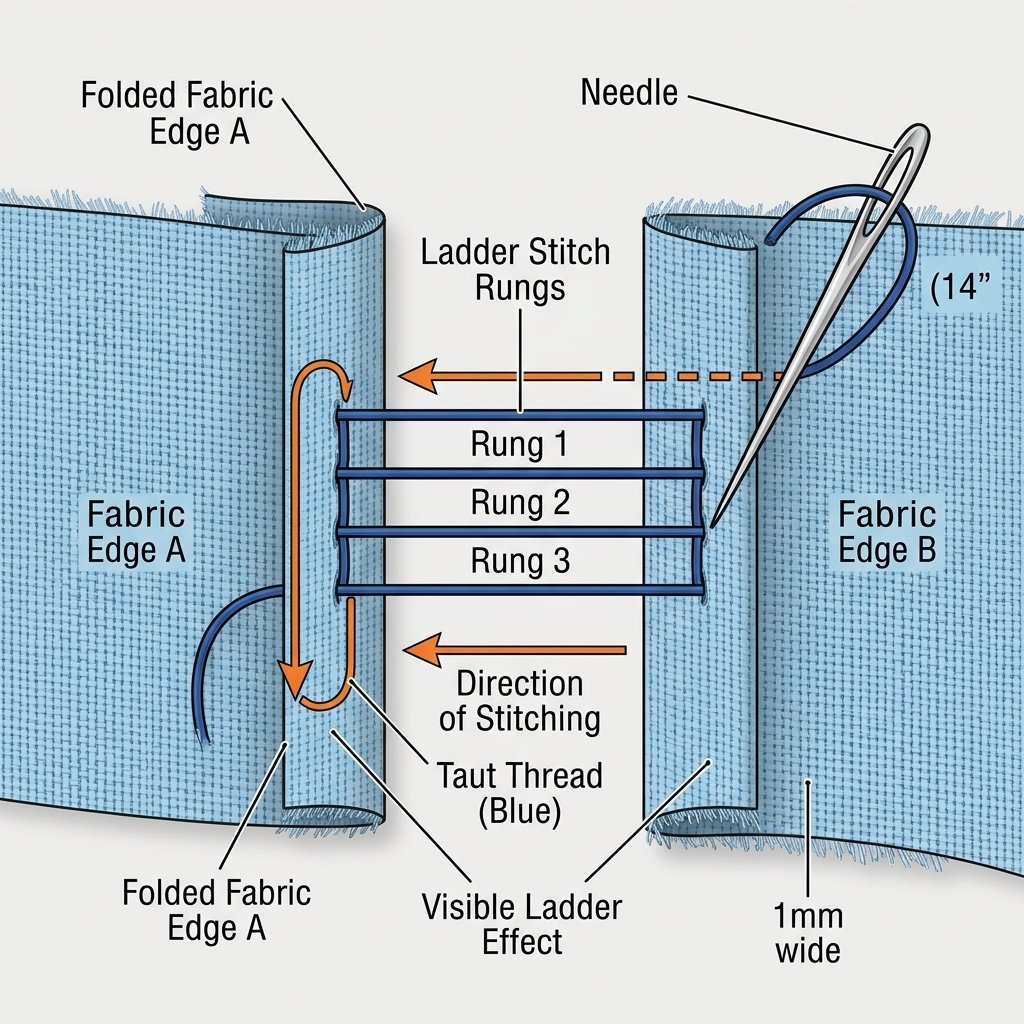
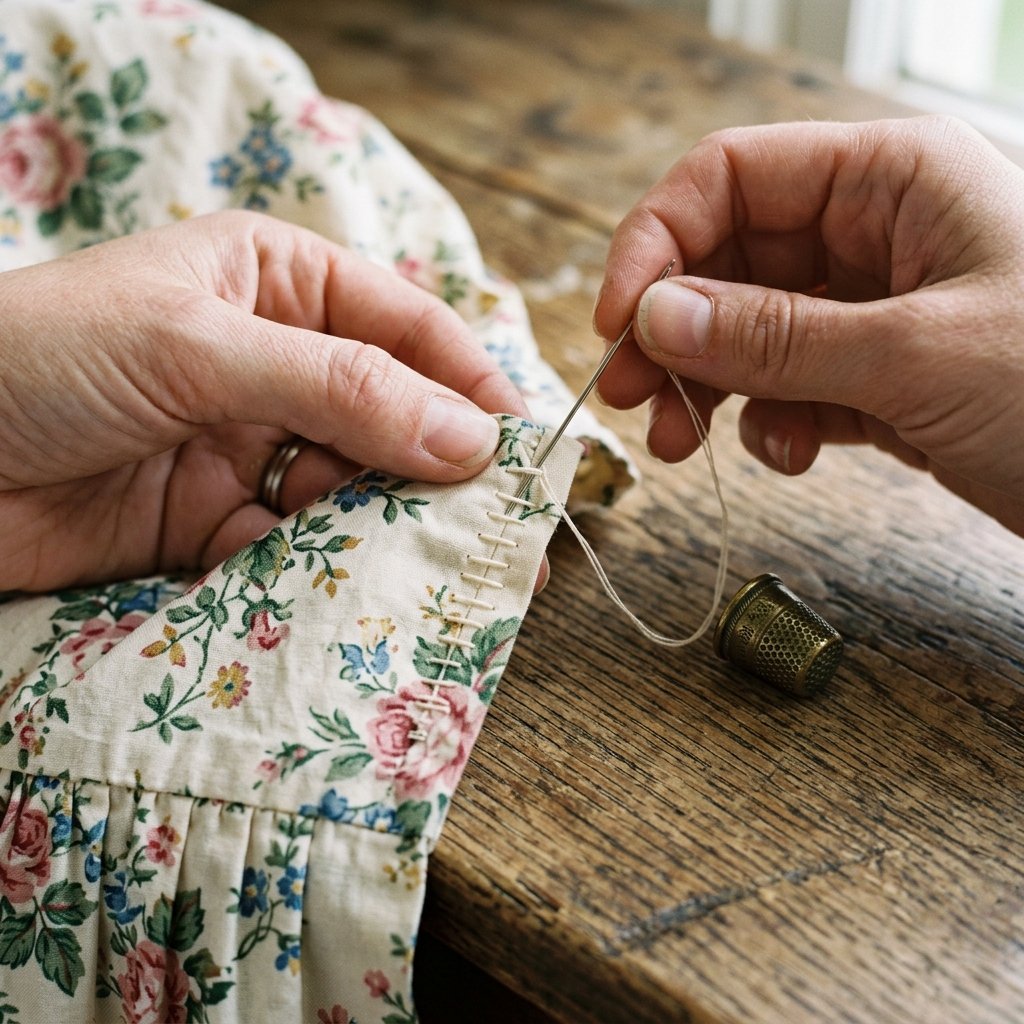
The Ladder Stitch (also known as the Slip Stitch) is the holy grail of seam repair. It allows you to join two folded edges of fabric together from the outside, leaving no visible thread once pulled tight. It is the exact method used by high-end tailors to close the linings of expensive suits and the seams of plush toys.
1. Knot your thread and bring the needle up from the inside of the seam to hide the knot.
2. Insert the needle into the fold of the opposite side, directly across from your starting point.
3. Run the needle through the fold for about 1/8 of an inch and bring it back out.
4. Cross back over to the first side and repeat, creating ‘rungs’ like a ladder.
5. After 4-5 rungs, gently pull the thread taut to watch the seam zip shut invisibly.
Why This Beats a Machine for Small Rips
A sewing machine requires you to turn the garment inside out, which can be tricky for small holes or complex areas like armpits. Hand-mending allows for surgical precision. You can see exactly where the fabric needs to meet, ensuring that patterns (like stripes or florals) align perfectly without the fabric shifting under a presser foot.
Fabric Compatibility: What Can You Fix?
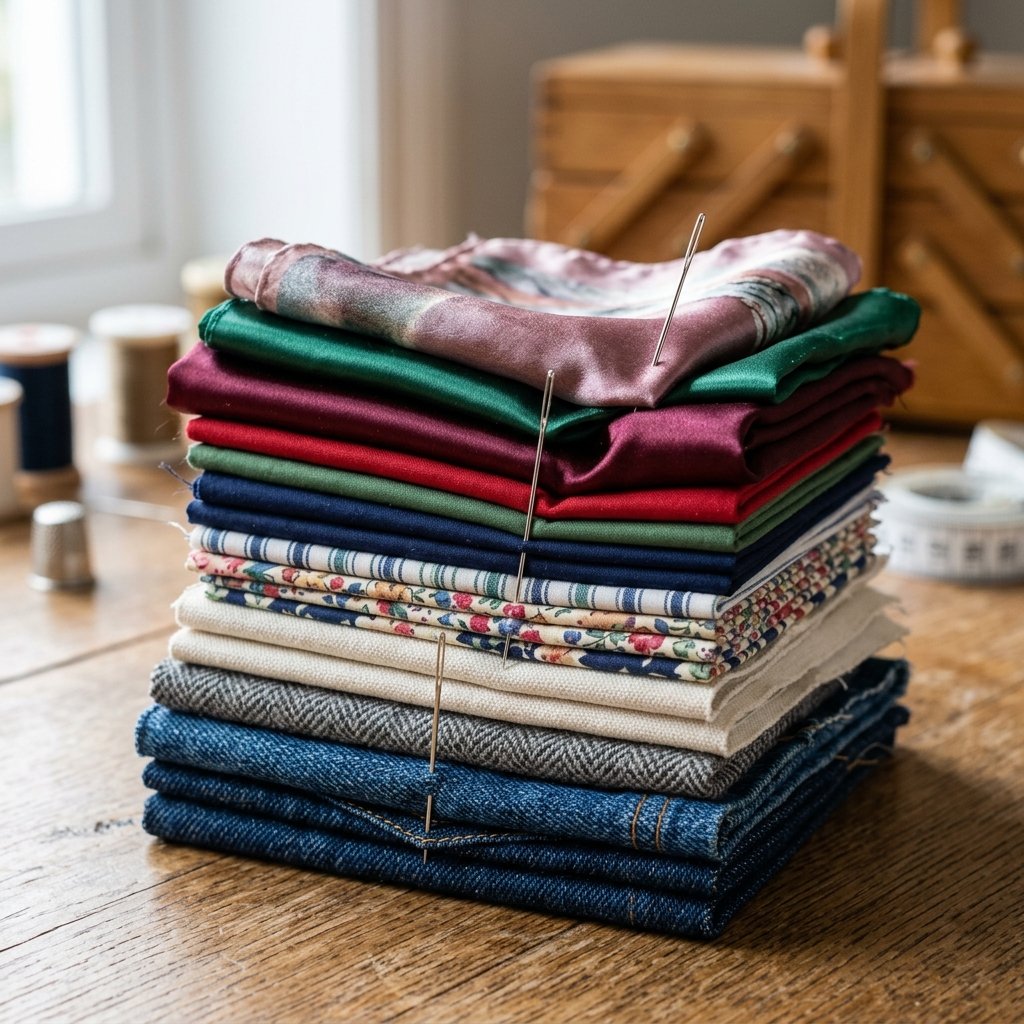
Not all fabrics are created equal, and knowing how to handle different textures will save you from a mending disaster. A heavy-duty canvas requires a different approach than a gossamer-thin chiffon.
| Fabric Type | Difficulty Level | Recommended Needle Size |
|---|---|---|
| Cotton / Linen | Easy | Size 7-9 (Standard) |
| Polyester / Blends | Easy | Size 8 (Sharp) |
| Silk / Chiffon | Moderate | Size 10-12 (Fine) |
| Denim / Corduroy | Advanced | Size 5 (Heavy Duty) |
| Jersey / Knits | Moderate | Ball-point Needle |
When working with stretch fabrics (like jersey), ensure you do not pull your stitches too tight. If the seam cannot stretch with the wearer, the thread will snap the moment you sit down. For non-stretch woven fabrics, a nice firm tension is exactly what you want for a permanent fix.
The 10-Minute Workflow: A Race Against the Clock
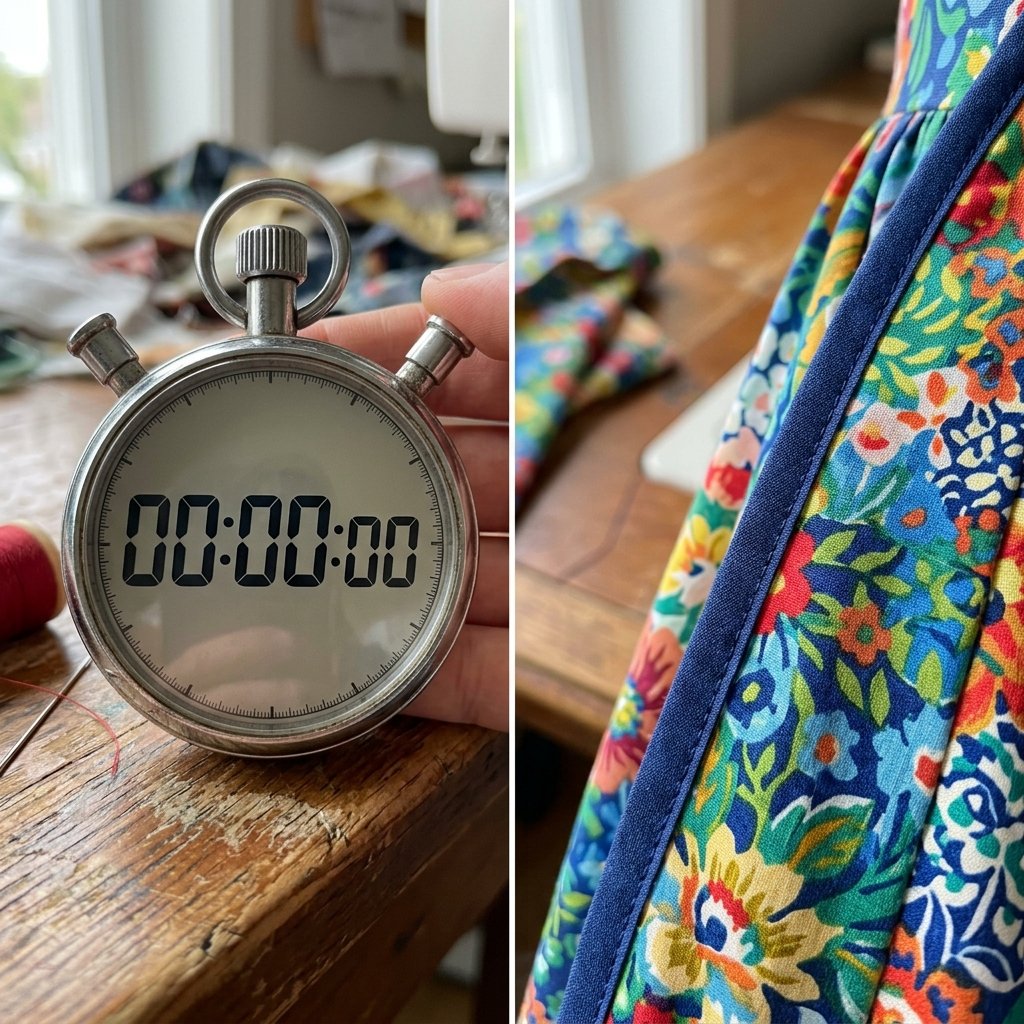
Can you really fix a dress in under 10 minutes? Absolutely. Efficiency comes from preparation. Follow this breakdown to manage your time effectively:
- Minute 1: Thread your needle and knot the end. Double the thread for extra strength if the seam is in a high-stress area like the hip.
- Minutes 2-3: Align the torn edges and pin them if necessary (though for small rips, holding them with your thumb works fine).
- Minutes 4-8: Execute the Ladder Stitch. Take small, consistent bites of fabric to ensure the mend is strong.
- Minute 9: Secure the end with a hidden knot and bury the ‘tail’ of the thread back into the seam before snipping.
- Minute 10: Give the seam a quick press with your fingers or a warm iron to set the stitches.
By focusing on these specific intervals, you remove the ‘analysis paralysis’ that often stops DIYers from starting. Speed mending is about functionality, not perfection—though with the ladder stitch, you usually get both.
Reinforcing Stress Points to Prevent Future Rips
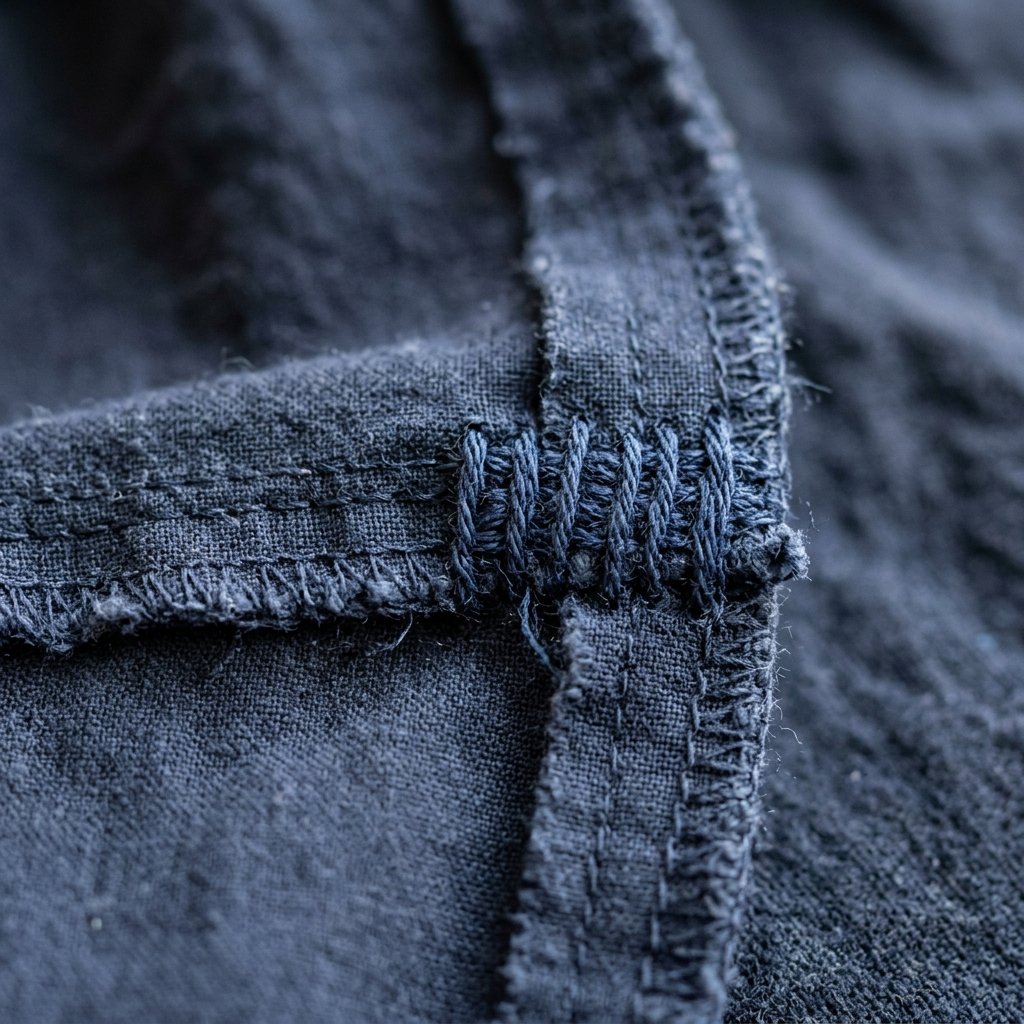
If a seam ripped once, it might rip again. This usually happens at ‘stress points’—the base of a zipper, the armpit, or the slit of a skirt. To ensure your 10-minute repair lasts for years, you need to reinforce the ends of your mend.
Mending Mantra: A stitch in time saves nine, but a double-back stitch saves the whole garment.
When you reach the end of your tear, don’t just knot it and quit. Sew 1/4 inch past the original rip into the ‘healthy’ part of the seam. This anchors your new thread into the existing factory stitches, preventing the old seam from unraveling further. For high-stress areas, consider a ‘backstitch’ for the final half-inch, as it is the strongest hand stitch available, mimicking the look and durability of a machine lockstitch.
Conclusion
Mending a dress by hand is more than just a frugal hack; it is a return to a more intentional way of living. By spending 10 minutes and pennies in materials, you have rescued a garment from the landfill and saved yourself the $20-$40 a professional tailor would charge. You don’t need a heavy machine or a degree in fashion design to maintain a sharp, well-kept wardrobe. All you need is a little bit of patience, a sharp needle, and the confidence to take matters into your own hands. Next time you see a loose thread or a split seam, don’t panic—just reach for your mending kit and get to work!

Makenzie is the founder and lead writer at MoneyHackTips.com — a personal finance blog dedicated to delivering street-smart financial wisdom for real people on real budgets. With 300+ published articles covering everything from debt management to investing fundamentals, Makenzie’s mission is to make every dollar work harder. When not writing about money hacks, Makenzie is testing frugal living strategies, optimizing side hustles, and helping readers build financial freedom from scratch.